

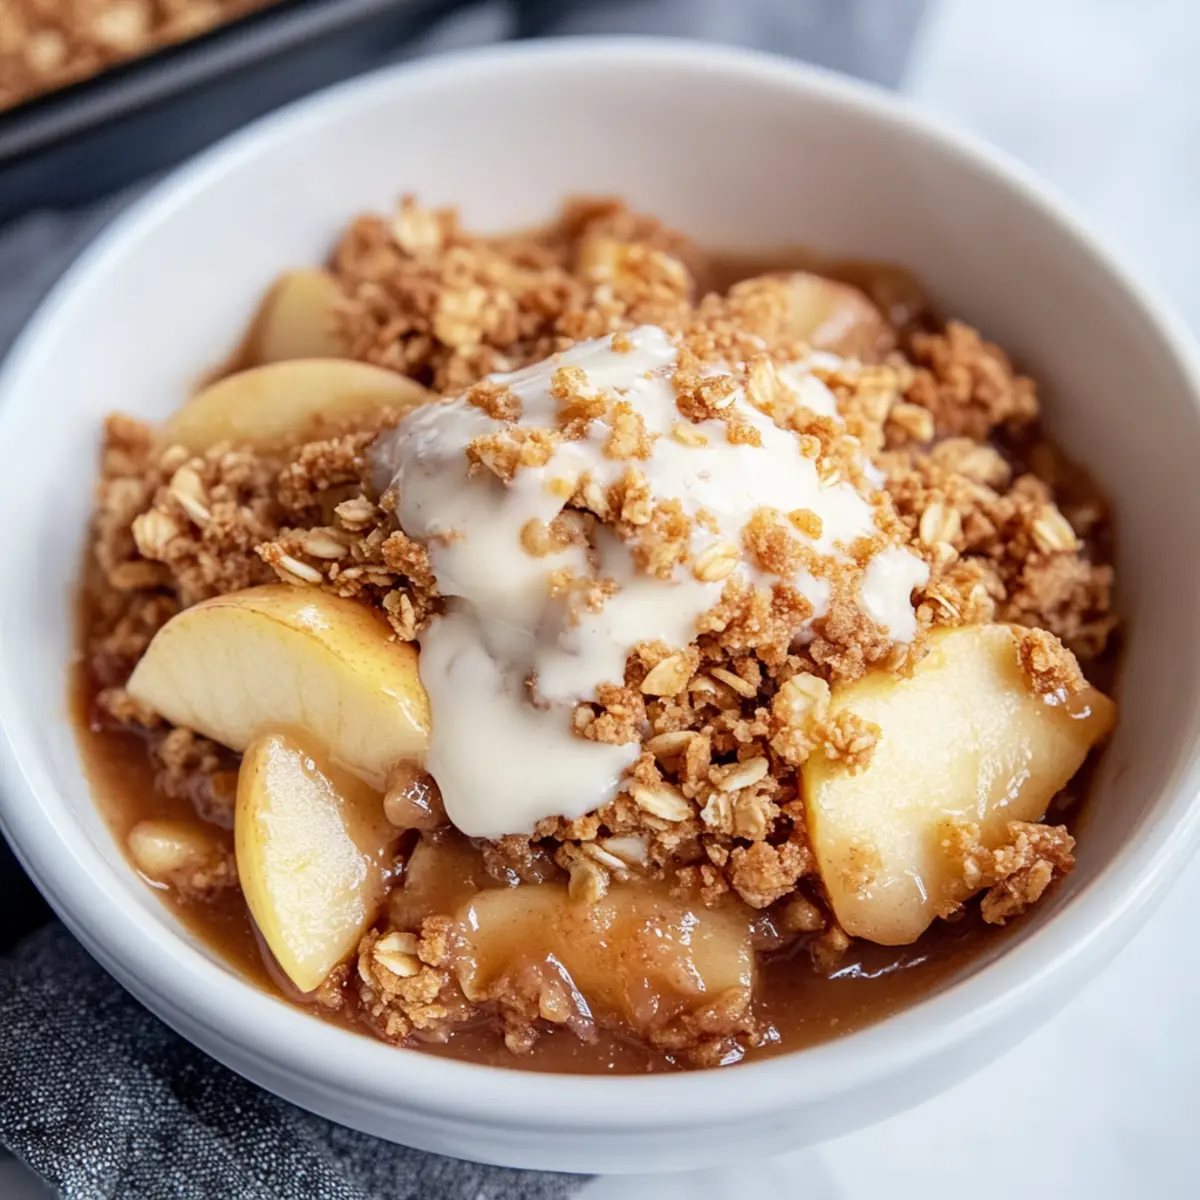
“Who knew a classic dessert could be both healthy and high in protein?” That thought crossed my mind during a recent Sunday afternoon when I decided to lighten up my go-to apple crisp recipe. The result? A comforting, Healthy High Protein Apple Crisp that balances the sweet and tart flavors of fresh apples with a crunchy topping you won’t want to resist. This delightful snack not only satisfies cravings but also offers a much-needed protein boost, making it the perfect choice for breakfast or an afternoon pick-me-up. Plus, it’s incredibly quick to whip up, so you can have this scrumptious dessert ready in no time. Curious to see how simple it is to create this guilt-free indulgence? Let’s dive in!
Why is this High Protein Apple Crisp a must-try?
Guilt-Free Delight: Satisfy your sweet tooth without the regret! This Healthy High Protein Apple Crisp lets you indulge without compromising your wellness goals.
Quick Prep: With just a handful of ingredients, you’ll whip this dish up in no time, making it the perfect last-minute treat or an easy breakfast option.
Versatile Serving: Whether you prefer it warm with a scoop of Greek yogurt or a drizzle of honey, you can customize this recipe to suit any taste.
Nutritionally Sound: Packed with protein, it’s an excellent way to add some wholesome goodness to your dessert, making it nutritious and delicious!
Crowd-Pleaser: Serve this at gatherings or enjoy it solo; everyone, from kids to adults, will fall in love with this revamped classic. Don’t forget to check out my other favorites like Butternut Squash Apple and Hot Honey Chicken for delicious pairings!
High Protein Apple Crisp Ingredients
• Here’s everything you need for a scrumptious High Protein Apple Crisp that’s easy to whip up!
For the Apple Base
- Chopped Apple – This forms the foundation; choose varieties like Granny Smith or Honeycrisp for the best balance of sweet and tart.
- Cinnamon – A warm spice that enhances the apple flavor; feel free to mix in a pinch of nutmeg for extra depth.
- Lemon Juice – Just a drop brightens the apples and keeps them from browning; fresh is always best.
For the Protein-Packed Topping
- Vanilla Protein Powder – Boosts the protein content; opt for a plant-based version for a healthier touch.
- Nut Butter – Adds healthy fats and helps bind the topping—almond butter provides a sweet note, while peanut butter offers a richer flavor.
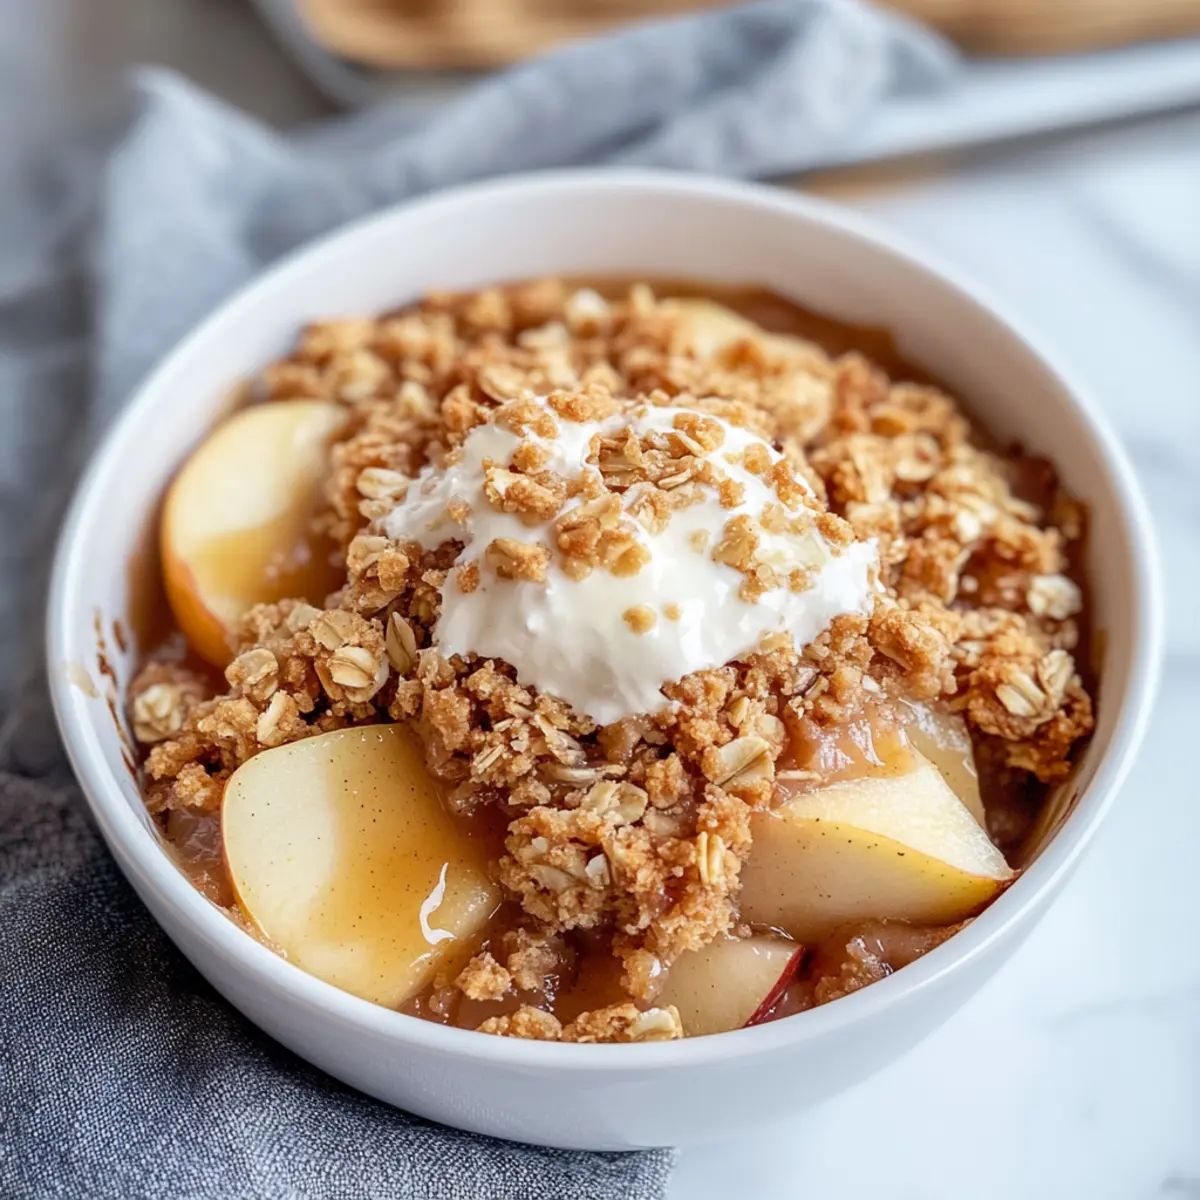
- Rolled Oats – Gives that satisfying crunch; make sure to use rolled oats for the perfect texture.
- Milk or Water – A splash adds moisture to the crumble; substitute with nut milk if you’re avoiding dairy.
Optional Enhancements
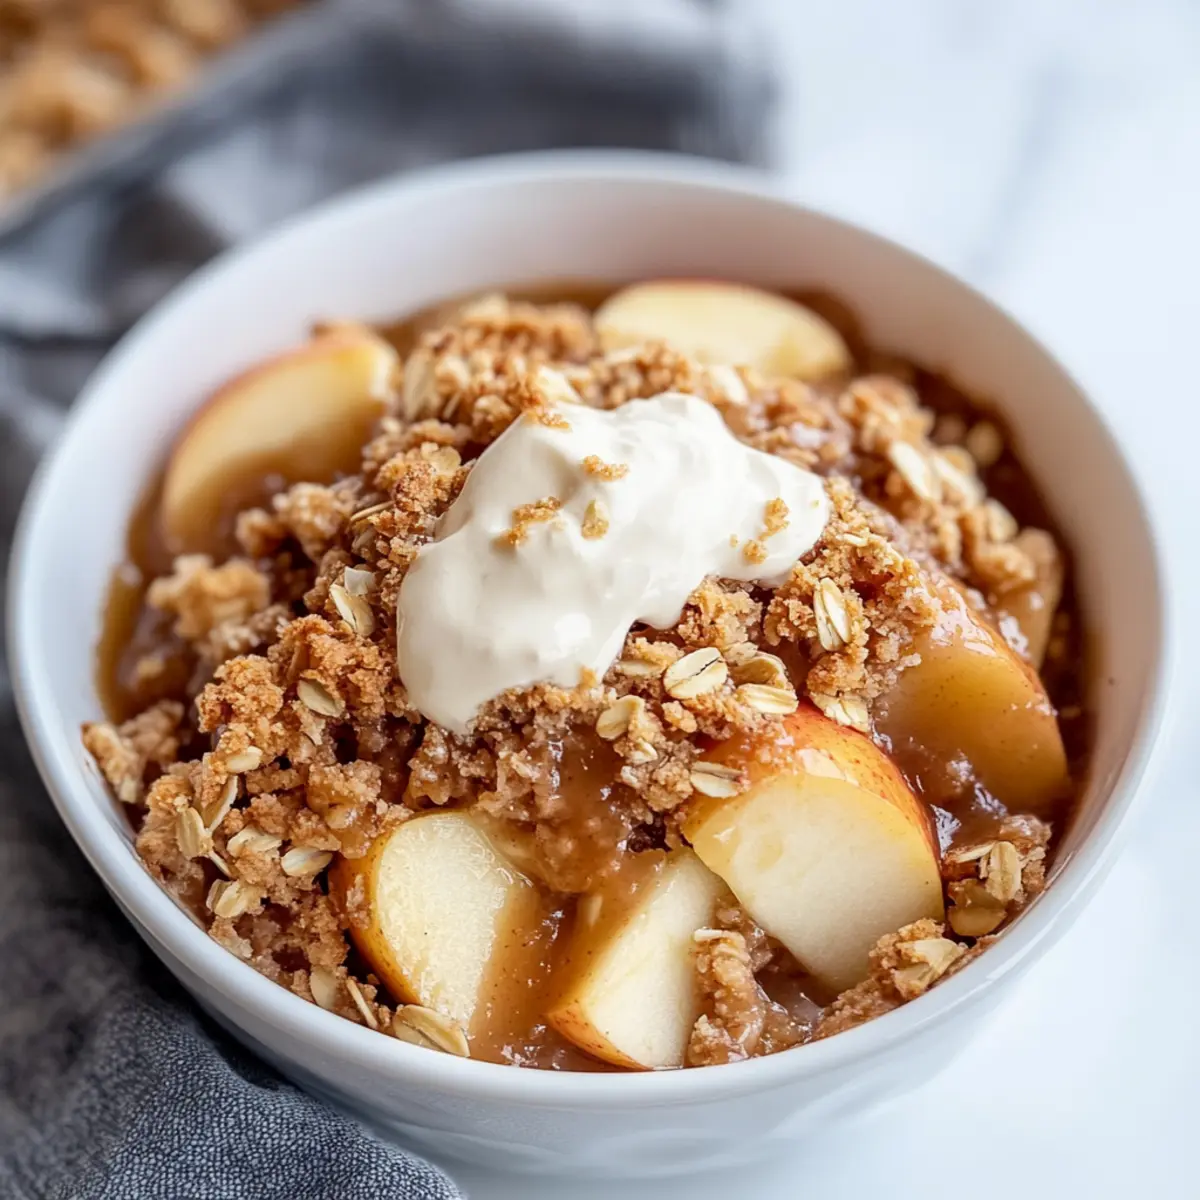
- Greek Yogurt – A creamy topping that pairs beautifully with your High Protein Apple Crisp for an extra protein boost.
- Honey – Drizzle over for added sweetness if desired; it’s a lovely finishing touch!
With these simple ingredients at hand, you’re just moments away from creating a scrumptious dessert that balances taste and nutrition beautifully!
Step‑by‑Step Instructions for High Protein Apple Crisp
Step 1: Prep Apples
Preheat your oven to 350°F (175°C). In a mixing bowl, combine the chopped apples with cinnamon, a drop of lemon juice, and 1 tablespoon of vanilla protein powder. Stir the mixture well until the apples are evenly coated, then transfer them into a small ramekin, spreading them out evenly to form the base of your High Protein Apple Crisp.
Step 2: Prepare Topping
In another bowl, mix together the rolled oats, nut butter, the remaining tablespoon of protein powder, and 1 teaspoon of milk or water. Blend the ingredients until they form a crumbly topping. If the mixture feels too dry, add a little more liquid until you achieve a moist, crumbly texture that holds together slightly when pressed.
Step 3: Assemble
Evenly sprinkle the crumble topping over the apples in the ramekin, making sure to cover all the fruit. This step will create that delicious layer of crunch on top of your warm apple base, ensuring that every bite of your High Protein Apple Crisp has a satisfying, crispy texture.
Step 4: Bake
Place the assembled ramekin in the preheated oven and bake for 20 minutes. Keep an eye on the crisp as it bakes; it’s done when the topping turns golden brown and the apples start bubbling gently around the edges, filling your kitchen with a delightful aroma.
Step 5: Cool and Serve
Once baked, carefully remove the ramekin from the oven and let it cool for about 5 minutes. This cooling period allows the topping to firm up a bit, making it easier to serve. Enjoy your High Protein Apple Crisp warm, perhaps topped with a dollop of Greek yogurt or a drizzle of honey for a truly satisfying treat!
Make Ahead Options
These Healthy High Protein Apple Crisps are perfect for meal prep enthusiasts! You can chop the apples and mix them with cinnamon, lemon juice, and protein powder up to 24 hours in advance; just refrigerate them in an airtight container to maintain freshness and prevent browning. The topping can also be prepped ahead—combine oats, nut butter, and protein powder, and store this mixture separately for up to 3 days. When you’re ready to enjoy your High Protein Apple Crisp, simply assemble the crisp, bake it in a preheated oven, and you’ll have a warm, delicious dessert with minimal effort!
How to Store and Freeze High Protein Apple Crisp
Fridge: Store any leftover High Protein Apple Crisp in an airtight container for up to 3 days. This way, you can enjoy your delicious dessert over a few cozy evenings!
Freezer: For longer storage, freeze the apple crisp in an airtight container for up to 2 months. Thaw in the fridge overnight before reheating.
Reheating: To restore that crunchy topping, reheat in the oven at 350°F (175°C) for 10-12 minutes. This will bring back its delightful texture and warm flavors beautifully!
Make-Ahead: If you’re prepping in advance, you can assemble the apple base and topping separately. Store them in the fridge and combine just before baking for a fresh-out-of-the-oven treat!
High Protein Apple Crisp Variations
Feel free to let your creativity shine with these exciting twists on the classic recipe!
- Nut Butter Swap: Use peanut butter instead of almond butter for a more robust flavor that adds richness to every bite.
- Fruit Mix-Up: Experiment with pears or mixed berries to give your crisp a fruity twist and exciting new flavors!
- Crunchy Topping: Add chopped nuts like walnuts or pecans for an extra crunch that enhances both texture and taste.
- Spice It Up: Include a pinch of nutmeg or ginger for deeper warmth that’ll set your taste buds dancing!
- Sweet Changes: Drizzle a bit of maple syrup in the apple mixture for added sweetness—perfect for those who love a touch of extra indulgence.
- Savory Option: Toss in a handful of cooked oats to the topping for a chewy texture that makes each bite more satisfying.
- Dairy-Free Delight: Replace regular milk with almond milk to make this dessert completely dairy-free without sacrificing flavor.
- Flavor Infusion: Try mixing in a bit of cocoa powder for a chocolate-infused version—a delightful contrast to the vibrant apples.
Don’t forget, this High Protein Apple Crisp pairs wonderfully with a scoop of Greek yogurt or a drizzle of honey, just like my Baked Chicken Thighs or your favorite Bang Salmon Bites for an enticing meal!
Expert Tips for High Protein Apple Crisp
-
Apple Variety Matters: Choose crisp apples like Granny Smith or Honeycrisp for a balance of sweet and tart flavors—avoid overly soft apples that may turn mushy.
-
Protein Balance: Ensure you measure the vanilla protein powder accurately; too much can alter the texture of your High Protein Apple Crisp topping.
-
Moisture Control: If the topping feels too dry, add a bit more milk or water, but be careful not to over-saturate it; it should be crumbly but cohesive.
-
Baking Vigilance: Start checking your crisp around the 15-minute mark to avoid burning. The topping should be golden brown and apples bubbling at the edges.
-
Cooling Time: Let your High Protein Apple Crisp cool for 5 minutes before serving to prevent burns and allow the topping to firm up for easier enjoyment.
What to Serve with Healthy High Protein Apple Crisp
Indulging in a cozy dessert is always better when paired with delightful accompaniments that elevate the experience.
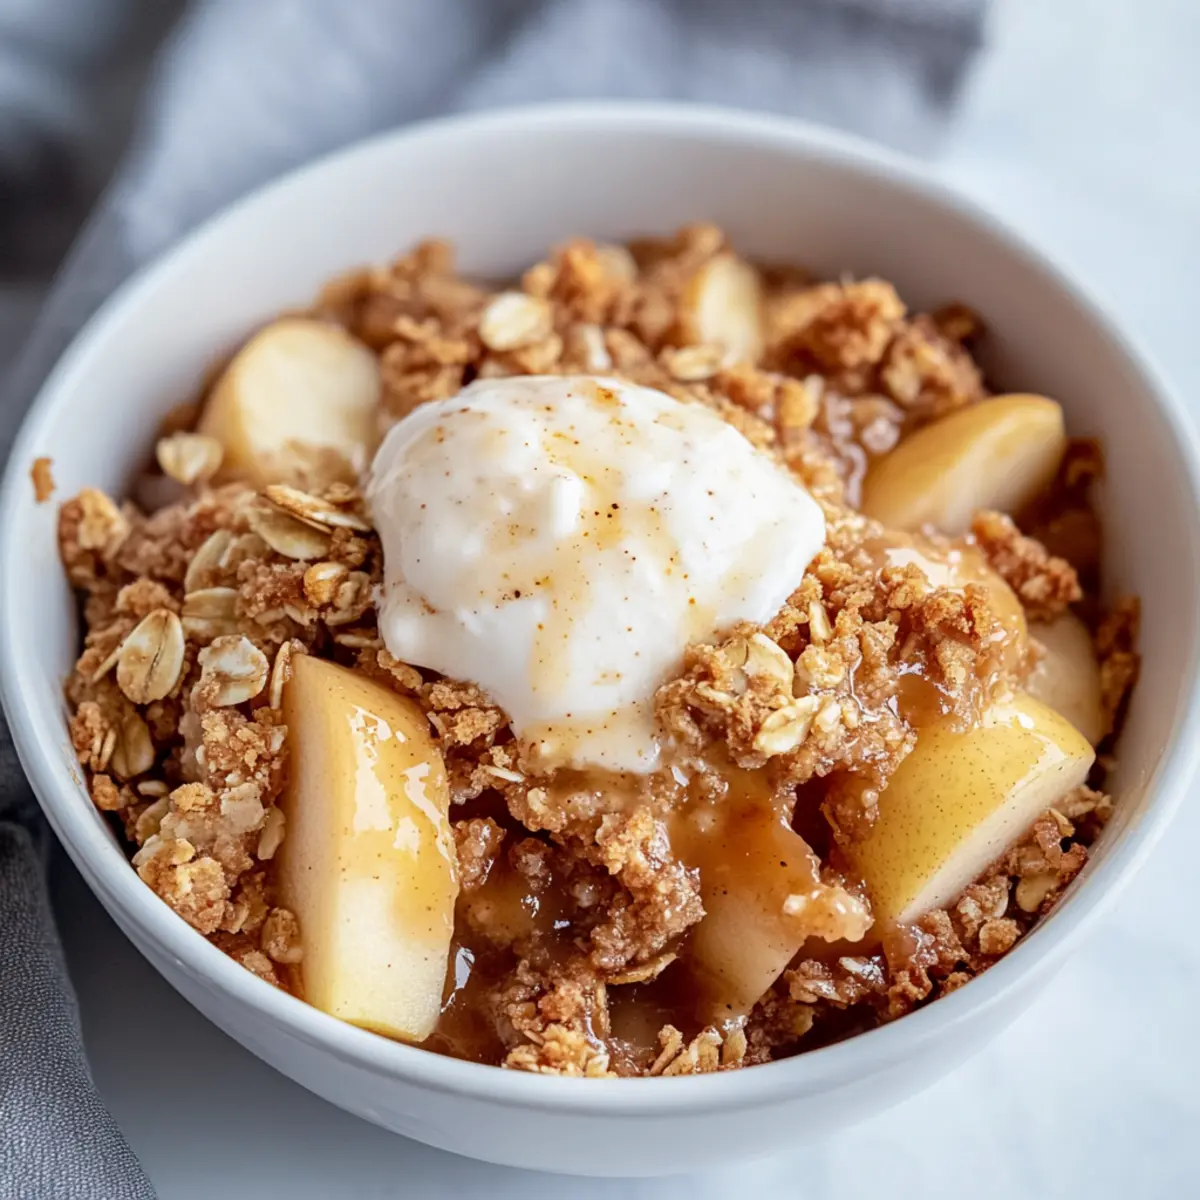
- Creamy Greek Yogurt: Spoon over your apple crisp for extra creaminess and a protein boost that complements the dish beautifully.
- Vanilla Ice Cream: A classic indulgent touch, the cold creaminess contrasts with the warm, spiced apples, creating an irresistible combination.
- Cinnamon-Spiced Tea: A soothing cup pairs perfectly, echoing the apple and cinnamon flavors while warm and spicy notes enhance your dessert.
- Nutty Granola: Sprinkle a bit on top for added crunch and contrast, creating a delightful texture that complements the apple crisp’s soft filling.
- Honey Drizzle: A touch of sweetness can elevate the dish beautifully—just a drizzle on top enhances the flavor without overpowering.
- Chilled Almond Milk: A refreshing sip keeps your palate clean and balances the sweetness of the crisp with its nutty undertones, making everything feel light.
- Caramel Sauce: Drizzle lightly for a decadent twist that transforms your Healthy High Protein Apple Crisp into a truly luxe dessert experience.
Healthy High Protein Apple Crisp Recipe FAQs
What type of apples should I use for the best flavor?
Absolutely! For the most delicious results, I recommend using crisp apples like Granny Smith or Honeycrisp. These varieties provide the perfect balance of sweet and tart flavors. However, if you have softer apples on hand, just dice them small to ensure they cook evenly in the crisp!
How can I store leftovers, and how long will they last?
Leftover High Protein Apple Crisp can be stored in an airtight container in the refrigerator for up to 3 days. Just remember to reheat it in the microwave or oven before serving, so it’s warm and cozy!
Can I freeze the High Protein Apple Crisp?
Yes, indeed! You can freeze your High Protein Apple Crisp for up to 2 months. Just let it cool completely, then place it in an airtight container before freezing. To reheat, thaw it overnight in the fridge and bake at 350°F (175°C) for about 10-12 minutes to restore that delightful crunch!
What should I do if my crisp topping is too dry?
If you find your topping feels a bit too dry during preparation, don’t worry! Just add a teaspoon more of milk or water and mix until it reaches a moist, crumbly texture. Remember, the topping should be crumbly but cohesive, so adjust carefully.
Is this recipe safe for pets or individuals with allergies?
Always check for nut allergies, as this recipe includes nut butter. For pets, it’s best to avoid sharing any foods with them, especially desserts with added sugars and spices. If you’re concerned about allergies, feel free to substitute the nut butter with sunflower seed butter for a safe alternative!
Delicious High Protein Apple Crisp for Guilt-Free Indulgence
Ingredients
Equipment
Method
- Preheat your oven to 350°F (175°C). In a mixing bowl, combine the chopped apples with cinnamon, lemon juice, and 1 tablespoon of vanilla protein powder. Stir well and transfer to a small ramekin.
- In another bowl, mix together the rolled oats, nut butter, remaining protein powder, and 1 teaspoon of milk or water until crumbly. Add more liquid if needed.
- Sprinkle the crumble topping evenly over the apples in the ramekin.
- Bake for 20 minutes until the topping is golden brown and apples are bubbling.
- Remove from oven and cool for 5 minutes before serving.