

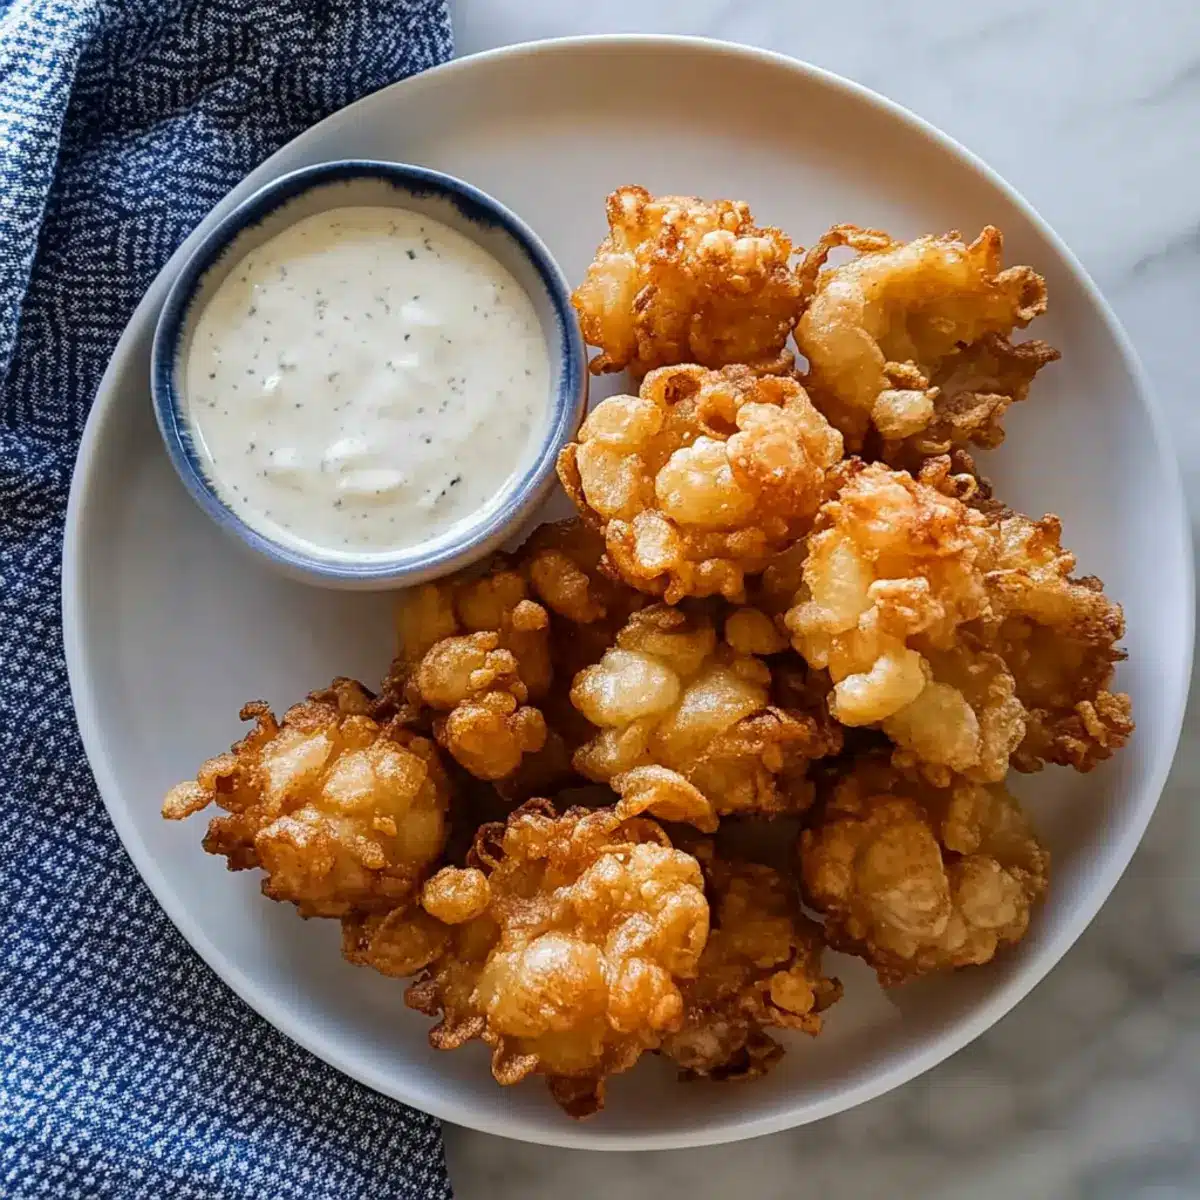
With the aroma of fried goodness wafting through my kitchen, I couldn’t help but smile as I prepared these delightful Baby Bloomin’ Onions. These little wonders, made from sweet cipollini onions, present a charming twist on the classic appetizer, offering a crispy outside that gives way to tender, caramelized layers within. Not only are they an instant crowd-pleaser, perfect for your next game day gathering, but they also come together surprisingly quickly, making them a breeze to whip up. Dip them in my creamy buttermilk ranch sauce, and you’ll be left craving more! Are you ready to elevate your appetizer game? Let’s dive into this fun recipe!
Why Are Baby Bloomin’ Onions a Must-Try?
Irresistible Crunch: The crispy coating on these Baby Bloomin’ Onions creates an unforgettable crunch that contrasts delightfully with their tender interior.
Sweet Cipollini Bliss: Using cipollini onions not only provides a sweeter flavor but also a unique twist on the traditional onion, making each bite a flavorful explosion.
Easy & Quick Prep: With simple steps, this recipe comes together quickly, ensuring you spend less time cooking and more time enjoying the game day atmosphere.
Crowd-Pleasing Snack: Perfect for sharing, these bite-sized appetizers are guaranteed to please both friends and family, making them a show-stopping addition to any gathering.
Versatile Dipping Options: Pair them with buttermilk ranch, BBQ sauce, or even a spicy aioli to customize your taste experience. The choice is yours!
Make Ahead Convenience: You can prepare and coat the onions in advance, making them a fantastic option for busy hosts. Just fry them up when you’re ready to serve!
Baby Bloomin’ Onion Ingredients
• Get ready for a crispy delight!
For the Onions
- Cipollini Onions – These sweet gems create a tender bite and are the star of this Baby Bloomin’ Onions recipe.
- Buttermilk – A necessity for achieving the perfect coating that clings and adds moisture; you can swap in whole milk if needed.
For the Coating
- All-Purpose Flour – This is essential for that crunchy exterior; gluten-free flour works well if you’re avoiding gluten.
- Garlic Powder – Adds savory depth; feel free to omit it for a milder flavor.
- Onion Powder – Enhance onion flavor with this key ingredient; additional garlic powder can be used in its place if desired.
- Smoked Paprika – Provides a lovely smoky taste and rich color; sweet paprika is a fine substitute.
- Salt – Vital for flavor; adjust according to your dietary needs.
- Dry Mustard – Adds a tangy kick that can be replaced with ground mustard or skipped entirely.
- Black Pepper – A dash adds a touch of heat; freshly ground is the best option.
For Frying
- Peanut or Vegetable Oil – Required for frying; select an oil with a high smoke point, steering clear of overpowering flavor oils.
By gathering these ingredients, you’re not just preparing a snack—you’re gearing up for an unforgettable appetizer experience with these delightful Baby Bloomin’ Onions!
Step‑by‑Step Instructions for Baby Bloomin’ Onions
Step 1: Heat the Oil
In a tall pot, heat 2.5 inches of peanut or vegetable oil to 350°F. Use a frying thermometer to ensure accuracy, as the right temperature is crucial for achieving that perfect crispy texture. A hot oil environment will allow the Baby Bloomin’ Onions to fry evenly and develop a golden-brown crust.
Step 2: Prepare the Onions
Start by cutting off the pointed end of the cipollini onions and peeling their skins. Carefully make four vertical cuts around each onion, creating sections while ensuring you don’t cut all the way through the bottom. This will allow the onions to bloom beautifully while frying, revealing their tender layers.
Step 3: Soak the Onions
Place the prepared onions into a bowl of buttermilk. Ensure they are fully submerged and let them soak for at least 30 minutes. This step not only enhances flavor but also helps the flour coating adhere better when you’re ready to fry, creating a deliciously crispy Baby Bloomin’ Onions exterior.
Step 4: Mix the Coating
In a separate bowl, combine all-purpose flour, garlic powder, onion powder, smoked paprika, salt, dry mustard, and black pepper. Whisk together until well blended to create a consistent dry coating mixture that will soon envelop your onions, ensuring each bite is packed with flavor.
Step 5: Dredge the Onions
Remove each onion from the buttermilk, allowing excess to drip off before coating them in the flour mixture. It’s essential to ensure they are well-coated for that crispy crunch. Gently press the flour onto the onions to guarantee a good adherence of the coating for your Baby Bloomin’ Onions.
Step 6: Fry the Onions
Once the oil is heated, carefully place the dredged onions cut-side down into the hot oil, frying them for about 3-4 minutes. Watch for a beautiful golden hue; this indicates they are cooking perfectly. Use tongs to flip them over and fry for an additional 2 minutes until they reach that desired crispiness.
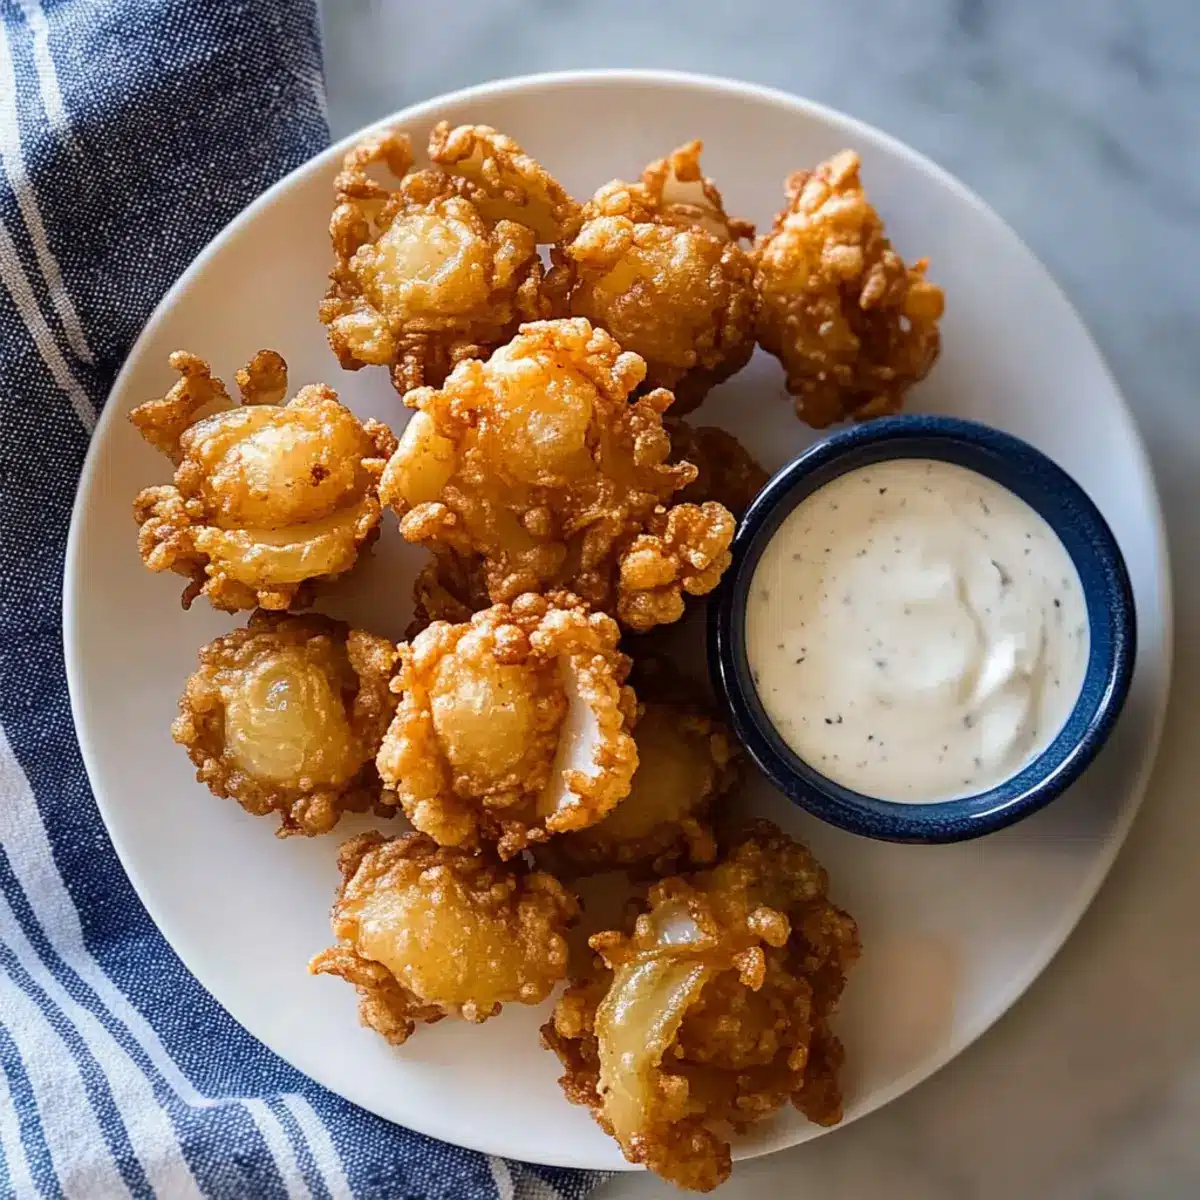
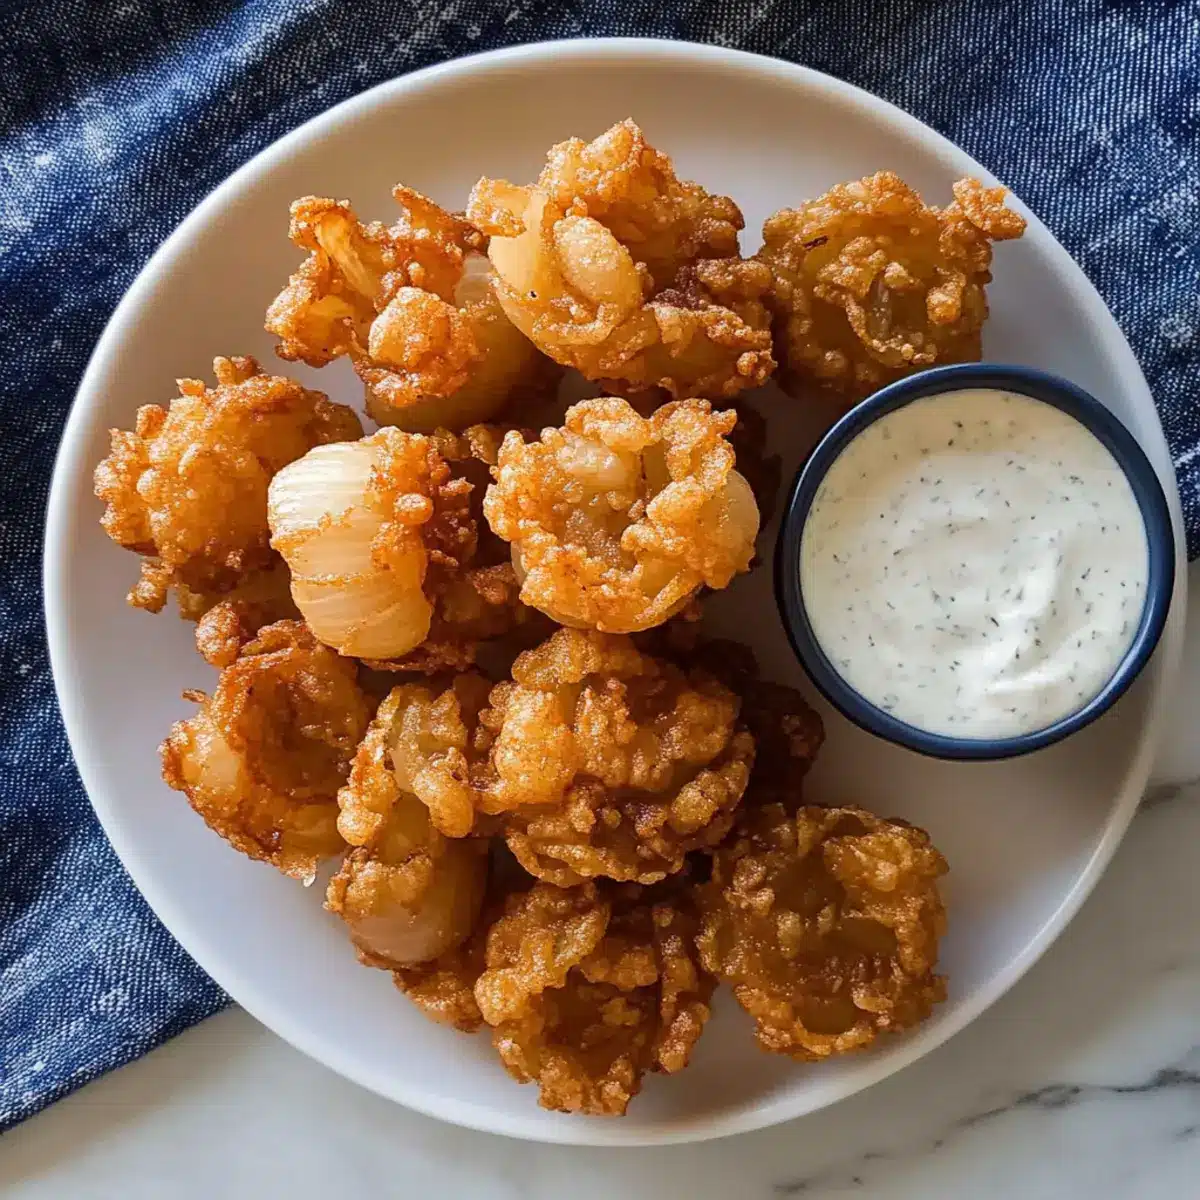
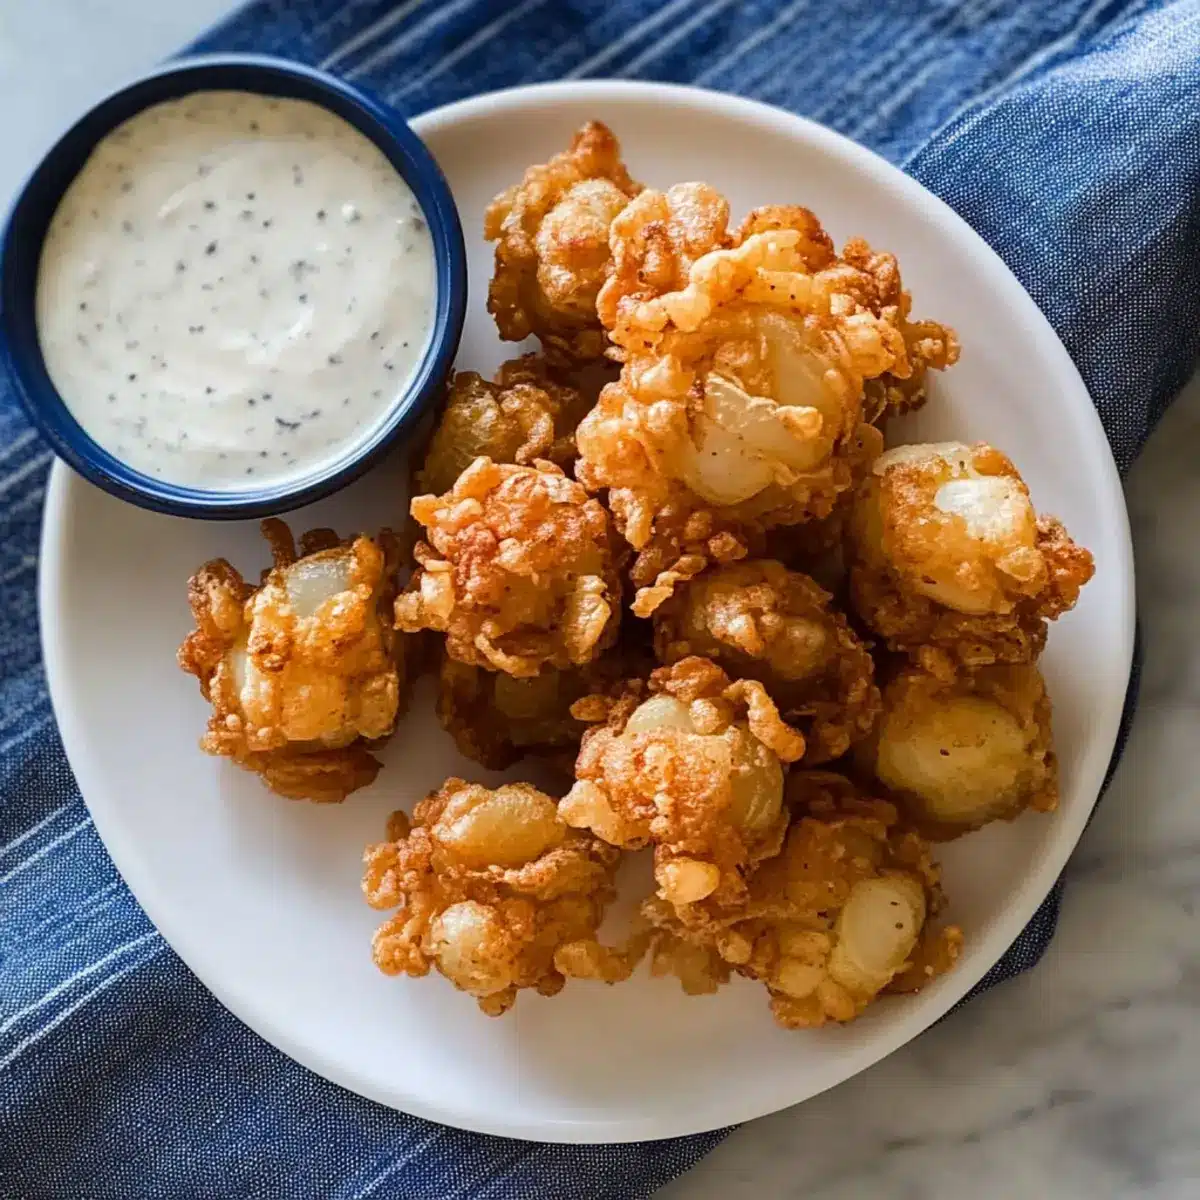
Step 7: Drain and Season
After frying, transfer your Baby Bloomin’ Onions to a plate lined with paper towels. This will help absorb excess oil. Immediately season them with additional salt and pepper to enhance flavor while they’re still hot and crispy. Serve them warm for the best experience!
Step 8: Prepare the Dipping Sauce
While the onions cool slightly, whip up your favorite buttermilk ranch dipping sauce. Simply combine buttermilk, mayonnaise, garlic powder, fresh herbs, and salt until well mixed. The creamy sauce complements the Baby Bloomin’ Onions perfectly, adding a delightful contrast to their crunchiness.
How to Store and Freeze Baby Bloomin’ Onions
Fridge: Store any leftover Baby Bloomin’ Onions in an airtight container for up to 3 days. To maintain crispness, reheating in an air fryer is recommended.
Freezer: For optimal freshness, freeze uncooked, coated onions on a baking sheet. Once frozen, transfer them to a freezer-safe bag for up to 2 months.
Reheating: When ready to enjoy, air fry frozen Baby Bloomin’ Onions at 400°F for 8-10 minutes, or until heated through and crispy again. Avoid reheating already fried onions in the microwave as they may become soggy.
Make-Ahead Tip: You can prepare and coat Baby Bloomin’ Onions a few hours ahead, keeping them refrigerated until you’re ready for frying, making them perfect for last-minute snacking!
Make Ahead Options
These Crispy Baby Bloomin’ Onions are perfect for meal prep, allowing busy cooks to save time during eventful gatherings! You can pre-peel and slice the cipollini onions up to 24 hours in advance, storing them in the refrigerator to maintain their freshness. To ensure the best texture, soak the onions in buttermilk for a minimum of 30 minutes before coating them in the flour mixture. You can also coat the onions ahead of time and refrigerate them for up to 3 days. When you’re ready to serve, simply heat the oil and fry the onions as directed. This way, you’ll enjoy restaurant-quality results with minimal effort, delighting your guests while keeping your stress levels low!
Expert Tips for Baby Bloomin’ Onions
-
Oil Temperature Check: Ensure your oil reaches 350°F before frying. Oil that is too cold can lead to greasy, soggy Baby Bloomin’ Onions.
-
Onion Prep Precision: Cut the cipollini onions without slicing through the bottom. This helps maintain their shape and encourages a beautiful bloom when frying.
-
Thorough Coating: Dip the onions thoroughly in buttermilk and then the flour mixture, pressing gently to ensure a good coating. This step is critical for that crisp texture.
-
Batch Frying: Avoid overcrowding the pot when frying. Fry in batches to maintain the oil temperature, leading to even cooking and preventing dampness.
-
Serving Hot: Serve the Baby Bloomin’ Onions immediately after frying for the best taste and texture—warm and crispy is key!
Baby Bloomin’ Onions Variations & Substitutions
Feel free to get creative with these ideas to add your own personal touch to this crispy delight!
- Gluten-Free: Use gluten-free flour to make these Baby Bloomin’ Onions safe for those with gluten sensitivities without sacrificing crunch.
- Smoky Flavor Boost: Add a touch of cayenne pepper to the flour mixture for a spicy kick that complements the onion’s sweetness beautifully.
- Herb-Infused: Mix dried Italian herbs like oregano or thyme into the flour for a fragrant, savory twist that enhances every bite.
- Honey Mustard Twist: Substitute dry mustard with honey mustard for a sweet and tangy flavor that pairs wonderfully with the fried onions.
- Crispy Panko Coating: For extra crunch, use panko breadcrumbs in place of all-purpose flour; double-dip the onions to maximize the crispy goodness.
- Air Fry for Healthier: If you’re looking for a healthier version, air fry the coated onions at 400°F for about 8-10 minutes for a lighter treat.
- Variety of Dips: Serve with different dipping sauces like spicy aioli, tangy BBQ sauce, or even a zesty blue cheese dressing to cater to diverse tastes.
- Asian-Inspired: Incorporate sesame seeds and a splash of soy sauce in the flour mix for a unique Asian-inspired flavor that surprises and delights!
With these variations, you can turn a classic favorite into an endless exploration of flavors! For more creative kitchen ideas, don’t forget to check out our guide on creative dips for appetizers or learn how to make homemade buttermilk for a fresher take on your favorite sauce!
What to Serve with Crispy Baby Bloomin’ Onions?
The delightful crunch of these crispy bites sets the stage for a full-flavored meal that will leave your guests impressed.
- Creamy Buttermilk Ranch: This classic dip adds a tangy richness that complements the crispy onions perfectly.
- Spicy Aioli: This zesty sauce offers a kick, enhancing the sweetness of the cipollini onions while adding a luxurious feel.
- Classic Buffalo Sauce: For those who love a bit of heat, this fiery sauce provides an extra layer of excitement to each bite, perfect for game day.
- Garlic Parmesan Fries: Golden and crispy, these fries bring a satisfying texture contrasting with the bloomin’ onions, creating a fun sharing platter.
- Fresh Tomato Salad: The refreshing burst of juicy tomatoes and herbs lightens the meal, balancing the richness of the fried onions with a vibrant twist.
- Coleslaw: Crunchy, tangy, and slightly sweet, this dish offers a refreshing contrast to the warmth of the fried appetizer, making each bite delightful.
- Mango Salsa: Sweet and spicy, this bright salsa adds a tropical note, perfectly brightening up the plate while pairing well with fried favorites.
- Lemonade or Sparkling Water: Pair with a chilled drink, like lemonade or sparkling water, to cleanse your palate and add a refreshing touch to your appetizer spread.
- Chocolate Lava Cake: For dessert, serve this rich treat to round off the meal with something delightfully indulgent, contrasting the savory flavors enjoyed earlier.
Baby Bloomin’ Onions Recipe FAQs
What should I look for when selecting cipollini onions?
Absolutely! When choosing cipollini onions, look for firm bulbs that feel heavy for their size, with a smooth, shiny skin. Avoid onions that have dark spots or blemishes, as these can indicate spoilage. Sweetness also plays a big role in flavor, so the more fragrant the onion, the better it will taste!
How can I store leftover Baby Bloomin’ Onions?
Very easily! To store leftover Baby Bloomin’ Onions, place them in an airtight container in the refrigerator. They will stay fresh for up to 3 days. For the best texture, when reheating, use an air fryer. This method will help regain their crispiness rather than letting them get soggy in the microwave.
Can I freeze Baby Bloomin’ Onions?
Definitely! To freeze uncooked Baby Bloomin’ Onions, first coat them as instructed in the recipe. Next, spread them in a single layer on a baking sheet and freeze until solid. Once frozen, transfer the onions to a freezer-safe bag, where they can last for up to 2 months. When you’re ready to enjoy, air fry them at 400°F for about 8-10 minutes until hot and crispy.
What if my onions don’t bloom properly while frying?
Don’t worry, this can happen! If your Baby Bloomin’ Onions don’t open up perfectly, it may be due to either not cutting deep enough or the oil temperature being too low. Ensure you make adequate cuts around the onions without slicing through the bottom. Also, using a thermometer to keep oil at 350°F will help achieve that beautiful bloom and crispy texture!
Are Baby Bloomin’ Onions safe for those with allergies?
Absolutely! While this recipe contains common allergens like gluten and dairy, you can easily adjust it for dietary needs. For a gluten-free version, substitute all-purpose flour with a gluten-free blend. If you have a dairy sensitivity, you can replace buttermilk with a non-dairy milk alternative and add a little vinegar for tang.
How long does it take to prepare Baby Bloomin’ Onions?
Typically, the entire process—preparation and frying—takes about an hour. However, soaking the onions in buttermilk for 30 minutes is essential for flavor and adhesion. But don’t fret, you can prep them in advance, making the frying process quick and efficient when it’s time to serve!
Crispy Baby Bloomin’ Onions for a Fun Game Day Snack
Ingredients
Equipment
Method
- In a tall pot, heat 2.5 inches of peanut or vegetable oil to 350°F.
- Cut off the pointed end and peel the cipollini onions. Make four vertical cuts around each onion without cutting through the bottom.
- Soak the prepared onions in buttermilk for at least 30 minutes.
- In a bowl, mix together flour, garlic powder, onion powder, smoked paprika, salt, dry mustard, and black pepper.
- Remove the onions from the buttermilk, allowing excess to drip off, then coat in the flour mixture.
- Fry the dredged onions cut-side down for about 3-4 minutes until golden brown, then flip and fry for an additional 2 minutes.
- Transfer fried onions to a plate lined with paper towels and season with salt and pepper.
- Prepare your favorite buttermilk ranch dipping sauce by mixing buttermilk, mayonnaise, garlic powder, fresh herbs, and salt.