

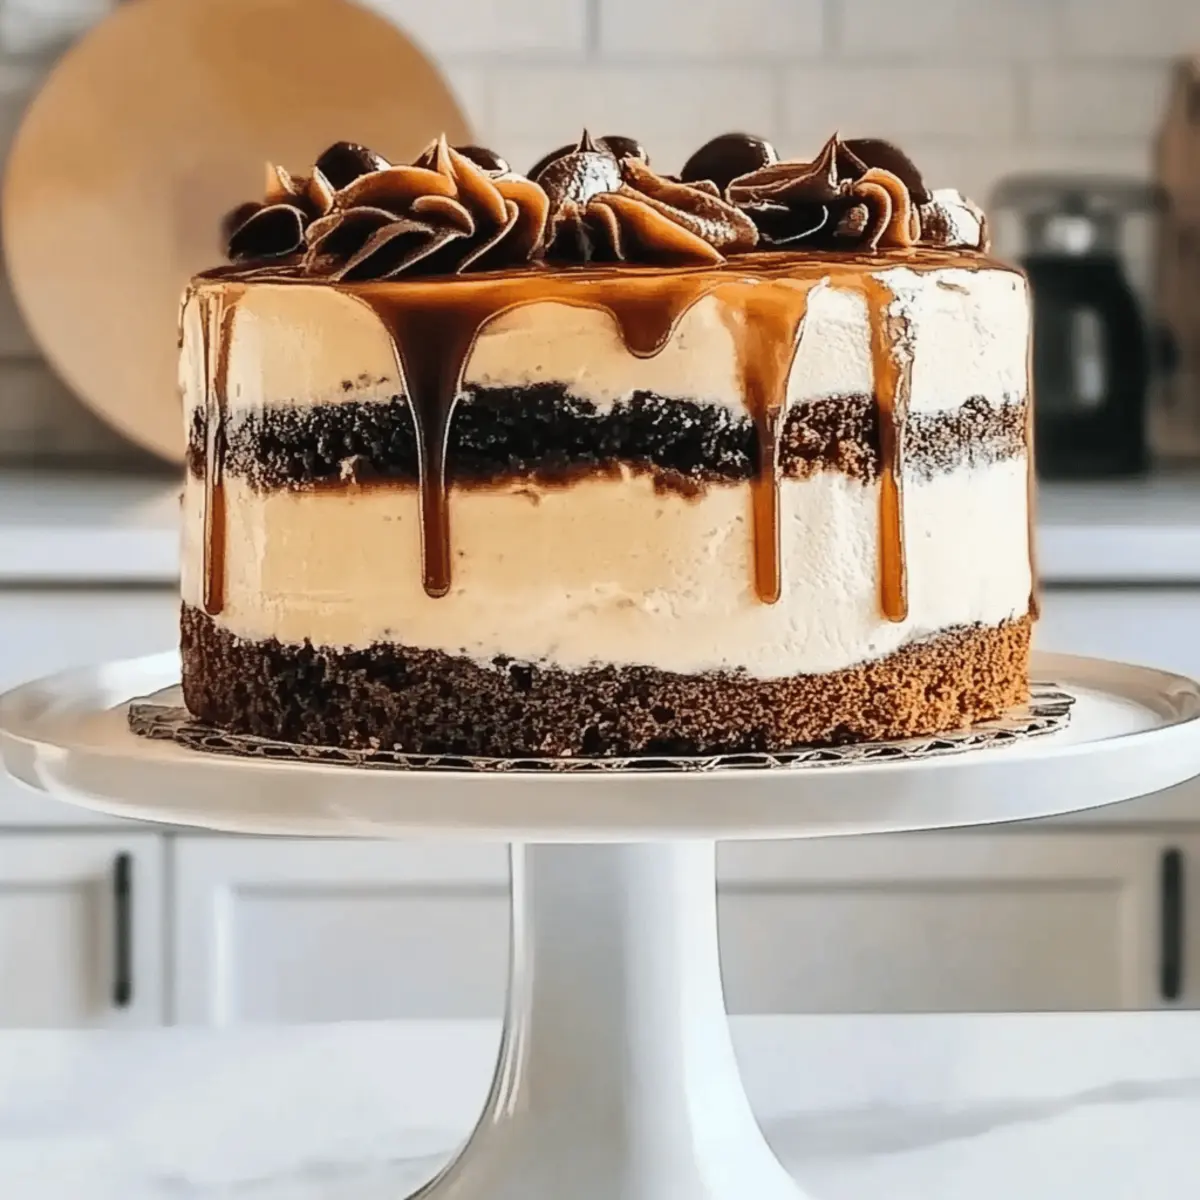
As the aroma of freshly brewed coffee wafted through my kitchen, I caught a glimpse of a deliciously nostalgic treat coming to life: Vietnamese Iced Coffee Cake. This delightful dessert perfectly merges the comforting richness of a classic iced coffee with a soft, moist cake that’s easy to whip up. Not only is it a crowd-pleaser for festive gatherings, but it also offers a lovely indulgence for those cozy days at home. Plus, there’s a gluten-free option that ensures everyone can enjoy a slice (or two!). So, are you ready to explore this unique twist on your favorite coffee beverage? Let’s dive into creating a cake that will keep your taste buds dancing!
Why Is This Cake So Irresistible?
Uniqueness: This Vietnamese Iced Coffee Cake offers a delightful spin on the traditional iced coffee, allowing you to enjoy it in cake form.
Easy to Make: You won’t need advanced baking skills—this straightforward recipe is perfect for all levels of home chefs.
Flavor Explosion: The rich combination of coffee and sweetened condensed milk creates a dessert that’s both indulgent and comforting.
Versatile: Whether it’s a festive celebration or a cozy afternoon treat, this cake is ideal for any occasion. Pair it with a cup of Vietnamese iced coffee or a dollop of whipped cream for the ultimate experience!
Gluten-Free Option: You can easily swap out regular flour for a gluten-free blend, making it accessible for everyone around your table.
Crowd-Pleaser: This moist and visually stunning cake is bound to impress your guests and will quickly become a favorite at gatherings!
Vietnamese Iced Coffee Cake Ingredients
For the Cake
- All-Purpose Flour – This is the foundation of your cake; use a gluten-free flour blend for a gluten-free option.
- Ground Coffee or Instant Coffee Granules – Infuses the cake with a deep coffee flavor; instant espresso offers an even punchier taste.
- Baking Powder – Essential for the cake’s rise; ensure it’s fresh for a light and fluffy texture.
- Baking Soda – Works alongside baking powder for added leavening; freshness is key for optimal results.
- Kosher Salt – Balances sweetness beautifully; table salt can be used as a suitable substitute.
- Granulated Sugar – Adds moisture and a touch of sweetness; consider using brown sugar for a richer flavor.
- Large Eggs – Binds and moisturizes the cake; room temperature eggs blend better for a smooth batter.
- Pure Vanilla Extract – Elevates the cake’s flavor profile; avoid imitation for the richest taste.
- Sour Cream – Ensures moisture and richness; Greek yogurt is a fine substitute if needed.
- Canola Oil – Keeps the cake moist; vegetable oil works just as well.
- Strongly Brewed Coffee (preferably cold brew) – The flavor powerhouse; for the best taste, opt for a strong brew.
For the Frosting
- Unsalted Butter – Provides a creamy texture; make sure it’s at room temperature for easy mixing.
- Confectioners’ Sugar – Sweetens and gives structure to the frosting; feel free to use powdered monk fruit for a lower sugar alternative.
- Sweetened Condensed Milk – An essential ingredient for creamy frosting; evaporated milk can be used in a pinch, but it alters the flavor.
For the Decoration
- Chocolate Sauce – Amplifies the mocha taste; homemade coffee fudge sauce can add a delightful twist.
- Strongly Brewed Coffee (for fudge) – Enhances the chocolate flavor; using the same coffee as in the cake ties everything together.
Step‑by‑Step Instructions for Vietnamese Iced Coffee Cake
Step 1: Preheat Oven
Begin by preheating your oven to 350°F (175°C). While the oven heats up, take two 8-inch round cake pans, grease them well, and line the bottoms with parchment paper. This preparation ensures your Vietnamese Iced Coffee Cake releases easily after baking, maintaining its delicious shape.
Step 2: Prepare Batter
In a mixing bowl, whisk together the all-purpose flour, ground coffee, baking powder, baking soda, and salt until well combined. In another bowl, cream the granulated sugar, eggs, and pure vanilla extract until fluffy and light, about 3-4 minutes. Gradually mix in the sour cream, canola oil, and strongly brewed coffee, followed by the dry ingredients until just blended to avoid over-mixing.
Step 3: Bake
Pour the batter evenly into the prepared cake pans. Place them in the preheated oven and bake for 30-35 minutes, or until a toothpick inserted into the center comes out with a few moist crumbs. Once done, remove the cakes from the oven and let them cool in the pans on a wire rack for about 10 minutes before inverting them onto the rack to cool completely.
Step 4: Frosting Preparation
While the cake layers cool, prepare the frosting by whipping the unsalted butter in a mixing bowl until creamy and smooth. Gradually add the confectioners’ sugar and mix until well incorporated. Then, add the sweetened condensed milk and a pinch of salt, blending until the frosting is light and fluffy, which may take around 5-6 minutes of mixing.
Step 5: Assemble Cake
Once your cake layers are completely cooled, level the tops if necessary to achieve a flat surface. Place one layer on a serving platter and spread a generous amount of frosting over the top. Gently place the second layer on top and apply a thin crumb coat of frosting over the entire cake to seal in any loose crumbs, then chill for about 20 minutes to set.
Step 6: Frost & Decorate
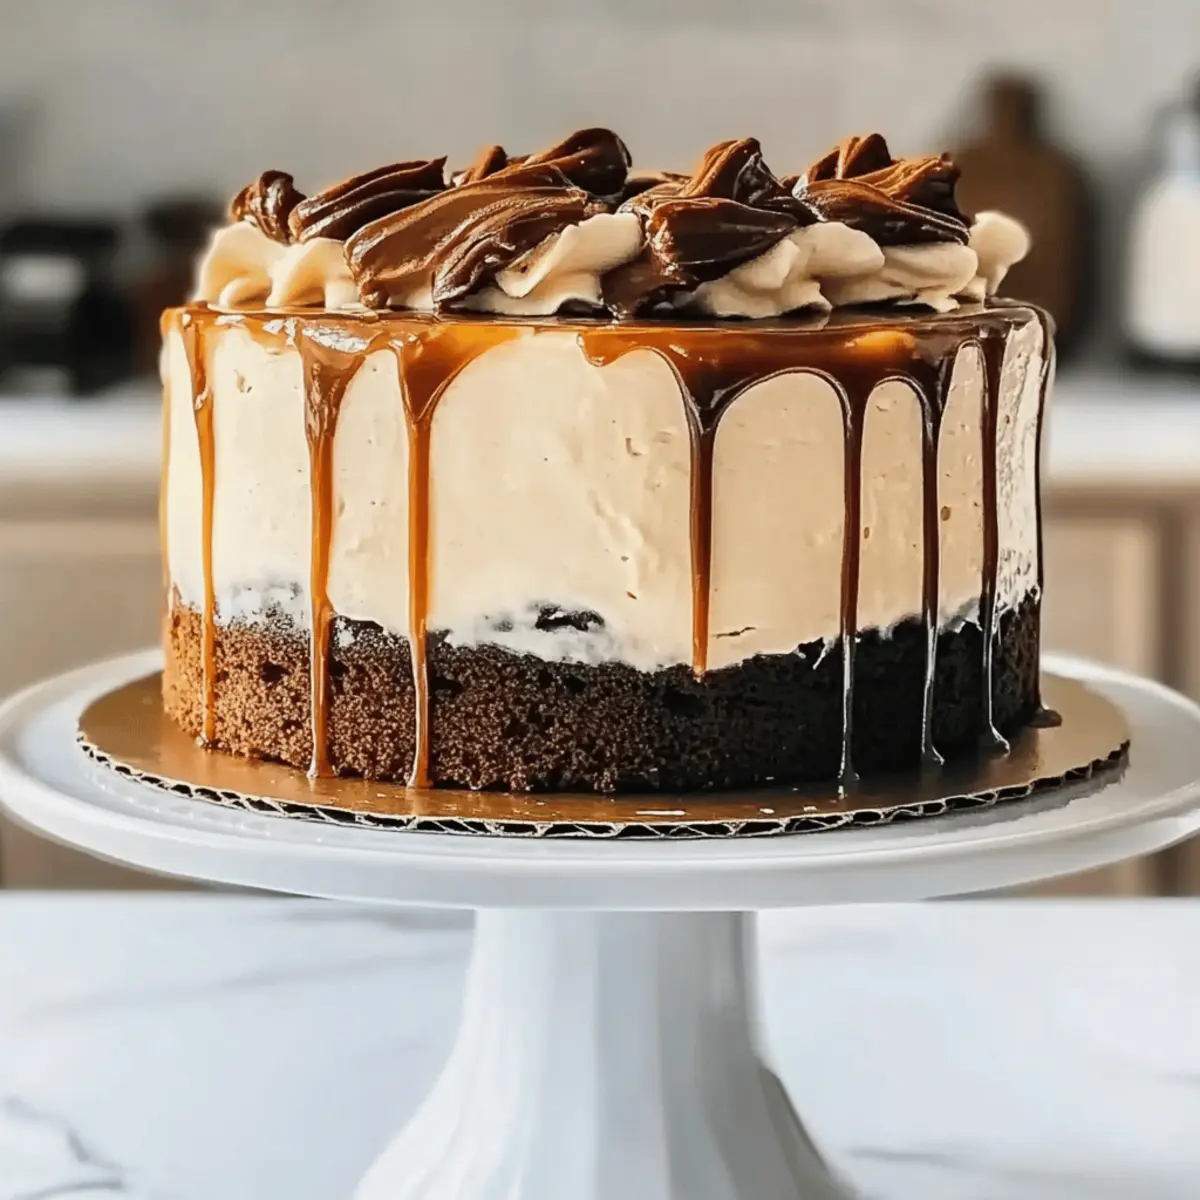
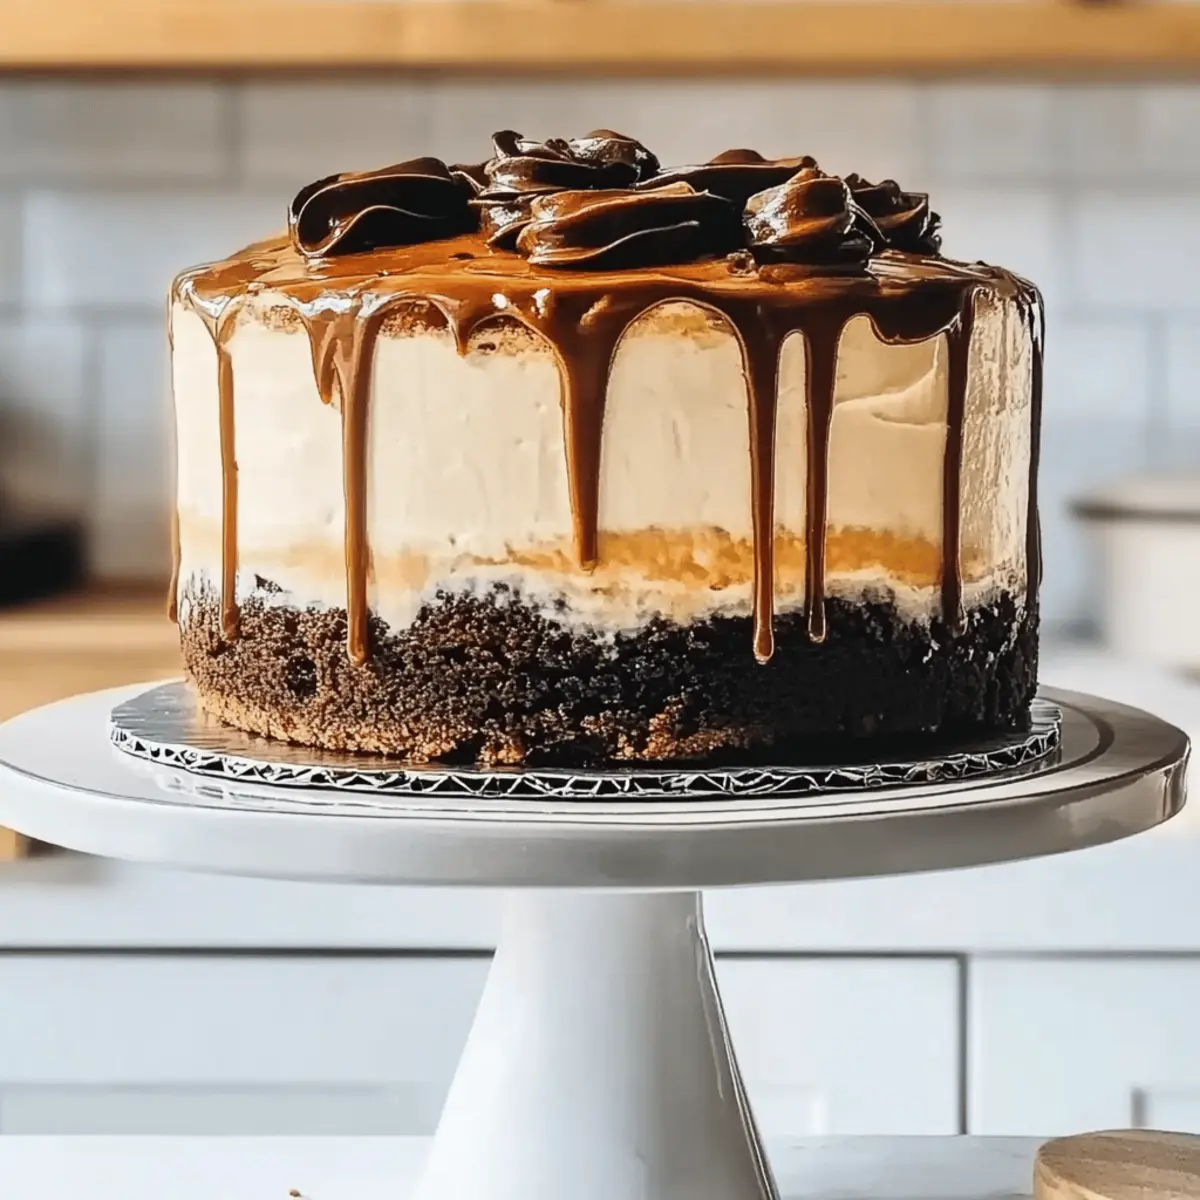
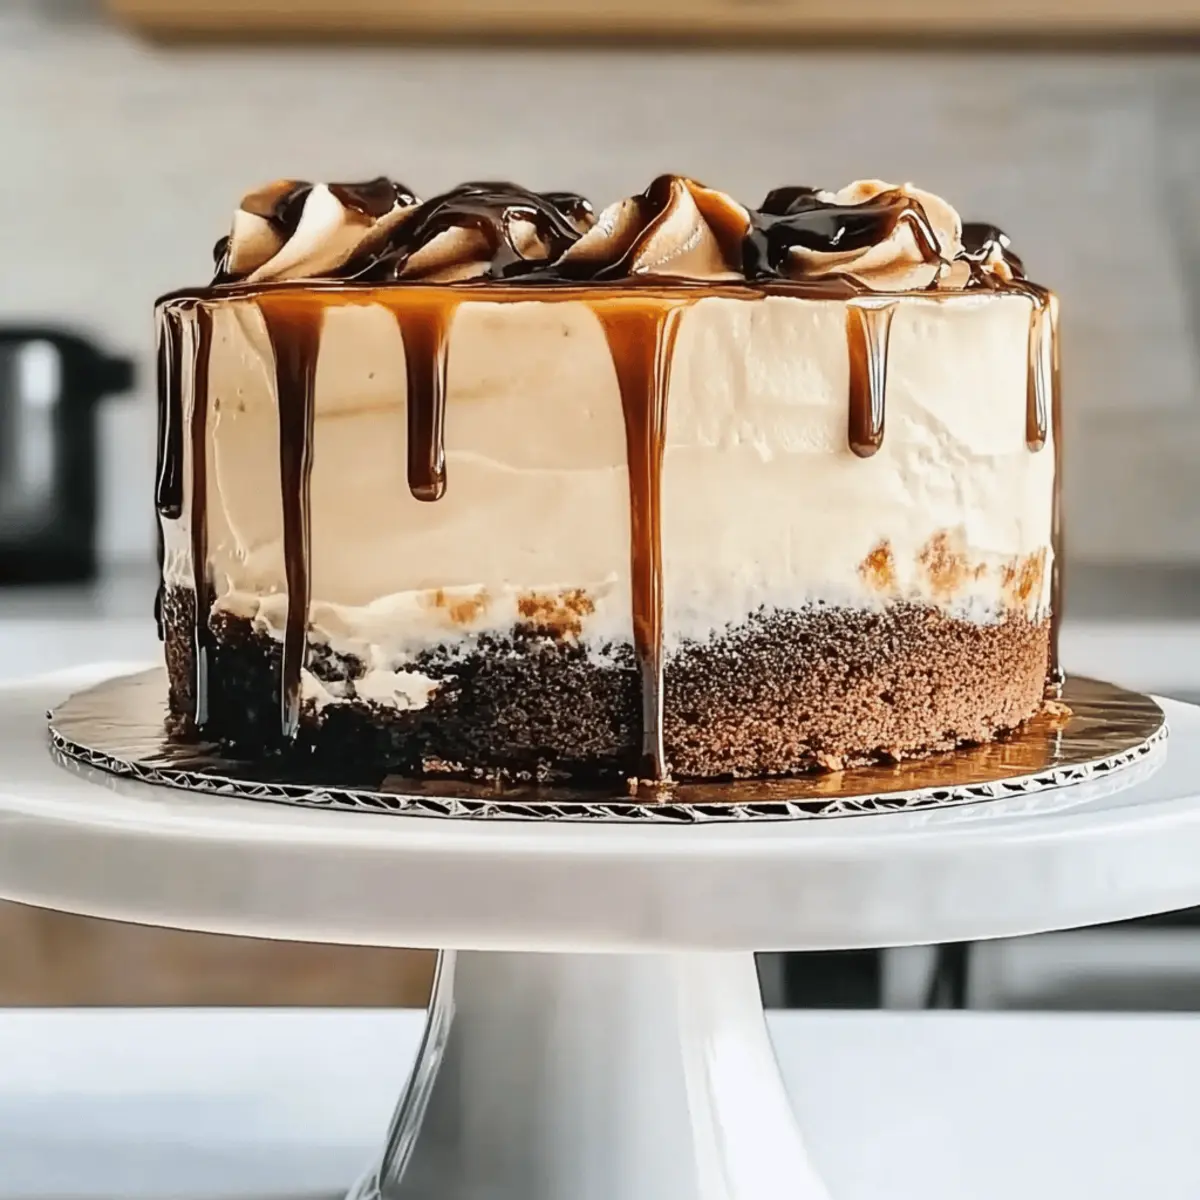
After the crumb coat is set, use the remaining frosting to cover the cake entirely, smoothing the sides and top. Chill the frosted cake in the refrigerator for about 30 minutes, allowing the frosting to firm up. As a final touch, mix the chocolate sauce with a splash of brewed coffee to create a mocha drizzle, and pipe or drizzle it elegantly over the top of the cake.
Step 7: Serve or Store
Your decadent Vietnamese Iced Coffee Cake is now ready to serve! Slice and share immediately for the best flavor, or if you prefer, refrigerate it for up to two days for the flavors to meld beautifully. Be sure to let it sit at room temperature for a little while before serving to soften the frosting and enhance that delicious coffee flavor.
Expert Tips for Vietnamese Iced Coffee Cake
- Fresh Ingredients: Ensure all baking ingredients, especially leavening agents like baking powder and soda, are fresh for optimal rise and texture.
- Room Temperature Eggs: Using eggs at room temperature helps create a smoother batter, ensuring your Vietnamese Iced Coffee Cake is light and fluffy.
- Brew Strong Coffee: For an intense coffee flavor, brew your coffee stronger than usual; this depth enhances the overall taste of the cake.
- Proper Cooling: Allow your cake layers to cool completely before frosting; this prevents the frosting from melting and ensures a beautiful finish.
- Chill Before Serving: Refrigerate the frosted cake for about 30 minutes before serving; this allows flavors to meld and enhances the frosting’s texture.
- Customize Your Frosting: Feel free to experiment with frosting variations—try adding flavored extracts or a splash of coffee liqueur for a unique twist!
Vietnamese Iced Coffee Cake Variations
Feel free to explore these delightful twists on classic Vietnamese Iced Coffee Cake to suit your taste and dietary preferences!
-
Dairy-Free: Swap sour cream with coconut milk and use dairy-free margarine in the frosting for a vegan-friendly treat. Your guests won’t even notice the difference!
-
Nutty Crunch: Add chopped walnuts or hazelnuts to the cake batter, introducing an irresistible crunch and enhancing the overall flavor profile. The nutty aroma adds a cozy warmth to each bite.
-
Chocolate Lavish: Fold cocoa powder into the batter to deepen the chocolate flavor. With this addition, you’ll also create layers of richness that complement the coffee beautifully.
-
Flavor Variations: Use flavored coffee or add a splash of coffee liqueurs like Kahlúa for a gourmet twist. These flavor variations promise to elevate your cake and offer a new take on this classic!
-
Fruit Fusion: Incorporate diced bananas or apples into the batter for added moisture and a fruity element. This twist brings a refreshing contrast to the rich coffee flavors and keeps every slice exciting.
-
Frosting Twists: Replace a portion of the sweetened condensed milk with fruit puree, like mango or raspberry, for a refreshing and colorful frosting. It’s a fantastic way to add a seasonal flair to your cake!
-
Spicy Kick: Add a pinch of cinnamon or a dash of cayenne pepper to your batter for a surprising kick that pairs beautifully with the coffee flavors. This little heat opens up a world of flavor!
For more delicious ideas, why not pair your cake with an indulgent Baked Oreo Cheesecake or wrap your taste buds around a slice of indulgent Chocolate Lava Cake? Each bite is an adventure!
How to Store and Freeze Vietnamese Iced Coffee Cake
- Room Temperature: If you’re planning to enjoy the cake within 2 days, keep it tightly wrapped at room temperature to maintain moisture and flavor.
- Fridge: For extended freshness, refrigerate the cake, wrapped well in plastic wrap, for up to 5 days. Allow it to come to room temperature before serving for the best taste.
- Freezer: To freeze, wrap individual slices or whole layers tightly in plastic wrap and then in aluminum foil. They can be stored in the freezer for up to 3 months without losing flavor.
- Reheating: For enjoying slices, thaw in the fridge overnight and allow to sit at room temperature for a bit before serving. A quick warm-up in the microwave for 10-15 seconds brings back that fresh-baked goodness!
Make Ahead Options
These Vietnamese Iced Coffee Cake layers are perfect for busy home cooks who want to save time without sacrificing flavor! You can prepare the cake layers up to 3 days in advance by fully baking them, allowing them to cool, and then wrapping them tightly in plastic wrap before refrigerating. This method keeps them moist and fresh until you’re ready to frost. Additionally, the frosting can be made ahead and stored in an airtight container in the fridge for up to 2 days. When you’re ready to serve, simply let the cake layers come to room temperature, frost with your pre-prepared frosting, and drizzle with chocolate sauce for a delightful finish that tastes just as delicious as if made on the day!
What to Serve with Vietnamese Iced Coffee Cake?
This decadent coffee-flavored dessert calls for delightful companions that enhance its rich, creamy profile while adding layers of flavor and texture to your meal.
- Vietnamese Iced Coffee: The perfect pairing for a seamless flavor experience; the coffee enhances the cake’s velvety richness.
- Light Fruit Salad: A refreshing mix of seasonal fruits provides a bright contrast, balancing the cake’s sweetness wonderfully.
- Whipped Cream: Lightly sweetened and fluffy, this indulgent topping adds an airiness, making each slice even more delightful.
- Chocolate Drizzle: A warm chocolate sauce complements the mocha elements in the cake, providing additional richness and decadence.
Experience a cozy gathering by serving it with a cup of herbal tea; the aromatic flavors harmonize beautifully and create a serene atmosphere.
- Vanilla Ice Cream: A scoop of creamy vanilla offers a delightful temperature contrast and super smoothness against the cake’s texture.
- Mint Tea: For a refreshing touch, the mint’s coolness cleanses the palate, making each bite of cake even more enjoyable.
- Star Anise Tea: Infuse your gathering with a warm, spiced aroma that echoes the rich flavors of the cake while enhancing its indulgence.
Vietnamese Iced Coffee Cake Recipe FAQs
What kind of coffee is best for this cake?
Absolutely! For the best flavor, use strongly brewed coffee, such as cold brew or espresso. Instant coffee granules can also be used for convenience, but fresh ground coffee will yield a richer flavor. I often recommend brewing it a bit stronger than usual to really elevate the cake’s coffee depth.
How should I store leftovers of the Vietnamese Iced Coffee Cake?
To keep your delicious cake fresh, store it tightly wrapped at room temperature for up to 2 days. If you have leftovers beyond that, pop it in the refrigerator where it will stay fresh for up to 5 days. Remember to let it come back to room temperature before serving to enhance the flavors!
Can I freeze the Vietnamese Iced Coffee Cake?
Very! You can freeze both individual slices and whole layers! Just wrap them tightly in plastic wrap, then in aluminum foil, and they’ll last for up to 3 months in the freezer. When you’re ready to enjoy, simply thaw in the fridge overnight and allow it to come to room temperature before serving for that fresh-baked taste.
What should I do if my cake doesn’t rise properly?
If your Vietnamese Iced Coffee Cake doesn’t rise, it may be due to stale baking powder or baking soda. Always check if they are fresh, as they lose potency over time. For optimal results, use freshly purchased leavening agents and ensure your oven is properly preheated before baking.
Can this cake be made gluten-free?
Absolutely! To make a gluten-free version of the Vietnamese Iced Coffee Cake, simply substitute the all-purpose flour with a gluten-free flour blend. I recommend using a blend that includes xanthan gum or one designed specifically for baking, which will help maintain the cake’s structure and texture.
Are there any dietary restrictions I should consider?
If you have guests with dietary restrictions, the Vietnamese Iced Coffee Cake can be customized! For dairy-free options, use coconut milk in place of sour cream and a dairy-free margarine in the frosting. Always check your ingredients for potential allergens and adjust as necessary to ensure everyone can enjoy this delightful dessert!
Irresistible Vietnamese Iced Coffee Cake for Cozy Gatherings
Ingredients
Equipment
Method
- Preheat your oven to 350°F (175°C). Grease two 8-inch round cake pans and line with parchment paper.
- In a mixing bowl, whisk together the flour, coffee, baking powder, baking soda, and salt. In another bowl, cream the sugar, eggs, and vanilla until fluffy. Gradually mix in sour cream, oil, and coffee, followed by the dry ingredients.
- Pour batter evenly into pans and bake for 30-35 minutes. Let cool in pans for 10 minutes, then invert onto rack to cool completely.
- For the frosting, whip butter until creamy, add sugar, then sweetened condensed milk and salt, blending until fluffy.
- Once cake layers are cooled, level tops and spread frosting on one layer. Add second layer, apply a crumb coat, and chill for 20 minutes.
- Cover cake with remaining frosting. Chill for 30 minutes, then drizzle with chocolate sauce mixed with brewed coffee.
- Serve immediately or refrigerate for up to two days before serving.