

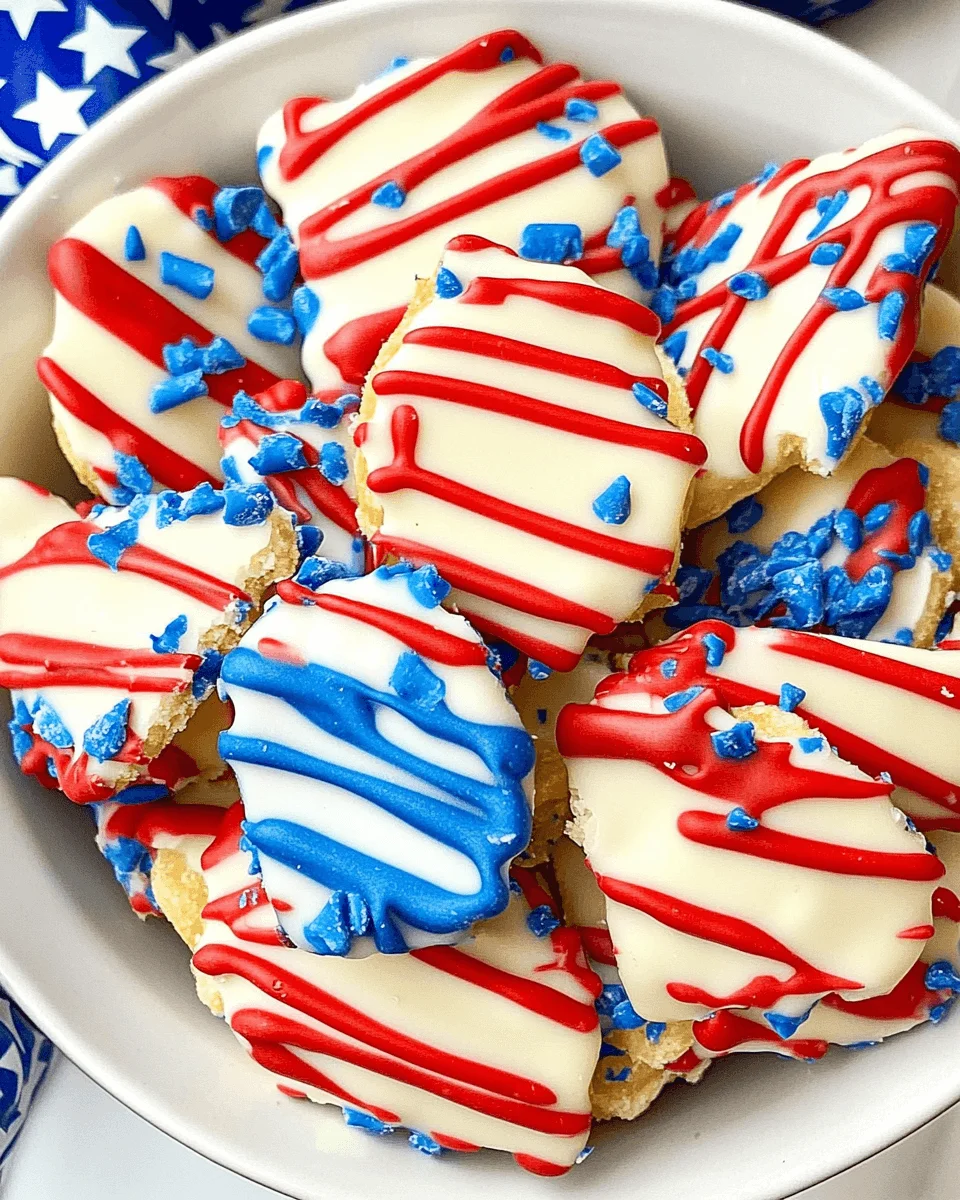
Red, White, and Blue Chocolate-Covered Chips
Celebrations call for something special, and what better way to add a splash of color than with Red, White, and Blue Chocolate-Covered Chips? These delightful treats are not just visually stunning; they’re incredibly easy to whip up, making them a perfect solution for busy days or last-minute gatherings. I remember the first time I made these for a Fourth of July barbecue. The smiles on my friends’ faces as they indulged in these festive bites were priceless. Whether it’s a holiday or just a fun weekend, these chips are sure to impress your loved ones!
Why You’ll Love This Red, White, and Blue Chocolate-Covered Chips
These Red, White, and Blue Chocolate-Covered Chips are a game-changer for any celebration. They come together in just 20 minutes, making them a quick and delightful treat. The combination of rich chocolate and vibrant colors is not only eye-catching but also incredibly tasty. Plus, they’re a hit with both kids and adults alike, ensuring everyone leaves with a smile. Who doesn’t love a sweet treat that’s as fun to make as it is to eat?
Ingredients for Red, White, and Blue Chocolate-Covered Chips
Gathering the right ingredients is the first step to creating these festive treats. Here’s what you’ll need:
- Red chocolate chips: These are the star of the show, providing that vibrant color and sweet flavor. You can find them at most grocery stores or online.
- White chocolate chips: They add a creamy contrast to the red and blue. If you prefer, you can use vanilla-flavored chips as a substitute.
- Blue chocolate chips: These bring a fun twist to the mix. Look for them in specialty baking sections or online if they’re hard to find locally.
- Coconut oil (optional): This is a handy addition if you want to thin out the chocolate for easier dipping. It also adds a subtle coconut flavor that pairs well with the chocolate.
For exact measurements, check the bottom of the article where you can find everything listed for printing. Happy cooking!
How to Make Red, White, and Blue Chocolate-Covered Chips
Creating these festive Red, White, and Blue Chocolate-Covered Chips is a breeze! Follow these simple steps, and you’ll have a colorful treat ready in no time. Let’s dive in!
Step 1: Melt the Red Chocolate Chips
Start by placing your red chocolate chips in a microwave-safe bowl. Heat them in the microwave for 30 seconds at a time, stirring in between. This helps prevent burning. You want the chocolate to be smooth and glossy, perfect for dipping!
Step 2: Add Coconut Oil (Optional)
If you’re using coconut oil, now’s the time to mix it in. Just a tablespoon will do! This step is optional, but it can make your chocolate a bit thinner, which is great for dipping. Plus, it adds a lovely hint of coconut flavor.
Step 3: Dip the Chips
Grab your favorite chips—potato, tortilla, or even pretzel! Dip each chip into the melted red chocolate, ensuring it’s well-coated. Let any excess chocolate drip off before placing them on a parchment-lined baking sheet. This is where the magic happens!
Step 4: Repeat for White and Blue Chips
Now, repeat the melting and dipping process for the white and blue chocolate chips. Each color adds its own flair, making your treat even more festive. Don’t rush; take your time to get those colors just right!
Step 5: Allow to Set
Once all your chips are dipped, it’s time to let them set. You can leave them at room temperature or pop them in the fridge for quicker results. In about 15-20 minutes, they’ll be ready to enjoy. Trust me, the wait is worth it!
Tips for Success
- Use high-quality chocolate chips for the best flavor and smooth melting.
- Make sure your bowl is completely dry; any moisture can cause the chocolate to seize.
- Experiment with different chip types for unique flavors—dark chocolate or butterscotch can be fun!
- Don’t rush the setting process; patience leads to perfectly coated chips.
- Consider adding sprinkles or edible glitter for an extra festive touch!
Equipment Needed
- Microwave-safe bowl: Essential for melting chocolate. A glass bowl works great!
- Spatula or spoon: For stirring the chocolate. A silicone spatula is perfect for scraping.
- Parchment paper: Use this to line your baking sheet. It prevents sticking and makes cleanup easy.
- Baking sheet: Any flat tray will do. Just ensure it fits in your fridge if you’re speeding up the setting process!
Variations
- Nutty Delight: Add crushed nuts like almonds or peanuts for a crunchy texture that complements the chocolate.
- Fruit Infusion: Incorporate dried fruits such as cranberries or blueberries for a chewy contrast and added flavor.
- Gluten-Free Option: Use gluten-free chips and serve with gluten-free snacks like rice cakes or corn chips.
- Vegan Twist: Opt for dairy-free chocolate chips to make this treat suitable for a vegan diet.
- Spicy Kick: Sprinkle a pinch of cayenne pepper or chili powder on the chocolate before it sets for a surprising heat!
Serving Suggestions
- Pair these colorful chips with a scoop of vanilla ice cream for a delightful dessert.
- Serve them alongside fresh fruit like strawberries or blueberries for a refreshing contrast.
- Present on a festive platter, garnished with mint leaves for a pop of green.
- Enjoy with a chilled glass of lemonade or iced tea to balance the sweetness.
FAQs about Red, White, and Blue Chocolate-Covered Chips
Can I use regular chocolate chips instead of colored ones?
Absolutely! While the vibrant colors make these Red, White, and Blue Chocolate-Covered Chips festive, regular chocolate chips can still create a delicious treat. Just remember, the fun is in the colors!
How do I store leftover chocolate-covered chips?
Store your chips in an airtight container at room temperature. They’ll stay fresh for about a week. If you want to keep them longer, you can refrigerate them, but let them come to room temperature before serving for the best texture.
Can I make these chocolate-covered chips ahead of time?
Yes! These treats are perfect for prepping in advance. You can make them a day or two before your event. Just keep them stored properly, and they’ll be ready to impress your guests!
What can I use instead of coconut oil?
If you don’t have coconut oil, you can skip it altogether. Alternatively, vegetable oil or shortening can work as substitutes to help thin the chocolate for dipping.
Are these chips suitable for kids?
Definitely! These Red, White, and Blue Chocolate-Covered Chips are a hit with kids. They’re fun to make and even more fun to eat. Just keep an eye on the chocolate melting process, as it can get hot!
Final Thoughts
Creating Red, White, and Blue Chocolate-Covered Chips is more than just a recipe; it’s an experience filled with joy and creativity. Each colorful chip brings a sense of celebration, whether it’s a holiday gathering or a simple family treat. The smiles on faces as they indulge in these sweet bites are truly priceless. Plus, the ease of making them means you can whip them up anytime the mood strikes. So, gather your loved ones, get those hands a little messy, and enjoy the delightful process of making these festive treats together!
Red, White, and Blue Chocolate-Covered Chips Recipe Revealed!
Ingredients
Method
- Melt the red chocolate chips in a microwave-safe bowl, stirring every 30 seconds until smooth.
- If using, mix in the coconut oil to thin the chocolate.
- Dip the chips into the melted red chocolate and place them on a parchment-lined baking sheet.
- Repeat the process for the white and blue chocolate chips.
- Allow the chocolate to set at room temperature or refrigerate for faster setting.
- Once set, serve and enjoy your festive treat!
Nutrition
Notes
- Feel free to add sprinkles for extra decoration.
- Store in an airtight container to keep them fresh.
- These are great for parties and holiday celebrations.