

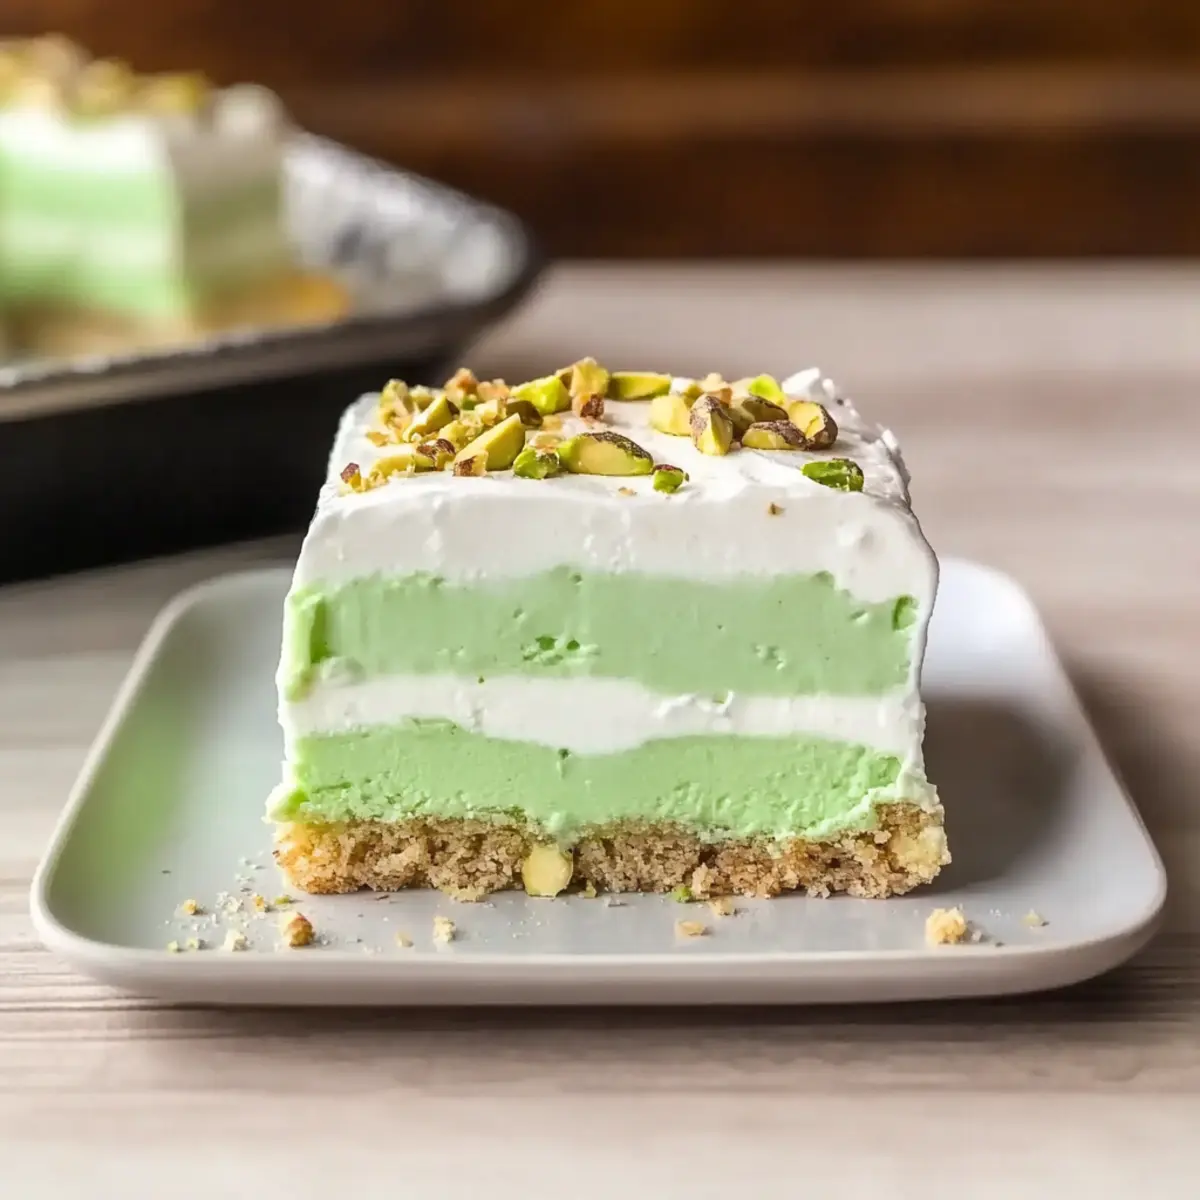
As I carefully assembled the layers of my latest dessert creation, a flicker of excitement washed over me. This Four Layer Pistachio Pudding Dessert not only dazzles with its vibrant colors but also delivers an indulgent experience without any baking involved. With its creamy pudding, velvety cream cheese layer, and a satisfying buttery nut crust, this dessert is the perfect excuse to gather friends and family around the table. Not only is it a breeze to prepare, but it also keeps the sweetness in check, making it an ideal finish to any meal. If you’ve been searching for a delightful dessert that’s easy to whip up, you’re in for a treat! Ready to dive into the world of layers and flavors? Let’s get started!
Why is this dessert a must-try?
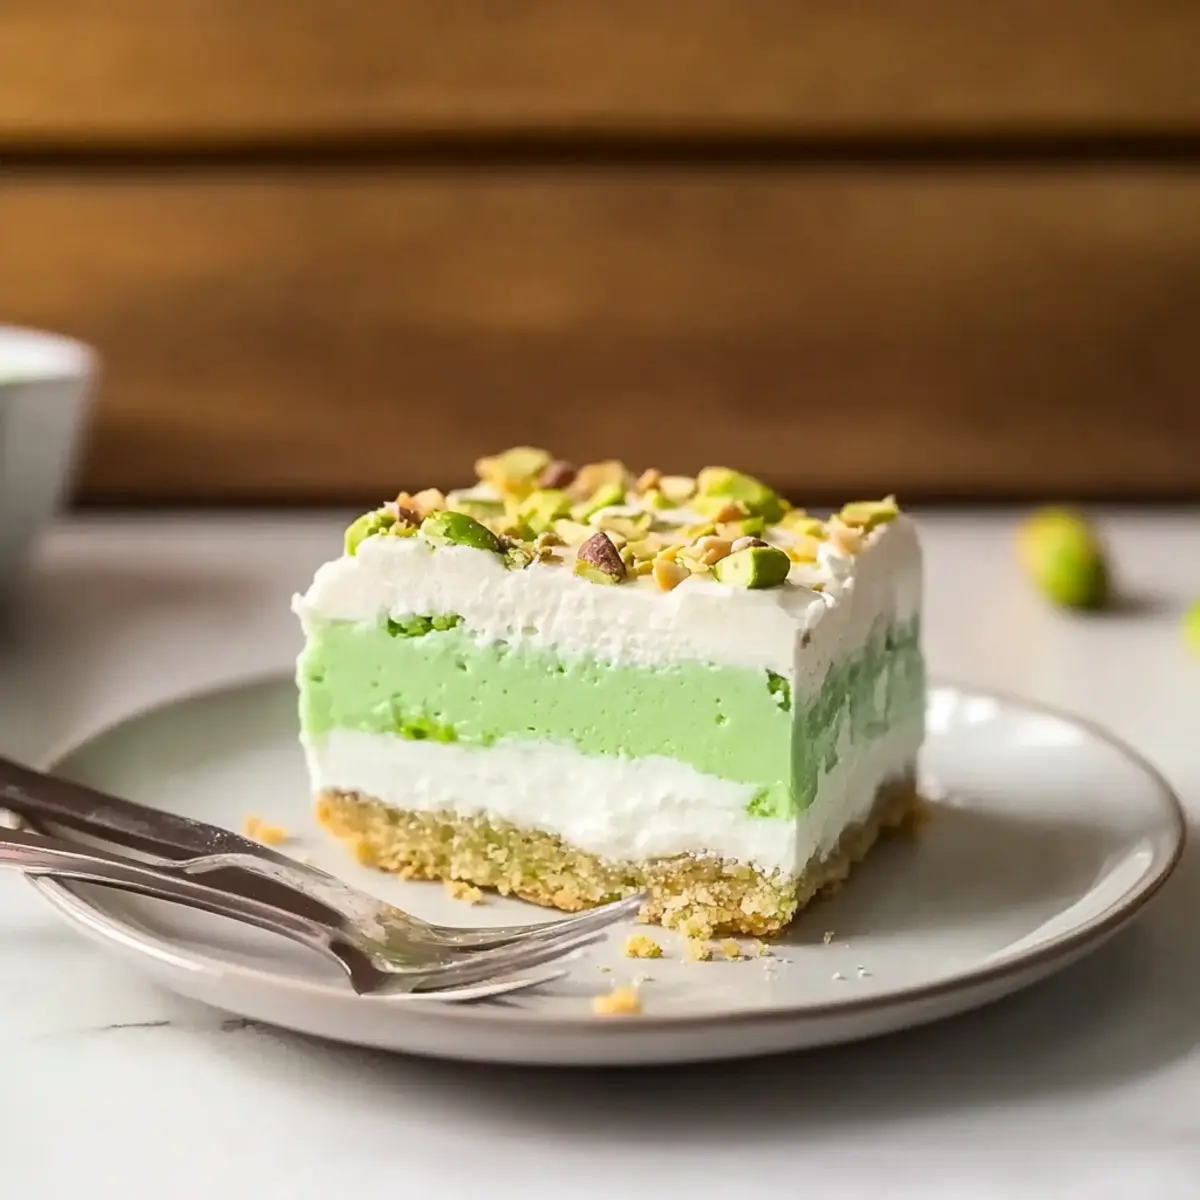
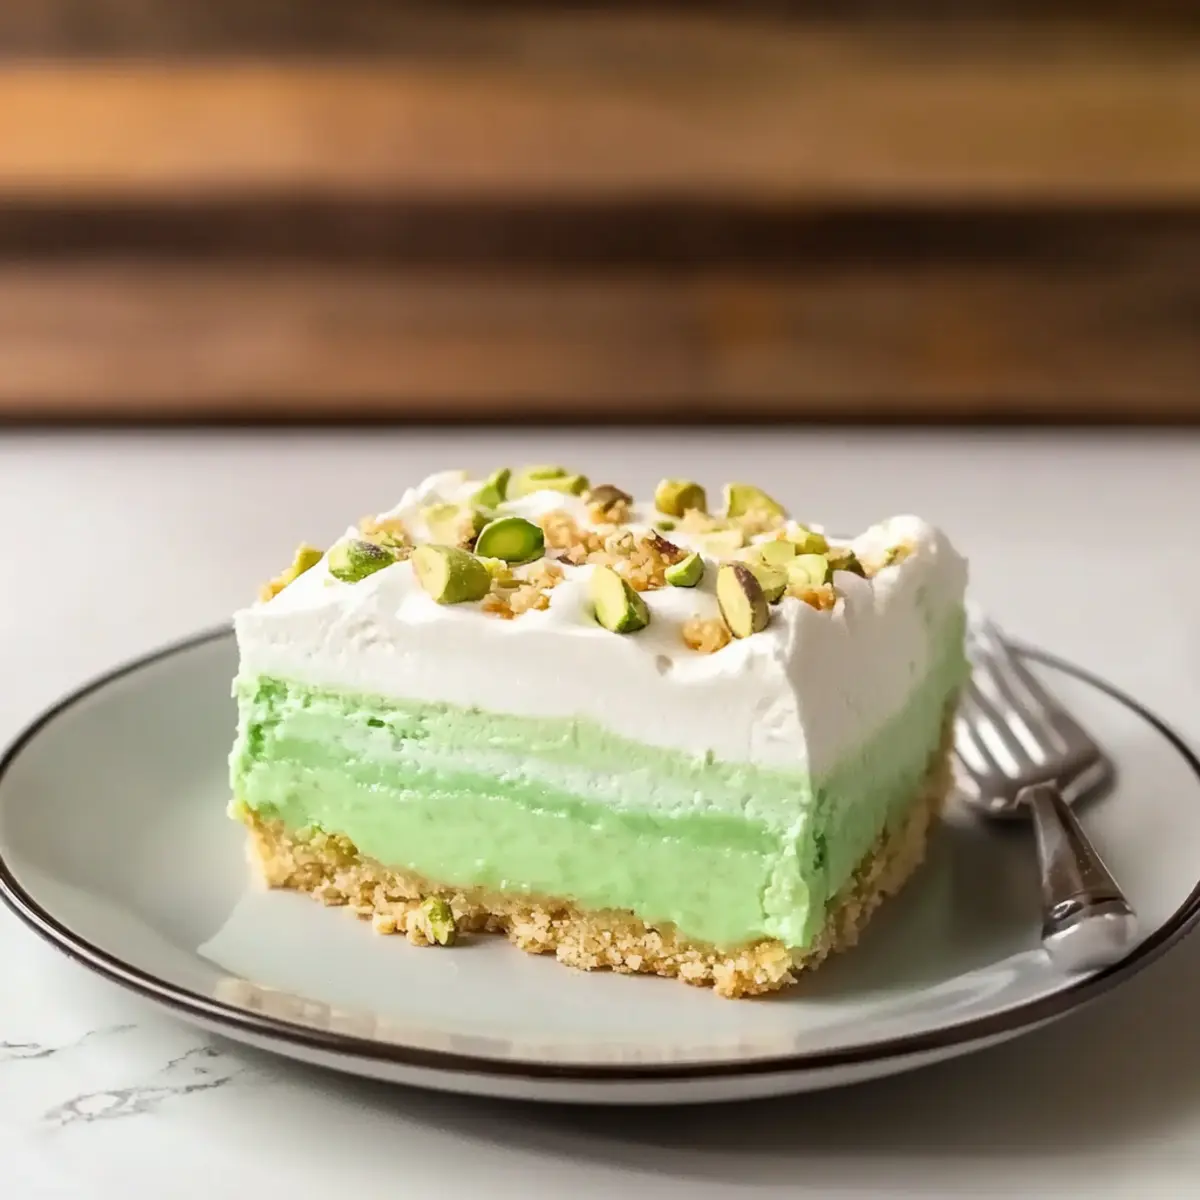
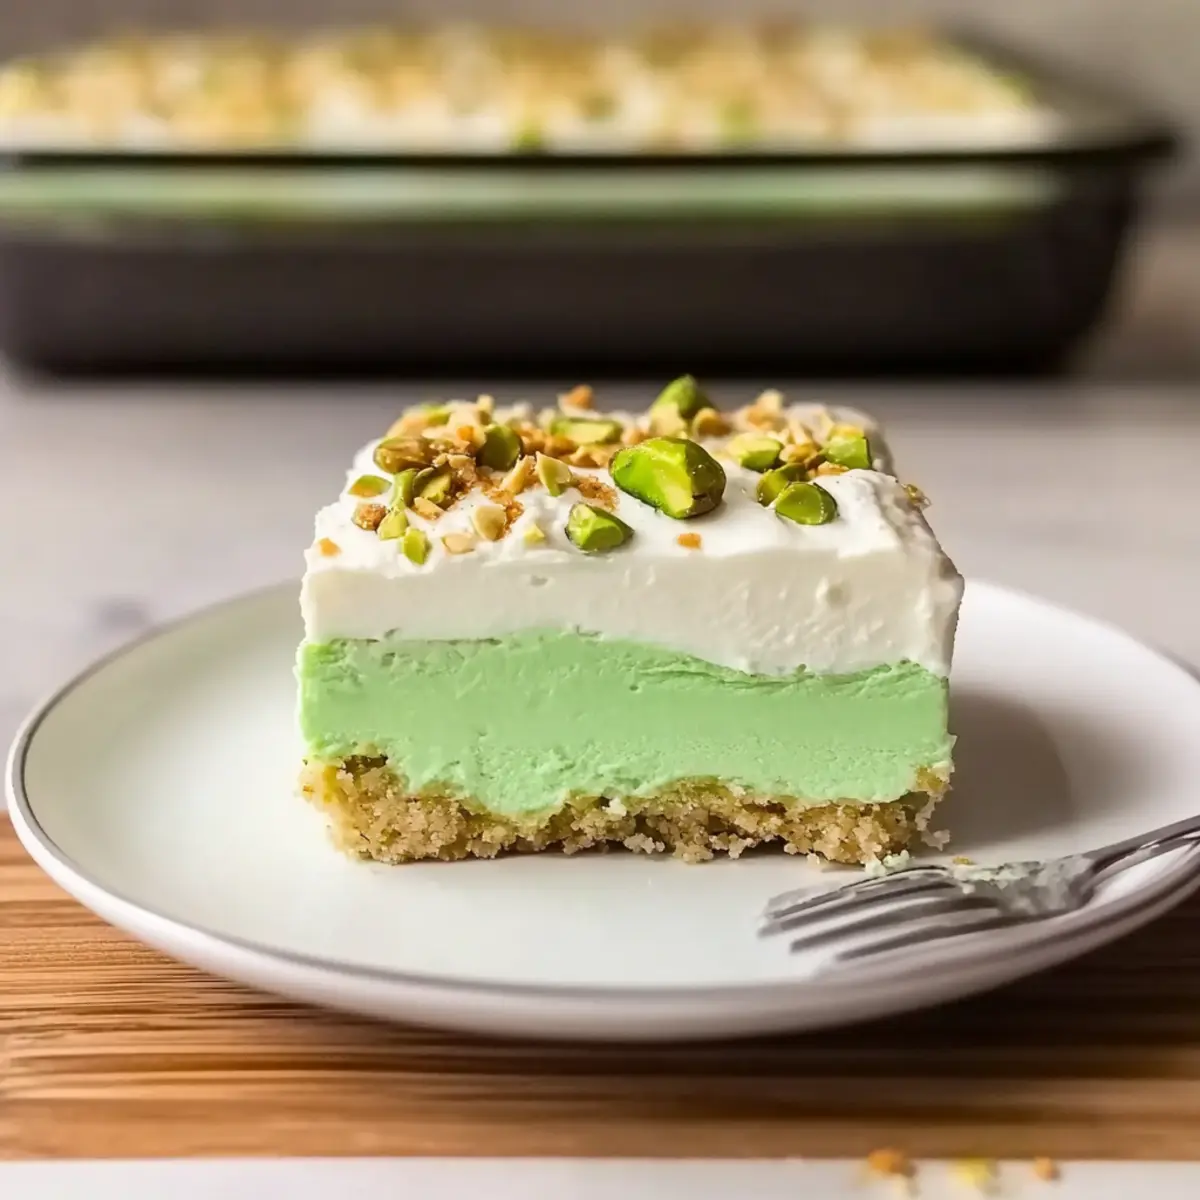
Delightful Layers: This Four Layer Pistachio Pudding Dessert presents a stunning visual appeal with its eye-catching layers, inspiring you to savor every bite.
No-Bake Convenience: Whip it up in no time, making it an effortless treat for spontaneous gatherings or planned celebrations!
Versatile Flavor: Customize it by swapping nuts or adding toppings like chocolate drizzle or fresh berries, allowing you to craft a unique version each time.
Crowd-Pleasing: Perfect for any occasion, this dessert is sure to impress guests and family alike, creating smiles all around.
For a chance to explore more delicious desserts, check out my Oreo Cheesecake Dessert or the delightful Lemon Raspberry Dessert.
Pistachio Pudding Dessert Ingredients
• Here’s what you need for this delightful dessert:
For the Crust
- Finely chopped pistachio or walnuts – Provides a crunchy base and topping; feel free to substitute with almonds if desired.
- Butter – Adds richness and binds the crust together; ensure it’s softened for easy mixing.
- Flour – Gives structure to the crust and a satisfying foundation.
- Sugar – Sweetens the crust, balancing the flavors perfectly.
For the Cream Layer
- Cream cheese – Creates a creamy layer that complements the dessert’s richness; use room temperature for a smoother blend.
- Icing (powdered) sugar – Sweetens the cream cheese layer, adding a hint of sweetness.
- Cool Whip Topping – Lightens the cream layer and serves as the final topping; you can swap it with whipped cream if you prefer.
For the Pudding Layer
- Jell-O Pistachio Instant Pudding – The star of the dessert, providing flavor and color; using two packages yields the best results.
- Cold milk – Activates the pudding mix, creating that luscious creamy layer; make sure it’s cold for optimal consistency.
Each bite of your Pistachio Pudding Dessert will be an indulgent delight!
Step‑by‑Step Instructions for Four Layer Pistachio Pudding Dessert
Step 1: Preheat and Prepare the Pan
Begin by preheating your oven to 325°F (160°C). While the oven heats, grease a 13×9-inch baking pan to prevent sticking. This step ensures that your crust will slide out easily after baking, creating a clean presentation for your stunning Pistachio Pudding Dessert.
Step 2: Make the Nut Crust
In a mixing bowl, combine the finely chopped pistachios or walnuts, softened butter, flour, and sugar until evenly blended. The mixture should resemble wet sand and easily holds together when pressed. Firmly press this mixture into the bottom of the prepared pan, creating an even, compact layer that forms the base of the dessert.
Step 3: Bake the Crust
Place the pan in the preheated oven and bake for 15 minutes, or until the crust turns lightly golden. The aroma of toasted nuts will fill your kitchen, signaling that it’s time to check for doneness. Once baked, remove the crust from the oven and allow it to cool completely in the pan on a wire rack.
Step 4: Prepare the Cream Layer
In a medium bowl, beat the cream cheese and icing sugar together until smooth and creamy, which should take about 2-3 minutes. This step creates a luscious layer for your Four Layer Pistachio Pudding Dessert. After achieving a velvety texture, gently fold in 2 cups of Cool Whip until fully incorporated, creating a light and airy mixture.
Step 5: Assemble the Cream Layer
Spread the cream cheese and Cool Whip mixture evenly over the cooled nut crust, using a spatula to ensure layers are distinct. This smooth layer adds a delightful creaminess to your dessert. Ensure that the cream layer is even and reaches all edges of the crust for a beautiful finish.
Step 6: Make the Pudding Layer
Following the package instructions, whisk together the Jell-O Pistachio Instant Pudding and cold milk in a separate bowl until well combined. Let the mixture stand for about 5 minutes to thicken, stirring occasionally until it reaches a creamy consistency. This flavorful pudding layer is the star of your Pistachio Pudding Dessert.
Step 7: Top with Pudding
Once thickened, gently pour and spread the pudding over the cream cheese layer, creating a smooth top layer. Use a spatula to level it off, ensuring an even surface. Allow the pudding to set for a moment before layering on the final Cool Whip topping, adding a hint of lightness to your dessert.
Step 8: Finish with Cool Whip
With the pudding layer complete, spread the remaining Cool Whip evenly over the top of the dessert. This gives your Four Layer Pistachio Pudding Dessert a beautiful, fluffy finish. Make sure to reach the edges for that pristine look, as it will impress anyone who sees it.
Step 9: Chill Before Serving
Refrigerate the assembled dessert for a minimum of 4 hours, or ideally overnight. Chilling allows the flavors to meld beautifully and helps the layers set. You’ll know it’s ready when the pudding is firm, offering a refreshing treat at dessert time.
Step 10: Serve with a Crunch
Just before serving, slice the dessert into squares and sprinkle with reserved chopped nuts for an appealing crunch and touch of elegance. The contrast between the creamy layers and crunchy topping makes every bite of your Pistachio Pudding Dessert a delightful experience!
Expert Tips for Pistachio Pudding Dessert
-
Layer Separation: Allow each layer to set properly before adding the next. This prevents blending and keeps your Pistachio Pudding Dessert visually appealing.
-
Smooth Cream Cheese: Ensure cream cheese is at room temperature for easier mixing. Cold cream cheese can lead to lumps in your cream layer.
-
Overnight Chilling: Prepare your dessert a day in advance if possible. Letting it chill overnight enhances the flavors and helps it set perfectly.
-
Avoid Overbeating: Be cautious not to overbeat the pudding mixture. This can result in a grainy texture, detracting from the smoothness of your dessert.
-
Customize Toppings: Feel free to experiment with toppings! Add fresh berries or a drizzle of chocolate to elevate your Pistachio Pudding Dessert to a unique delight.
Make Ahead Options
This Four Layer Pistachio Pudding Dessert is a fantastic make-ahead treat, perfect for busy weeknights or gatherings! You can prepare the crust and cream cheese layer up to 24 hours in advance, ensuring ample time for flavors to develop. Simply store the crust in an airtight container at room temperature, and the cream layer in the refrigerator. Additionally, you can mix the pudding layer up to 3 days ahead and store it in the fridge until you’re ready to assemble. When it’s time to serve, layer the pudding over the cream, top with Cool Whip, and let it chill for a minimum of 4 hours (or overnight for best results). This way, you’ll have a delicious dessert ready to impress your guests with minimal effort!
What to Serve with Four Layer Pistachio Pudding Dessert
This dessert invites a symphony of flavors and textures, perfect for enriching your dining experience.
-
Fresh Berries: Their tartness beautifully contrasts the sweetness of the pudding, adding a burst of color and freshness to your plate. Consider serving a medley of strawberries, raspberries, and blueberries for an elegant touch.
-
Creamy Whipped Cream: Enhance the dessert’s richness with a dollop of fresh whipped cream. Its light texture complements the layers, creating a heavenly combination that tantalizes the taste buds.
-
Chocolate Drizzle: A decadent swirl of chocolate sauce provides a delightful twist. The bittersweet chocolate plays off the creamy layers, making each slice more indulgent.
-
Almond Biscotti: These crunchy cookies offer a satisfying texture that pairs wonderfully with the silky dessert. Enjoy them alongside the pudding, perfect for dipping and savoring every bite.
-
Coconut Ice Cream: Serve a scoop on the side for an exotic flair. The creaminess of coconut ice cream harmonizes with the pistachio flavor, creating a tropical indulgence.
-
Sparkling Fruit Juice: A refreshing drink adds a celebratory touch. Choose a sparkling juice like apple or pear to cleanse the palate while enhancing the sweet experience.
This combination ensures that your Pistachio Pudding Dessert shines in its full glory, turning any meal into a memorable gathering.
How to Store and Freeze Pistachio Pudding Dessert
Fridge: Store any leftovers in an airtight container in the fridge for up to 3-4 days. This will keep your Pistachio Pudding Dessert fresh and delicious for dessert cravings!
Freezer: If you want to keep it longer, freeze the dessert without the Cool Whip for up to 2 months. When ready to serve, thaw in the fridge overnight, then add topping before enjoying.
Reheating: There’s no need to reheat this dessert. Simply slice and serve cold for that refreshing creamy experience!
Travel: If bringing to a gathering, keep the dessert chilled in a cooler or insulated bag until ready to serve, preserving its delightful flavors and textures.
Pistachio Pudding Dessert Variations
Invite your creativity to shine while making this dessert uniquely yours with fun and flavorful twists!
- Nut Alternatives: Swap pistachios for chopped walnuts or almonds for a different crunch. The buttery nut crust will still hold its delightful texture and flavor.
- Add Chocolate: Drizzle with chocolate sauce or dust with cocoa powder to enhance richness. A chocolate layer blends beautifully with nuts, giving a decadent vibe.
- Berry Bliss: Top with fresh berries, like raspberries or strawberries, for a vibrant touch of color and tartness. They not only look stunning but also add a refreshing twist to each bite.
- Vegan Version: Use dairy-free cream cheese and coconut cream instead of Cool Whip for a plant-based version. It’s an excellent choice for vegan gatherings, ensuring no one has to miss out on dessert!
- Flavor Twists: Experiment with different instant pudding flavors, such as vanilla or chocolate, for a unique take. Each variation allows you to create exciting new flavors without much effort!
- Citrus Zing: Add a splash of lemon or orange zest to the cream cheese layer for a lovely citrusy brightness. This twist will brighten the palate and elevate the overall experience.
- Additional Crunch: Incorporate crispy cereal or granola to the layer for an unexpected crunch. This textural contrast will delight every guest!
For more dessert inspiration, don’t miss my delightful Pistachio Cream Chocolate or give my creamy Vanilla Bean Dessert a try!
Four Layer Pistachio Pudding Dessert Recipe FAQs
How do I choose the right nuts for the crust?
Absolutely! For the best flavor and texture, I recommend using finely chopped pistachios or walnuts. If you’re looking for a different nutty twist, almonds are a great substitute as well. Make sure they are fresh and not past their prime; look for semi-matte skins without dark spots or rancid odor.
How should I store the leftovers of my Pistachio Pudding Dessert?
Store any leftovers in an airtight container in the refrigerator for up to 3-4 days. This keeps the dessert tasting fresh while maintaining its delightful creamy texture. If you notice the top layer slightly deflating, don’t be alarmed; it’s still delicious!
Can I freeze my Pistachio Pudding Dessert?
Yes! If you’d like to keep it longer, freeze the dessert without the Cool Whip topping in an airtight container for up to 2 months. To thaw, simply place it in the refrigerator overnight. Once it’s fully thawed, add the Cool Whip topping for that light and fluffy finish before serving.
What should I do if my pudding layer is grainy?
Very! If you find your pudding has become grainy, it could be due to overbeating—take your time whisking the pudding mix and milk. Always mix until combined, then allow it to sit for about 5 minutes to thicken. Next time, opt for hand-mixing to maintain that smooth consistency.
Are there any dietary considerations I should keep in mind?
Definitely! This dessert contains dairy products like cream cheese and Cool Whip, so if you’re preparing it for someone with lactose intolerance or a dairy allergy, you can use lactose-free alternatives. Just make sure to check all ingredient labels for allergens, especially if you’re using different nuts for the crust.
Can I prepare this dessert a day in advance?
Absolutely! In fact, making this Pistachio Pudding Dessert a day ahead is a fantastic idea. Not only will it set beautifully in the fridge, but the flavors meld together wonderfully overnight, enhancing the overall taste experience. Just remember to cover it well!
Luscious Pistachio Pudding Dessert to Wow Guests
Ingredients
Equipment
Method
- Preheat your oven to 325°F (160°C) and grease a 13x9-inch baking pan.
- In a mixing bowl, combine finely chopped pistachios or walnuts, softened butter, flour, and sugar until blended.
- Press the mixture into the bottom of the pan to form the crust.
- Bake the crust for 15 minutes or until golden, then cool completely.
- Beat cream cheese and icing sugar together until smooth, then fold in the Cool Whip.
- Spread the cream layer over the cooled nut crust.
- Prepare the pudding by whisking together Jell-O Pistachio Instant Pudding and cold milk, then let it thicken.
- Spread the pudding over the cream layer and level it off.
- Top with remaining Cool Whip and refrigerate for at least 4 hours before serving.
- Slice and sprinkle with reserved chopped nuts just before serving.