

The aroma of ripe strawberries fills my kitchen, drawing me back to sun-drenched summer days spent berry-picking with friends. There’s a certain joy in crafting your own treats, and making Homemade Strawberry Gummies is no exception. With just a handful of simple ingredients, you can whip up chewy, fruity confections that not only curb your sweet cravings but also allow you to ditch the heavy preservatives found in store-bought candies. These gummies are perfect for sharing at gatherings or stashing in lunchboxes for a delightful surprise! So, why not turn your kitchen into a candy haven? Get ready to savor the sweetness of homemade goodness!
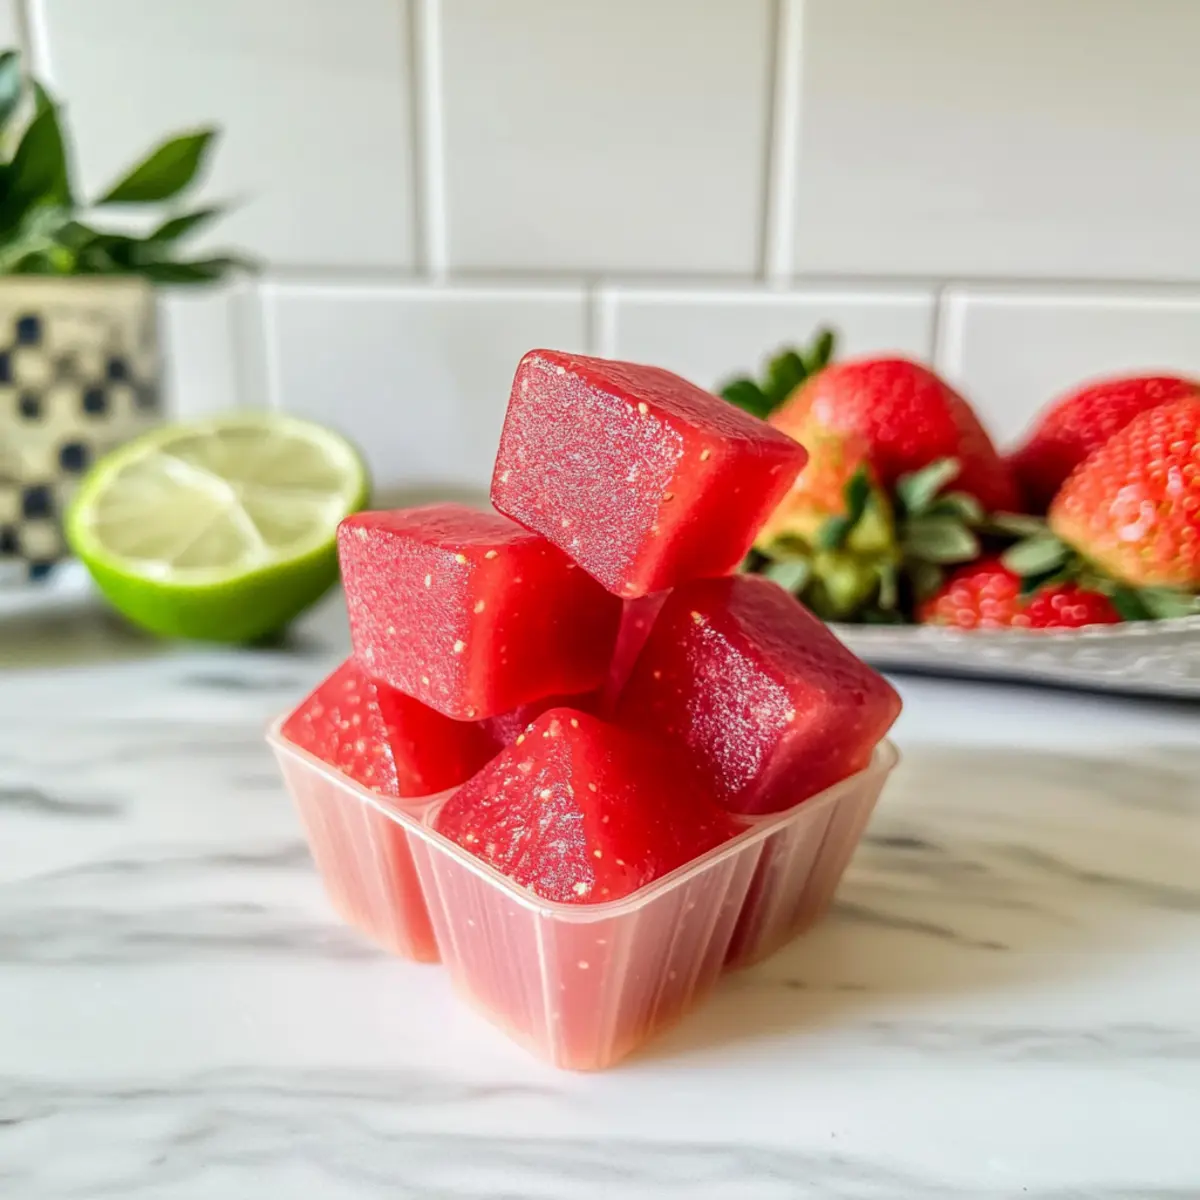
Why Make Your Own Strawberry Gummies?
Flavorful Delight: Each bite captures the essence of ripe strawberries, providing a vibrant and fruity explosion.
Healthier Treat: Made with natural ingredients, they are free from the artificial additives and excess sugars often found in store-bought versions.
Versatile Ingredients: You can swap strawberries for other fruits like blueberries or raspberries, ensuring variety in your snacking.
Quick & Simple: With just a handful of steps, you can have delicious gummies ready in just a couple of hours!
Fun for All Ages: Perfect for kids and adults alike, these gummies are a crowd-pleaser at parties, picnics, or simply as a sweet surprise in lunchboxes.
Get inspired by more homemade treats, like Strawberry Cake Mix cookies, to keep your sweet cravings in check!
Homemade Strawberry Gummies Ingredients
• The sweet foundation for your treat!
For the Strawberry Base
- Strawberries – Fresh strawberries provide the natural sweetness and vibrant flavor that make these gummies irresistible.
- Fresh Lime Juice – Adds just the right amount of tartness to balance the sweetness, brightening up your homemade strawberry gummies.
For the Gummies
- Unflavored Gelatin – The backbone for that chewy texture; ensure to sprinkle it in gradually while whisking. Vegan option: swap it with agar-agar!
- Maple Syrup – A natural sweetener that enhances the fruity flavor; feel free to replace it with honey or agave syrup if desired.
These ingredients work harmoniously to create delicious homemade strawberry gummies that are sure to satisfy your sweet tooth!
Step‑by‑Step Instructions for Homemade Strawberry Gummies
Step 1: Prepare Strawberry Mixture
Start by washing and dicing about two cups of fresh strawberries, then place them in a blender with the fresh lime juice and maple syrup. Blend until the mixture is fully smooth and vibrant, usually around 30 seconds. For a silkier texture, strain the blended mixture through a fine mesh strainer to remove seeds, continuing until you have a smooth, lovely strawberry puree.
Step 2: Make Gelatin Mixture
Pour the strained strawberry juice into a medium saucepan set over medium heat. Gradually sprinkle in the unflavored gelatin while whisking continuously to prevent any lumps from forming. Heat the mixture until it nearly reaches a slow boil, about 3–4 minutes while whisking often, then remove it from the heat as soon as you see small bubbles forming, achieving a well-combined mixture.
Step 3: Fill Molds
Grab a clean Pyrex measuring cup for easy pouring. Carefully fill your silicone candy molds with the strawberry mixture, pouring slowly to avoid spills. For intricate shapes, an eye dropper can help you fill each mold precisely without overfilling. Aim to fill them to the top for the perfect gummy experience, creating adorable treats ready to set.
Step 4: Chill and Set
Transfer the filled molds to your refrigerator, allowing them to chill and set for at least 1-2 hours. Keep an eye on them, as you’ll know they’re ready when they feel firm to the touch and have a slight bounceback. This cooling time ensures your homemade strawberry gummies achieve that chewy texture everyone loves.
Step 5: Finish and Store
Once they’re set, gently pop the gummies out of the molds. Place your delicious homemade strawberry gummies into an airtight container, ensuring they are not crowded to maintain their shape. Store them in the fridge for the freshest taste, where they can last for 3-4 days, making them a perfect grab-and-go treat for snacking or gifting!
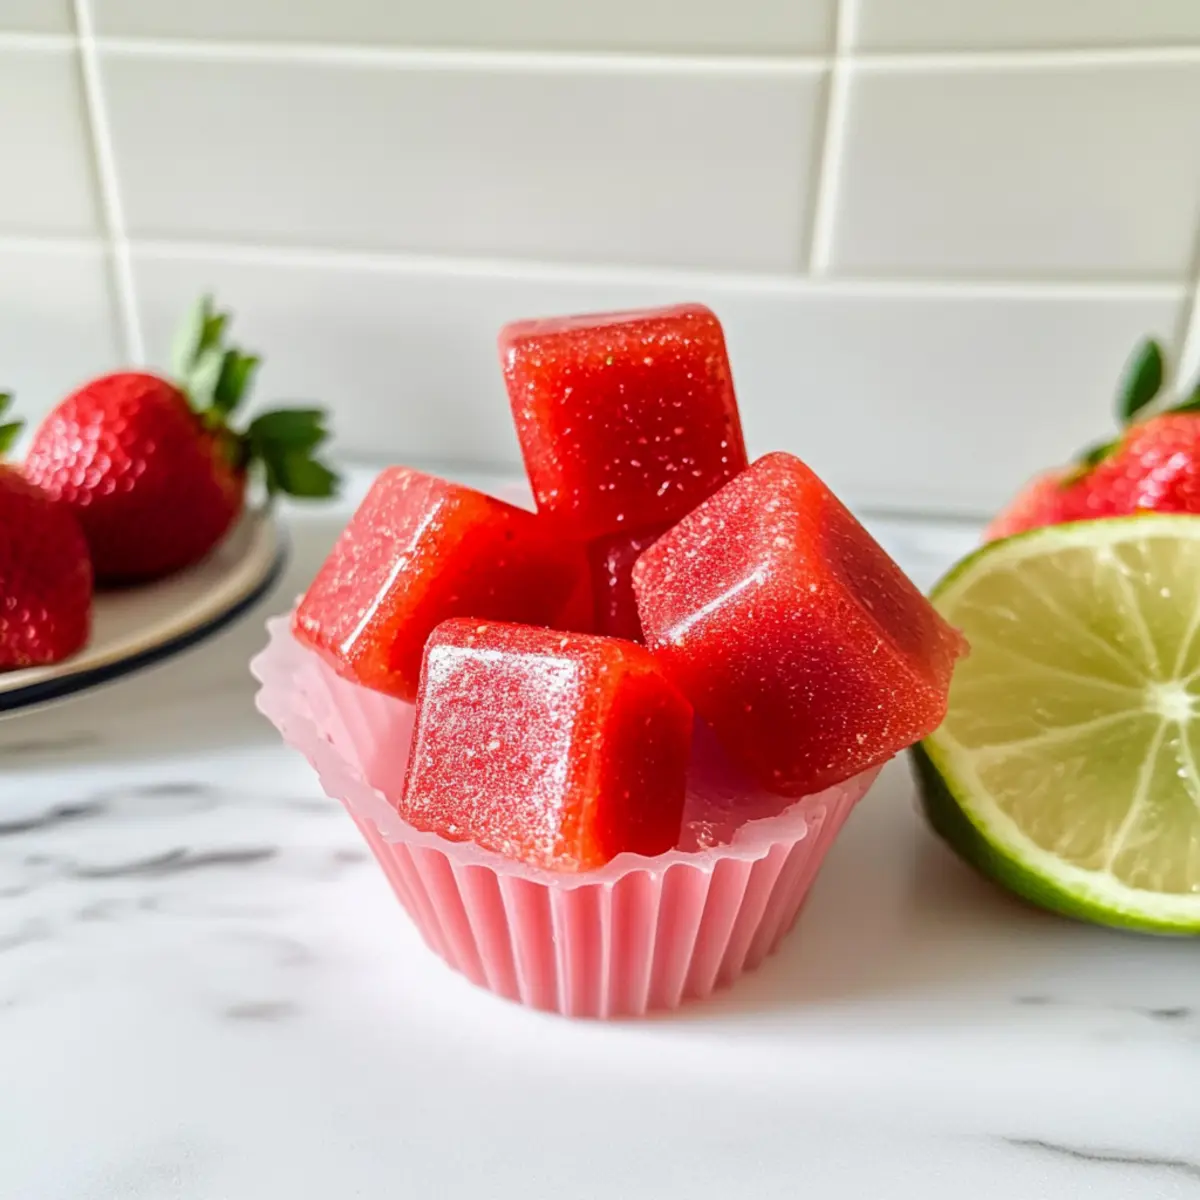
Storage Tips for Homemade Strawberry Gummies
Fridge: Store your homemade strawberry gummies in an airtight container in the refrigerator for up to 3-4 days to maintain their fresh flavor and chewy texture.
Freezer: For longer storage, you can freeze the gummies in a single layer on a baking sheet, then transfer them to a freezer-safe container for up to 3 months.
Reheating: When ready to enjoy the frozen gummies, simply let them thaw in the refrigerator for a few hours or at room temperature for about 30 minutes.
Airtight Tips: To prevent sticking, layer parchment paper between gummies if you’re storing them in a container. This keeps them easy to grab and enjoy!
Make Ahead Options
These Homemade Strawberry Gummies are perfect for meal prep enthusiasts! You can prepare the strawberry mixture up to 24 hours in advance by blending and straining the strawberries, lime juice, and maple syrup, then refrigerating it in an airtight container. Additionally, you can combine the gelatin and strawberry puree and refrigerate the mixture (do not fill molds yet) to keep it fresh for up to 3 days. When you’re ready to finish the gummies, simply reheat the mixture gently (to avoid clumps), fill the molds, and chill them for 1-2 hours. This way, you’ll have delicious, chewy gummy treats ready to enjoy without the last-minute rush!
Expert Tips for Homemade Strawberry Gummies
-
Choose Ripe Strawberries: Opt for the ripest strawberries you can find, as they will enhance the flavor of your homemade strawberry gummies significantly.
-
Agar-Agar Option: For a vegan-friendly alternative, substitute unflavored gelatin with agar-agar. Just follow the package instructions for the appropriate setting ratio.
-
Avoid Lumps: When adding gelatin to the heated strawberry juice, sprinkle it in slowly while whisking continuously to prevent clumping and ensure a smooth texture.
-
Chill Thoroughly: Allow your gummies to set in the fridge for a full 2 hours; this ensures they achieve the perfect chewy consistency.
-
Storage Secrets: Keep your homemade strawberry gummies in an airtight container in the fridge to preserve their freshness and prevent them from sticking together.
What to Serve with Homemade Strawberry Gummies
Indulging in these delectable gummies opens the door to countlessPairing possibilities that can elevate your snacking experience.
-
Light Yogurt Parfait: A dollop of creamy yogurt layered with granola and these gummies adds sweetness and crunch, creating a balanced treat.
-
Fresh Fruit Salad: Combine various fruits with your strawberry gummies for a vibrant, colorful dish that’s packed with nutrition and flavor.
-
Nutty Trail Mix: Mixing these gummies into a mix of nuts and seeds provides a delightful contrast of textures, perfect for a quick energy boost.
-
Chocolate-Covered Pretzels: The sweet and salty combo of pretzels paired with the fruity gummies reduces cravings and satisfies the taste buds.
-
Sparkling Water: A refreshing drink like sparkling water enhances the flavors of the gummies, keeping the experience light and invigorating.
-
Cheese Platter: Pairing with a soft cheese like brie complements the sweetness of the gummies; it creates a delightful contrast for the palate.
Each combination invites you to savor your strawberry creation in a new and exciting way. Enjoy!
Homemade Strawberry Gummies Variations
Feel free to explore these delightful twists on your gummy-making adventure!
-
Berry Mix: Substitute strawberries with a mix of your favorite berries, like blueberries and raspberries, for a colorful treat. Each bite will burst with different flavors, making them a fun surprise with every nibble.
-
Coconut Twist: Add shredded coconut to the strawberry mix for a tropical flair. This gives your gummies a chewy texture and hints of coconut flavor that perfectly complement the strawberry.
-
Zesty Orange: Swap lime juice for fresh orange juice to brighten the flavor profile. The sweet citrus notes create a refreshing balance that’s perfect for summer gatherings.
-
Honey Alternative: Replace maple syrup with honey for a different sweetness. This lends a rich flavor and enhances the fruity taste, especially if you use local honey for an added touch.
-
Spicy Kick: Add a pinch of cayenne pepper to the strawberry mixture for a surprise twist. The subtle heat pairs surprisingly well with the sweetness, creating an unexpected yet delightful fusion.
-
Vegan-Friendly: For a completely vegan option, switch unflavored gelatin with agar-agar. Follow package instructions for setting ratios, and enjoy your fruity treats fully plant-based!
-
Tart Enhancer: For those who love a tart edge, increase the lime juice for a tangy flavor that balances the sweetness beautifully. It’ll make these gummies even more refreshing!
-
Fruit Puree Base: Blend in a small amount of other fruit purees, like mango or peach, to create layered flavors. Pour in alternating layers for a stunning visual effect and a taste explosion!
These variations allow you to put your own spin on homemade strawberry gummies, making them an exciting and versatile treat that everyone can enjoy!
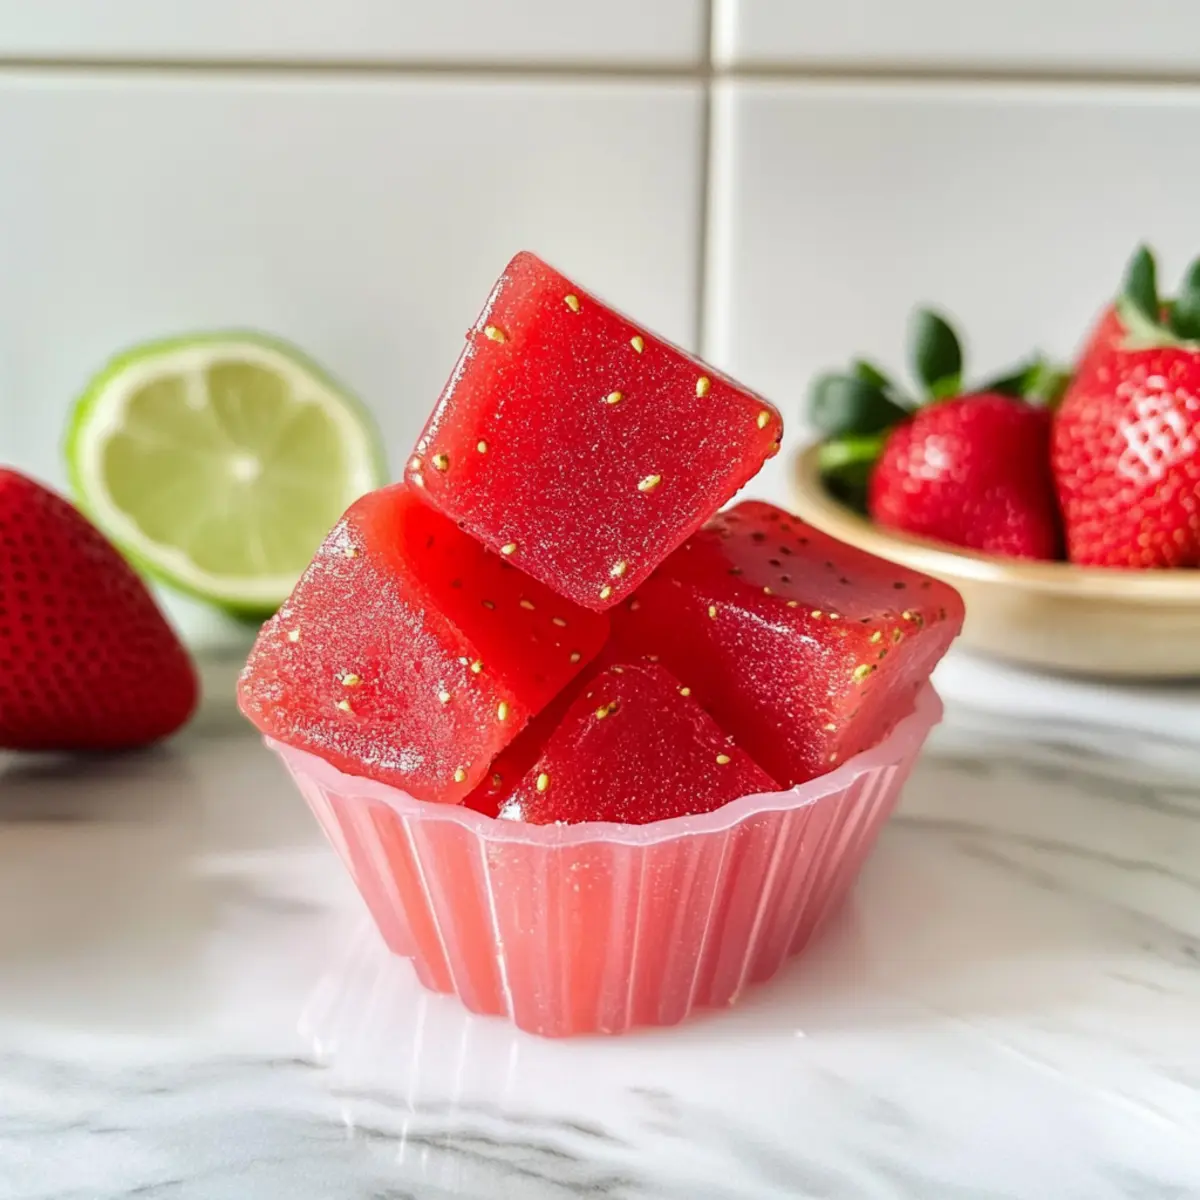
Homemade Strawberry Gummies Recipe FAQs
How do I select the right strawberries for the gummies?
Absolutely! Choose ripe strawberries with a deep red color and a sweet aroma. Avoid any that have dark spots all over or feel overly soft, as these may affect the flavor and texture of your gummies.
What is the best way to store homemade strawberry gummies?
For optimal freshness, store your homemade strawberry gummies in an airtight container in the refrigerator. They should remain good for up to 3-4 days, so you have plenty of time to enjoy them!
Can I freeze homemade strawberry gummies?
Very much! To freeze your gummies, first lay them out in a single layer on a baking sheet. Once frozen solid, transfer them into a freezer-safe container, where they can stay for up to 3 months. Just remember to let them thaw in the refrigerator for a few hours when you’re ready to enjoy!
What should I do if my gummies are too soft after chilling?
If your gummies are too soft, there may not have been enough gelatin or agar-agar in the mixture. For the next batch, try adding a little more gelatin to achieve the desired chewy texture. If it’s set properly, they should spring back lightly when pressed.
Are homemade strawberry gummies suitable for pets?
Not really! While raw strawberries are safe for pets in moderation, the other ingredients used in the gummies—like gelatin and added sugars—may not be suitable for them. Always check with your vet before sharing any human treats with your furry friends.
Can I adjust the sweetness of the gummies?
Absolutely! You can adjust the sweetness of your homemade strawberry gummies by increasing or decreasing the amount of maple syrup you add. Alternatively, substitute with honey or agave syrup to find your perfect flavor balance.
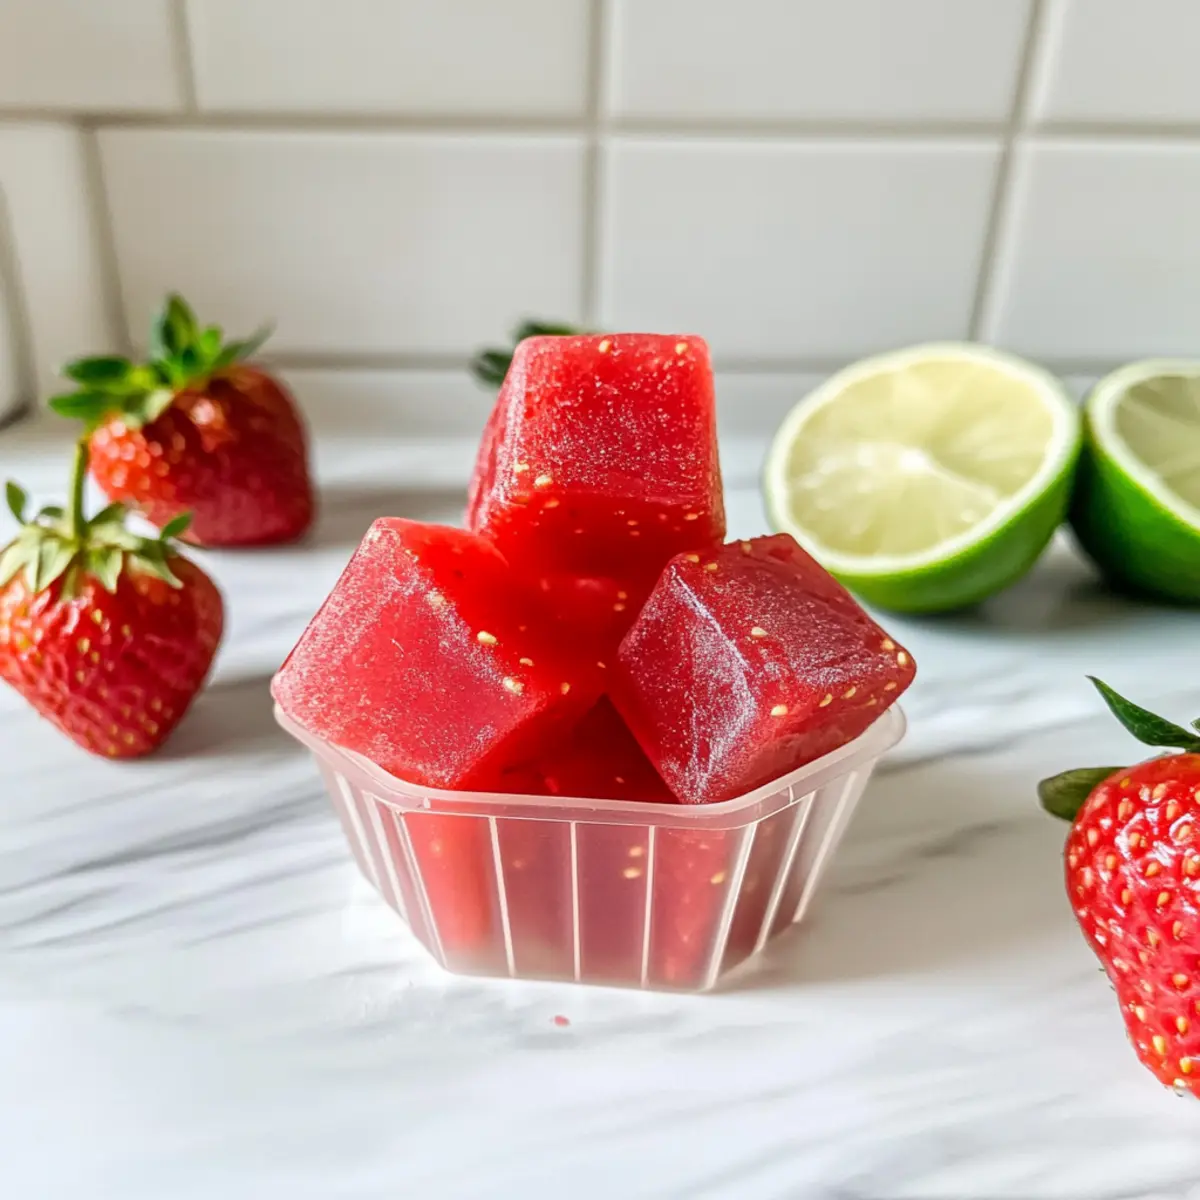
Deliciously Chewy Homemade Strawberry Gummies to Savor
Ingredients
Equipment
Method
- Wash and dice about two cups of fresh strawberries, then place them in a blender with the fresh lime juice and maple syrup. Blend until fully smooth.
- Pour the strained strawberry juice into a medium saucepan over medium heat. Gradually sprinkle in the unflavored gelatin while whisking continuously. Heat until nearly boiling, about 3-4 minutes, then remove from heat.
- Carefully fill your silicone candy molds with the strawberry mixture using a Pyrex measuring cup.
- Transfer the filled molds to your refrigerator and chill for at least 1-2 hours, until they feel firm to the touch.
- Once set, pop the gummies out of the molds and store them in an airtight container in the fridge.