

The aroma of baking chocolate mingled with a hint of mint creates an instant warm embrace, and that’s exactly what you’ll find with these Peppermint Hot Chocolate Muffins. As the holiday season unfolds, these delightful treats provide a cheerful escape from monotonous meals. Quick and easy to whip up, they are not only a festive addition to your table but also customizable for those with dietary needs—gluten-free and vegan options mean no one has to miss out on this winter delight. Picture a soft, moist muffin topped with a sweet peppermint glaze, perfect for cozy mornings or as a crowd-pleasing dessert. Ready to discover how to bring this chocolatey magic into your kitchen? Let’s dive in!
Why Are These Muffins a Must-Bake?
Irresistible Flavor: These Peppermint Hot Chocolate Muffins combine rich chocolate and refreshing peppermint for a taste sensation that holiday enthusiasts will adore.
Dietary Flexibility: With easy substitutions for gluten-free and vegan diets, everyone can join in on the fun without worrying about dietary restrictions.
Quick & Easy: Ready in just 30 minutes, these muffins are the perfect last-minute treat for unexpected guests or festive gatherings.
Kid-Friendly: Children love the sweet peppermint glaze and chocolatey goodness, making them a hit at any family gathering or holiday party.
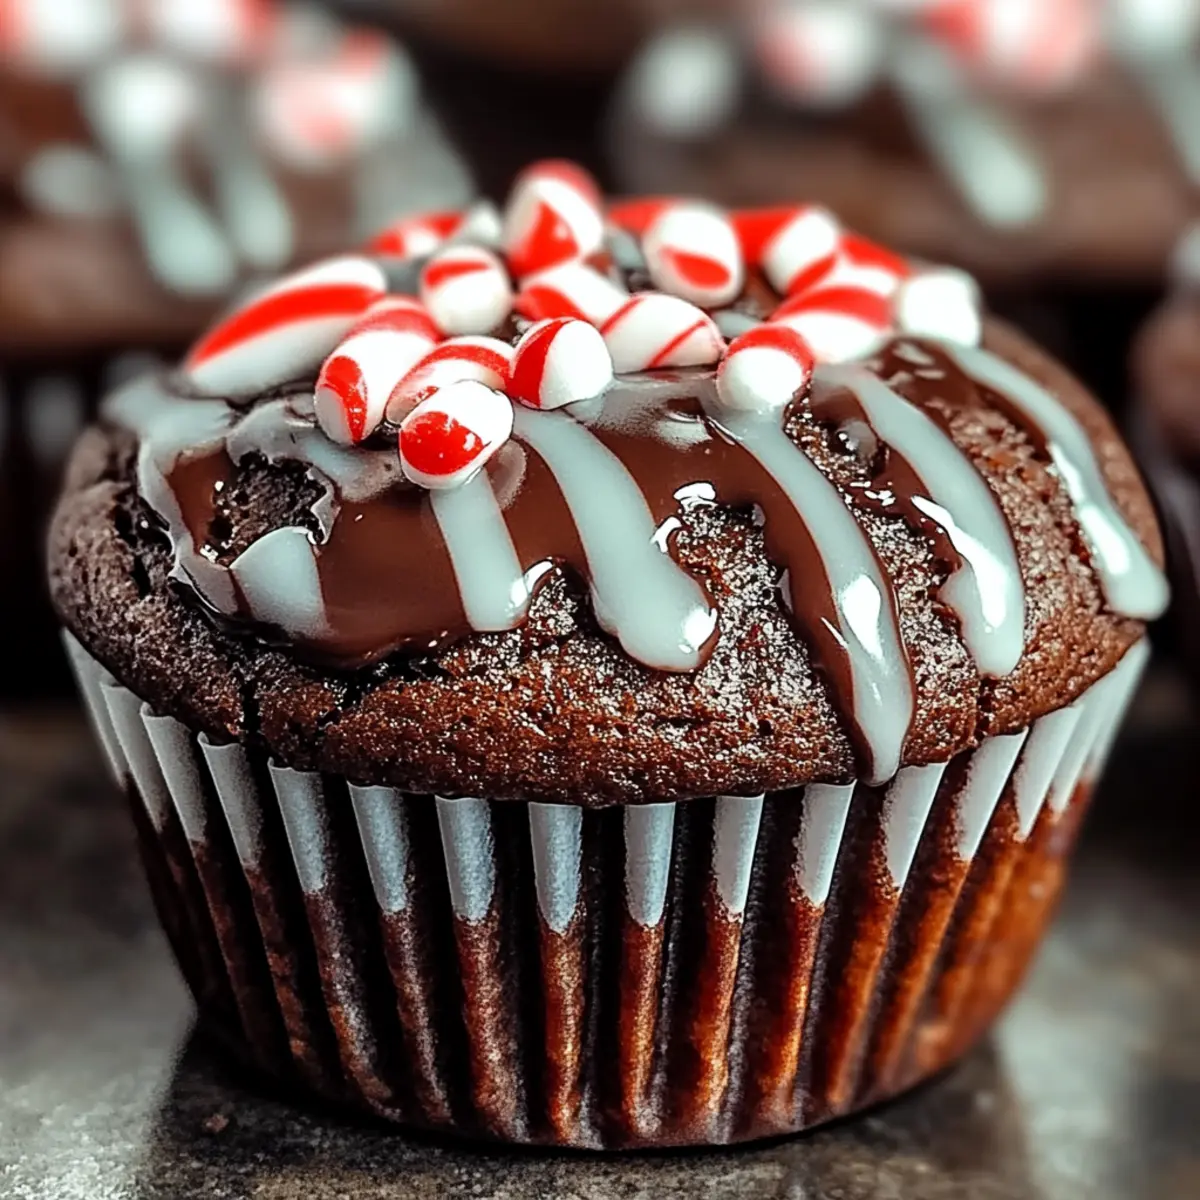
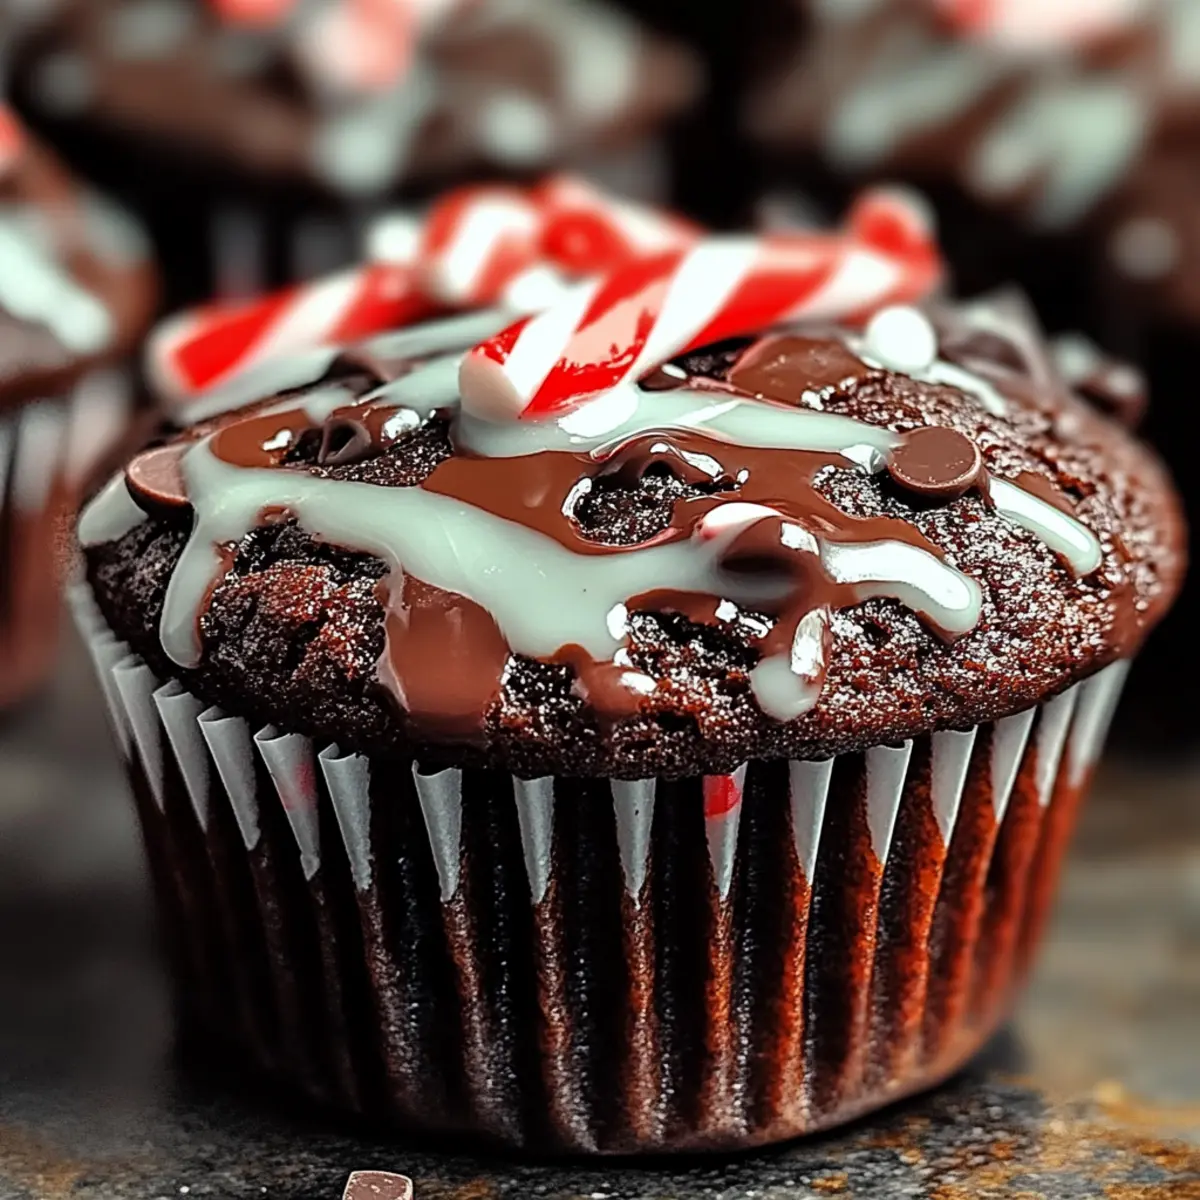
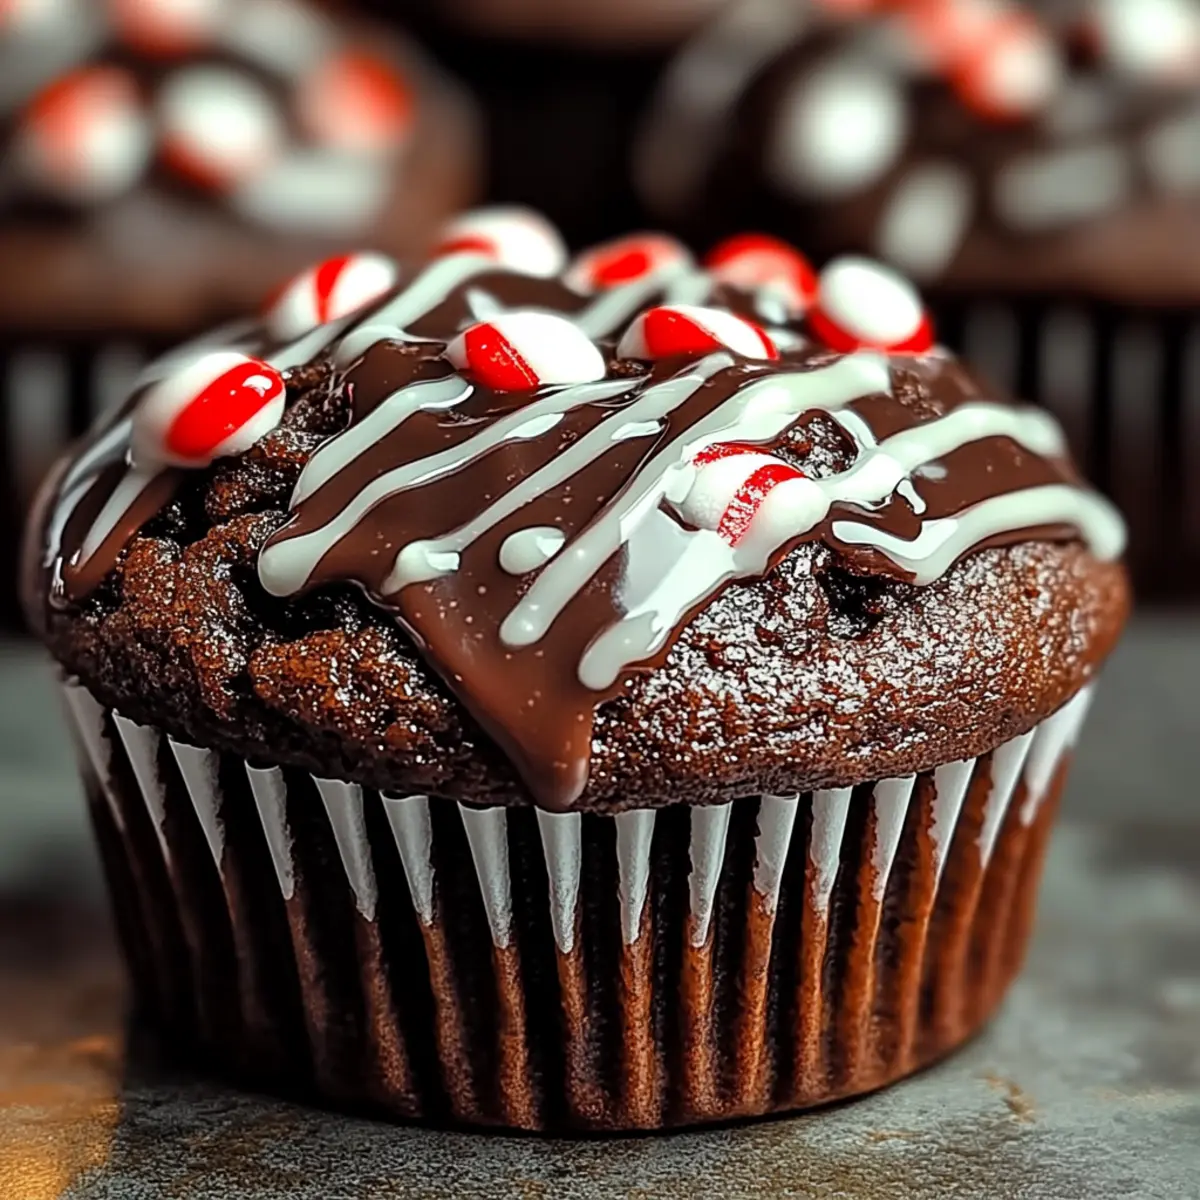
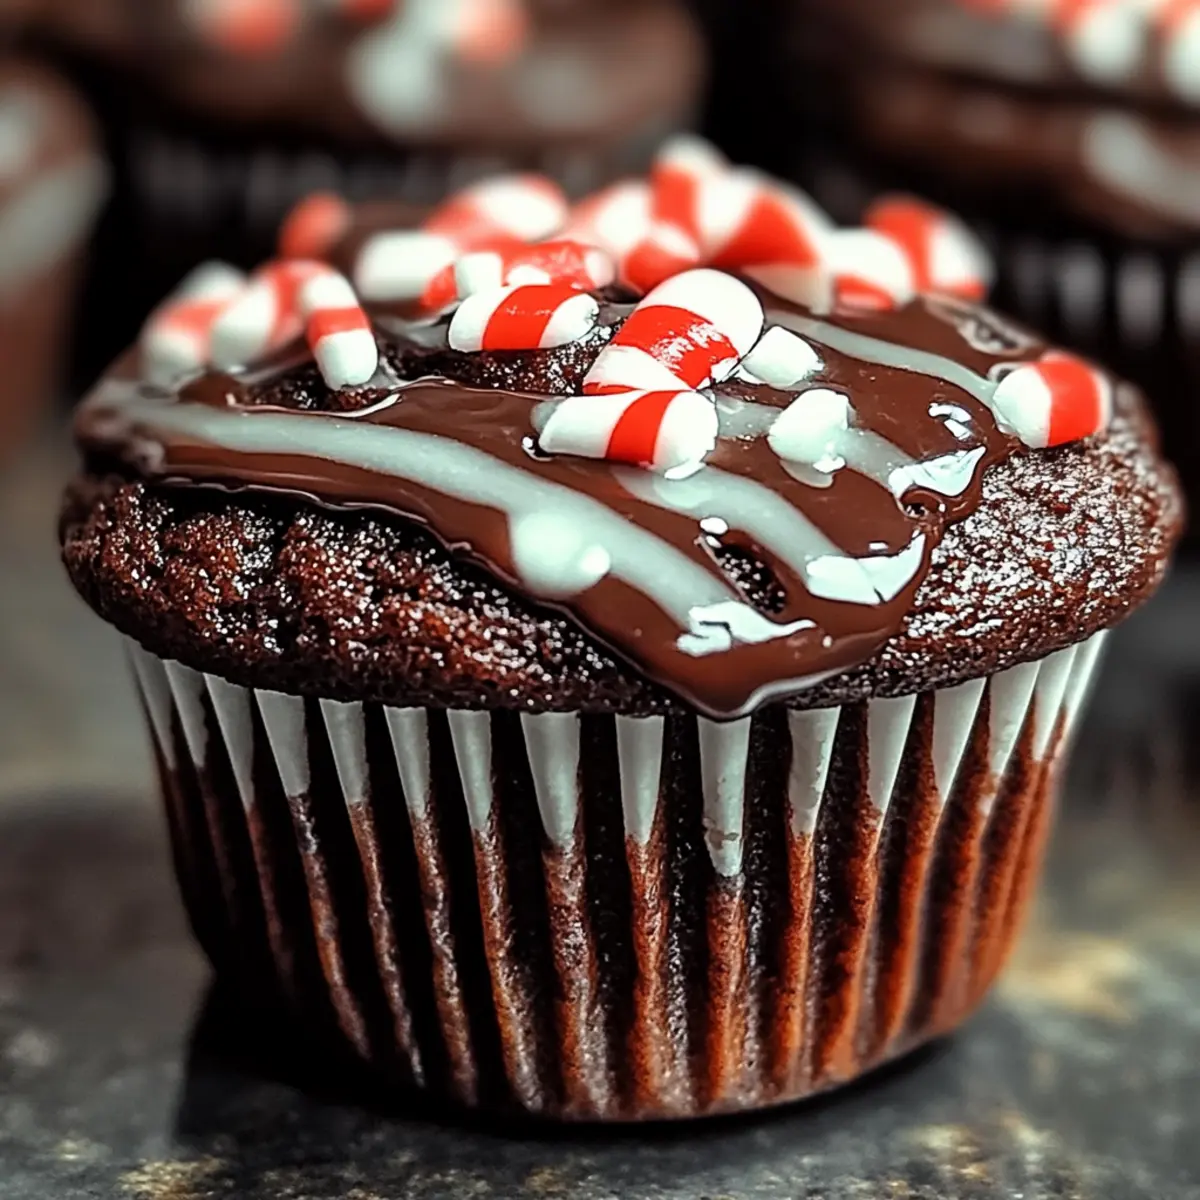
Memorable Appeal: The beautiful sheen of the peppermint glaze and festive crushed candy canes create a stunning presentation that will impress your guests.
Elevate your baking game with these festive bites of joy! Pair them with a warm cup of hot cocoa for the ultimate cozy experience. If you’re looking for more chocolatey treats, check out these Chocolate Lava Cakes or Chocolate Stuffed Cookies.
Peppermint Hot Chocolate Muffin Ingredients
For the Muffins
- All-Purpose Flour – Provides structure to the muffins; feel free to substitute it with a gluten-free flour blend for a gluten-free option.
- Unsweetened Cocoa Powder – Offers a rich chocolate flavor; Dutch-processed cocoa adds a unique twist.
- Granulated Sugar – Adds the perfect sweetness; consider using coconut sugar for a lower-glycemic option.
- Baking Powder – Essential for leavening; always check for freshness to avoid flat muffins.
- Salt – Enhances overall flavor; omit it for a low-sodium version if needed.
- Baking Soda – Crucial for texture and leavening.
- Buttermilk – Adds moisture and richness; substitute with a plant-based milk mixed with vinegar for a dairy-free alternative.
- Vegetable Oil – Keeps muffins moist; melted butter or coconut oil can boost the flavor.
- Large Eggs – Provides structure and moisture; aquafaba works well as a vegan substitute.
- Vanilla Extract – Enhances the overall flavor profile; opt for pure extract for the best results.
- Peppermint Extract – Infuses the muffins with delightful mintiness; use it sparingly for balance.
- Semi-Sweet Chocolate Chips – Optional for an extra layer of richness; dark chocolate chips can intensify the profile further.
For the Peppermint Glaze
- Powdered Sugar – Creates the base for the glaze; sift to prevent lumps for a smooth finish.
- Milk – Helps achieve the right consistency; dairy-free milk can be used for a vegan glaze.
- Peppermint Extract – Adds the essential minty kick; again, use sparingly for best flavor balance.
Embrace the festive spirit with these delectable Peppermint Hot Chocolate Muffins, ideal for the chilly season!
Step‑by‑Step Instructions for Peppermint Hot Chocolate Muffins
Step 1: Preheat and Prepare
Start by preheating your oven to 350°F (175°C). While it warms up, grab a muffin tin and line it with paper liners. This will ensure your Peppermint Hot Chocolate Muffins bake evenly and are easy to remove later. Enjoy the anticipation as the oven fills your kitchen with warmth, ready to embrace the sweet, chocolatey smells to come.
Step 2: Mix Dry Ingredients
In a large mixing bowl, whisk together 1 and ¾ cups of all-purpose flour, ½ cup of unsweetened cocoa powder, 1 cup of granulated sugar, 2 teaspoons of baking powder, a pinch of salt, and ½ teaspoon of baking soda. Make sure there are no lumps in the cocoa powder and everything is well combined. This dry mixture forms the heart of your Peppermint Hot Chocolate Muffins, promising a rich flavor and perfect texture.
Step 3: Combine Wet Ingredients
In another bowl, mix together 1 cup of buttermilk, ⅓ cup of vegetable oil, 2 large eggs, 1 teaspoon of vanilla extract, and ½ teaspoon of peppermint extract. Use a whisk to blend these until smooth and creamy. The wet ingredients bring moisture to the muffins, ensuring they are soft and delicious, while the peppermint extract adds that festive touch you won’t want to miss.
Step 4: Mix Wet and Dry Ingredients
Gently pour the wet mixture into the dry ingredients and stir with a spatula until just combined. Be careful not to overmix; a few lumps are okay. If you’re adding chocolate chips, now’s the time to fold in ½ cup of semi-sweet chocolate chips for that delightful extra richness. This delicate mixing will keep your Peppermint Hot Chocolate Muffins fluffy and tender.
Step 5: Fill Muffin Tin
Scoop the muffin batter into the prepared muffin tin, filling each cup about two-thirds full. An ice cream scoop works great here for even portions! The batter should look moist and glossy, with chocolate chips peeking through. This step sets the stage for the muffins to rise beautifully, creating that perfect dome shape we all love.
Step 6: Bake to Perfection
Place the muffin tin in your preheated oven and bake for 18-20 minutes. To check for doneness, insert a toothpick into the center of a muffin; it should come out clean or with just a few moist crumbs. As they bake, the aroma of chocolate and peppermint will envelop your kitchen, signaling that something delicious is on its way.
Step 7: Cool and Prepare Glaze
Once baked, remove the muffin tin from the oven and allow the muffins to cool in the tin for about 5 minutes. While they cool, prepare the peppermint glaze by whisking together 1 cup of powdered sugar, 2 tablespoons of milk, and ½ teaspoon of peppermint extract. This sweet drizzle adds a delightful finishing touch to your muffins, enhancing their festive appeal.
Step 8: Glaze and Garnish
After the muffins have cooled slightly, transfer them to a wire rack. Drizzle the peppermint glaze generously over each muffin. For added flair and crunch, sprinkle crushed candy canes on top. This decadent decoration not only looks festive but provides a delightful contrast to the soft, moist muffins while enhancing the peppermint flavor experience.
What to Serve with Peppermint Hot Chocolate Muffins
Indulge your senses by crafting a delightful meal companion for these chocolatey treats, perfect for any holiday gathering.
-
Creamy Hot Cocoa: The rich, velvety texture of hot cocoa amplifies the chocolatey essence of the muffins, creating a warm and nostalgic pairing.
-
Fresh Fruit Salad: A refreshing blend of seasonal fruits like berries and oranges balances the sweetness of the muffins while adding a burst of color and nutrition.
-
Whipped Cream Topping: Light, fluffy whipped cream brings a creamy element that harmonizes with the peppermint glaze, enhancing each bite and making them irresistible.
-
Espresso or Coffee: The robust flavors of coffee provide a perfect contrast to the sweet, minty muffins, making them an excellent choice for a cozy afternoon treat.
-
Peppermint Bark: For a dual chocolate experience, serve a plate of peppermint bark alongside the muffins. The crunchy sweetness will elevate the festive spirit.
-
Milkshake Delight: A peppermint chocolate milkshake serves as a delicious and refreshing drink option that complements the flavors beautifully, turning your snack into a fun dessert experience.
Enjoy the festive vibes and share the love with every bite!
Peppermint Hot Chocolate Muffins: Customizable Delights
Embrace your creativity and transform these muffins into your own personal masterpiece with delightful twists and substitutions.
- Gluten-Free: Use a 1:1 gluten-free flour blend instead of all-purpose flour to keep these muffins light and fluffy.
- Vegan Delight: Substitute buttermilk with almond milk mixed with vinegar and replace eggs with aquafaba to create a plant-based treat.
- Alternative Chocolates: Swap out semi-sweet chocolate chips for white chocolate chips for a sweeter, creamier flavor, or try dark chocolate chips to intensify the richness.
- Nutty Crunch: Mix in chopped walnuts or pecans for an enjoyable crunch and added nutrition; it’s a simple way to elevate texture.
- Flavorful Boost: Incorporate a teaspoon of instant coffee granules to enhance the chocolate flavor without adding any coffee taste.
- Mint Chocolate Twist: Add crushed peppermint candies into the muffin batter for an extra minty flavor that shines through each bite.
- Lower Sugar Option: Try using coconut sugar or honey as a natural sweetener to create a lower-glycemic variety of these festive muffins.
- Spicy Variation: For a hint of heat, sprinkle in a dash of cayenne pepper or cinnamon for a surprising twist that complements the chocolate and peppermint beautifully.
These variations allow you to personalize your Peppermint Hot Chocolate Muffins in ways that cater to your taste and dietary needs. Whether you prefer a gluten-free version or a creamier chocolate flavor, feel free to explore! For more chocolatey inspiration, check out Soft Chewy Chocolate and Chocolate Pecan Coconut.
Make Ahead Options
These Peppermint Hot Chocolate Muffins are perfect for meal prep enthusiasts looking to save time. You can whip up the batter up to 24 hours in advance and store it tightly covered in the fridge, ensuring freshness. Additionally, you can bake the muffins up to 3 days ahead of serving; just store them in an airtight container at room temperature to keep their delightful moisture. For longer storage, freeze the baked muffins for up to 2 months. When you’re ready to serve, simply warm them slightly in the oven or microwave for a cozy treat that feels fresh-baked. This way, you’ll have festive muffins on hand without the last-minute rush!
Storage Tips for Peppermint Hot Chocolate Muffins
Room Temperature: Store leftover muffins in an airtight container at room temperature for up to 3 days to retain their moisture and flavor.
Fridge: If you need to keep your muffins longer, refrigerate them for up to a week. Make sure they are sealed tightly to prevent them from drying out.
Freezer: For longer storage, freeze the muffins for up to 2 months. Wrap them individually in plastic wrap, then place them in a zip-top bag.
Reheating: To enjoy them warm, gently microwave the muffins for 10-15 seconds or heat them in the oven at 350°F (175°C) for about 5 minutes. Enjoy the cozy flavors of your Peppermint Hot Chocolate Muffins!
Expert Tips for Peppermint Hot Chocolate Muffins
- Avoid Overmixing: Mixing too much can lead to dense muffins; stir until just combined for a light, fluffy texture.
- Check Baking Powder Freshness: Old baking powder can result in flat muffins; ensure it’s fresh to help your peppermint hot chocolate muffins rise beautifully.
- Cool Before Glazing: Let muffins cool slightly before applying the glaze to achieve the perfect texture and prevent it from sliding off.
- Customize for Diets: Don’t hesitate to substitute ingredients like flour or buttermilk to cater to gluten-free or vegan needs, making these peppermint hot chocolate muffins inclusive.
- Use Quality Chocolate: For the richest flavor, opt for high-quality chocolate chips—dark chocolate versions intensify the sweetness and depth of your muffins.
Peppermint Hot Chocolate Muffins Recipe FAQs
What type of flour can I use for gluten-free Peppermint Hot Chocolate Muffins?
Absolutely! You can substitute all-purpose flour with a gluten-free flour blend. I recommend using a blend that contains xanthan gum for the best texture. Many brands have great all-purpose options that mimic standard flour closely, so you can still enjoy that delightful muffin experience.
How should I store my Peppermint Hot Chocolate Muffins?
To keep your muffins fresh, store them in an airtight container at room temperature for up to 3 days. If you want to keep them longer, refrigerate them for up to a week or freeze them for up to 2 months. When freezing, wrap each muffin individually in plastic wrap and place them in a zip-top bag. This method preserves their moistness for when you’re ready to enjoy.
Can I freeze these muffins, and if so, how?
Yes, you can freeze these muffins! For the best results, wrap each muffin tightly in plastic wrap, ensuring no air gets in. Then, place them in a freezer-safe zip-top bag. They can be kept for up to 2 months. When it’s time to enjoy, simply thaw them in the refrigerator overnight or warm them in the microwave for about 10-15 seconds to bring back that just-baked feel!
What can I do if my muffins turn out dense?
If your muffins are dense, it may be due to overmixing the batter or using expired leavening agents. To prevent this, mix the wet and dry ingredients until just combined—lumps are okay! Also, check the freshness of your baking powder and baking soda; they should be within their expiration date to ensure your muffins rise nicely.
Are these muffins safe for pets or those with allergies?
Great question! Since the muffins contain basic ingredients like flour, eggs, and milk, they are generally safe for most humans but not for pets like dogs or cats. Always be cautious with any allergies. If you’re concerned about common allergens, consider substituting the buttermilk with a dairy-free option and using egg replacements like aquafaba for a vegan version, ensuring no one is left out of this festive treat!
Peppermint Hot Chocolate Muffins: Festive Bites of Joy
Ingredients
Equipment
Method
- Preheat your oven to 350°F (175°C) and prepare a muffin tin with paper liners.
- In a large mixing bowl, whisk together the dry ingredients: all-purpose flour, cocoa powder, sugar, baking powder, salt, and baking soda until well combined.
- In another bowl, mix the wet ingredients: buttermilk, vegetable oil, eggs, vanilla extract, and peppermint extract until smooth.
- Gently combine the wet mixture into the dry ingredients, stirring until just combined. Optionally fold in chocolate chips.
- Fill muffin cups about two-thirds full with the batter.
- Bake for 18-20 minutes, checking for doneness with a toothpick.
- Let muffins cool in the tin for about 5 minutes before preparing the glaze.
- Whisk together powdered sugar, milk, and peppermint extract for the glaze, then drizzle over the cooled muffins and garnish with crushed candy canes.