

As I stood in my kitchen, the aroma of whipped cream and fresh berries danced in the air, instantly transporting me to sunny spring afternoons. This Classic Pavlova Cake, with its perfect balance of crisp meringue and soft, marshmallow-like center, has quickly become my go-to dessert for every occasion. Not only is this gluten-free delight delightfully airy and elegant, but it also allows for endless creativity with seasonal toppings. Imagine indulging in a dessert that is not only show-stopping but can also be whipped together in no time! So, whether you’re hosting a summer brunch or simply treating yourself to something sweet, this Pavlova Cake is your ticket to culinary triumph. What unique variations would you create with your favorite fruits?
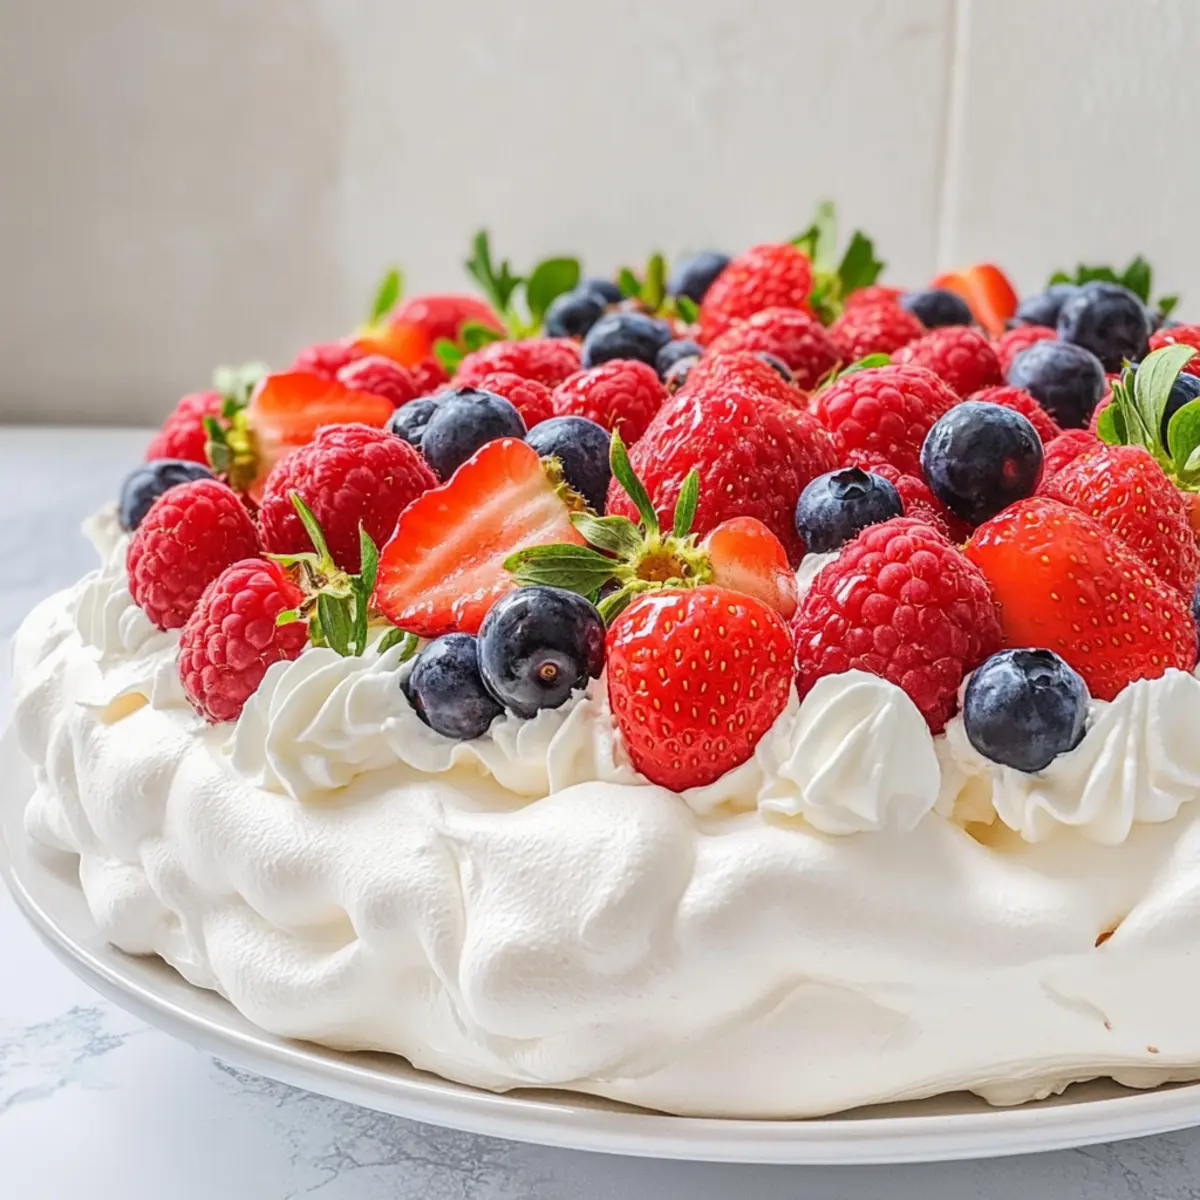
Why is Pavlova Cake a Must-Try?
Light, Whimsical Delight: This Pavlova Cake is a celebration of textures—crisp on the outside, soft and marshmallowy on the inside, making each bite a delightful experience.
Creative Toppings: The beauty of this recipe lies in its versatility. Top with seasonal berries, like strawberries or blueberries, for a refreshing taste, or switch it up with tropical fruits for an exotic twist.
Quick Prep Time: Spend less time in the kitchen and more with loved ones. This elegant dessert can be made with minimal effort and just a few simple ingredients.
Crowd-Pleaser: Perfect for gatherings, this dessert will impress your guests and has the added bonus of being gluten-free. For more delicious gluten-free recipes, check out Chocolate Lava Cakes and Pecan Pie Cheesecake.
Easy to Personalize: Tailor the Pavlova to your preferences by changing up the flavors and toppings—consider a splash of lemon curd alongside the whipped cream for a zesty flair!
Pavlova Cake Ingredients
• Discover what makes this gluten-free dessert shine!
For the Meringue
- Egg Whites – Essential for a beautiful meringue; ensure they’re free from any fat for best results.
- Superfine Sugar – Provides sweetness and stability; you can pulse granulated sugar in a blender for a quick substitute.
- Cream of Tartar – Helps stabilize the egg whites; can be swapped with lemon juice or vinegar if needed.
- Corn Starch – Adds structure to the meringue; no direct substitutions are advised.
- Vanilla Extract – Elevates the flavor profile; best to use pure vanilla for the most delicious results.
- Salt – Balances sweetness; critical to the overall flavor—don’t skip it.
For the Topping
- Heavy Cream – Must be cold for optimal whipping; this is where the magic happens for your topping!
- Powdered Sugar – Sweetens your whipped cream; if you’re in a pinch, granulated sugar can work too.
- Berries (fresh) – Choose seasonal varieties for that refreshing pop; strawberries, blueberries, or any fruits you love are great options.
- Mint – Optional for garnish; adds a fresh finishing touch that enhances presentation.
Embrace the joy of creating a delightful Pavlova Cake that will surely brighten your spring or summer gatherings!
Step‑by‑Step Instructions for Classic Pavlova Cake
Step 1: Preheat the Oven
Begin by preheating your oven to 195°F (90°C) without using a fan. This low temperature is essential for achieving the perfect texture of your Pavlova Cake. Make sure your oven is fully heated before moving on to the next step to ensure even baking.
Step 2: Prepare the Baking Tray
Line a baking tray with parchment paper or use a silicone mat to prevent sticking. This will serve as the base for your Pavlova Cake. Ensure the surface is smooth and secure, as this will help shape your meringue effortlessly in the next steps.
Step 3: Whip the Egg Whites
In a clean, dry mixing bowl, add room temperature egg whites along with cream of tartar for stabilization. Use a hand mixer or a stand mixer on low speed until the mixture becomes frothy. This initial mixing should take about 2-3 minutes, setting the foundation for your light, fluffy Pavlova.
Step 4: Gradually Add Sugar
Once frothy, slowly increase the mixer speed to medium-high and incorporate superfine sugar, one tablespoon at a time. Continue whisking until the mixture is glossy and forms stiff peaks, which should take approximately 5-7 minutes. This step is crucial as it builds volume and stability in your Pavlova Cake.
Step 5: Incorporate Flavor
After your egg whites reach stiff peaks, gently mix in vanilla extract and a pinch of salt. Then, sift in cornstarch, folding it carefully with a spatula to maintain the lightness. This mixture should remain airy as you add these flavorings, ensuring your pavlova has a lovely taste.
Step 6: Shape the Meringue
Transfer the meringue onto the prepared tray and shape it into an 8-inch circle, creating a slight dip in the center for filling later. Use a spatula to make the edges smooth. This shaping helps form the classic Pavlova Cake structure, where the center will hold whipped cream and berries.
Step 7: Bake the Meringue
Place the meringue in the preheated oven and bake for 2.5 hours or until it is dry and crisp on the outside. Avoid opening the oven door during baking, as this could cause cracking. The perfect meringue should feel hard to the touch and have a slight golden hue at the edges.
Step 8: Cool the Meringue
After baking, turn off the oven and leave the door slightly ajar to allow your Pavlova to cool slowly for several hours. This gentle cooling process prevents cracks and maintains the marshmallow-like texture inside—a crucial step in crafting an exquisite Pavlova Cake.
Step 9: Whip the Cream
While your meringue cools, whip the cold heavy cream and powdered sugar together in a bowl using a hand mixer or stand mixer. Beat until soft peaks form, which should take about 3-5 minutes. This will become the luscious topping for your delightful Pavlova Cake.
Step 10: Decorate the Pavlova
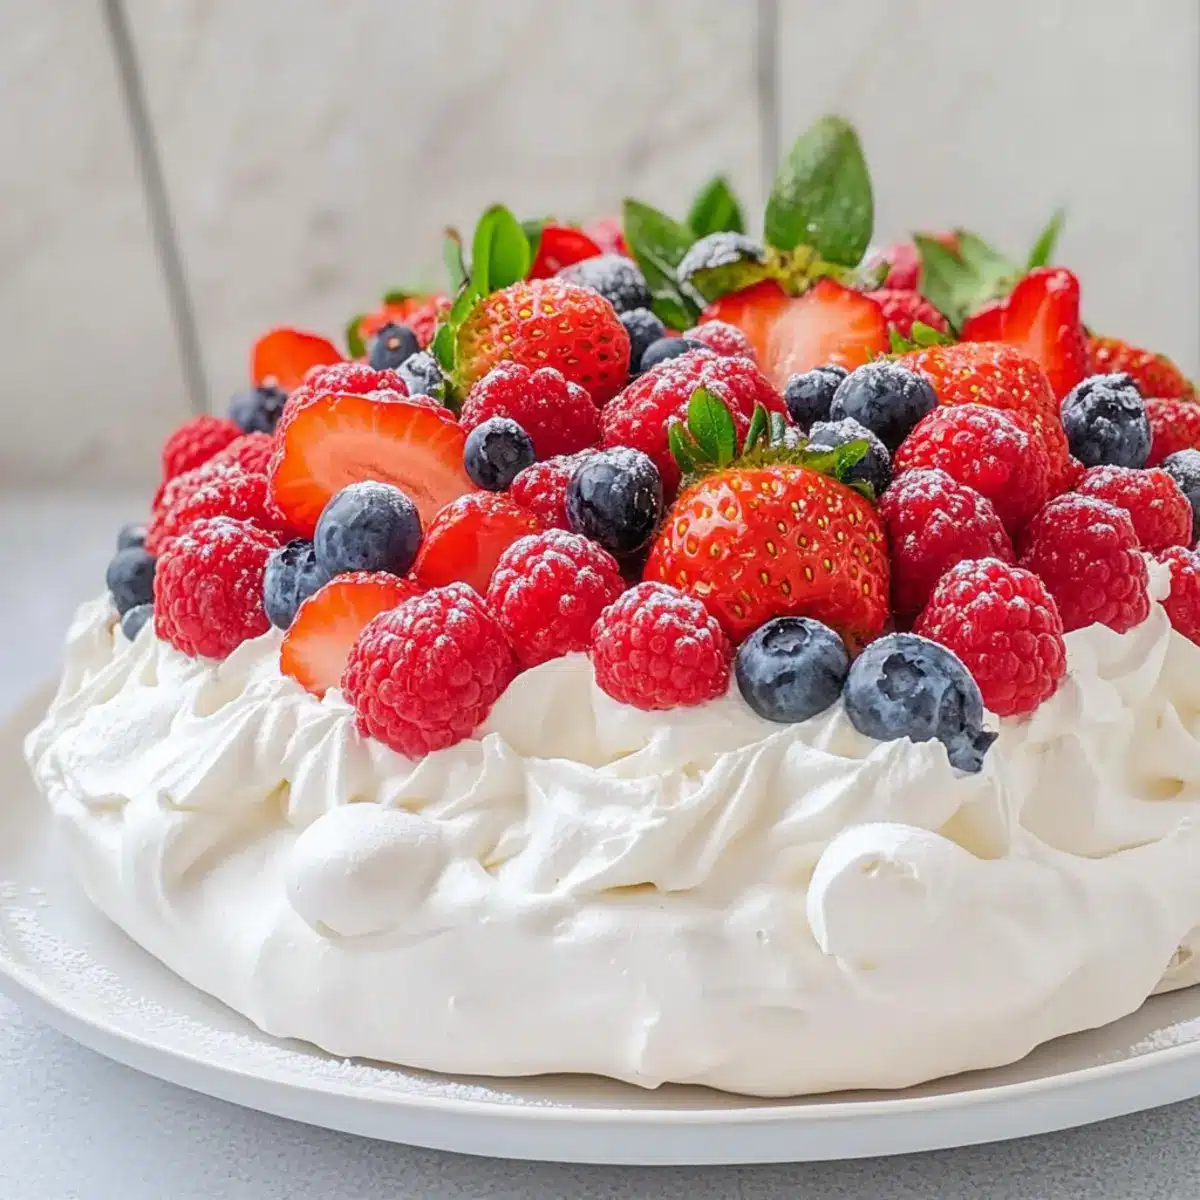
Once cooled, carefully top the meringue with the freshly whipped cream. Add an assortment of seasonal fresh berries and a sprinkle of powdered sugar for a stunning presentation. Optionally, garnish with mint leaves for a touch of freshness. Serve your beautifully decorated Classic Pavlova Cake immediately for the best texture.
How to Store and Freeze Pavlova Cake
Room Temperature: Store undecorated Pavlova at room temperature in an airtight container for up to 2 days to maintain its crispiness.
Fridge: If already decorated, keep the Pavlova Cake in the refrigerator for up to 1 day. Consume immediately for the best texture; the whipped cream can make it soggy over time.
Freezer: For longer storage, freeze the undecorated meringue by wrapping it in plastic wrap and placing it in a freezer-safe container. It’ll last for up to 1 month, but be sure to thaw completely at room temperature before decorating.
Reheating: No reheating is needed for Pavlova. Once cooled, it’s best enjoyed fresh, topped with whipped cream and berries just before serving.
What to Serve with Classic Pavlova Cake?
Imagine delighting your guests with a stunning dessert and complementing it with scrumptious side dishes that elevate your dining experience.
- Fresh Fruit Salad: A vibrant mix of seasonal fruits enhances the fresh berry topping of the cake, providing a crunchy and juicy contrast that refreshes your palate.
- Lemon Curd: A tangy, creamy addition that pairs beautifully with the sweetness of the Pavlova, offering a delightful zing that lifts the flavors.
- Chocolate Sauce: Drizzled generously over each slice, it adds a rich and decadent layer, marrying well with the meringue’s lightness.
For a complete indulgence, consider serving a homemade ice cream on the side. Creamy vanilla or refreshing sorbet can create a delightful contrast to the textures of the Pavlova.
-
Herbal Tea: Complement your dessert with a warm cup of chamomile or mint tea, creating a soothing end to your meal. The herbal notes will balance the sweetness while offering a comforting experience.
-
Savory Cheese Platter: Bring in a platter of soft cheeses, such as mascarpone or ricotta, with some honey or fig jam. The creamy textures will compliment the lighter Pavlova and add a gourmet touch.
These pairings not only accentuate the delightful flavors of the Classic Pavlova Cake but also create a memorable meal that your guests will adore!
Make Ahead Options
Prepare your Classic Pavlova Cake with ease by making components ahead of time, saving you stress on the day of serving! The meringue can be made up to 24 hours in advance; simply allow it to cool completely before storing it in an airtight container at room temperature to maintain its crisp texture. You can also whip the cream ahead of time—just refrigerate it in a sealed container for up to 3 days. When you’re ready to serve, decorate your meringue with the chilled whipped cream and top it with fresh berries for a stunning finish. These simple make-ahead tips ensure your dessert remains just as delightful and fresh as if it were made to order!
Expert Tips for Pavlova Cake
-
Fat-Free Equipment: Ensure all bowls and utensils are completely free from fat; even a small amount can prevent egg whites from whipping to perfection.
-
Sugar Gradually: Add the superfine sugar slowly, one tablespoon at a time, to create a stable meringue that enhances the overall texture of your Pavlova Cake.
-
Low Bake Temperature: Bake at a low temperature to avoid browning. Using an oven thermometer can help ensure accurate oven settings and prevent cracks in your meringue.
-
Cooling Process: Allow your Pavlova to cool in the oven with the door slightly ajar. This gentle cooling is key to maintaining the soft, marshmallowy center.
-
Immediate Serving: Serve your decorated Pavlova Cake right after topping to preserve its delightful texture and prevent sogginess from the cream.
Pavlova Cake Variations & Substitutions
Feel free to let your creativity shine as you customize this delightful dessert with these fun twists!
- Tropical Twist: Swap in mango or pineapple for a bright and exotic flavor profile that’s sure to impress.
- Citrus Burst: Add a dollop of lemon curd alongside the whipped cream for a zesty kick that cuts through the sweetness.
- Berry Medley: Mix seasonal berries like raspberries, blueberries, and strawberries to create a colorful and vibrant topping.
- Dairy-Free Option: Replace heavy cream with coconut cream for a delightful, dairy-free alternative that adds a unique flavor.
- Nutty Crunch: Top with toasted almonds or hazelnuts for a delicious crunch, contrasting beautifully with the soft meringue.
- Chocolate Drizzle: Drizzle some melted dark chocolate over the finished Pavlova for an indulgent treat that chocolate lovers will adore.
- Herb Infusion: Garnish with basil or lavender for a surprising yet delightful twist that adds a fragrant touch to the dessert.
- Spiced Meringue: Incorporate a dash of cinnamon or nutmeg into the meringue for a subtle, warm flavor that’s perfect for fall gatherings.
Whatever direction you choose to take, each variation of this Classic Pavlova Cake will be a beloved addition to your dessert repertoire. Enjoy the journey of creating this light, airy delight!
Pavlova Cake Recipe FAQs
What kind of egg whites should I use for the Pavlova Cake?
Absolutely! Fresh, room temperature egg whites are essential for the perfect meringue. Ensure they are free from any fat—this means that your mixing bowl and utensils should also be clean. If your egg whites are from older eggs, it may take longer to whip them to stiff peaks, so freshness makes a delightful difference!
How should I store my Pavlova Cake?
You can store an undecorated Pavlova at room temperature in an airtight container for up to 2 days. If it’s already topped with whipped cream and berries, it’s best to refrigerate it and enjoy within 1 day to avoid sogginess. Just remember, the longer it sits, the less crispy it becomes!
Can I freeze my Pavlova Cake for later use?
The more the merrier! Yes, you can freeze the undecorated meringue. Wrap it securely in plastic wrap and place it in a freezer-safe container, where it can stay fresh for up to 1 month. When you’re ready to enjoy it, simply thaw at room temperature for a few hours before decorating with fresh cream and berries.
What if my Pavlova cracks while baking?
If your Pavlova cracks, don’t be discouraged! This can happen if the oven temperature is too high or if it’s opened too often during baking. Always bake at the recommended low temperature and allow the Pavlova to cool gradually in the oven. If cracks occur, simply cover them with whipped cream and berries to hide any imperfections—it’ll still taste divine!
Is this Pavlova Cake suitable for people with dietary restrictions?
Yes, indeed! This Pavlova Cake is gluten-free, making it a great dessert option for anyone avoiding gluten. Just be mindful of other ingredients; for example, check the cream and sugar for any allergens if you’re serving it to guests with sensitivities. If you have pets, keep the cake out of their reach, as dairy and sugar aren’t suitable for them.
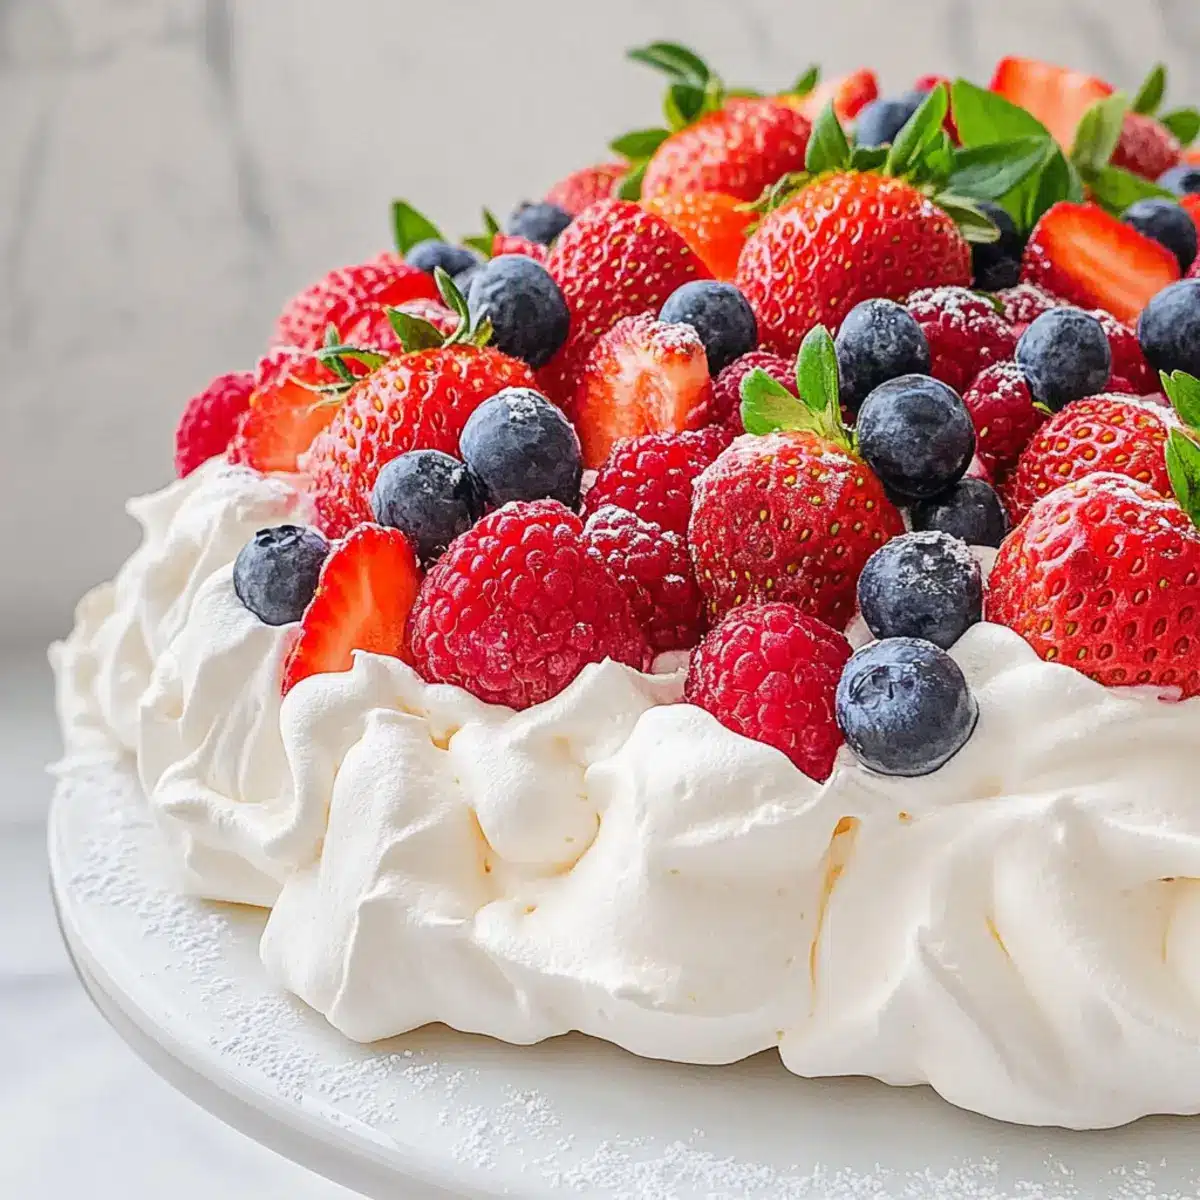
Delightful Pavlova Cake: Light, Fruity Bliss for Spring Treats
Ingredients
Equipment
Method
- Preheat your oven to 195°F (90°C) without using a fan.
- Line a baking tray with parchment paper or silicone mat.
- In a clean bowl, combine egg whites and cream of tartar. Beat until frothy (2-3 minutes).
- Gradually add superfine sugar, one tablespoon at a time, while mixing until glossy and stiff peaks form (5-7 minutes).
- Gently mix in vanilla extract and fold in cornstarch with a spatula.
- Transfer the meringue onto the baking tray, shaping it into an 8-inch circle.
- Bake for 2.5 hours until dry and crisp. Avoid opening the door during baking.
- Turn off the oven, leave the door ajar, and let the meringue cool for several hours.
- Whip heavy cream and powdered sugar until soft peaks form (3-5 minutes).
- Top the cooled meringue with whipped cream and fresh berries. Optionally, garnish with mint leaves.