

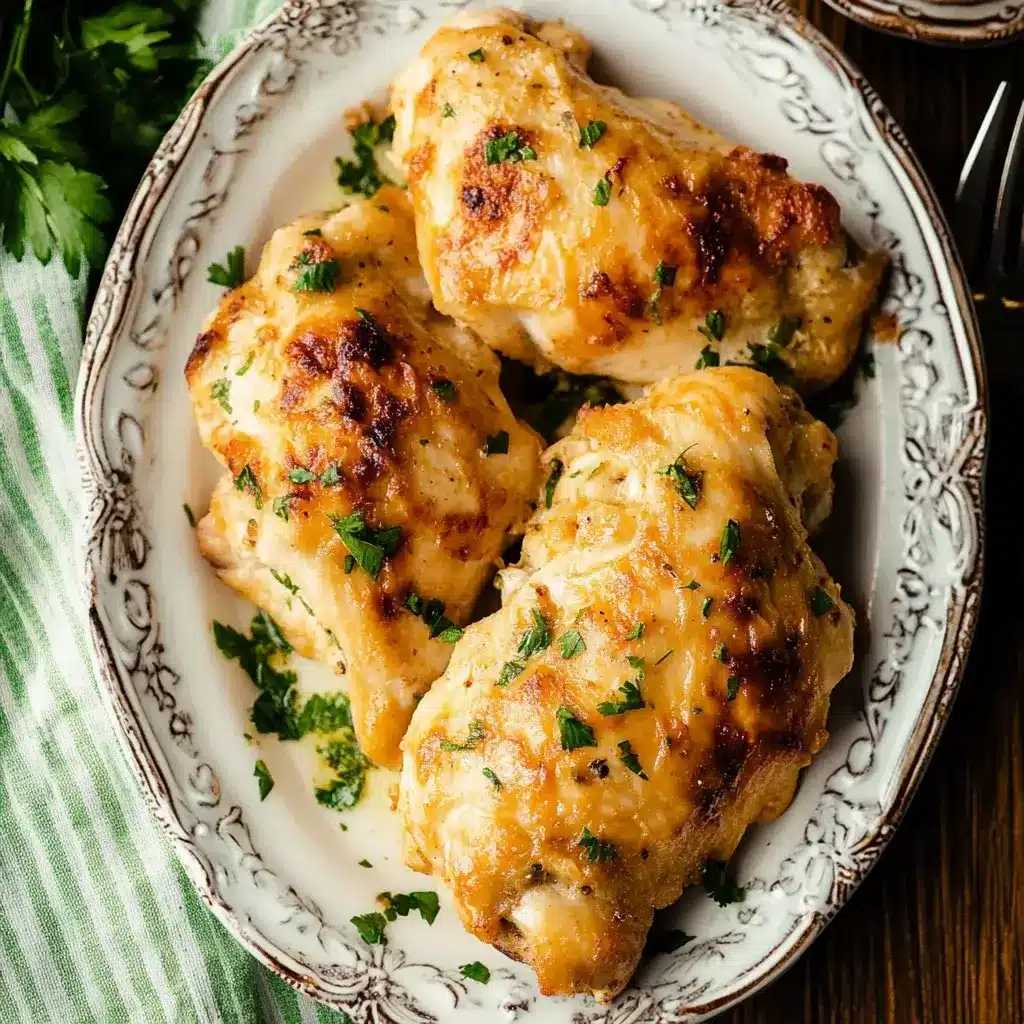
Melt-in-Your-Mouth Chicken
There’s something magical about a dish that can turn a hectic weeknight into a cozy family gathering. Melt-in-Your-Mouth Chicken is just that—a delightful recipe that brings comfort and joy to the dinner table. I remember the first time I made this dish; the aroma filled my kitchen, and my family couldn’t wait to dig in. It’s perfect for those busy days when you want to impress your loved ones without spending hours in the kitchen. With its tender, flavorful chicken, this recipe is sure to become a staple in your home.
Why You’ll Love This Melt-in-Your-Mouth Chicken
This Melt-in-Your-Mouth Chicken is a game changer for any home cook. It’s incredibly easy to prepare, making it perfect for busy weeknights or last-minute gatherings. The marination process ensures each bite is bursting with flavor, while the crispy coating adds a delightful crunch. Plus, it’s baked, not fried, so you can enjoy a delicious meal without the guilt. Trust me, your taste buds will thank you!
Ingredients for Melt-in-Your-Mouth Chicken
Gathering the right ingredients is the first step to creating this mouthwatering dish. Here’s what you’ll need:
- Boneless, skinless chicken breasts: The star of the show! They’re tender and cook evenly, making them perfect for this recipe.
- Buttermilk: This creamy marinade adds moisture and tang, ensuring your chicken is juicy and flavorful.
- Garlic powder: A must-have for that savory kick. It infuses the chicken with rich flavor without the hassle of fresh garlic.
- Onion powder: Similar to garlic powder, it enhances the overall taste, giving depth to the dish.
- Paprika: This spice not only adds color but also a subtle smokiness that elevates the flavor profile.
- Salt: Essential for seasoning, it brings out the natural flavors of the chicken.
- Black pepper: A dash of this adds a bit of heat and balances the dish beautifully.
- All-purpose flour: This is the base for your crispy coating, giving the chicken that satisfying crunch.
- Grated Parmesan cheese: It adds a rich, cheesy flavor to the coating, making each bite irresistible.
- Dried Italian herbs: A blend of herbs like oregano and basil adds a touch of Italian flair.
- Unsalted butter: Drizzling this over the chicken before baking ensures a golden, crispy finish.
For those looking to spice things up, consider adding a teaspoon of cayenne pepper to the flour mixture for a kick. If you don’t have buttermilk on hand, plain yogurt or milk mixed with a tablespoon of vinegar works just as well. You can find the exact quantities for each ingredient at the bottom of the article, ready for printing!
How to Make Melt-in-Your-Mouth Chicken
Creating this Melt-in-Your-Mouth Chicken is a straightforward process that yields delicious results. Follow these simple steps, and you’ll have a dish that’s sure to impress.
Step 1: Marinate the Chicken
Start by marinating the chicken. In a large bowl, combine the buttermilk, garlic powder, onion powder, paprika, salt, and black pepper. This mixture is crucial; it tenderizes the chicken and infuses it with flavor. Make sure the chicken breasts are fully submerged. Cover the bowl and refrigerate for at least 2 hours, or overnight if you can. The longer, the better!
Step 2: Preheat the Oven
While the chicken is marinating, preheat your oven to 400°F (200°C). Preheating is essential for even cooking and achieving that golden-brown finish. Line a baking sheet with parchment paper to prevent sticking and make cleanup a breeze.
Step 3: Prepare the Coating
In a shallow dish, mix together the all-purpose flour, grated Parmesan cheese, and dried Italian herbs. This coating will give your chicken that irresistible crunch. Make sure it’s well combined, so every piece of chicken gets an even coating of flavor.
Step 4: Dredge the Chicken
Once the chicken has marinated, remove it from the buttermilk, letting the excess drip off. Dredge each piece in the flour mixture, pressing lightly to ensure a good coating. This step is key; a thorough coating will create that crispy texture we all love. Don’t rush it—take your time!
Step 5: Bake the Chicken
Place the coated chicken breasts on the prepared baking sheet. Drizzle the melted butter over the top for added richness. Bake in the preheated oven for 25-30 minutes. To check for doneness, use a meat thermometer; the internal temperature should reach 165°F (75°C). You want that perfect balance of crispy outside and juicy inside.
Step 6: Rest and Serve
After baking, let the chicken rest for about 5 minutes before slicing. This resting period allows the juices to redistribute, ensuring each bite is as tender as possible. Serve it up with your favorite sides, and watch everyone enjoy this melt-in-your-mouth delight!
Tips for Success
- Always marinate the chicken for at least 2 hours; overnight is even better for maximum flavor.
- Don’t skip the parchment paper; it makes cleanup a breeze and prevents sticking.
- Use a meat thermometer to ensure your chicken is perfectly cooked.
- For extra crunch, let the coated chicken sit for 10 minutes before baking.
- Experiment with spices in the coating for a personalized touch!
Equipment Needed
- Large bowl: For marinating the chicken. A zip-top bag works too!
- Baking sheet: Essential for baking. A cast-iron skillet can be a great alternative.
- Parchment paper: Helps with easy cleanup. Foil can work in a pinch.
- Meat thermometer: Ensures perfect doneness. A simple knife can also check if juices run clear.
Variations
- Spicy Kick: Add a teaspoon of cayenne pepper or chili powder to the flour mixture for a fiery twist.
- Herb-Infused: Experiment with fresh herbs like rosemary or thyme in the coating for a fragrant touch.
- Gluten-Free Option: Substitute all-purpose flour with almond flour or a gluten-free flour blend for a gluten-free version.
- Cheesy Delight: Mix in some shredded cheddar cheese with the Parmesan for an extra cheesy crust.
- Asian Flair: Incorporate sesame seeds and a dash of soy sauce into the marinade for an Asian-inspired flavor.
Serving Suggestions
- Classic Sides: Pair with creamy mashed potatoes or buttery corn on the cob for a comforting meal.
- Fresh Salad: A crisp Caesar or garden salad adds a refreshing contrast to the rich chicken.
- Drink Pairing: Enjoy with a chilled glass of white wine or a light beer.
- Presentation: Serve on a rustic wooden board for a homey touch.
FAQs about Melt-in-Your-Mouth Chicken
Can I use chicken thighs instead of breasts?
Absolutely! Chicken thighs will work beautifully in this recipe. They’re even juicier and can add a different flavor profile. Just adjust the cooking time slightly, as thighs may take a bit longer to cook through.
How can I make this recipe healthier?
To lighten it up, you can use skinless chicken breasts and reduce the amount of butter. You can also bake the chicken without the coating for a lower-calorie option. Pair it with steamed veggies for a nutritious meal.
What should I do with leftovers?
Leftover Melt-in-Your-Mouth Chicken can be stored in an airtight container in the fridge for up to three days. Reheat it in the oven to maintain its crispy texture, or shred it for salads and sandwiches.
Can I freeze the chicken after marinating?
Yes! You can freeze the marinated chicken before cooking. Just place it in a freezer-safe bag and store it for up to three months. Thaw it in the fridge overnight before baking.
What sides pair well with this dish?
This chicken goes great with a variety of sides! Consider serving it with roasted vegetables, rice pilaf, or a fresh green salad. The options are endless, so feel free to get creative!
Final Thoughts
Cooking Melt-in-Your-Mouth Chicken is more than just preparing a meal; it’s about creating memories around the dinner table. The joy of watching loved ones savor each bite, their faces lighting up with delight, is truly priceless. This recipe is a testament to how simple ingredients can come together to create something extraordinary. Whether it’s a weeknight dinner or a special occasion, this dish brings warmth and comfort to any gathering. So roll up your sleeves, embrace the process, and let the magic of Melt-in-Your-Mouth Chicken transform your kitchen into a haven of flavor and happiness.
Melt-in-Your-Mouth Chicken: A Delicious Game Changer!
Ingredients
Method
- In a large bowl, combine the buttermilk, garlic powder, onion powder, paprika, salt, and black pepper. Add the chicken breasts, ensuring they are fully submerged. Cover and refrigerate for at least 2 hours, or overnight for best results.
- Preheat your oven to 400°F (200°C). Line a baking sheet with parchment paper.
- In a shallow dish, mix together the flour, Parmesan cheese, and dried Italian herbs.
- Remove the chicken from the buttermilk marinade, allowing excess liquid to drip off. Dredge each piece in the flour mixture, pressing lightly to ensure an even coating.
- Place the coated chicken breasts on the prepared baking sheet. Drizzle the melted butter over the top of the chicken.
- Bake in the preheated oven for 25-30 minutes, or until the chicken is cooked through and golden brown. An internal temperature of 165°F (75°C) is recommended.
- Let the chicken rest for 5 minutes before slicing and serving.
Nutrition
Notes
- For extra flavor, add a teaspoon of cayenne pepper to the flour mixture for a spicy kick.
- Substitute the buttermilk with plain yogurt or milk mixed with a tablespoon of vinegar for a similar marinating effect.