

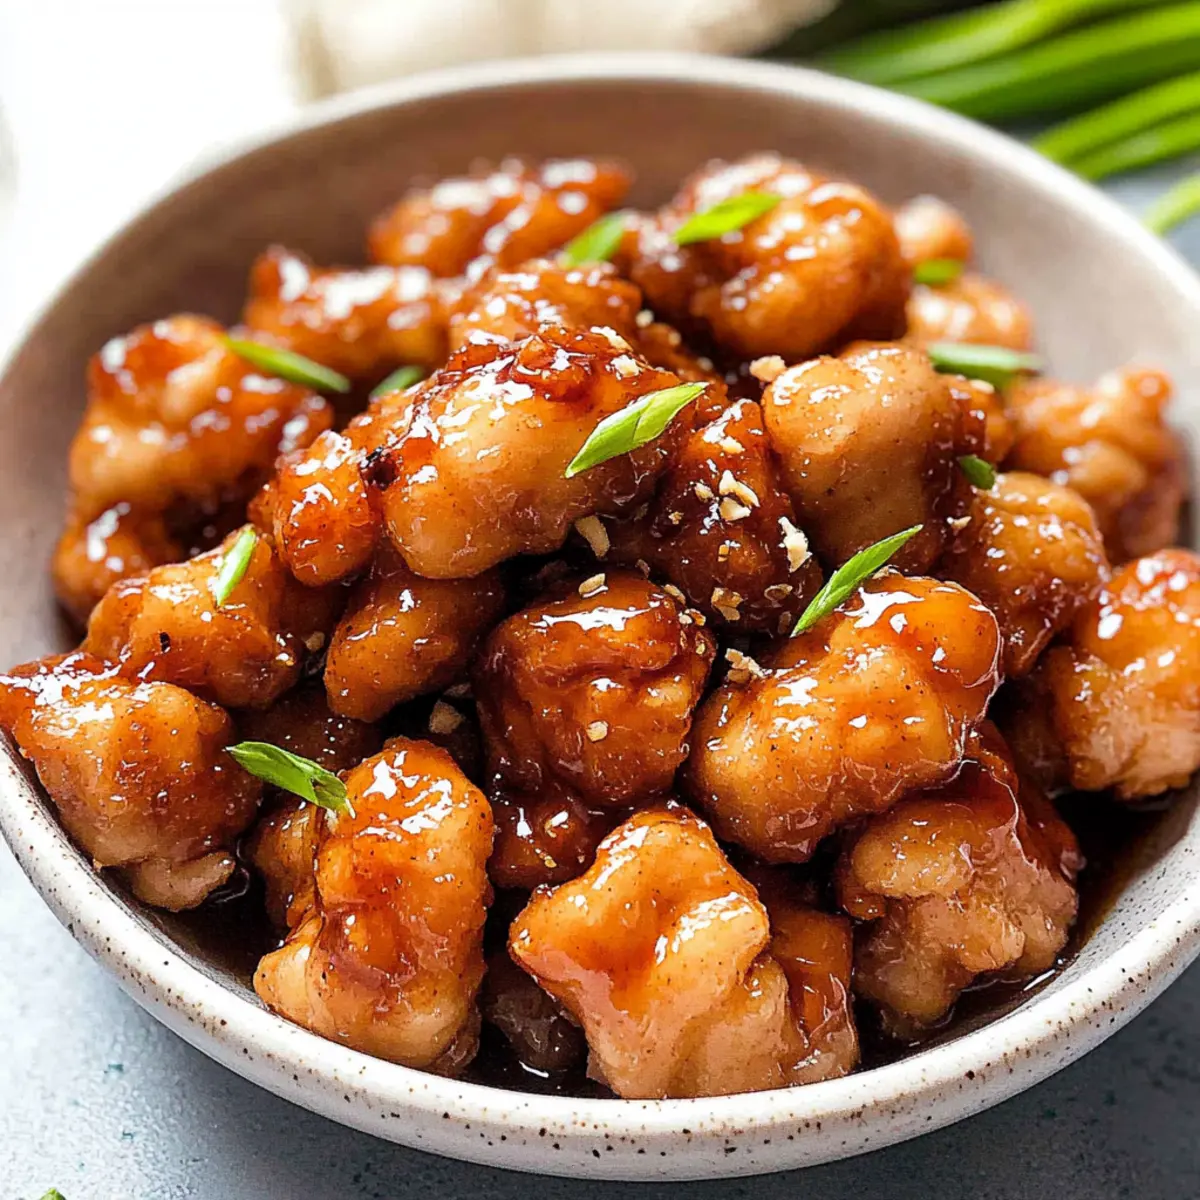
As the golden sun dips below the horizon, the enchanting aroma of sizzling chicken wafts through my kitchen, instantly whisking me away to my favorite comforting memories. This Honey Butter Chicken is my go-to recipe for turning a busy weeknight into a delightful family feast in just 30 minutes. With its crispy exterior and tender, juicy meat, this dish gracefully balances sweet and savory flavors, making it a true crowd-pleaser. Plus, it’s versatile enough to accommodate gluten-free diets with a simple swap! Whether you’re pairing it with fluffy rice or creamy mashed potatoes, this quick meal will elevate your dinner table from ordinary to extraordinary. Curious about how to master this delightful recipe? Let’s dive in!

Why Is Honey Butter Chicken a Must-Try?
Simplicity, This recipe is incredibly easy, allowing even novice cooks to whip up a delicious meal in just 30 minutes.
Rich Flavor, The delightful combination of honey, garlic, and soy sauce creates a sauce that’s both sweet and savory, elevating your dining experience.
Crowd-Pleasing, This dish is a guaranteed hit at family dinners or gatherings; it’s hard to resist that crispy, tasty chicken!
Versatile Options, Enjoy it with rice, mashed potatoes, or even on a sandwich—perfect for any mood or occasion.
Want something equally delicious? Try my Cajun Honey Butter for a flavorful twist!
Honey Butter Chicken Ingredients
For the Chicken
• Boneless Chicken Thighs or Chicken Tenders – Main protein source; offers juiciness and flavor. Substitution Note: You can use boneless chicken breasts or tenderloins if preferred.
• Flour – Provides a crispy coating. Substitution Note: Gluten-free flour can be used for a gluten-free option.
• Kosher Salt – Enhances the flavors of the dish. Substitution Note: Sea salt or flaky salt works as well.
• Black Pepper – Adds seasoning; adjust to personal preference.
• Garlic Powder – Contributes savory depth; 1 teaspoon is recommended for flavor.
• Olive Oil (or Canola/Vegetable Oil) – For frying; use extra virgin for best flavor.
For the Sauce
• Unsalted Butter – Critical for the sauce; provides richness. Substitution Note: Vegan butter can replace for a dairy-free version.
• Honey – Implements sweetness and glaze for the chicken.
• Garlic (minced) – Fresh garlic gives the best flavor to the sauce. Avoid frozen minced garlic.
• Light Soy Sauce – Deepens flavor and adds a savory note to the sauce.
With these ingredients ready, you’re one step closer to mastering this comforting Honey Butter Chicken dish!
Step‑by‑Step Instructions for Honey Butter Chicken
Step 1: Prepare the Coating
In a large bowl or on a plate, whisk together the flour, kosher salt, black pepper, and garlic powder until well combined. This seasoned flour mixture is key for achieving the crispy texture in your Honey Butter Chicken. Make sure to have it ready before moving on, as this will be used to coat the chicken.
Step 2: Coat the Chicken
Take your boneless chicken thighs or tenders, and coat each piece thoroughly in the flour mixture. Ensure they’re well covered to achieve that delightful crunch once fried. Let the coated chicken rest for a few minutes to allow the coating to set, giving you that perfect crispy exterior.
Step 3: Heat the Oil
In a large skillet, pour in enough olive oil to cover the bottom with about 1/4 inch layer and heat over medium-high heat. Allow the oil to shimmer, which indicates it’s hot enough for frying. This step is crucial for achieving golden-brown, crispy chicken, so keep an eye on the temperature as you prepare to fry.
Step 4: Fry the Chicken
Carefully add the coated chicken pieces to the hot oil in the skillet. Fry them for about 5 minutes on one side until they are golden brown and crispy. Then, flip each piece and cook for an additional 5 minutes on the other side. The chicken should reach an internal temperature of 165°F for optimal juiciness.
Step 5: Set Aside the Chicken
Once the chicken is nicely browned and cooked through, carefully remove it from the skillet using tongs or a slotted spoon. Place the fried chicken on a plate lined with paper towels to drain any excess oil. This will help keep your Honey Butter Chicken crispy while you prepare the sauce.
Step 6: Prepare the Sauce
In the same skillet, reduce the heat to medium and add unsalted butter. Once melted, incorporate the honey, light soy sauce, and freshly minced garlic into the skillet. Cook the mixture for about 2 minutes until it becomes bubbly and fragrant. This sauce will create a beautiful glaze for your chicken, enhancing the dish’s flavor.
Step 7: Combine Chicken and Sauce
Return the fried chicken pieces back into the skillet with the sauce. Toss them gently to ensure each piece is well coated in the sticky sweetness. Allow the chicken to cook in the sauce for about 1 minute, giving the flavors a chance to meld together and create a delightful finish to your Honey Butter Chicken.
Step 8: Serve and Enjoy
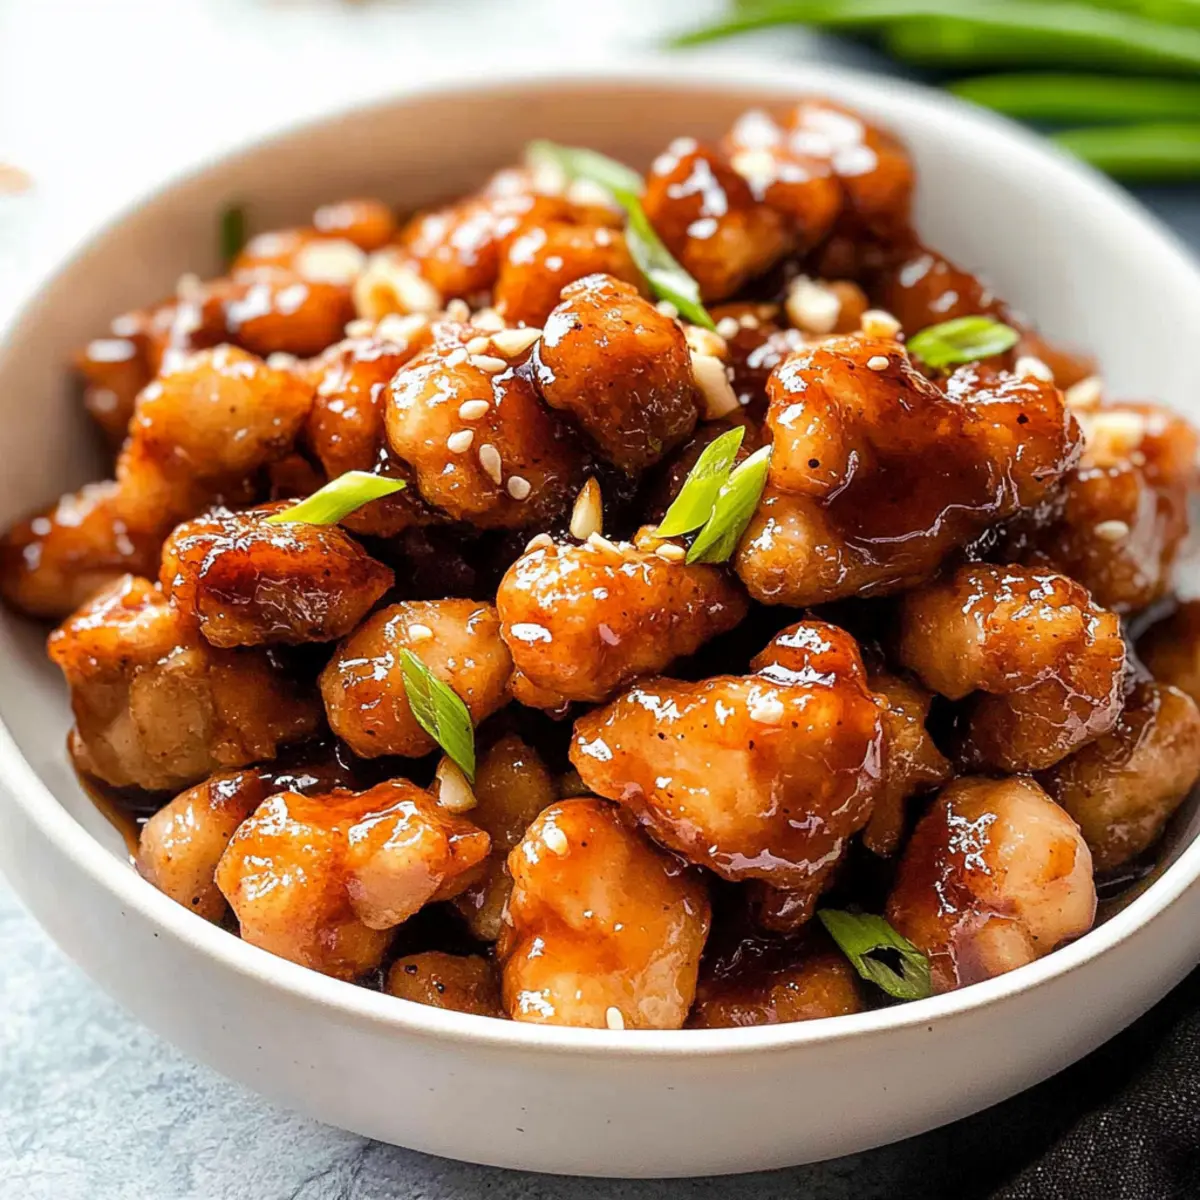
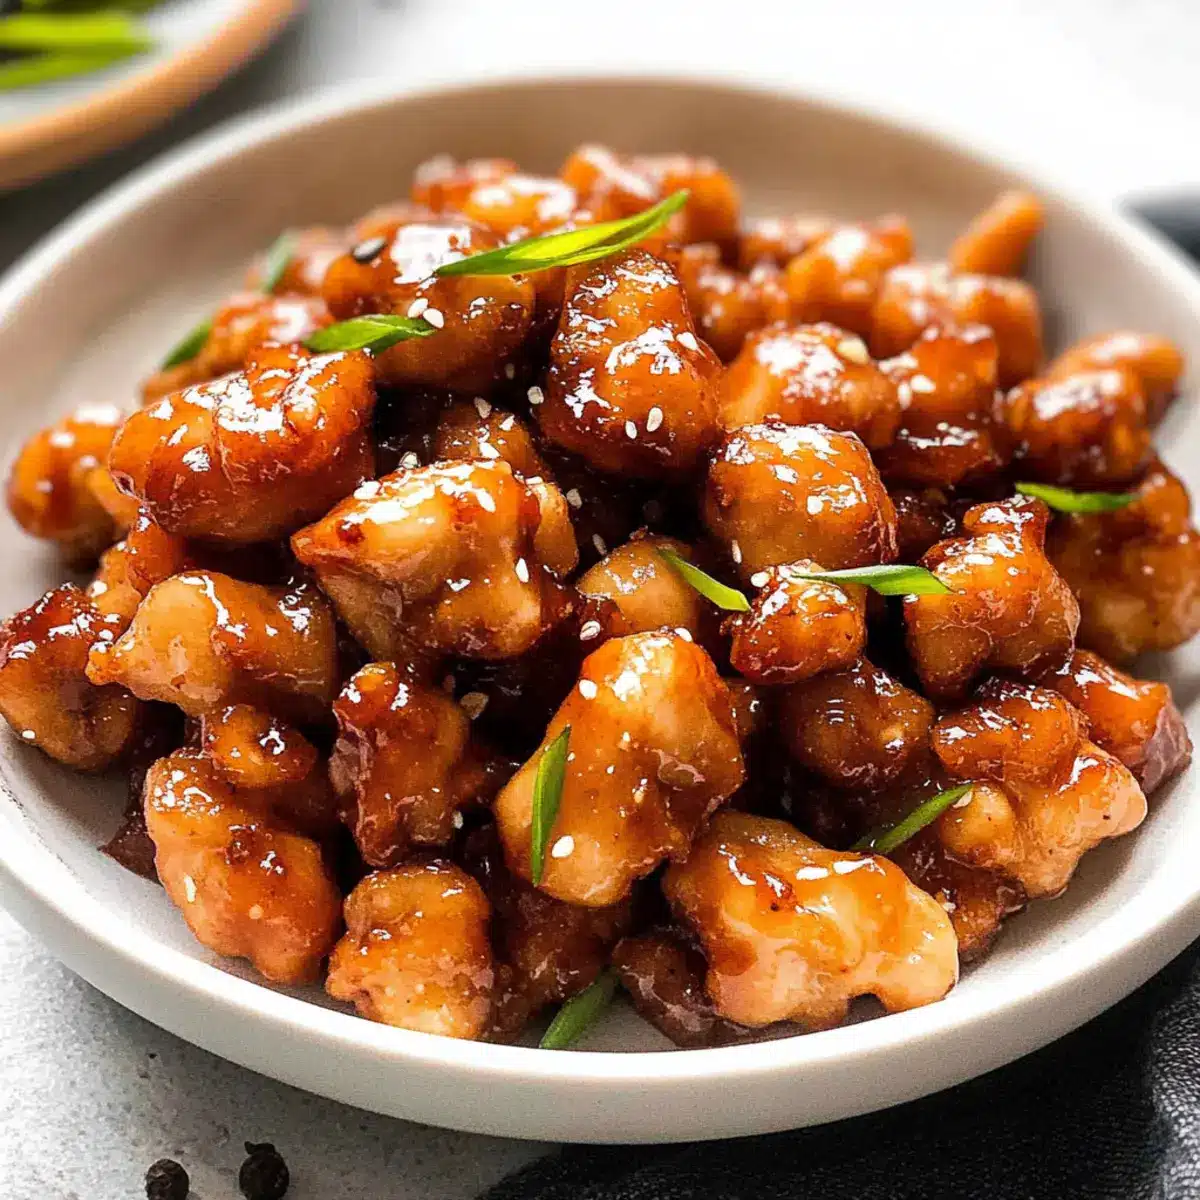
Once the chicken is thoroughly coated and heated through, transfer it to a serving plate. Serve your Honey Butter Chicken hot, ideally paired with steamed rice or creamy mashed potatoes. The crispy exterior and juicy interior make this dish a winner for any family dinner!
Make Ahead Options
Preparing your Honey Butter Chicken ahead of time is a fantastic way to save precious minutes during busy weeknights! You can coat the chicken with the seasoned flour up to 24 hours in advance; just keep it covered in the fridge to maintain its crispiness. For the sauce, mix the butter, honey, soy sauce, and minced garlic, and refrigerate it separately for up to 3 days. When you’re ready to enjoy this delectable dish, simply fry the chicken and heat the sauce on medium until bubbly before combining them. This ensures your Honey Butter Chicken is just as flavorful and comforting as when made fresh, allowing you to savor delicious home-cooked meals without the last-minute rush!
Honey Butter Chicken Variations
Feel free to get creative with this Honey Butter Chicken recipe to make it uniquely yours!
-
Dairy-Free: Replace unsalted butter with vegan butter for a delicious dairy-free version that still packs flavor.
-
Gluten-Free: Swap the all-purpose flour for a gluten-free flour blend; it’ll still give you that irresistible crisp!
-
Spicy Kick: Add cayenne pepper to the flour mixture for a zesty twist that complements the sweetness of the honey.
-
Herb Infusion: Include fresh thyme or rosemary in the sauce for a fragrant herbaceous note; it elevates the dish beautifully.
Enhancing flavors with fresh herbs transforms this dish into a gourmet experience everyone will love! -
Honey Swap: For a different sweet profile, try using maple syrup or agave nectar in place of honey.
This twist offers a unique flavor while keeping the essence of the dish intact. -
Vegetable Side: Mix in some sautéed bell peppers and onions with the chicken for added texture and nutrition.
-
Asian Flair: Substitute the soy sauce with teriyaki sauce for a sweeter, more complex flavor profile.
This fusion twist can transport your taste buds straight to a gourmet bistro! -
Citrus Zing: Add a splash of fresh lemon or lime juice to the sauce before serving for a refreshing tang that brightens the dish.
With these variations, you can explore the world of flavors and make this comforting meal fit your family’s taste preferences. If you’re craving more delicious chicken dishes, don’t miss out on my Crispy Hot Honey Chicken or try the delightful Honey Harissa Chicken for something different. Happy cooking!
How to Store and Freeze Honey Butter Chicken
Fridge: Store leftover Honey Butter Chicken in an airtight container for up to 3 days. Ensure it’s completely cooled before sealing to maintain freshness.
Freezer: For longer storage, freeze the chicken in an airtight container for up to 3 months. Wrap tightly to protect against freezer burn.
Reheating: To reheat, thaw in the fridge overnight, then warm gently in the microwave or on the stovetop over low heat to avoid drying it out.
Airtight Storage: Always use airtight containers for both fridge and freezer storage to keep your Honey Butter Chicken tasting fresh and delicious!
Expert Tips for Honey Butter Chicken
Crispy Coating: Ensure the chicken pieces are coated evenly in the flour mixture to achieve the signature crunchy texture of Honey Butter Chicken.
Right Temperature: Fry the chicken at a medium-high heat; too low can lead to sogginess, while too high may burn the coating.
Don’t Rush: Allow the chicken to form a golden crust without flipping it for at least 5 minutes. Patience is key for that perfect crisp!
Monitor Sauce Heat: When adding the chicken to the sauce, avoid boiling it. Higher heat can cause the butter in the sauce to separate.
Garlic Freshness: Use fresh minced garlic for the best flavor impact in your sauce. Avoid frozen garlic as it tends to lack that vibrant taste.
Customize Spice: Feel free to add cayenne pepper for a spicy twist that complements the sweetness of the honey!
What to Serve with Honey Butter Chicken
Transform your dinner into a culinary celebration by pairing your sweet and savory chicken with delightful side dishes that complement its flavors.
- Fluffy Rice: A bed of fluffy rice soaks up the honey garlic sauce, enhancing every bite of the juicy chicken.
- Creamy Mashed Potatoes: The buttery, creamy texture of mashed potatoes beautifully contrasts with the crispiness of the chicken.
For an added touch, drizzle the chicken’s sweet sauce over the potatoes for an irresistible flavor blend.
- Grilled Vegetables: Smoky, tender grilled vegetables introduce a burst of freshness and balance out the richness of the dish.
- Cauliflower Rice: A low-carb alternative that absorbs the sauce well, making it a light and healthy pairing.
This choice keeps the meal feeling fresh while offering a satisfying texture.
- Crispy Green Salad: Bright, crunchy greens tossed with a tangy vinaigrette add a refreshing contrast to the rich honey butter chicken.
- Chilled White Wine: A glass of chilled white wine, such as a Sauvignon Blanc, pairs brilliantly, enhancing the sweet notes of the honey.
You might also consider serving a simple fruit salad for dessert—its natural sweetness will echo the flavors of your Honey Butter Chicken, creating a harmonious finish to your meal.
Honey Butter Chicken Recipe FAQs
How do I select the best chicken for Honey Butter Chicken?
Absolutely! When choosing chicken, opt for boneless chicken thighs or tenders, as they provide juiciness and rich flavor. Look for pieces that are bright in color and firm to the touch, avoiding any that show dark spots or an unpleasant odor. If you prefer white meat, boneless chicken breasts are a great alternative!
What is the best way to store leftover Honey Butter Chicken?
For the best freshness, store leftover Honey Butter Chicken in an airtight container in the fridge for up to 3 days. Be sure to let it cool completely before sealing it up for storage. This helps retain its delightful flavors and ensures the chicken stays juicy.
Can I freeze Honey Butter Chicken?
Very much! To freeze, first allow the chicken to cool fully, then place it in an airtight container or vacuum-sealed bag, layering parchment paper between pieces if necessary to prevent sticking. It can be frozen for up to 3 months. When ready to enjoy, thaw in the fridge overnight and reheat gently in the microwave or on the stove.
What if my chicken coating isn’t crispy?
If your chicken doesn’t turn out crispy, don’t fret! One important tip is to ensure the oil is hot enough before adding the chicken—look for oil that shimmers. Also, let the chicken sit for at least 5 minutes without flipping, as this helps create that beautiful crust. If needed, a light dusting of extra flour can help enhance the crunch!
Are there any dietary considerations for this recipe?
Absolutely! If you’re making this dish for those with dietary sensitivities, the recipe can easily be adapted. For a gluten-free option, simply substitute regular flour with gluten-free flour. Additionally, you can substitute unsalted butter with vegan butter to create a dairy-free version, making this meal enjoyable for everyone at your table.
Can I prepare the Honey Butter Chicken in advance?
Of course! You can prepare the chicken and coat it in the flour mixture a few hours ahead, then store it covered in the fridge until you’re ready to fry. This not only saves time on a busy evening but also allows the flour layer to adhere better for that irresistible crispiness when cooked! Enjoy creating this delectable dish!
Savory Honey Butter Chicken: A Quick Comfort Food Dream
Ingredients
Equipment
Method
- In a large bowl or on a plate, whisk together the flour, kosher salt, black pepper, and garlic powder until well combined.
- Take your boneless chicken thighs or tenders, and coat each piece thoroughly in the flour mixture.
- In a large skillet, pour in enough olive oil to cover the bottom with about a 1/4 inch layer and heat over medium-high heat.
- Carefully add the coated chicken pieces to the hot oil in the skillet. Fry them for about 5 minutes on one side until they are golden brown and crispy.
- Once the chicken is nicely browned and cooked through, carefully remove it from the skillet using tongs or a slotted spoon.
- In the same skillet, reduce the heat to medium and add unsalted butter. Once melted, incorporate the honey, light soy sauce, and freshly minced garlic into the skillet.
- Return the fried chicken pieces back into the skillet with the sauce. Toss them gently to ensure each piece is well coated.
- Once the chicken is thoroughly coated and heated through, transfer it to a serving plate.