

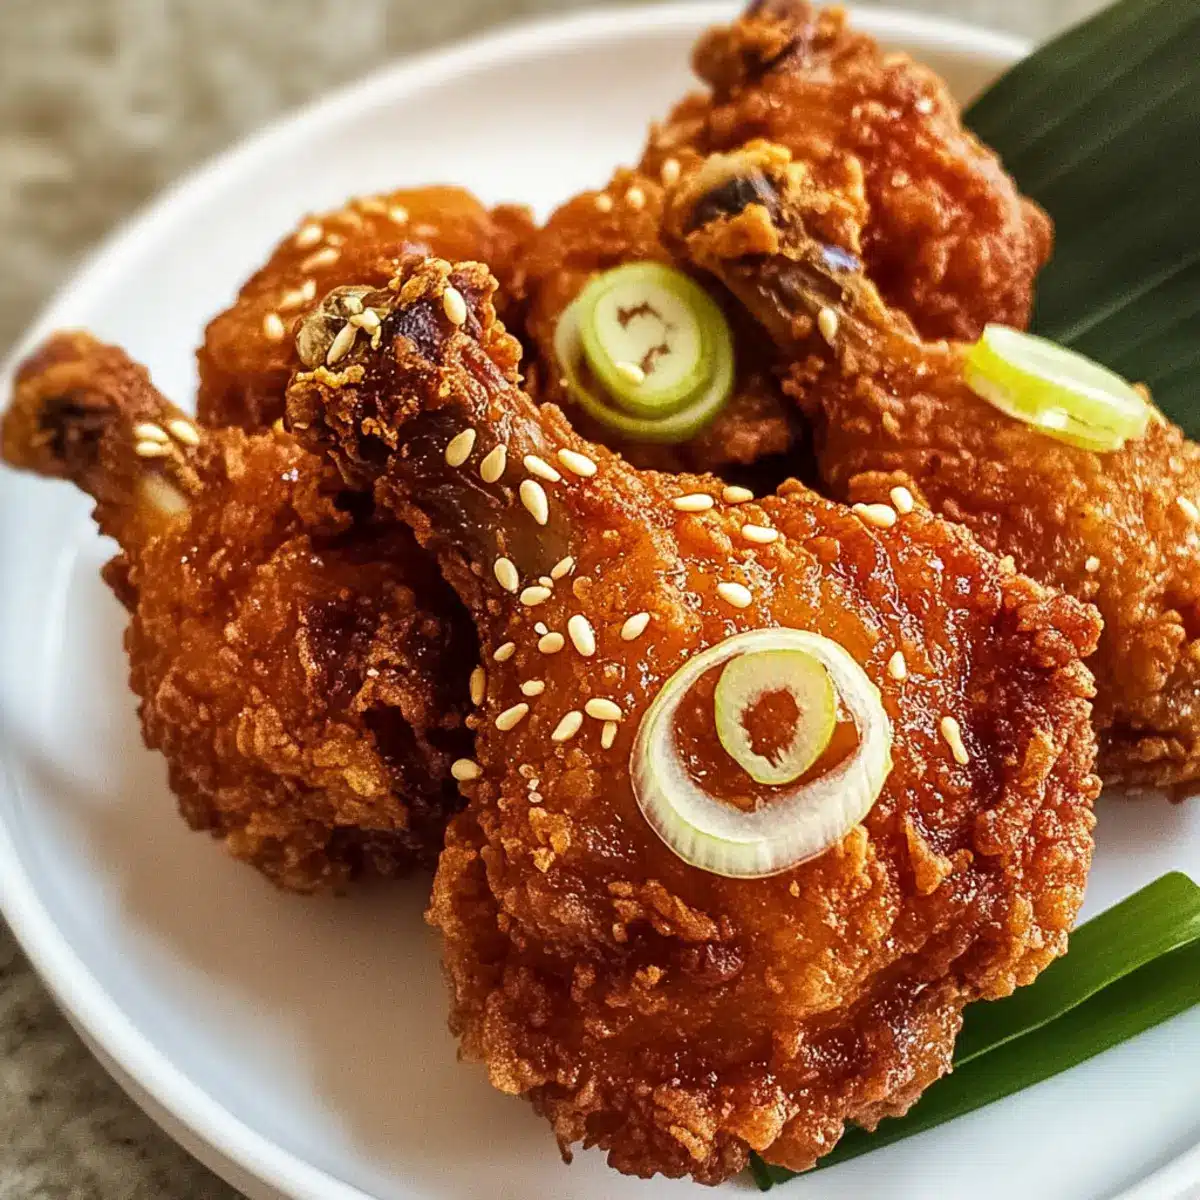
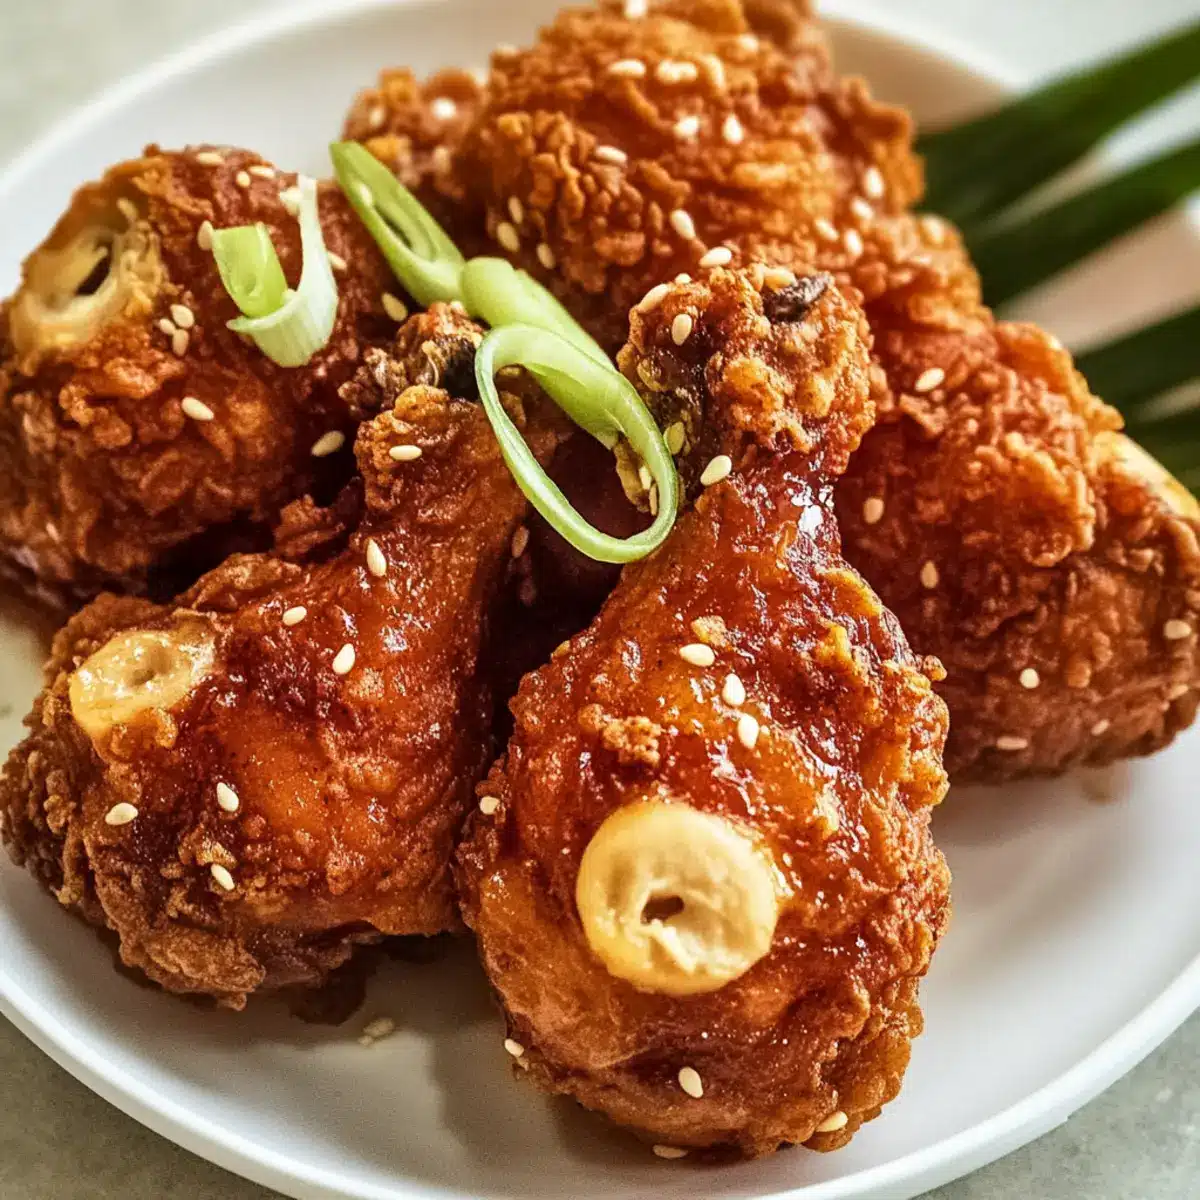
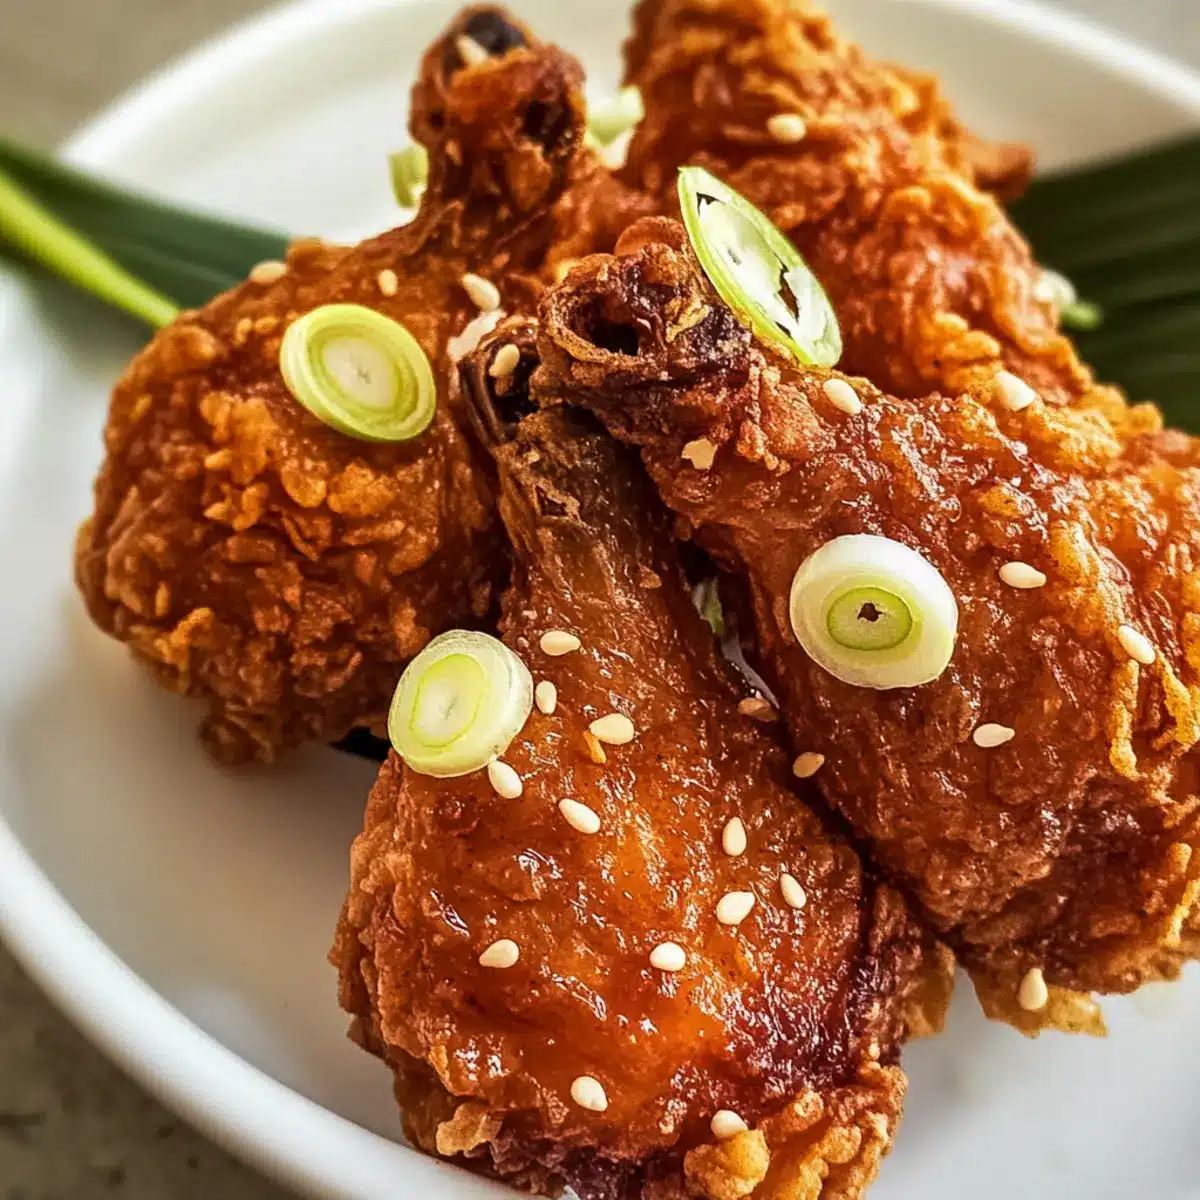
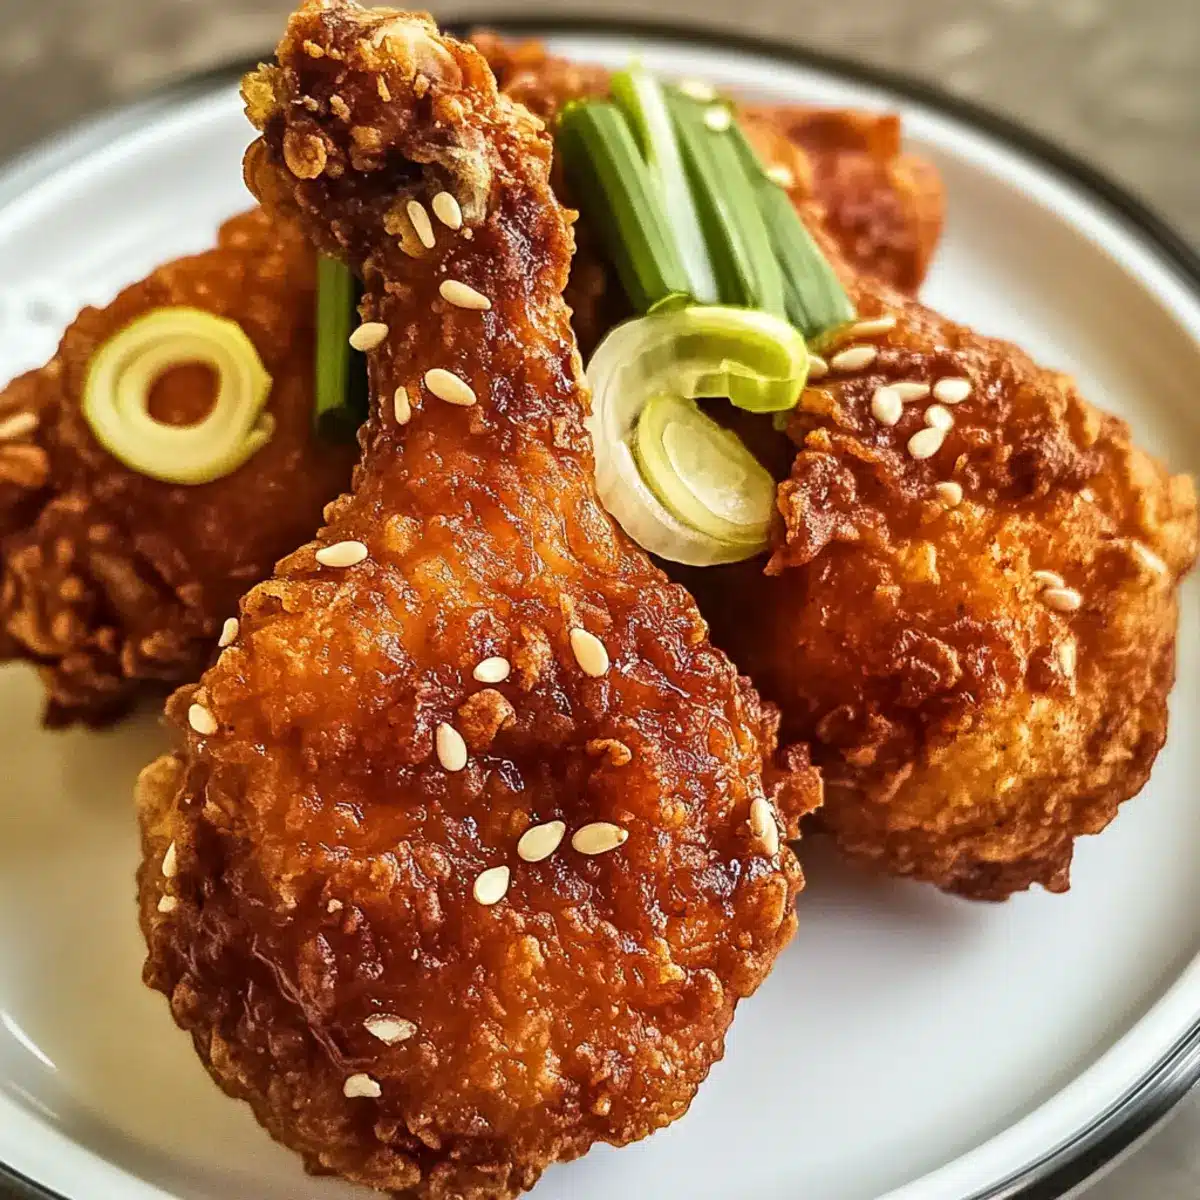
As I stood over the sizzling pot, a wave of garlicky goodness enveloped my kitchen. It’s no wonder that Garlicky Fried Chicken in Korean Style has become the ultimate comfort food for many; the perfect blend of sweet and spicy, with a crispy exterior that beckons to be bitten into. This delicious dish not only satisfies your cravings but also elevates any meal into a gathering-worthy feast. What I love most about this recipe is how quick it is to prepare, making it an effortless choice for busy evenings or special occasions alike. The magic truly lies in the homemade glaze that clings to each piece, creating a mouthwatering experience you won’t forget. Are you ready to learn how to create this crispy sensation and impress your friends and family? Let’s dive in!
Why is Korean Fried Chicken So Irresistible?
Crunchy Perfection: This Garlicky Fried Chicken in Korean Style boasts a uniquely crispy exterior that is simply addictive.
Flavor Explosion: The sweet and spicy glaze, rich in garlic and gochujang, elevates ordinary chicken to something extraordinary.
Quick & Easy: Most of the prep is a breeze—perfect for busy weeknights or last-minute gatherings!
Crowd-Pleaser: Whether served as a snack or the main course, it’s sure to wow your family and friends, much like my Garlic Parmesan Chicken or Marry Chicken Pasta recipes do.
Versatile Delights: Feel free to adjust the heat level with gochujang and honey to cater to your taste buds!
Easy Cleanup: With fewer dishes to wash, you’ll enjoy your meal and the moment without much fuss!
Garlicky Fried Chicken Ingredients
For the Chicken
• Chicken Wings or Drumsticks – The primary protein; thighs or breasts can be used as substitutes.
• Salt – Essential for seasoning; it enhances overall flavor.
• Black Pepper – Adds a mild heat that you can adjust to your preference.
• Cornstarch – Key for creating that irresistible crispy coating; potato starch or all-purpose flour can work as well.
For the Sauce
• Minced Garlic – The star for robust flavor; integral for the sauce.
• Soy Sauce – Adds umami depth and saltiness to the chicken.
• Rice Vinegar – For a touch of acidity; can be replaced with apple cider vinegar or white vinegar.
• Sugar – Balances out the flavors in the sauce beautifully.
• Honey – Infuses sweetness; consider increasing for a sweeter note.
• Gochujang (Korean chili paste) – This is what gives the dish its signature heat; sub with sriracha and sugar for an alternative.
• Sesame Oil – Adds a nutty flavor to the sauce; olive or peanut oil can stand in if needed.
• Vegetable Oil – Necessary for frying; make sure it can handle high temperatures.
Finishing Touches
• Sesame Seeds (optional) – A delightful garnish that adds texture and flavor.
• Green Onions (optional) – Brings freshness and color, along with a mild onion flavor.
Now, get ready to create some crispy Garlicky Fried Chicken in Korean Style that will have everyone’s taste buds dancing!
Step‑by‑Step Instructions for Garlicky Fried Chicken In Korean Style
Step 1: Preparation
Begin by drying chicken wings or drumsticks thoroughly with paper towels. Season them generously with salt and black pepper on all sides, ensuring an even distribution. This step is essential for enhancing the flavor of the chicken before it gets coated.
Step 2: Coating
Next, take the seasoned chicken and coat each piece in cornstarch. This will create that irresistible crispy texture when fried. Make sure every inch is covered, shaking off any excess cornstarch before moving on to the frying stage.
Step 3: Frying
Heat vegetable oil in a large, deep pan over medium-high heat until it reaches 350°F (175°C). Carefully add the chicken in batches, frying for 10–12 minutes until they are golden brown and crispy. Use a thermometer to ensure the internal temperature reaches 165°F (74°C) for perfectly cooked chicken.
Step 4: Sauce Creation
While the chicken is frying, prepare the sauce by blending minced garlic, soy sauce, rice vinegar, sugar, honey, gochujang, and sesame oil in a saucepan. Bring the mixture to a simmer over medium heat and let it thicken for 3–4 minutes, stirring occasionally before removing it from the heat.
Step 5: Glazing
Once all the chicken is fried, transfer it to a mixing bowl. Pour the warm, sticky sauce over the chicken pieces, ensuring every piece is well-coated. Toss gently to distribute the sauce evenly, allowing the flavors of the Garlicky Fried Chicken in Korean Style to meld together beautifully.
Step 6: Finishing Touches
For the final touch, sprinkle sesame seeds over the glazed chicken for added texture, and garnish with sliced green onions if desired. This not only enhances the visual appeal but also adds a burst of fresh flavor, perfecting your Garlicky Fried Chicken in Korean Style!
Make Ahead Options
These Garlicky Fried Chicken in Korean Style are perfect for meal prep, allowing you to save time on busy weeknights! You can season the chicken wings or drumsticks and coat them in cornstarch up to 24 hours in advance, then refrigerate them in an airtight container to maintain their freshness. The glaze can also be prepared ahead of time and stored in the refrigerator for up to 3 days; simply reheat it in a saucepan before tossing it with the fried chicken. When you’re ready to serve, fry the chicken and glaze it as directed for that irresistible crunch you crave—just as delicious as if made fresh!
What to Serve with Garlicky Fried Chicken In Korean Style?
Nothing elevates your dining experience like perfectly paired accompaniments that highlight the vibrant flavors of your dish.
-
Creamy Coleslaw: Provides a crunchy, tangy contrast that complements the rich glaze of the chicken. The freshness balances the meal beautifully.
-
Steamed Jasmine Rice: Fluffy rice soaks up the extra sauce, creating a delightful, satisfying base that rounds out the meal perfectly.
-
Spicy Kimchi: This classic Korean side adds a fermented kick, enhancing the flavors while offering a refreshing crunch. It’s the perfect companion for fried delights!
-
Garlic Fried Rice: Infused with the same savory theme, this dish ties together perfectly with the crispy chicken, enhancing the overall experience.
-
Pickled Vegetables: Bright and tangy, pickles will cleanse your palate and introduce another layer of flavor that pairs wonderfully with the garlicky chicken.
-
Korean Beer or Soju: A chilled beer or a glass of soju complements the spicy notes of the dish, ensuring the flavors remain balanced and enjoyable.
-
Mango Salsa: The sweetness of mangoes adds a fresh twist, harmonizing with the rich, crispy chicken while offering a delightful contrast in texture.
-
Chocolate Mousse: For dessert, a luscious chocolate mousse provides a rich finale to your meal, balancing the spices with a hint of indulgence.
Elevate your family dinner or game day spread with these mouthwatering accompaniments that will have everyone asking for seconds!
Expert Tips for Garlicky Fried Chicken
Double Frying Method: Frying chicken twice guarantees extra crispiness. Start at 300°F (150°C) until cooked, then increase to 375°F (190°C) for a golden finish.
Ideal Coating: Ensure chicken is well-coated in cornstarch to achieve that crunchy texture. Don’t skip shaking off excess flour—too much can lead to soggy bites.
Temperature Checks: Use a thermometer to make sure the oil is at 350°F (175°C) before frying. If it’s too cool, your chicken might absorb oil and become greasy.
Marinating Magic: For a flavor boost, marinate the chicken in a mix of soy sauce, garlic, and a bit of honey for at least an hour before coating. You’ll taste the difference!
Garnish with Purpose: Don’t skip the sesame seeds and green onions! They not only beautify your dish but also add delightful texture and fresh flavor to your Garlicky Fried Chicken in Korean Style.
Storage Wisdom: If you have leftovers, store them in an airtight container. When reheating, bake at low heat to keep the chicken crispy rather than microwaving it, which can make it rubbery.
Variations & Substitutions for Garlicky Fried Chicken In Korean Style
Customize your Garlicky Fried Chicken in Korean Style to match your cravings and dietary needs—it’s all about flavor!
-
Spicy Kick: Increase the amount of gochujang for those who love extra heat. A fiery twist can transform your chicken into a bold flavor explosion!
-
Gluten-Free: Use gluten-free soy sauce and substitute cornstarch with rice flour for a crispy coating without the gluten.
-
Sweet Twist: Replace honey with maple syrup for a unique flavor profile that still retains that delightful sweetness.
-
Crispy Crunch: Swap in crushed cornflakes or panko breadcrumbs instead of cornstarch for a different texture that adds delightful crunchiness!
-
Vegan Option: Use tofu or jackfruit as a protein base, marinating it in the sauce before frying for a plant-based version bursting with flavor.
-
Herb Flavor: Add finely chopped fresh herbs like cilantro or parsley to the glaze for an aromatic touch. Fresh herbs elevate the flavors beautifully, enhancing the dish.
-
Savoury Boost: Incorporate a dash of smoked paprika or garlic powder into the cornstarch for an extra layer of mouthwatering savory goodness.
-
Zesty Twist: Squeeze fresh lime juice over the finished chicken for a zesty brightness that complements the sweet and spicy flavors perfectly.
Feel free to explore more delicious recipes like my Balsamic Chicken with Roasted Vegetables or indulge in some comforting Chicken Wild Rice Soup for more family favorites!
How to Store and Freeze Garlicky Fried Chicken
Fridge: Store any leftover Garlicky Fried Chicken in an airtight container for up to 2-3 days. This keeps the chicken moist while maintaining its flavors.
Freezer: If you’d like to freeze the fried chicken, place it in a freezer-safe bag or container. It can be stored for up to 3 months.
Reheating: To revive the chicken’s crispiness when reheating, place it in an oven at 350°F (175°C) for 10-15 minutes. This brings back that delightful crunch!
Storage Tip: Always allow the chicken to cool completely before sealing it in your container to prevent moisture buildup, which can lead to sogginess.
Garlicky Fried Chicken In Korean Style Recipe FAQs
How do I select the best chicken for my Garlicky Fried Chicken?
Absolutely! When choosing chicken, look for wings or drumsticks that are plump and have a consistent color. Avoid any pieces with dark spots or an off odor, as they might not be fresh. If you prefer more meat, thighs or breasts are great alternatives as well.
How should I store leftover Garlicky Fried Chicken?
Very! To keep your leftovers fresh, store them in an airtight container in the refrigerator for up to 2-3 days. If you want to maintain their crispy texture, it’s best to reheat them in the oven instead of the microwave.
Can I freeze Garlicky Fried Chicken?
Yes, absolutely! You can freeze the fried chicken by placing it in a freezer-safe bag or airtight container. Make sure to remove as much air as possible from the bag to prevent freezer burn. It will stay fresh for up to 3 months.
What should I do if the chicken turns out greasy?
No worries! If your chicken is greasy, it likely means the oil wasn’t hot enough during frying. To avoid this in the future, use a thermometer to ensure your oil reaches 350°F (175°C) before adding the chicken. Additionally, avoid overcrowding the pan, which can lower the oil temperature and lead to greasiness.
Can I make this recipe gluten-free?
Certainly! For a gluten-free version of Garlicky Fried Chicken, substitute soy sauce with tamari, which is gluten-free. You can also use cornstarch or potato starch for the coating instead of regular flour. Enjoy a delightful dish without the gluten!
What do I do if I want to adjust the spiciness level?
A great question! You can adjust the heat level based on your preference by altering the amount of gochujang and honey in the sauce. For a milder version, reduce the gochujang or mix it with a little extra honey to balance the heat. Experiment until you find the perfect level for your taste buds!
Garlicky Fried Chicken In Korean Style: Crispy Comfort Bliss
Ingredients
Equipment
Method
- Dry chicken wings or drumsticks thoroughly with paper towels, season with salt and black pepper.
- Coat each piece in cornstarch evenly, ensuring all sides are covered.
- Heat vegetable oil in a large pan until it reaches 350°F (175°C) and fry chicken in batches for 10-12 minutes until golden brown.
- Prepare the sauce by blending garlic, soy sauce, rice vinegar, sugar, honey, gochujang, and sesame oil in a saucepan and simmer for 3-4 minutes.
- Transfer fried chicken to a bowl, pour the warm sauce over and toss to coat evenly.
- Sprinkle sesame seeds and garnish with sliced green onions before serving.