

As the aroma of fresh-baked bread wafts through my kitchen, I can’t help but think of the perfect companion: The Best Vegan Butter. This homemade delight captures the rich, creamy essence of traditional butter, lovingly crafted to elevate your toast or baking adventures. What excites me most about this recipe is its simplicity; you can whip up a batch in under 10 minutes. Not only does it save you money compared to store-bought options, but it’s also versatile enough to cater to soy-free diets with a few easy swaps. Think of the joy you’ll feel spreading velvety butter on warm bagels or using it in your favorite baked treats! Do you want to discover the magic of crafting your own butter at home? Let’s dive right in!
Why Choose Homemade Vegan Butter?
Healthier Option: This delightful spread is not just tasty but also free from dairy and cholesterol, making it a heart-healthy choice.
Quick & Easy: With just 10 minutes of prep time, you’ll enjoy a creamy vegan butter without the hassle.
Two Versatile Versions: Whether you prefer a spreadable tub or a firmer stick for baking, this recipe has you covered!
Customizable Flavors: Add a pinch of turmeric for color or nutritional yeast for an umami twist—your butter, your way!
Budget-Friendly: Save money while enjoying high-quality, homemade butter compared to expensive store-bought alternatives.
Once you’ve made this, you might find yourself tempted to try other delicious recipes, like Honey Butter Chicken or Cajun Honey Butter. Enjoy the cooking journey!
Best Vegan Butter Ingredients
• Create your own creamy magic with these simple ingredients!
For the Base
- Plain Soy Milk – Provides the essential creamy base; substitute with Ripple pea milk for a soy-free option.
- Lemon Juice – Curdles the milk, enhancing flavor and texture; if desired, use apple cider vinegar instead.
For the Fats
- Refined Coconut Oil – Acts as the main contributor to a rich, creamy texture; use 1 cup for the firmer stick version and 3/4 cup for spreadable butter.
- Canola Oil – Adds balance and helps achieve the perfect consistency; light olive oil or neutral oils make good substitutes. For stick variety, reduce to 1/2 cup.
For Flavoring
- Salt – Enhances overall flavor; adjust to taste, especially beneficial for low-sodium diets.
- Soy Lecithin (optional) – Helps emulsify the mixture, ensuring smoothness; can be swapped with sunflower lecithin granules or omitted if simplicity is desired.
Craft your own Best Vegan Butter and enjoy a buttery delight that’s not only rich and creamy but also tailor-made for your tastes!
Step‑by‑Step Instructions for Best Vegan Butter
Step 1: Curdle the Milk
Measure 1/2 cup of plain soy milk and pour it into a bowl. Add 1/4 teaspoon of lemon juice, gently stir to combine, and let it sit for 5 minutes. This process curdles the soy milk, which enhances the flavor and texture of your Best Vegan Butter, so resist the urge to stir within this waiting period.
Step 2: Melt the Oils
While the soy milk is curdling, take 3/4 cup of refined coconut oil and place it in a microwave-safe bowl. Microwave on high for 20-30 seconds, carefully checking every 10 seconds until the oil is just melted and clear—avoid boiling. This oil is crucial for a rich and creamy texture in your homemade butter.
Step 3: Combine Ingredients
In a blender or food processor, pour the melted coconut oil alongside 3/4 cup of canola oil and 1 teaspoon of salt. If you’re using it, add 2 teaspoons of soy lecithin at this stage. This blend of oils and flavor will be the foundation for your Best Vegan Butter, so ensure it’s well measured and ready to go.
Step 4: Blend Thoroughly
Next, gently add the curdled soy milk to the combined oils in the blender. Secure the lid and blend on high for about 1 minute. You’ll know it’s ready when the mixture is smooth and homogenous in texture, resembling a thick liquid. This step ensures that all components are perfectly merged, creating that luscious butter consistency.
Step 5: Set the Mixture
Pour the blended mixture into a glass container or a butter mold of your choice. Place it in the freezer for 30 minutes to allow it to firm up, then transfer to the refrigerator for additional cooling. This step is vital for achieving the right consistency for both spreadable and stick versions of the Best Vegan Butter.
Step 6: Storage
Once your butter has set, store it in the refrigerator where it will keep fresh for about 5-7 days. Alternatively, you can freeze it for up to 3 months. Make sure to tightly seal the container to maintain quality. Storing your Best Vegan Butter correctly will keep it ready for those delightful cooking moments whenever you need it.
Make Ahead Options
These Best Vegan Butter options are perfect for busy home cooks looking to save time in the kitchen! You can prepare the oil mixture (refined coconut oil, canola oil, and salt) and refrigerate it up to 3 days in advance; just blend it with the curdled soy milk and lecithin when you’re ready to make your butter. For a truly time-efficient meal prep, consider making the butter itself 24 hours ahead—it will remain just as delicious after being stored in the fridge. Remember to tightly seal your container to maintain its creamy texture and flavor. When you’re ready to serve, simply take it out of the fridge and enjoy on toast or in your favorite baking recipes!
How to Store and Freeze Best Vegan Butter
Fridge: Store your Best Vegan Butter in an airtight container in the refrigerator for up to 5-7 days to maintain freshness and flavor.
Freezer: For longer storage, portion the butter into sticks and wrap them tightly in plastic wrap or aluminum foil. It’ll keep well in the freezer for up to 3 months.
Reheating: To use frozen butter, simply transfer it to the fridge to thaw overnight or let it sit at room temperature for about 30 minutes before using.
Separation Tip: If your butter separates, just give it a quick stir or blend it again to restore its smooth texture before using.
What to Serve with The Best Vegan Butter?
Indulge in the warmth of your kitchen with delightful pairings that will enhance every bite of your homemade creation.
-
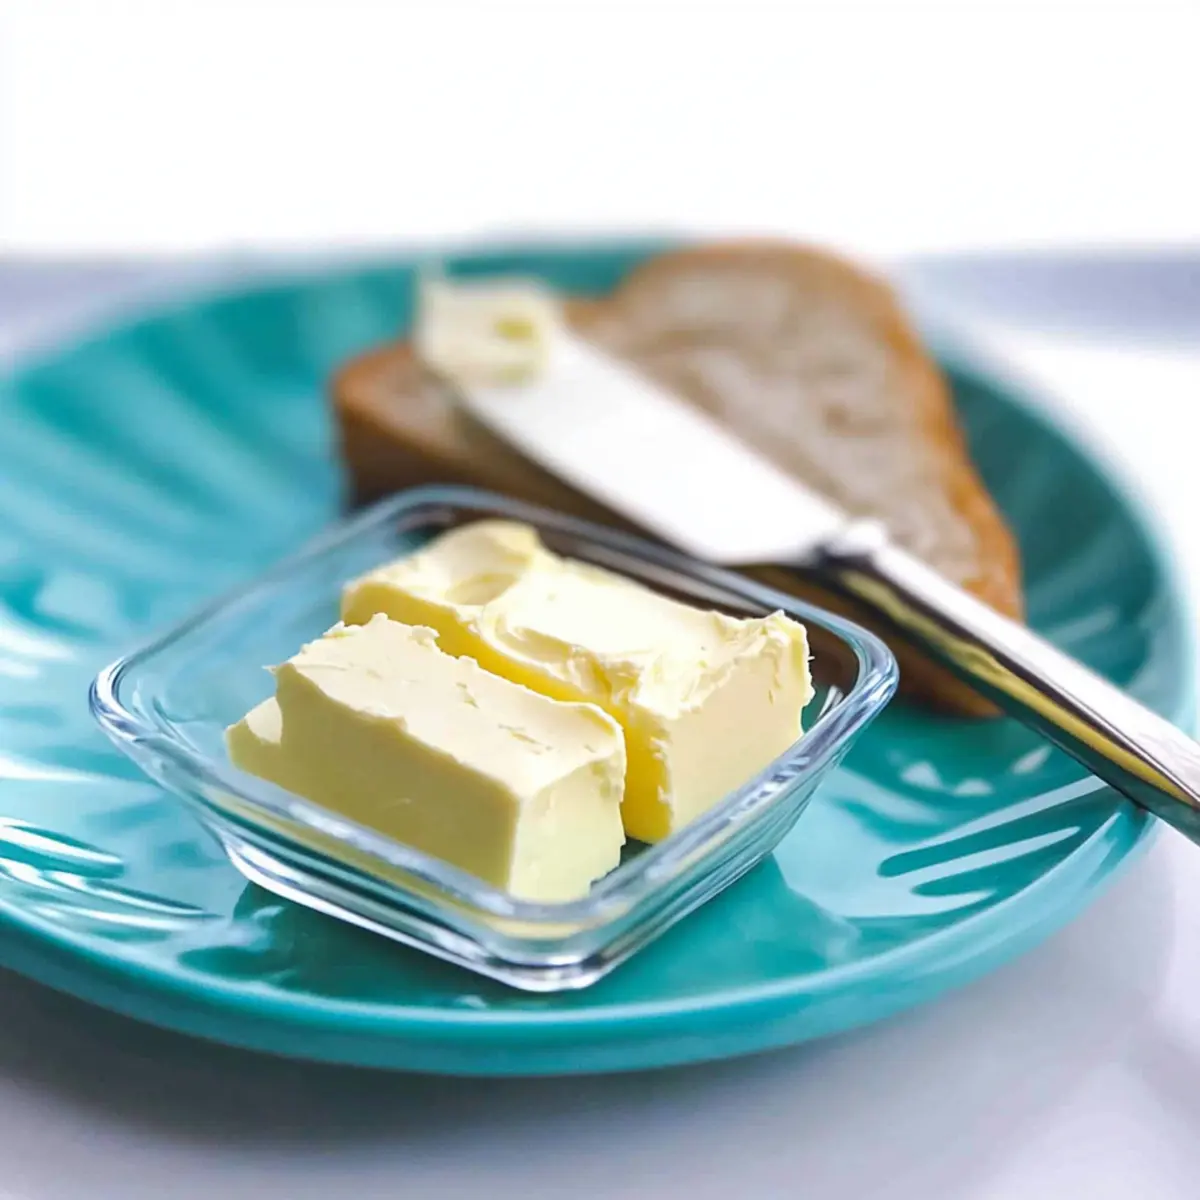
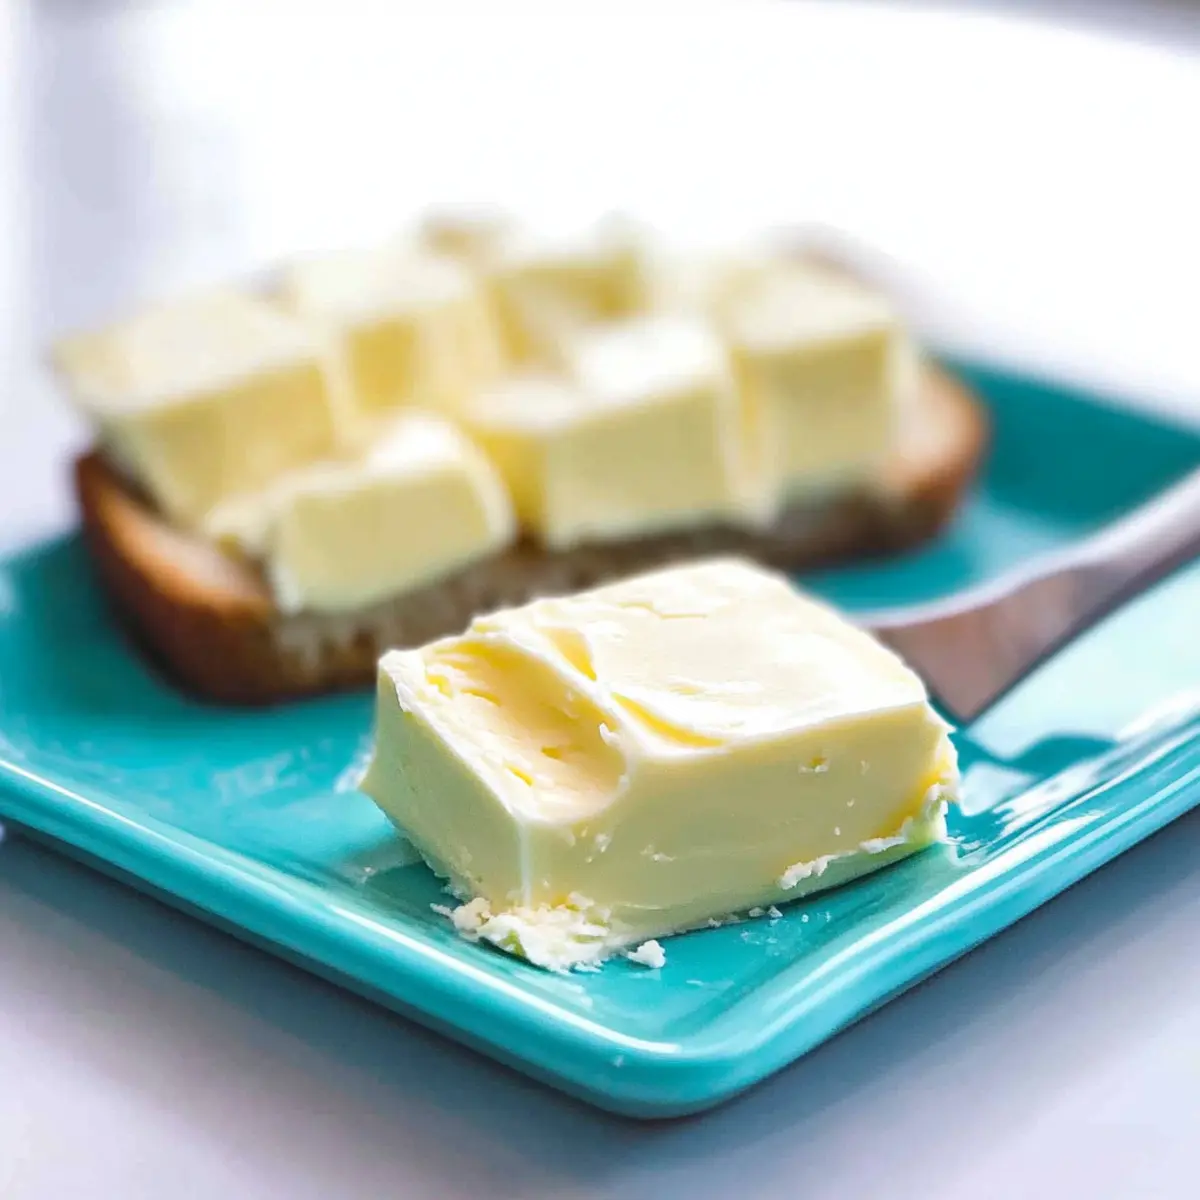
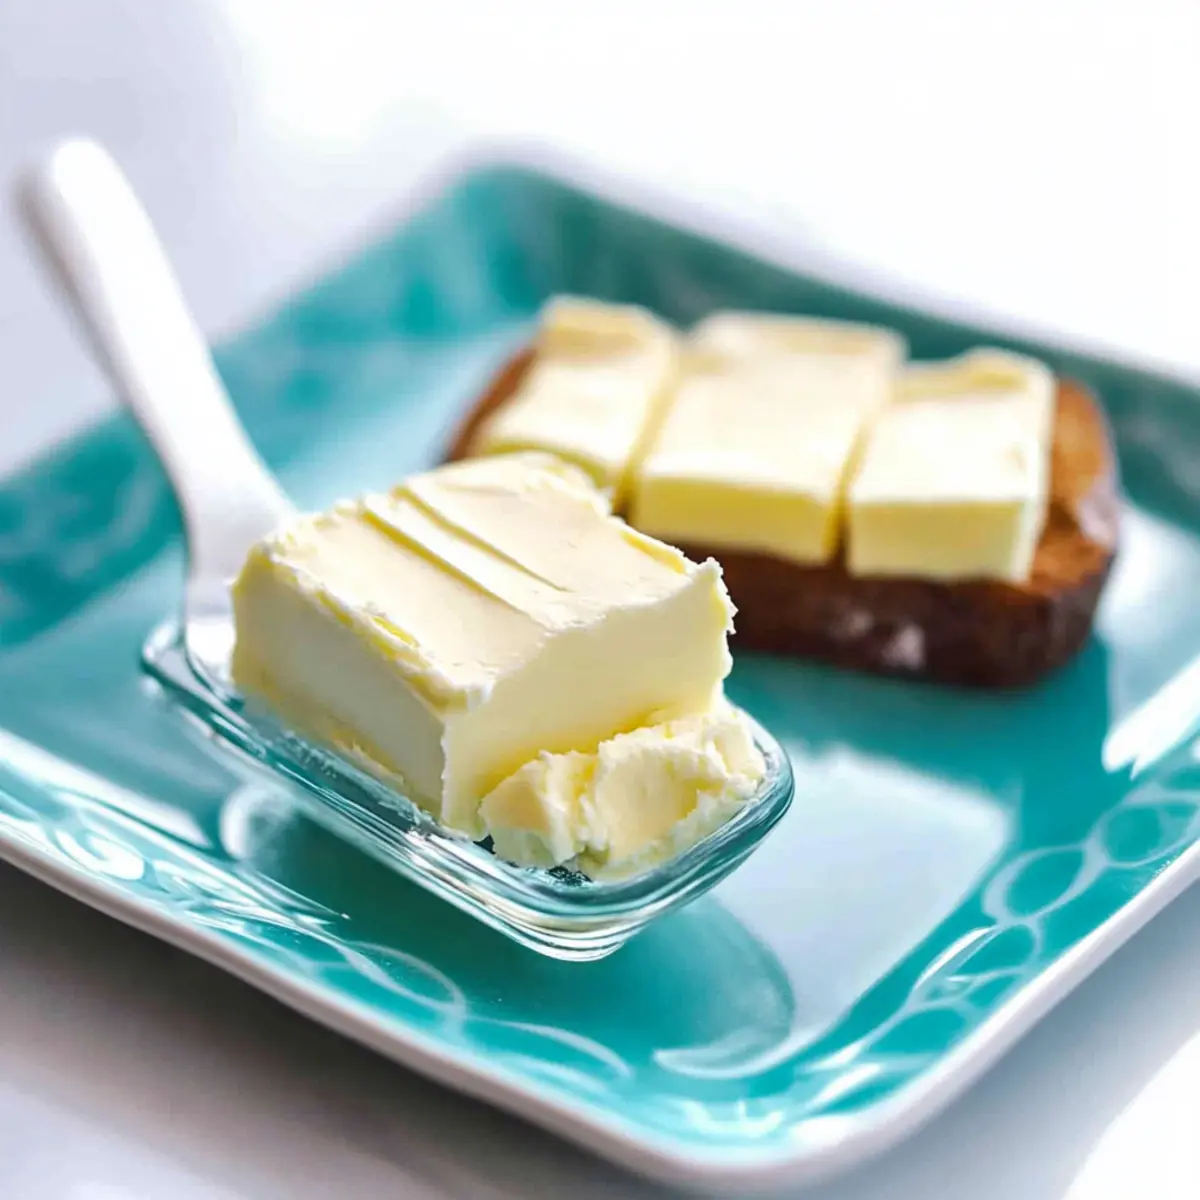
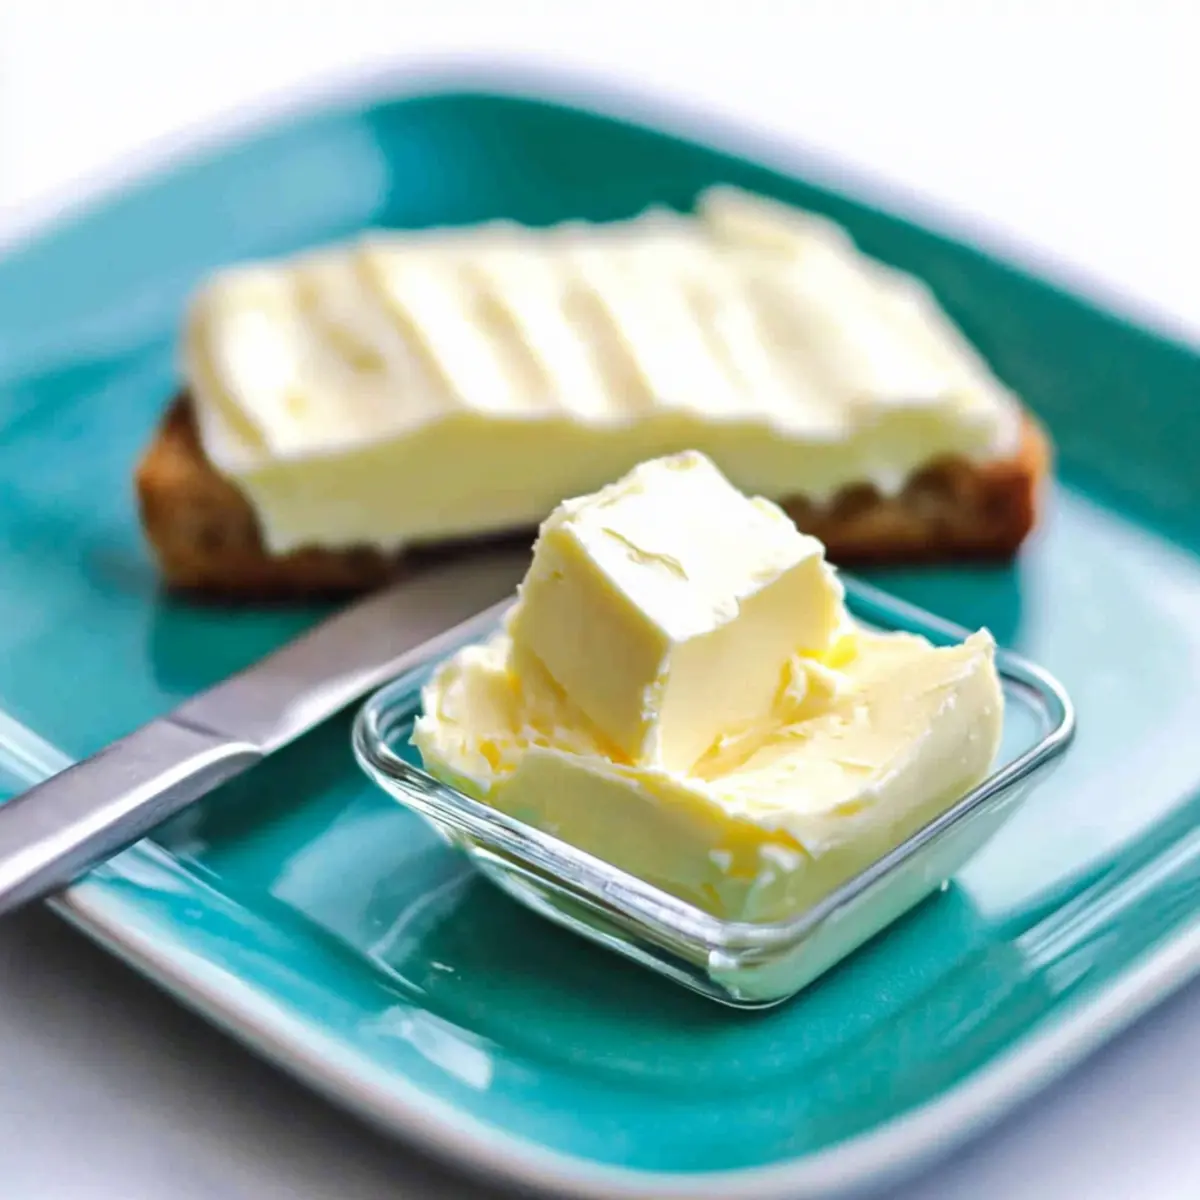
Freshly Baked Bread: There’s nothing quite like slathering your vegan butter on warm, crusty bread, creating a comforting experience that transports you straight to a cozy café.
-
Fluffy Pancakes: Drizzle your pancakes with maple syrup and a generous dollop of this creamy butter for a breakfast that feels indulgent yet wholesome.
-
Savory Roasted Vegetables: Toss seasonal veggies in some of your best vegan butter before roasting them; their natural sweetness caramelizes beautifully, enhancing your meal.
-
Oatmeal Delight: Stir in a spoonful of vegan butter into your morning oatmeal, giving each bite a rich, creamy finish that’ll keep you satisfied all morning long.
-
Quinoa Salad: Mix your vegan butter into a quinoa salad for a lovely richness that complements crisp vegetables and fresh herbs perfectly, making healthy eating a pleasure.
-
Herb-Infused Sauces: Melt a tablespoon of this vegan butter into your favorite sauces for a creamier texture and an added depth of flavor that elevates any dish.
-
Sweet Desserts: Use the stick version for baking to create rich cookies or cakes where the taste of butter shines through, creating a dessert experience that no one will believe is vegan!
Tips for the Best Vegan Butter
-
Temperature Matters: Keep ingredients at room temperature to ensure proper emulsification. Cold ingredients can lead to separation in your Best Vegan Butter.
-
Emulsification Key: Soy lecithin plays a crucial role in maintaining the creamy texture. If you skip it, the butter may separate when left out.
-
Experiment with Flavors: Enhance your butter by adding nutritional yeast for a cheesy taste or a touch of garlic powder for an extra kick!
-
Avoid Overheating Oils: When melting coconut oil, use gentle heat and check frequently. Boiling can alter the texture, so aim for a smooth melt.
-
Customize Consistency: For a firmer butter, increase the coconut oil content and decrease canola oil. Adjusting these ratios can create the perfect spread for your needs.
Best Vegan Butter Variations
Feel free to play and experiment with this delightful recipe to create your perfect vegan butter!
- Soy-Free: Substitute plain soy milk with Ripple pea milk for a rich, creamy texture without soy.
- Flavor Twists: Add a teaspoon of garlic powder or fresh herbs for a savory twist, perfect for spreading on warm bread.
- Nutty Delight: Use almond milk instead of soy milk for a subtly nutty flavor. This can enhance both taste and texture!
- Oil Swap: Replace canola oil with light olive oil for a Mediterranean flair, adding depth to your butter.
- Turmeric Touch: Mix in a pinch of turmeric for a vibrant color and a hint of earthiness—ideal for special occasions!
- Sweet Variation: Add a drizzle of maple syrup for a touch of sweetness, perfect for topping pancakes or waffles.
- Firmer Texture: For a firmer butter, increase coconut oil to 1 cup and reduce canola oil to 1/2 cup, ideal for baking.
- Nutritional Boost: Stir in nutritional yeast for a cheesy flavor and extra nutrients, a great addition for savory dishes.
As you explore these variations, you might also enjoy trying out dishes like Brown Butter Pecan and Cowboy Butter Chicken! Dive into your culinary adventure!
Best Vegan Butter Recipe FAQs
How do I choose ripe ingredients for the vegan butter?
Absolutely! For this recipe, the most important ingredient is the soy milk. Look for plain soy milk that has a ‘best by’ date at least a week in the future, ensuring it’s fresh. If you’re using lemon juice, opt for a fresh lemon for maximum flavor, as bottled juice can sometimes taste off.
How should I store the vegan butter, and what’s its shelf life?
To keep your Best Vegan Butter fresh, store it in an airtight container in the refrigerator for about 5-7 days. For longer storage, you can freeze it for up to 3 months. Make sure to wrap it tightly or use a freezer-safe container to prevent freezer burn.
Can I freeze the Best Vegan Butter? If yes, how?
Yes, you can absolutely freeze your vegan butter! To do so, follow these steps:
- Scoop the butter into portion-sized sticks or pats using parchment paper or a butter mold.
- Wrap each stick tightly in plastic wrap or aluminum foil.
- Place the wrapped butter into a freezer-safe bag or container to keep it airtight.
When you’re ready to use it, simply thaw it in the fridge overnight or allow it to sit at room temperature for about 30 minutes.
What if my vegan butter separates?
I totally get that concern! If your Best Vegan Butter separates at room temperature, it’s likely due to temperature issues during preparation. Don’t worry; just give it a good stir to recombine or re-blend it briefly. To prevent this, ensure all ingredients are at similar temperatures before combining.
Are there any dietary considerations for pets or allergies?
Very! If you’re making this vegan butter for someone with allergies, always check labels for potential allergens in your chosen oils and soy milk. Additionally, while the ingredients are vegan, avoid sharing any buttery treats with pets, particularly cats and dogs, as their digestive systems may not handle these ingredients well.
Can I use different plant-based milks for this recipe?
Indeed! You can substitute plain soy milk with Ripple pea milk for a soy-free option, or even almond or oat milk for varying flavors. Just keep in mind that different milks may alter the final texture slightly, but they can create a delicious variation for your Best Vegan Butter!
Best Vegan Butter: Creamy Homemade Delight in Minutes
Ingredients
Equipment
Method
- Curdle the Milk: Measure 1/2 cup of plain soy milk into a bowl, add 1/4 teaspoon of lemon juice, gently stir, and let it sit for 5 minutes.
- Melt the Oils: In a microwave-safe bowl, melt 3/4 cup of refined coconut oil in the microwave.
- Combine Ingredients: In a blender, combine the melted coconut oil, 3/4 cup of canola oil, and 1 teaspoon of salt; add soy lecithin if using.
- Blend Thoroughly: Add the curdled soy milk and blend until smooth and homogenous.
- Set the Mixture: Pour into a glass container and freeze for 30 minutes, then refrigerate.
- Storage: Store in the fridge for 5-7 days or freeze for up to 3 months.