

You know that moment when the aroma of freshly baked bread fills your kitchen, instantly wrapping you in warmth and nostalgia? That’s exactly what you’ll experience with these 4-Ingredient Garlic Rolls, a simple yet indulgent side dish that elevates any dinner. With just a few ingredients, you can whip up these fluffy rolls that are not only quick to prepare but also irresistibly satisfying. They’ll pair beautifully with your favorite pasta, roasted chicken, or even a light salad. Imagine pulling a tray of these golden beauties from the oven, their buttery garlic fragrance teasing everyone in the house. Are you ready to bring a touch of homemade magic to your table?
Why Are These Garlic Rolls a Must-Try?
Simplicity at Its Best: With only four ingredients, these garlic rolls make for an incredibly easy and accessible recipe, perfect for busy weeknights.
Aromatic Bliss: Imagine the savory aroma of garlic and fresh bread wafting through your kitchen—it’s pure comfort food heaven.
Fluffy Delight: Each roll is soft, fluffy, and golden brown, making them a crowd-pleaser at any dinner table.
Versatile Sidekick: Pair them with your favorite pasta, grilled meats, or even a fresh salad for a delightful twist. Don’t forget to try them alongside my Garlic Parmesan Chicken for a full flavor experience!
Quick & Effortless: No hours of kneading or extensive prep required—just mix, bake, and enjoy! These garlic rolls are bound to impress with minimal effort.
Garlic Rolls Ingredients
For the Rolls
- Frozen Dinner Rolls – These provide the fluffy base; ensure they are completely thawed before use.
- Butter (1 tbsp, melted) – Adds richness and helps achieve that perfect golden-brown top; olive oil can be a great dairy-free substitute.
- Garlic (2 cloves, minced) – Delivers that rich, savory flavor; feel free to adjust for your taste, or use roasted garlic for a sweeter touch.
- Grated Parmesan Cheese (2 tbsp) – Contributes a cheesy, salty goodness that enhances the garlic flavor; for a vegan option, try nutritional yeast.
For Serving Suggestions
- Fresh Parsley (optional) – A sprinkle of chopped parsley adds a fresh touch and bright color to the rolls.
These garlic rolls are not only quick to make but also an irresistible addition to any meal!
Step‑by‑Step Instructions for Garlic Rolls
Step 1: Preheat and Prepare
Begin by preheating your oven to 350°F (175°C) and greasing a 9×13 inch baking pan with non-stick spray or a little melted butter. This ensures that your garlic rolls will bake evenly and won’t stick to the bottom. While the oven is heating, gather your thawed frozen dinner rolls and arrange them in the greased pan for their first rise.
Step 2: Allow the Rolls to Rise
Cover the rolls with a clean kitchen towel and place them in a warm spot to rise. Let them sit for about 1 ½ to 2 hours, or until they’re nearly doubled in size. Keep an eye on them; they should puff up beautifully and radiate a comforting warmth, indicating they’re ready for the next step of making your delicious garlic rolls.
Step 3: Prepare the Garlic Butter Mixture
While the rolls are rising, melt the tablespoon of butter in a small microwave-safe bowl. Once melted, add the minced garlic and mix well to create a fragrant garlic butter. The aroma of garlic will fill your kitchen, setting the stage for your garlic rolls. This butter will be essential in delivering that rich, savory flavor you crave.
Step 4: Brush the Garlic Butter
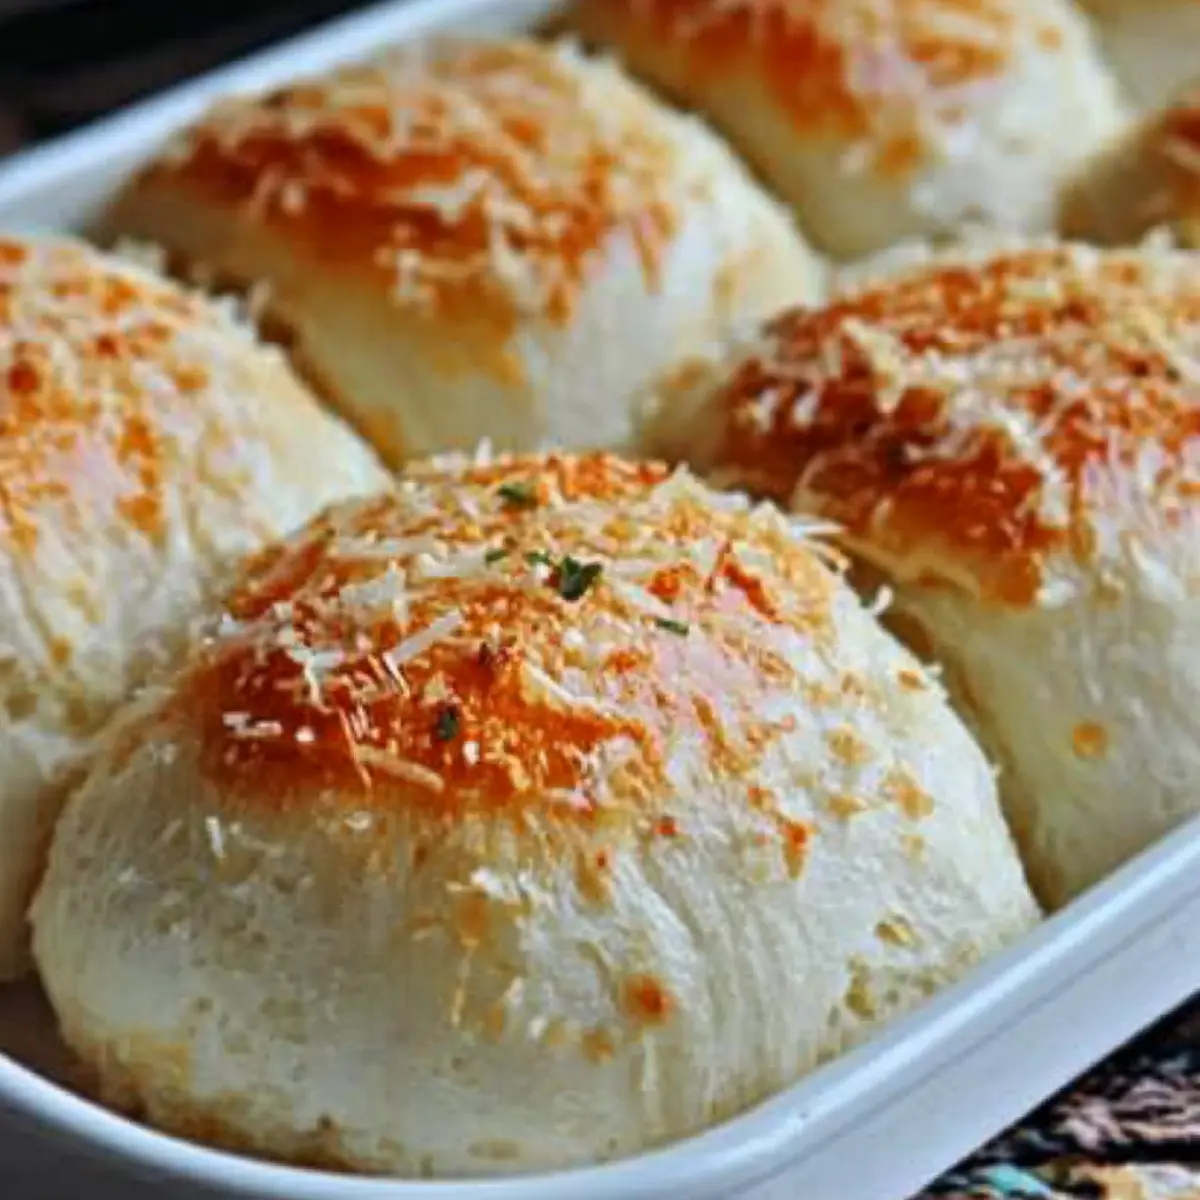
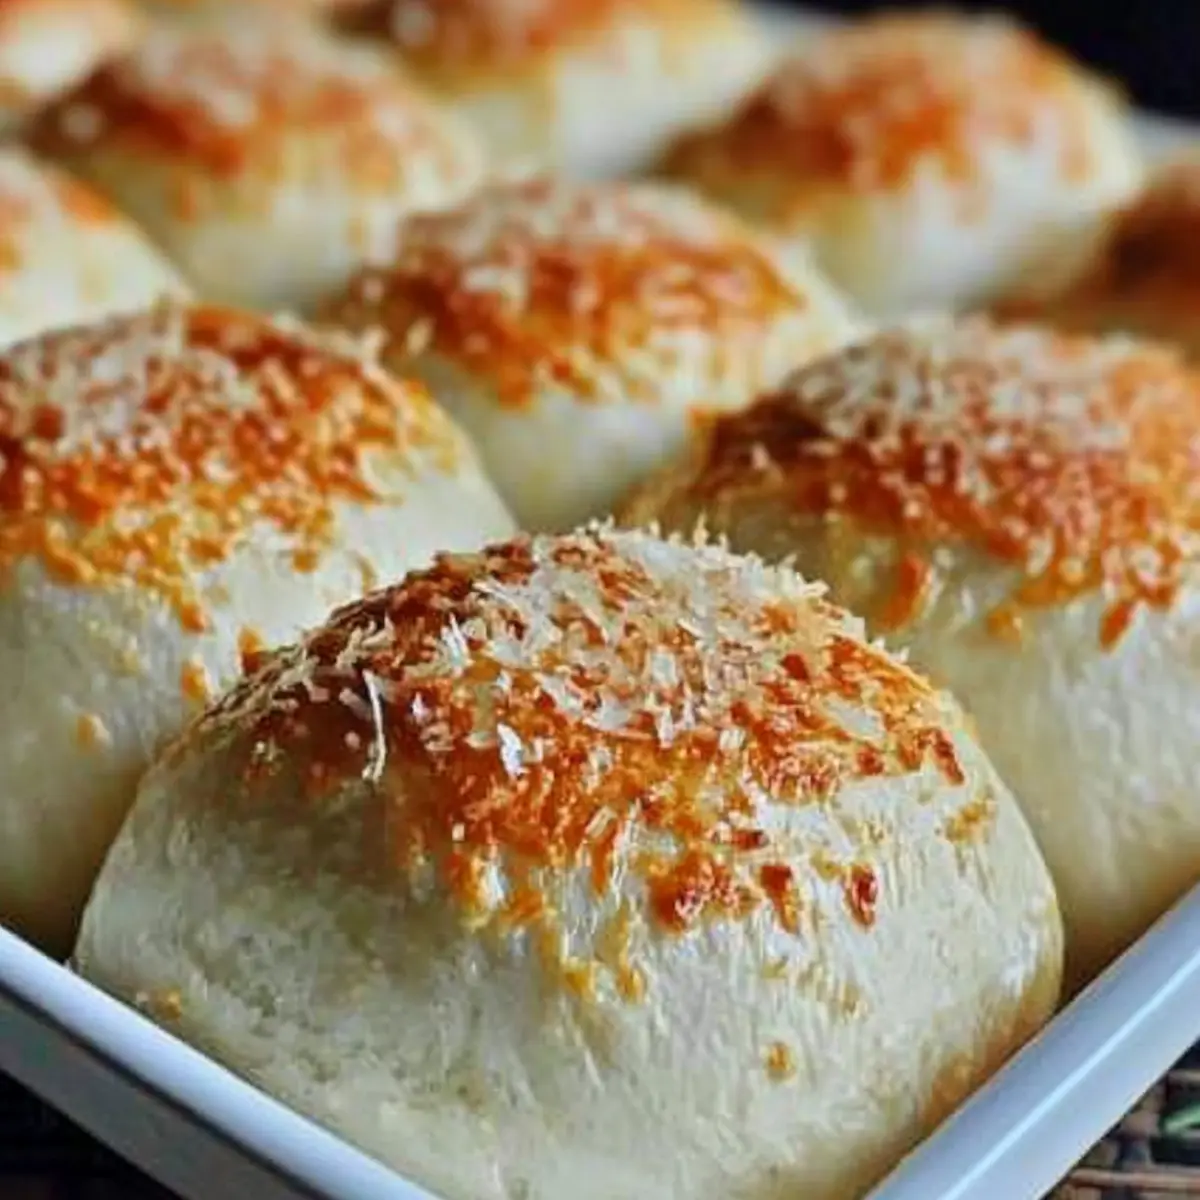
Once the rolls have risen perfectly, uncover them gently and take your garlic butter mixture. Using a pastry brush, generously brush the garlic butter over the tops of each roll, ensuring every roll gets a delicious coating. The butter will soak into the dough, creating a mouthwatering crust as they bake and making those garlic rolls truly irresistible.
Step 5: Sprinkle with Parmesan Cheese
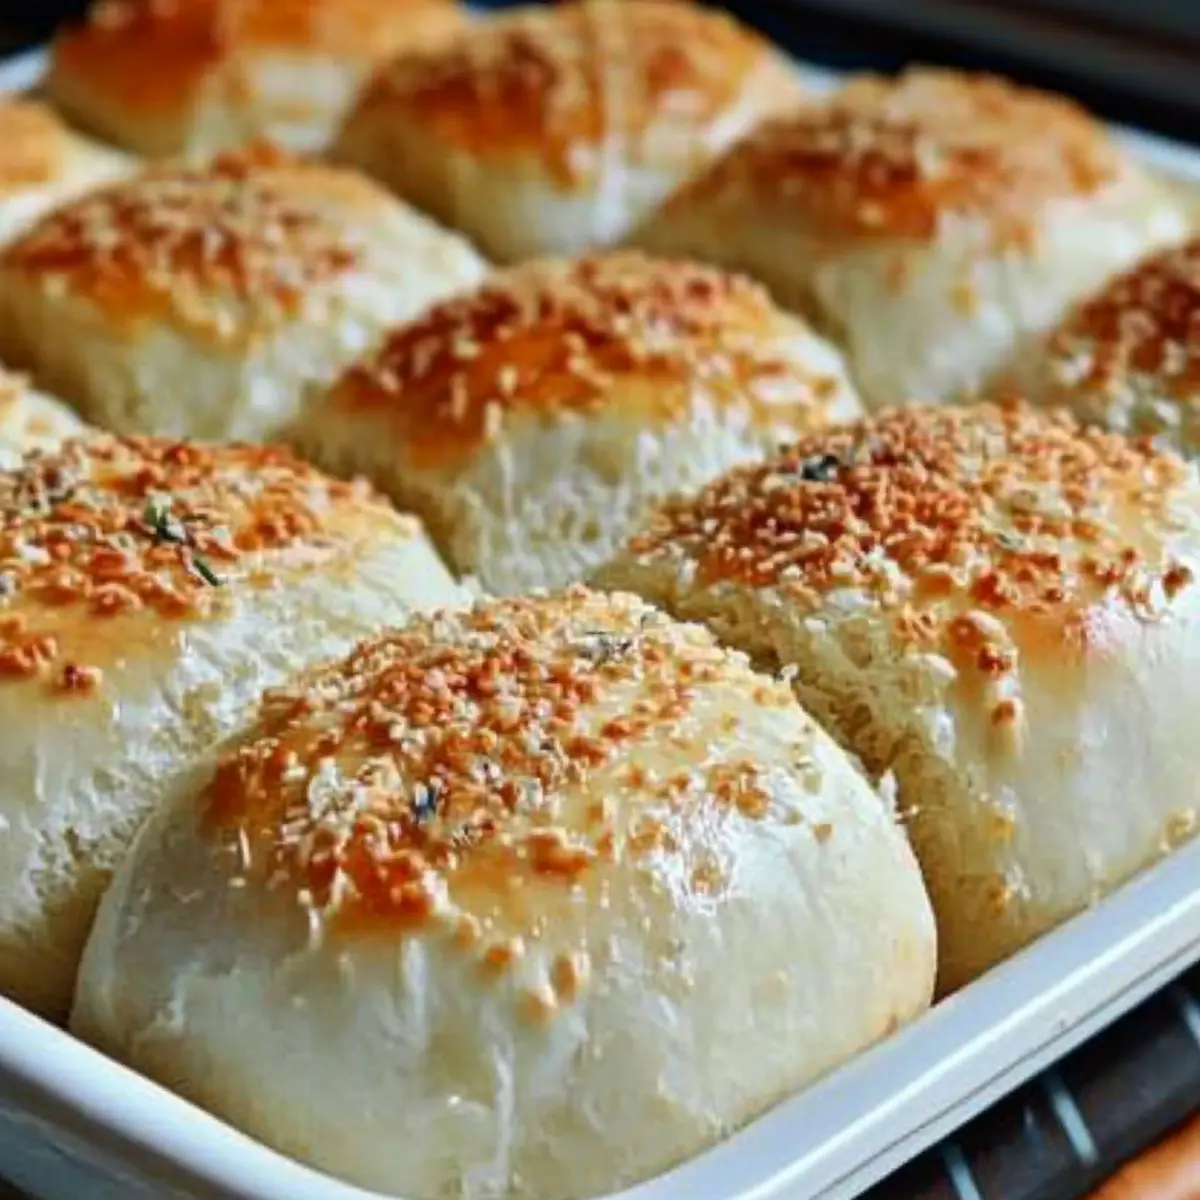
After brushing with the garlic butter, evenly sprinkle the grated Parmesan cheese over the tops of the rolls. This cheesy layer adds flavor and will develop a beautiful golden brown color as the rolls bake, transforming your simple garlic rolls into an inviting and flavorful side dish!
Step 6: Bake the Garlic Rolls
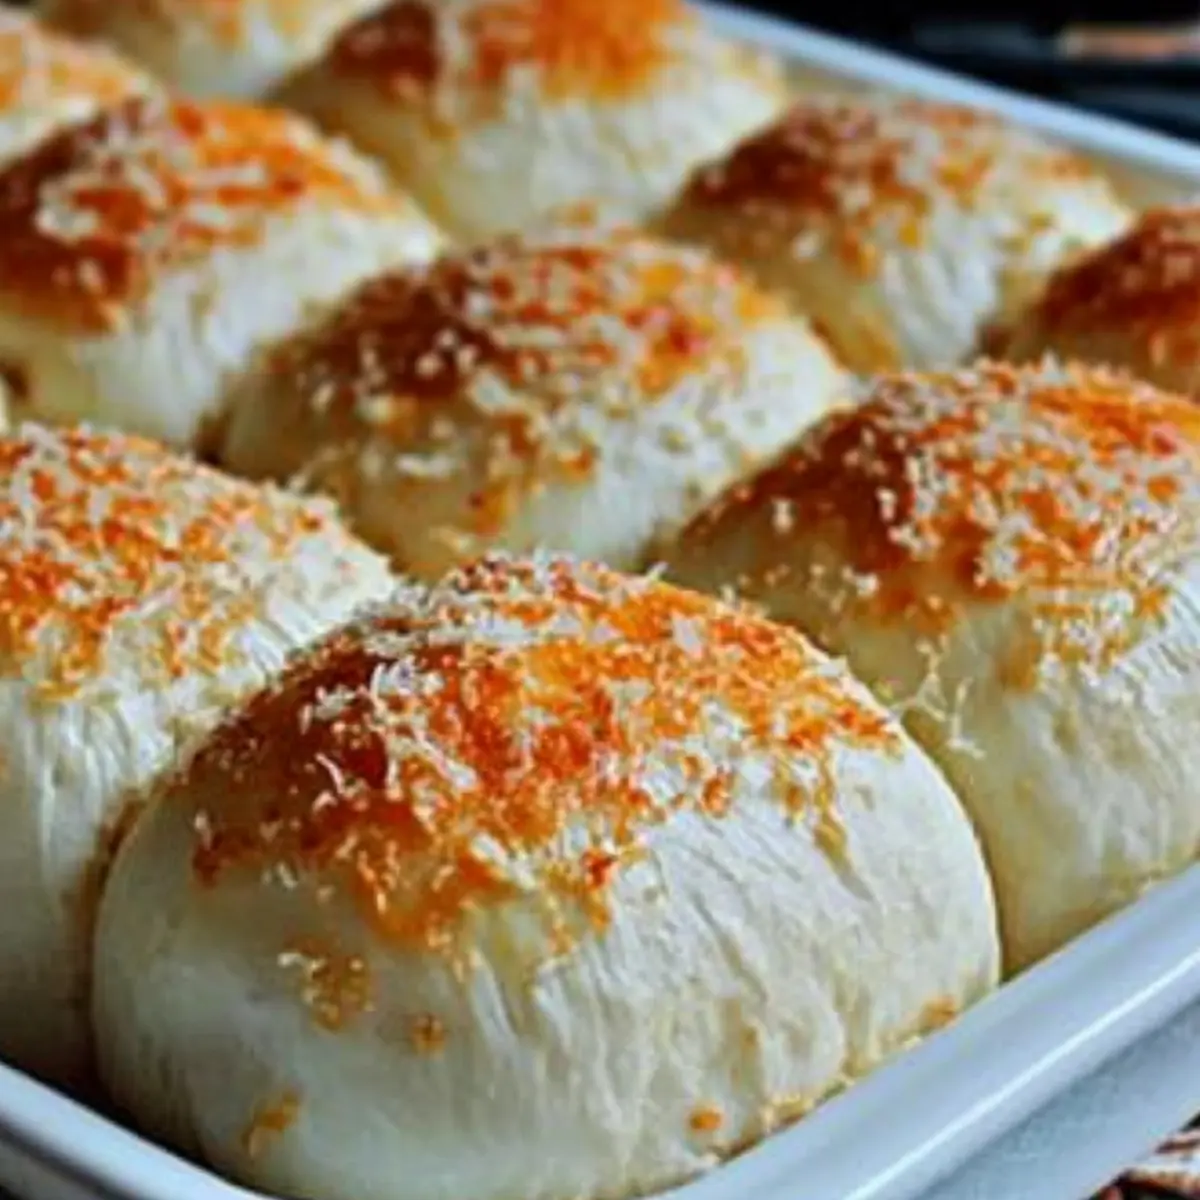
Place the prepared pan in the preheated oven and bake for 15-20 minutes. Keep a close eye on the rolls; you’re aiming for a lovely golden brown top. When done, they should look beautifully puffed and crusty, filling your kitchen with the warm scent of garlic and bread that’s bound to make your mouth water.
Step 7: Cool and Serve
Once baked to perfection, remove the garlic rolls from the oven and let them cool slightly on a wire rack for a few minutes. This will allow the butter to set a little and make them easier to handle. Serve these fluffy, golden garlic rolls warm, and watch as everyone at your table eagerly digs in!
How to Store and Freeze Garlic Rolls
-
Room Temperature: Store leftover garlic rolls in an airtight container for up to 2 days. This keeps them soft, allowing you to enjoy their delightful flavor.
-
Fridge: If you want to keep them longer, refrigerate the garlic rolls in an airtight container for up to 3 days. Reheat them in the oven or microwave to restore warmth and fluffiness.
-
Freezer: For longer storage, freeze the garlic rolls wrapped tightly in plastic wrap and then in aluminum foil, for up to 3 months. Thaw in the fridge before reheating.
-
Reheating: To revive the flavors and textures, bake thawed garlic rolls at 350°F (175°C) for 10-15 minutes until heated through. They’ll taste just like freshly made!
Garlic Rolls Variations & Substitutions
Don’t be afraid to make these garlic rolls your own—let your creativity shine through each fluffy bite!
-
Cheesy Twist: Swap grated Parmesan for mozzarella to indulge in a melty, cheesy flavor. The gooeyness will elevate these rolls and keep everyone coming back for seconds.
-
Herbed Delight: Mix in fresh herbs like rosemary or thyme into the garlic butter for an aromatic twist. The infusion of herbaceous notes will transform your rolls into a fragrant experience.
-
Heat it Up: Add a pinch of crushed red pepper flakes or cayenne to the garlic butter for a delightful kick. This touch of heat will surprise and excite your taste buds!
-
Vegan Option: Substitute butter with olive oil and replace Parmesan with nutritional yeast to create a delicious dairy-free version. You won’t miss the cheese, and your vegan friends will rejoice!
-
Savory Additions: Toss in chopped sun-dried tomatoes or olives to the dough before baking. This added texture and flavor create a Mediterranean-inspired twist that pairs beautifully with a crisp salad.
-
Sweet & Savory: For a unique take, drizzle some honey on the baked rolls before serving. This sweet contrast against the savory garlic brings an unexpected yet delightful balance.
-
Garlic Lovers: Use roasted garlic instead of raw for a sweeter, more mellow flavor. Roasted garlic will add depth and richness, perfect for those who can’t get enough garlic bliss!
-
Pesto Spread: Spread a layer of homemade or store-bought pesto on the rolls before adding the butter. This addition gives your garlic rolls a bright, herby flavor reminiscent of summer gatherings.
Feel free to explore these variations! You might just discover a new favorite way to enjoy your garlic rolls alongside a delightful dish of Lemon Garlic Butter salmon or my irresistible Garlic Parmesan Chicken. Happy cooking!
Make Ahead Options
These 4 Ingredient Garlic Rolls are perfect for busy home cooks looking to save time! You can prepare the garlic butter mixture and sprinkle the parmesan cheese up to 24 hours in advance. Simply store the butter in an airtight container in the refrigerator to maintain its freshness. When you’re ready to enjoy the rolls, arrange the thawed rolls in a baking pan and let them rise as instructed. Brush the garlic butter and sprinkle with cheese just before baking. This way, you’ll have hot, fluffy garlic rolls on the table with minimal effort and maximum flavor, making your meal prep a breeze!
Expert Tips for Garlic Rolls
-
Thawing Matters: Always make sure your frozen dinner rolls are completely thawed before using, as this ensures proper rising for your garlic rolls.
-
Rising Warmth: Cover the rolls with a clean cloth while they rise to trap warmth and moisture, preventing them from drying out.
-
Bake Right: Keep a close eye on the garlic rolls as they bake; oven temperatures can vary, and overbaking can lead to dryness.
-
Butter Brush: Generously brush the garlic butter mixture over each roll; a thorough coating enhances flavor and leads to a delicious crust.
-
Cheese Choices: Feel free to swap grated parmesan for mozzarella for a cheesier flavor; both options will elevate your garlic rolls.
What to Serve with 4 Ingredient Garlic Rolls
There’s something magical about a warm plate of garlic rolls nestled beside your favorite dishes—let’s create the perfect dining experience!
-
Pasta Primavera: The fresh vegetables and light sauce of this dish beautifully complement the buttery richness of garlic rolls. Perfect for a vibrant meal.
-
Grilled Chicken: Juicy, seasoned grilled chicken pairs wonderfully with the fluffy garlic rolls, creating a balance of hearty flavors. They’re perfect for soaking up the delicious juices.
-
Caesar Salad: The crispness of romaine lettuce and creamy dressing contrasts nicely with the soft texture of the rolls, offering a refreshing bite.
-
Creamy Mushroom Risotto: The earthy flavors of the risotto harmonize with the savory garlic and parmesan, enhancing your overall dining experience with comforting textures.
-
Roasted Veggies: A colorful medley of roasted seasonal vegetables adds a healthful touch, brightening up your table while contrasting with the garlic rolls’ softness.
-
Minestrone Soup: This hearty, vegetable-packed soup pairs well, creating a warming dinner that’s perfect for cozy nights and complements the rolls beautifully.
-
Sparkling Water with Lemon: A refreshing drink to cleanse your palate while enjoying the rich flavors of the rolls, bringing a bit of brightness to your meal.
-
Chocolate Lava Cake: For dessert, the decadent, molten center of a lava cake provides a delightful sweet contrast to the savory garlic rolls, ending your meal on a high note.
4-Ingredient Garlic Rolls Recipe FAQs
How do I select the best frozen dinner rolls?
When choosing frozen dinner rolls, look for those that are soft and free from any dark spots or freezer burn. Brands with a simple ingredient list without preservatives often yield the best results. Thaw them properly to ensure they’re fluffy and ready for their rise!
How should I store leftover garlic rolls?
Store any leftover garlic rolls in an airtight container at room temperature for up to 1-2 days. If you want to keep them longer, place them in the fridge where they can last for about 3 days. Just be sure to reheat them in the oven or microwave for that fresh-baked taste before enjoying!
Can I freeze garlic rolls?
Absolutely! To freeze your garlic rolls, wrap them tightly in plastic wrap, then place them in an airtight container or freezer bag to prevent freezer burn. They can be stored in the freezer for up to 3 months. When ready to enjoy, thaw them in the refrigerator overnight before reheating.
What do I do if my garlic rolls don’t rise properly?
If your rolls aren’t rising as expected, it could be due to the temperature of your environment or that the rolls were not fully thawed. Make sure the rolls are at room temperature in a warm place, covered with a cloth to trap moisture. If needed, try moving them to a warmer spot for optimal rising.
Are these garlic rolls suitable for people with dietary restrictions?
Yes! To make them dairy-free, simply substitute the butter with olive oil and use nutritional yeast in place of parmesan cheese. Additionally, if anyone at your table has gluten allergies, gluten-free frozen dinner rolls can be used, making these garlic rolls suitable for a variety of diets.
Can my pets enjoy any garlic rolls?
While those fluffy garlic rolls are a hit for us humans, it’s important to keep them away from pets. Garlic is not safe for dogs and cats as it can be toxic in sufficient amounts. Therefore, it’s best to enjoy these rolls yourself and treat your furry friends with pet-safe treats instead!
Irresistible Garlic Rolls: Fluffy, Easy, and Flavor-Packed
Ingredients
Equipment
Method
- Preheat your oven to 350°F (175°C) and grease a 9x13 inch baking pan.
- Cover the rolls with a clean kitchen towel and let them rise for 1 ½ to 2 hours.
- Melt the butter and mix in the minced garlic to create garlic butter.
- Brush the garlic butter over the tops of each roll.
- Sprinkle the grated Parmesan cheese over the tops of the rolls.
- Bake the rolls in the oven for 15-20 minutes until golden brown.
- Let them cool slightly on a wire rack before serving warm.