

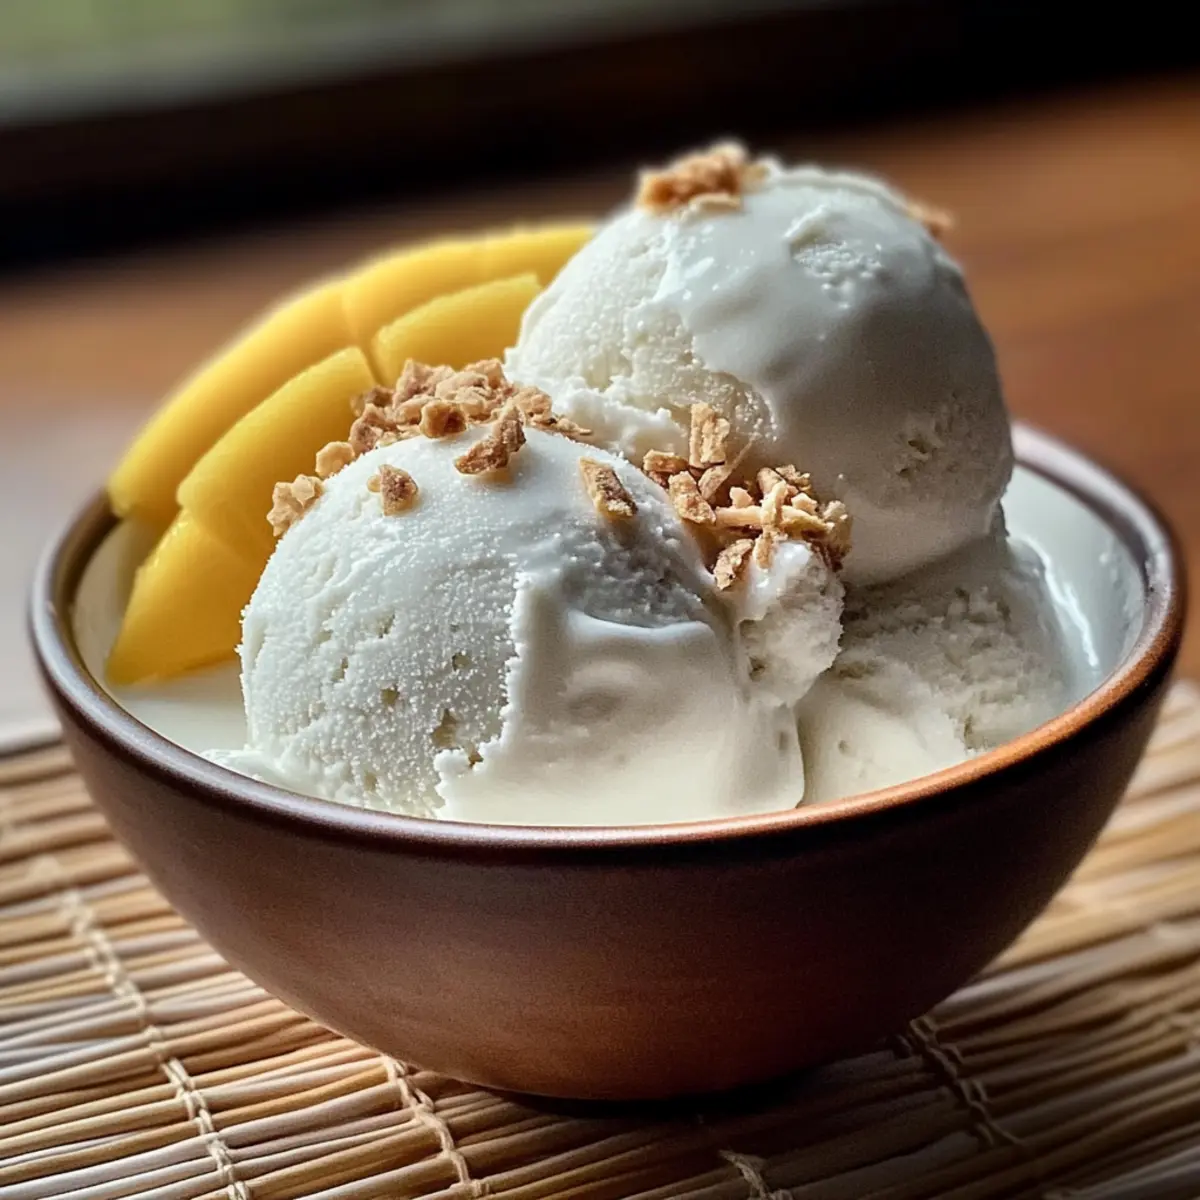
The comforting aroma of sweet coconut wafted through the kitchen as I crafted the ultimate indulgence: Thai Coconut Milk Ice Cream. This homemade delight makes warm evenings feel like a tropical getaway, offering a rich, creamy texture that’s simply irresistible. Best of all, making your own Coconut Milk Ice Cream is a breeze—no fancy ice cream machine required! Whether you’re hosting a summer gathering or enjoying a cozy night in, this versatile treat can be customized to suit any palate, allowing you to add chocolate, fresh fruits, or even a nutty twist. You won’t believe how quickly it comes together, and the satisfying creaminess will have everyone asking for seconds. Have you ever thought about creating your own ice cream masterpiece at home?
Why Make Coconut Milk Ice Cream?
Irresistible Flavor: With its rich coconut taste, this ice cream transports you to a tropical paradise.
Customizable Creations: Experiment with various flavors like chocolate or fruity additions to match your cravings.
Simple Technique: No ice cream machine needed! Just a few easy steps and you’ll have homemade delight.
Perfect for Gatherings: Impress your guests with a delicious and unique dessert that caters to all dietary preferences.
Quick to Make: Whip up the base in under 20 minutes for an instant treat.
Get ready to indulge in this truly delightful Coconut Milk Ice Cream, which is perfect paired with Chewy Coconut Oatmeal or served alongside a warm slice of Chicken Wild Rice!
Coconut Milk Ice Cream Ingredients
• Get ready to create delicious homemade Coconut Milk Ice Cream with these simple ingredients!
For the Ice Cream Base
• Coconut Milk – This is the star ingredient, providing a rich and creamy texture; go for full-fat for the best results!
• Evaporated Milk – Adds depth and creaminess; you can substitute it with an equal amount of coconut milk for a dairy-free option.
• Cornstarch – Acts as a thickener for the perfect consistency; be sure to whisk it thoroughly to avoid clumping.
• Sweetened Condensed Milk – Introduces natural sweetness; feel free to adjust the amount according to your taste preferences.
• Salt – Just a pinch will enhance all the flavors beautifully!
• Vanilla Extract – Optional, but this ingredient adds a lovely depth to enhance the overall flavor.
For Toppings (Optional)
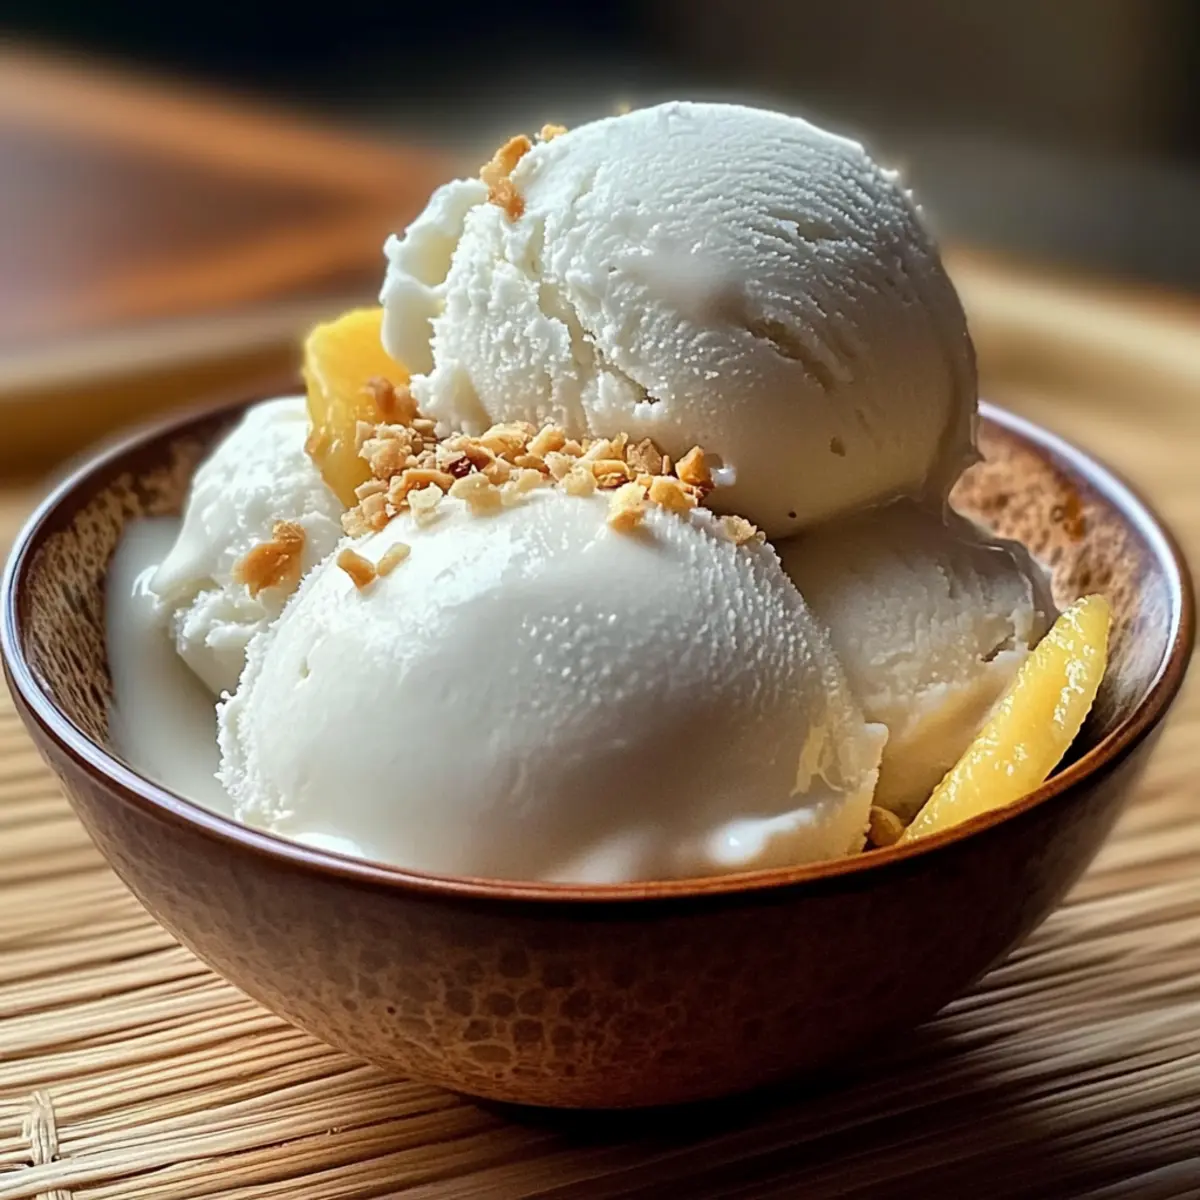
• Roasted Peanuts – Adds satisfying crunch with a nutty flavor that complements the creaminess.
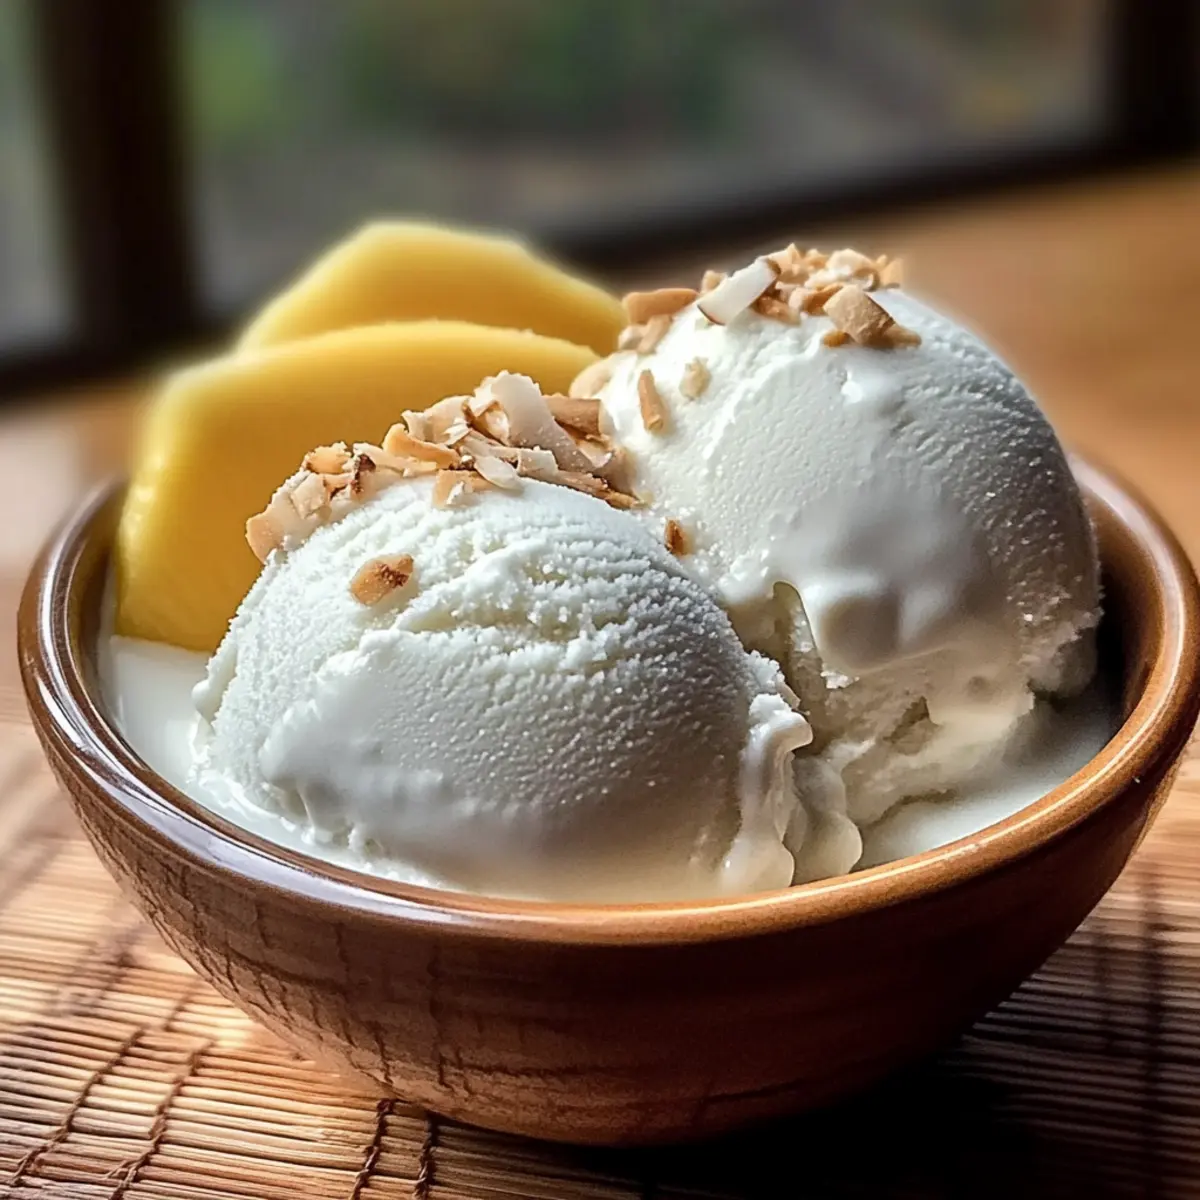
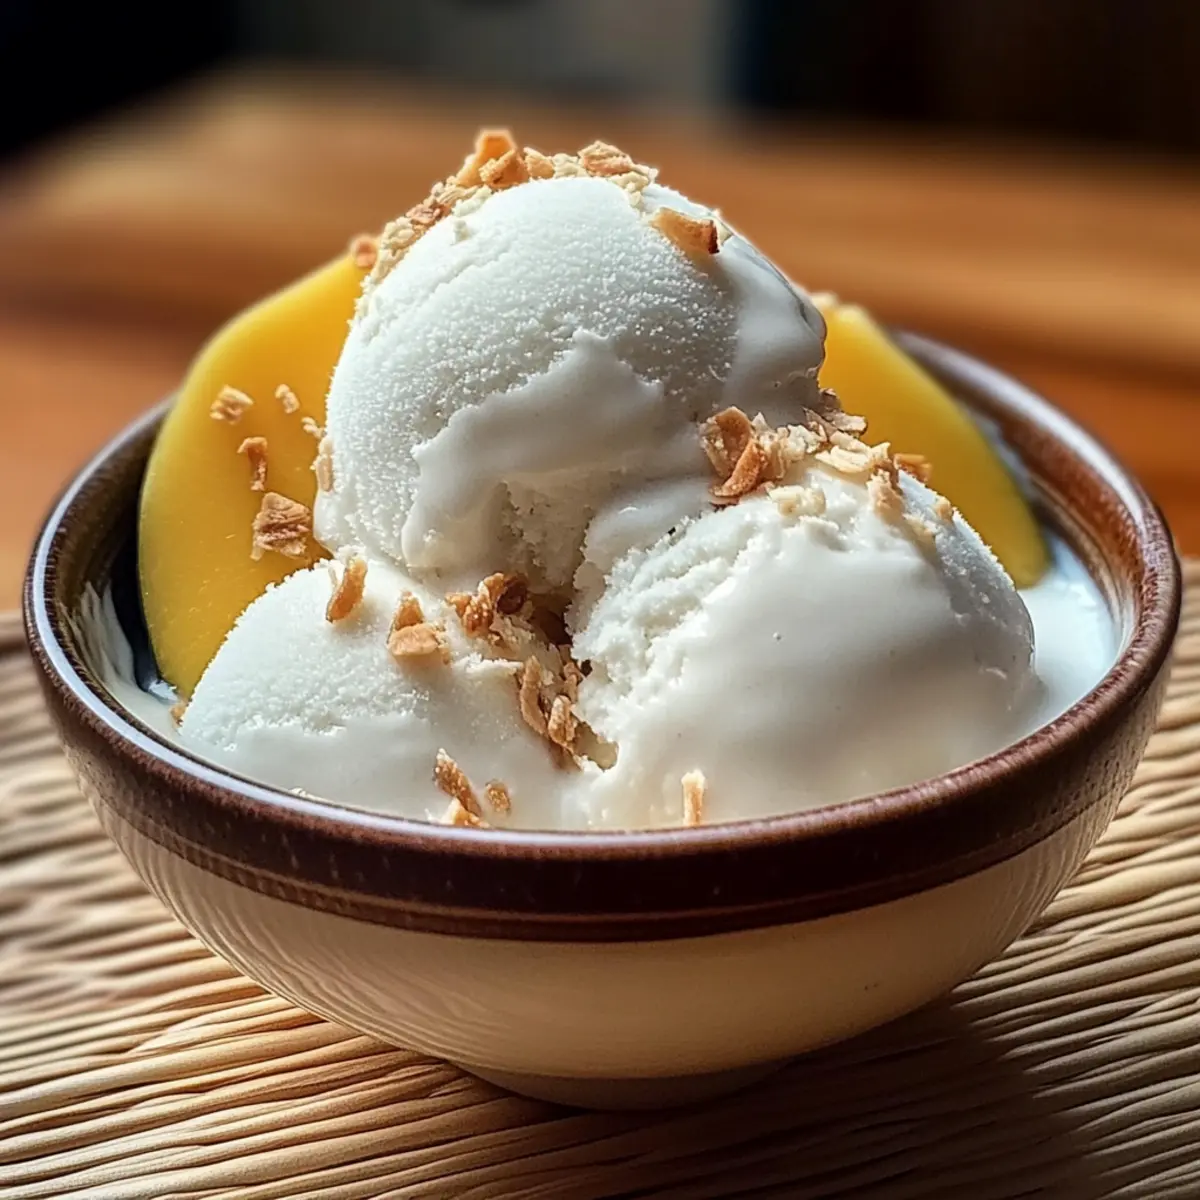
• Coconut Flakes – Tote up the coconut flavor and texture; toasting them will double the taste benefit.
• Fresh Fruit Slices – Perfectly refreshing additions; think mango or strawberries for that extra burst of flavor.
Now gather these ingredients, and soon you’ll be savoring your own luscious Coconut Milk Ice Cream that will leave everyone craving more!
Step‑by‑Step Instructions for Coconut Milk Ice Cream
Step 1: Warm the Base
In a medium saucepan, combine 1 cup of coconut milk and ¼ cup of evaporated milk. Heat gently over low flame for about 5 minutes, stirring occasionally, until the mixture is warmed through but not boiling. You’re looking for a gentle simmer, which will help blend the flavors beautifully for your Coconut Milk Ice Cream.
Step 2: Thicken the Mixture
Once warmed, whisk in ¾ tablespoon of cornstarch until fully dissolved, ensuring there are no lumps. Continue cooking for approximately 3 minutes, stirring constantly until the mixture thickens to a velvety consistency. You’ll know it’s ready when it coats the back of a spoon, creating a smooth texture that will promise delightful creaminess.
Step 3: Add Sweetness and Flavor
Remove the saucepan from heat and stir in 3 tablespoons of sweetened condensed milk, a pinch of salt, and ¼ teaspoon of vanilla extract if desired. Mix until all the ingredients are fully combined and the mixture is silky smooth. This step infuses your Coconut Milk Ice Cream with a rich flavor and will elevate its tropical charm.
Step 4: Cool Before Freezing
Allow the mixture to cool at room temperature for about 15-20 minutes. This cooling period is crucial to prevent ice crystals from forming later. Once cooled, transfer your mixture to an airtight container, sealing it tightly to retain flavor while you freeze it. This is key for achieving that luscious ice cream texture you crave.
Step 5: Freeze and Stir
Place the container in the freezer and allow the Coconut Milk Ice Cream mixture to set. For the first 2-3 hours, stir it every 30-45 minutes to break up any forming ice crystals. This will ensure a smooth, creamy texture and result in a soft-serve-like consistency. Keep a close eye during this time!
Step 6: Final Freeze
After the initial stirring phase, let your Coconut Milk Ice Cream freeze undisturbed for about 6 hours or overnight until it is firm. When ready to serve, take it out and let it sit at room temperature for about 5 minutes. This brief resting time makes scooping easier and enhances the overall experience.
What to Serve with Creamy Thai Coconut Milk Ice Cream
Delight your senses as you create a delicious meal to accompany this creamy treat, making every bite unforgettable.
-
Chewy Coconut Oatmeal Cookies: The soft and chewy texture of these cookies adds a comforting balance to the ice cream’s creaminess. Perfect for a cozy dessert combo!
-
Tropical Fruit Salad: A refreshing medley of seasonal fruits like pineapple and mango adds brightness, complimenting the rich coconut flavor with a burst of freshness.
-
Chocolate Drizzle: A simple yet luxurious touch, adding melted dark or milk chocolate over your ice cream enhances the creamy experience while offering a delicious contrast.
-
Nutty Granola: The crunch of homemade or store-bought granola gives a delightful texture atop the smooth ice cream, adding an extra layer of flavor and heartiness.
-
Coconut Flakes: Toasted coconut flakes can provide a wonderful crunch and intensify the coconut flavor, making it a harmonious addition to each scoop.
-
Mint Tea: Its refreshing herbal notes cleanse the palate beautifully between bites, ensuring that each mouthful of the coconut milk ice cream is savored even more.
-
Mango Sorbet: Pairing this fruity treat with your ice cream creates a delightful contrast in flavors while maintaining that tropical vibe!
-
Almond Biscotti: The crunchy texture and nutty flavor of biscotti offer a delightful contrast, ideal for dipping into your creamy ice cream.
-
Fresh Sliced Strawberries: Sweet, juicy strawberries provide a refreshing and slightly tart contrast, enhancing the overall taste experience while also adding a pop of color.
How to Store and Freeze Coconut Milk Ice Cream
Fridge: Keep any leftover Coconut Milk Ice Cream in the fridge for 1-2 hours if serving soon; however, for longer storage, use the freezer.
Freezer: Store your Coconut Milk Ice Cream in an airtight container for optimal freshness. It remains tasty for up to 1 month, but be sure to seal it properly to avoid freezer burn.
Reheating: For easier scooping, let the ice cream sit at room temperature for about 5 minutes before serving; this will help restore its creamy texture.
Coconut Milk Ice Cream Variations
Feel free to get creative with your homemade Coconut Milk Ice Cream and add delightful twists!
-
Chocolate Twist: Stir in cocoa powder while heating the mixture, or fold in chocolate chips for a rich, indulgent treat. Chocolate lovers will adore this creamy variation!
-
Fruity Delight: Add pureed fruits like ripe mango or fresh raspberries after cooling the base. This injects a burst of fruity freshness into your ice cream, perfect for summer days.
-
Nutty Flavor: Mix in almond or peanut butter for a deliciously rich texture. This nutty addition not only enhances flavor but also gives your ice cream a satisfying creaminess.
-
Dairy-Free Alternative: Use coconut cream and agave syrup in place of sweetened condensed milk for a delightful vegan version. You won’t miss the dairy with this luscious swap!
-
Matcha Infusion: Sprinkle in matcha powder for a unique and earthy taste. This colorful addition not only boosts flavor but also presents a gorgeous green hue.
-
Spiced Up: Infuse your ice cream with warming spices like cinnamon or cardamom during the heating process. These spices will create a comforting, aromatic flavor profile that’s oh-so-enjoyable.
For a fabulous dessert spread, consider serving your Coconut Milk Ice Cream with a side of Chocolate Pecan Coconut cookies or alongside a bowl of Cookies Cream Cookies!
Make Ahead Options
These Coconut Milk Ice Cream preparations are a lifesaver for busy home cooks! You can prep the ice cream base up to 24 hours in advance, allowing the flavors to meld beautifully. Simply complete Step 3 and store the mixture in an airtight container in the refrigerator. When you’re ready to make your Coconut Milk Ice Cream, cool the mixture briefly at room temperature before transferring it to the freezer. To maintain that creamy texture, remember to stir every 30-45 minutes during the initial freezing phase. This not only prevents ice crystals from forming but also ensures your ice cream remains just as delicious as if made fresh!
Expert Tips for Coconut Milk Ice Cream
Whisk Consistently: Make sure to whisk the cornstarch thoroughly while heating; this prevents any lumps from ruining your smooth Coconut Milk Ice Cream texture.
Cool It Down: Allow your mixture to cool completely before freezing; this step is crucial to avoid unwanted ice crystals that can affect the creaminess.
Taste Test: Gradually adjust the sweetness of the condensed milk; everyone’s palate is different, so start with less and add more as needed for the perfect balance.
Proper Storage: Store your Coconut Milk Ice Cream in an airtight container to prevent freezer burn; it will keep well for up to a month!
Serve at Room Temp: Before serving, let the ice cream sit at room temperature for about 5 minutes; this makes scooping much easier and enhances the enjoyment.
Coconut Milk Ice Cream Recipe FAQs
What type of coconut milk should I use for the best results?
Absolutely use full-fat coconut milk for a richer flavor and creamier texture. If you’re looking for a lighter option, light coconut milk can also work, though the ice cream may be less indulgent.
How long can I store Coconut Milk Ice Cream in the freezer?
You can keep your Coconut Milk Ice Cream in an airtight container for up to 1 month. Just make sure the container is well-sealed to prevent freezer burn, so it stays as fresh and delightful as the day you made it!
Can I freeze Coconut Milk Ice Cream? How do I do it properly?
Yes, you can freeze Coconut Milk Ice Cream! After preparing and cooling the mixture, transfer it to an airtight container. To prevent ice crystals from forming, stir it every 30-45 minutes for the first 2-3 hours. After that, let it freeze undisturbed for about 6 hours or overnight until firm.
What if my Coconut Milk Ice Cream turns out icy or hard?
If your ice cream becomes icy or hard, it may be a sign that the mixture was not cooled enough before freezing, or it wasn’t stirred often enough during the initial freezing phase. To remedy this, you can try letting it sit at room temperature for about 10 minutes before serving to soften up, which might help restore its creamy texture.
Is this Coconut Milk Ice Cream safe for those with dairy allergies?
Yes! This recipe is naturally dairy-free, making it suitable for those with lactose intolerance or dairy allergies. Just be cautious with any toppings—check their ingredients to ensure they align with dietary needs.
Can I modify the flavors in my Coconut Milk Ice Cream?
Very much! This ice cream is incredibly customizable. You can add cocoa powder for a chocolate version, fold in fresh fruit puree for a fruity twist, or try adding spices like cinnamon. Feel free to experiment with flavors that suit your palate!
Creamy Coconut Milk Ice Cream: Your New Favorite Treat
Ingredients
Equipment
Method
- In a medium saucepan, combine coconut milk and evaporated milk. Heat gently over low flame for about 5 minutes, stirring occasionally.
- Whisk in cornstarch until fully dissolved and cook for approximately 3 minutes, stirring constantly until thickened.
- Remove from heat, stir in sweetened condensed milk, a pinch of salt, and vanilla extract if desired.
- Allow mixture to cool at room temperature for about 15-20 minutes before transferring to an airtight container.
- Place in freezer and stir every 30-45 minutes for the first 2-3 hours.
- After the initial stirring, freeze undisturbed for about 6 hours or overnight.