

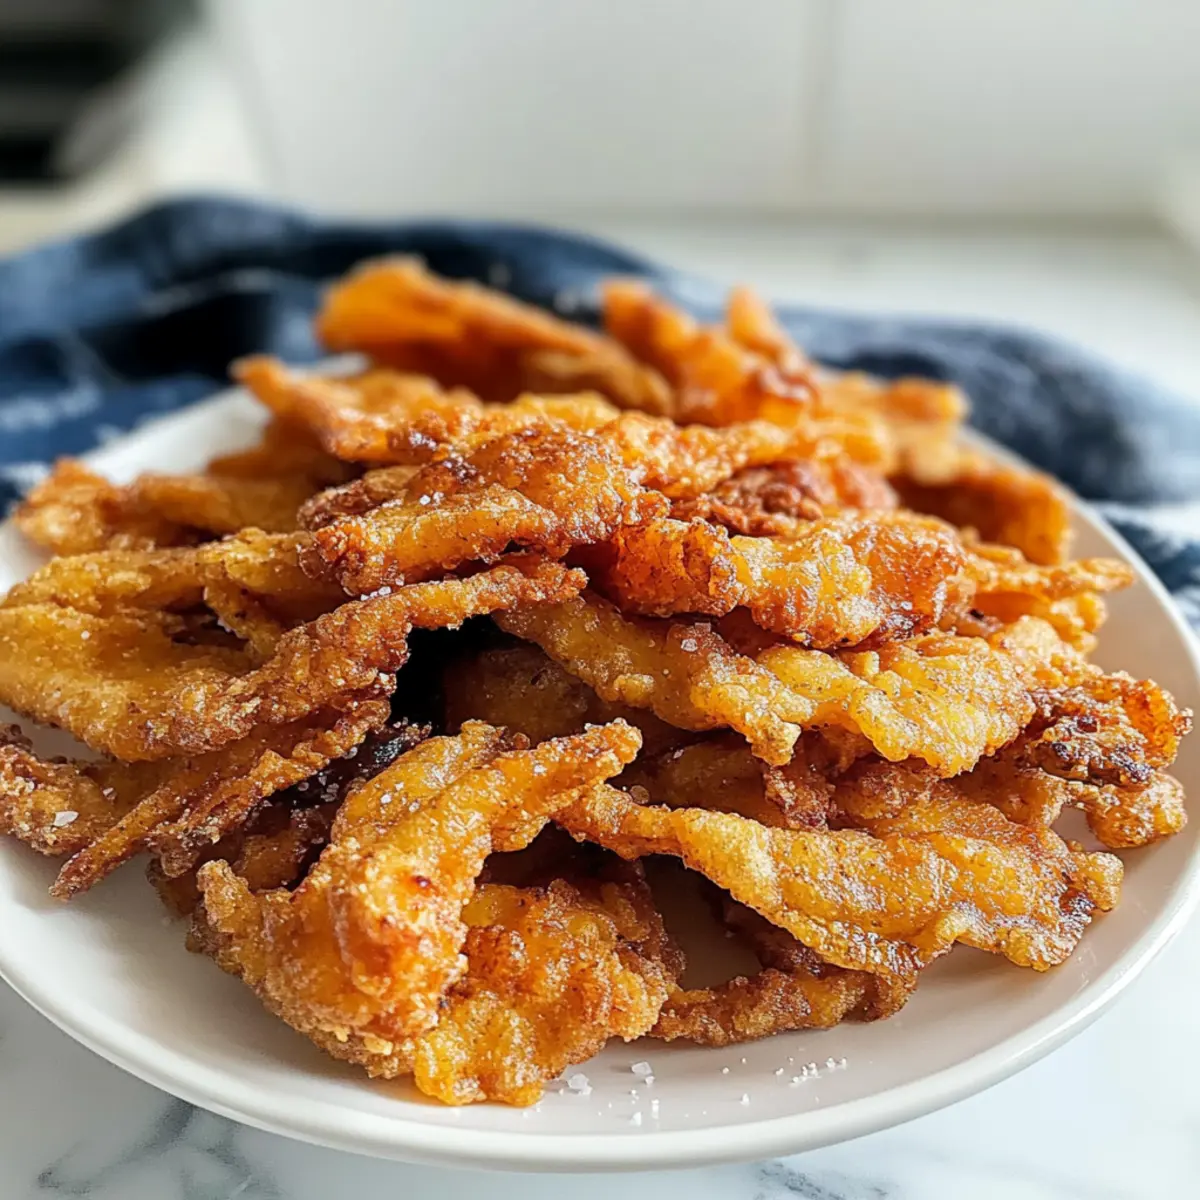
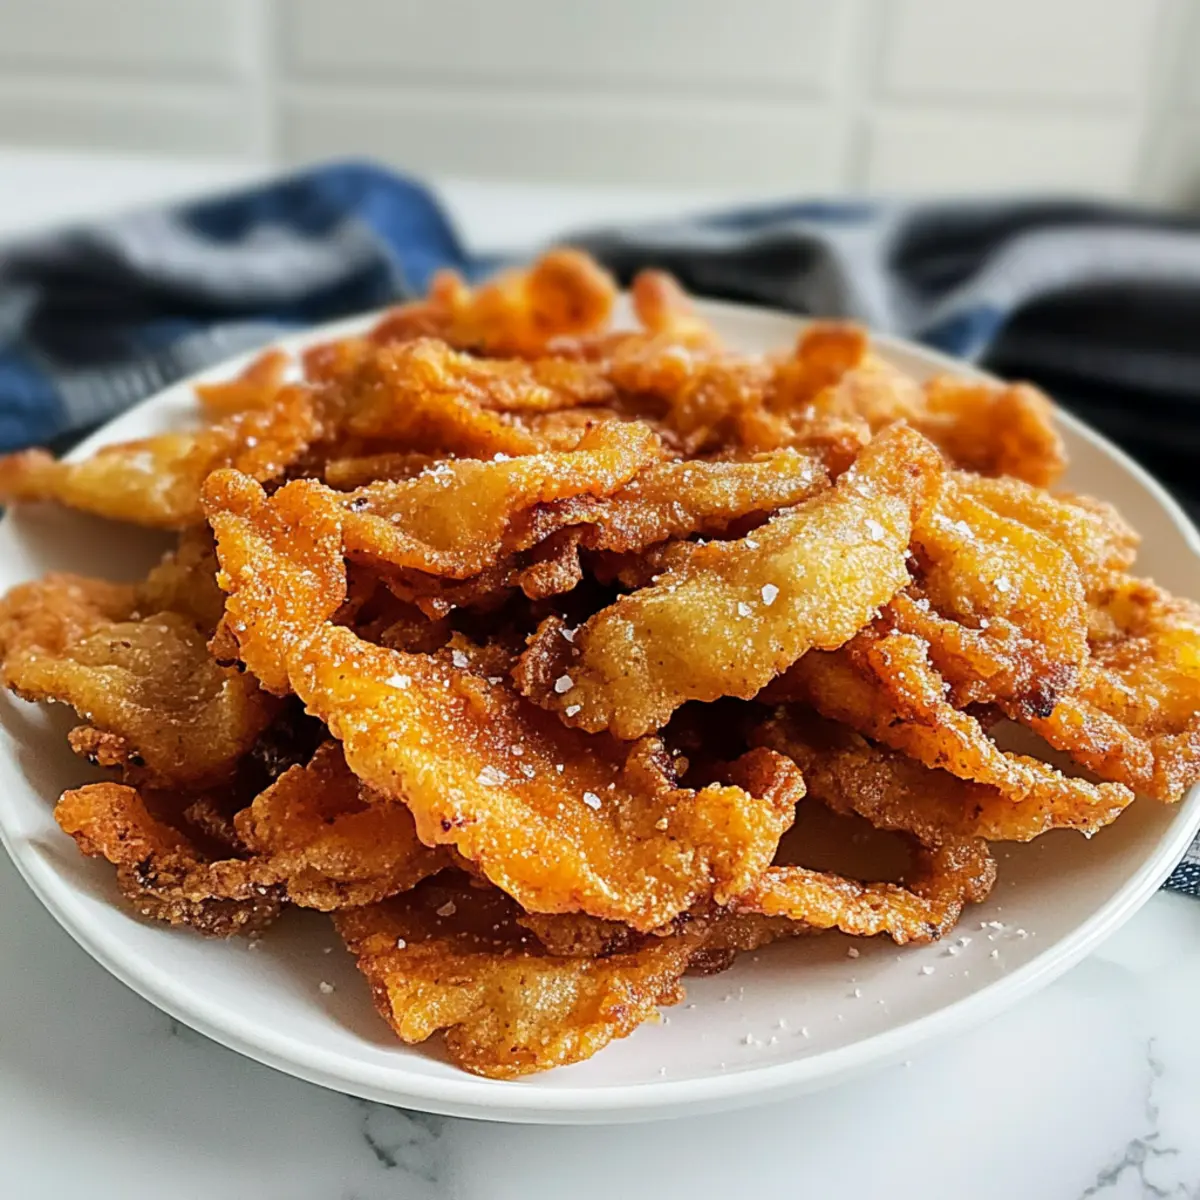
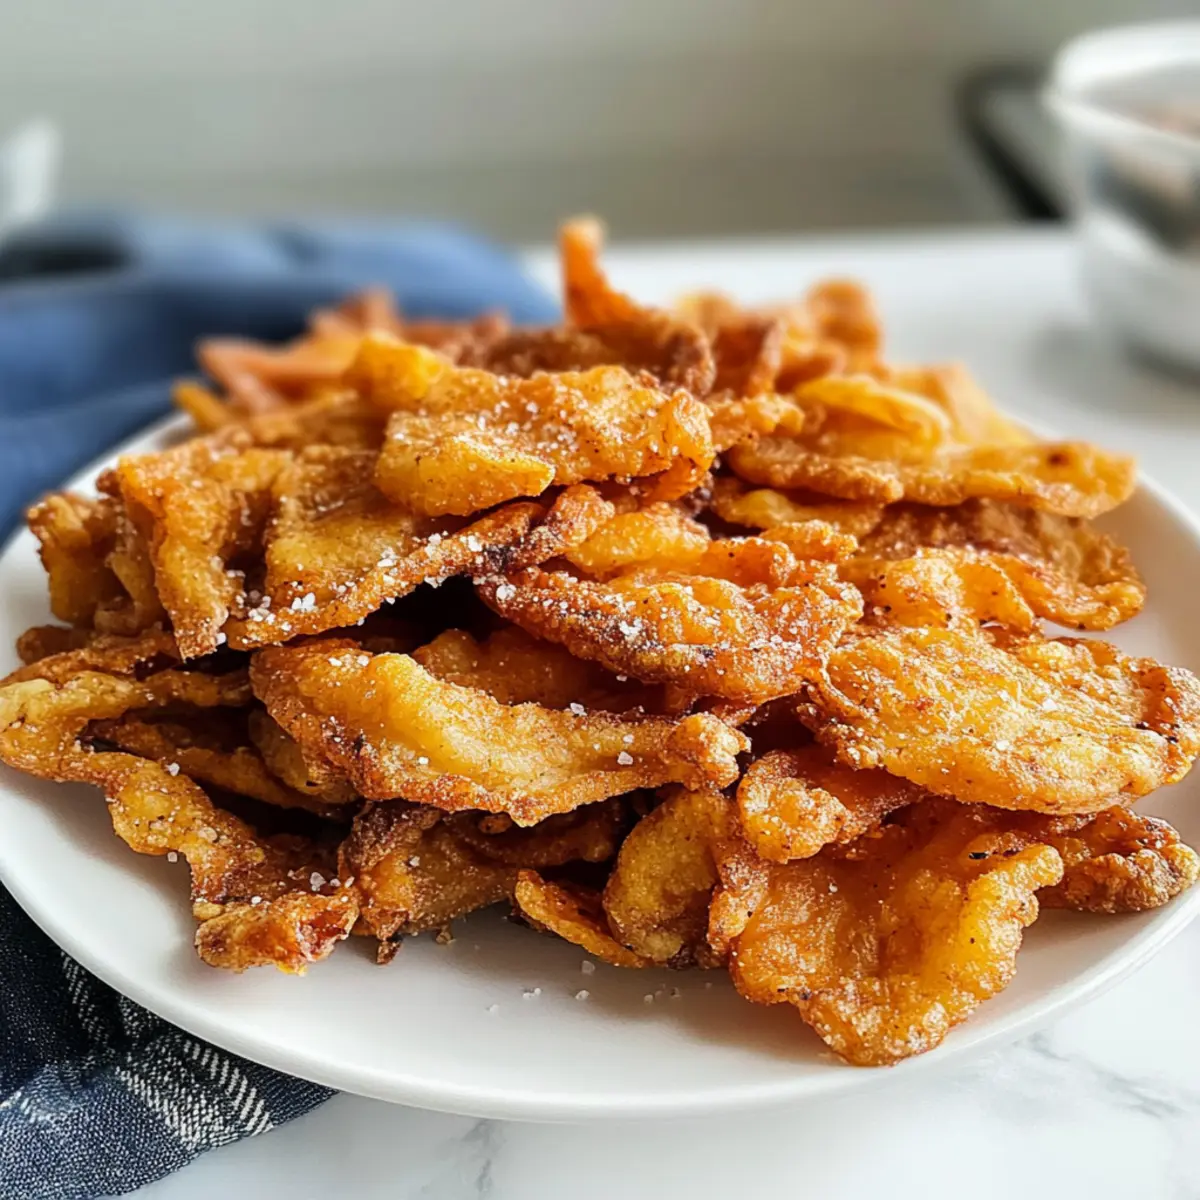
With a satisfying crunch that echoes the thrill of old-fashioned chips, these Crispy Keto Chicken Skin Chips are about to become your new favorite snack! Oven-baked to perfection, they’re incredibly easy to whip up, making them a fantastic addition to your kitchen repertoire. Not only do they fit seamlessly into a low-carb diet, but they also offer a guilt-free crunch that leaves traditional snacks in the dust. Imagine indulging in a savory treat that’s packed with flavor and keeps your health goals intact—there’s nothing better! So, are you ready to explore a snack that’s both delicious and deceptively simple? Let’s dive into this irresistible recipe!
Why Are Chicken Skin Chips So Appealing?
Unforgettable Crunch: These Crispy Chicken Skin Chips deliver a satisfying crunch that rivals traditional chips, making them a perfect snack for any occasion.
Effortless Recipe: With just a few simple ingredients and minimal prep, you can whip up these delicious bites in no time.
Keto-Friendly Delight: Ideal for those on a low-carb diet, these chips let you indulge without any guilt.
Flavor Variability: Experiment with spices like smoked paprika or cayenne to create your own unique flavor profile. They’re versatile enough to suit any palate!
Crowd-Pleaser: Perfect for gatherings, serve these as an appetizer or snack, and watch them disappear fast—everyone will be asking for the recipe!
Kick the fast-food habit and opt for these flavorful Chicken Skin Chips as your new go-to snack! They’ll keep you satisfied while keeping your health goals intact.
Chicken Skin Chips Ingredients
• Get ready to crunch your way to happiness!
For the Chips
- Chicken Skins – The star of the show, ensuring that delightful crunch; opt for quality skins for the best results.
- Extra Virgin Olive Oil – Aids in crispy perfection; feel free to substitute with avocado oil for a heart-healthy alternative.
- Salt – Enhances flavor; adjust to your liking for a custom taste experience.
- Garlic Powder – Provides a rich, savory profile; fresh garlic can be used but may alter crispiness.
- Smoked Paprika – Adds a smoky depth to your chips; regular paprika works as a straightforward substitute if needed.
- Black Pepper – Introduces mild heat; adapt to suit your spice preference.
- Onion Powder – Introduces sweetness and punch; perfect for adding complexity to the flavor.
- Cayenne Pepper (optional) – For a little fiery kick; leave it out if you prefer milder chips.
Feel the thrill of creating your own Chicken Skin Chips and say goodbye to boring snacks!
Step‑by‑Step Instructions for CHICKEN SKIN CHIPS
Step 1: Preheat and Prepare
Begin by preheating your oven to 375°F (190°C). While it heats, grab a baking sheet and line it with parchment paper or aluminum foil to catch any drippings. For optimal crispiness, place a wire rack on top of the baking sheet, ensuring air circulation around the chicken skin chips as they bake.
Step 2: Dry the Chicken Skins
Next, thoroughly pat the chicken skins dry using paper towels. This step is crucial for achieving that addictive crispiness in your Chicken Skin Chips. Ensure they are as dry as possible, as moisture can lead to sogginess during baking—no one wants a chewy chip!
Step 3: Season the Skins
In a mixing bowl, combine salt, garlic powder, smoked paprika, black pepper, onion powder, and optional cayenne pepper. Blend these seasonings well to create a flavorful mix that will elevate your Chicken Skin Chips. Toss the dry spice mixture with the skins until they are evenly coated, ensuring each chip bursts with flavor.
Step 4: Drizzle with Olive Oil
Drizzle extra virgin olive oil over the seasoned chicken skins in the bowl. Toss again, ensuring every piece is well-coated in oil and spices. This step not only adds flavor but also helps achieve the perfect golden-brown texture. You’re well on your way to delicious Chicken Skin Chips!
Step 5: Lay the Skins for Baking
Carefully lay the seasoned and oiled chicken skins flat in a single layer on the wire rack. Be mindful to avoid overlapping; this helps them cook evenly and attain that desired crunch. Each skin should have space around it so that hot air can circulate freely as they bake.
Step 6: Bake to Perfection
Place the baking sheet in your preheated oven and bake the chicken skins for 25 to 30 minutes. Flip them halfway through the cooking time to ensure even crispiness on both sides. Watch closely as they turn a beautiful golden brown; this visual cue signals they are nearly done!
Step 7: Cool and Serve
Once baked, remove the tray from the oven and transfer the Chicken Skin Chips to a paper towel-lined plate to drain any excess oil for a minute. Then, transfer them to a wire rack to cool completely—this final touch enhances their crunchiness. Now, they’re ready for snacking!
How to Store and Freeze Chicken Skin Chips
Room Temperature: Enjoy your Chicken Skin Chips fresh for the best crunch. If you have leftovers, keep them at room temperature for up to 2 hours.
Fridge: Store any uneaten chips in an airtight container in the refrigerator for up to 3 days. This helps maintain their flavor, although they may lose some crispiness.
Freezer: For longer storage, freeze the Chicken Skin Chips in a single layer on a baking sheet before transferring them to an airtight container. They can be frozen for up to 1 month.
Reheating: To regain that delightful crunch, reheat the chicken skins in the oven at 375°F (190°C) for about 5-10 minutes or in an air fryer for 3-5 minutes, ensuring they’re crispy again.
Make Ahead Options
These Chicken Skin Chips are perfect for busy home cooks looking to streamline their snack prep! You can season and toss the chicken skins with olive oil and spices up to 24 hours in advance. Simply store the seasoned skins in an airtight container in the refrigerator to maintain freshness and prevent any moisture buildup, which can compromise crispiness. When you’re ready to enjoy, lay them out on a wire rack and bake as directed, adding an extra 5 minutes if needed to ensure they reach that golden-brown perfection. This way, you’ll have delicious, crunchy chips ready in no time, making snacking a breeze!
What to Serve with Crispy Keto Chicken Skin Chips
Create a flavorful meal around these addictive snacks for a satisfying experience that elevates any occasion.
-
Creamy Avocado Dip: This smooth, buttery dip offers a refreshing contrast to the crispy chips, making every bite burst with flavor.
-
Spicy Salsa: A tangy, zesty salsa adds a kick and balances the rich taste of the Chicken Skin Chips perfectly.
-
Zucchini Noodles: Light and nutrient-packed, tossing these with a zesty sauce creates a refreshing side that complements the savory crunch.
-
Cheesy Cauliflower Bake: Creamy and cheesy, this hearty dish pairs well with the crunchy texture of the chips, making for a comforting combo.
-
Vegetable Platter: Fresh, colorful veggies serve as a crunchy counterpart to the chips, adding a refreshing element to your snack time.
-
Lemon Herb Roasted Chicken: Elevate your meal with juicy oven-roasted chicken that echoes the flavors of the chips for a harmonious experience.
-
Garlic Butter Shrimp: Juicy shrimp in a garlic-butter sauce brings a rich flavor that complements the crispy chips beautifully.
-
Sparkling Water with Lime: Refreshing bubbles and a hint of citrus create a palate cleanser that enhances the enjoyment of the rich, salty chips.
-
Chocolate Avocado Mousse: End your meal with this creamy dessert that provides a rich sweetness, perfectly balancing the savory flavors from earlier.
Craft this delightful selection of pairings to create a memorable mealtime experience that highlights your delicious Chicken Skin Chips!
Expert Tips for Chicken Skin Chips
• Dry Thoroughly: Always pat the chicken skins dry with paper towels to prevent sogginess; moisture is the enemy of crispy Chicken Skin Chips.
• Keep an Eye on Baking: Monitor the skins closely while baking, as times can vary based on thickness; burnt chips aren’t much fun!
• Variations Count: Experiment with different spices like Italian herbs or chili powder to customize your Chicken Skin Chips and keep them interesting.
• Air Fryer Option: If you prefer air frying, reduce the cooking time to about 10-12 minutes at the same temperature for a quick and crispy snack.
• First Batch Success: When making your first batch, stick to the original seasoning for the best outcome, then adjust according to your taste on subsequent tries.
Make sure to enjoy these delightful Chicken Skin Chips fresh for the best experience!
Variations & Substitutions for CHICKEN SKIN CHIPS
Feel free to let your creativity shine with these delicious chips for a personalized touch!
- Dairy-Free: Substitute any cheese flavoring with nutritional yeast for a savory, cheesy taste that aligns with a dairy-free lifestyle.
- Spicy Kick: Add a tablespoon of your favorite hot sauce to the olive oil before tossing with the chicken skins for an extra fiery crunch! The bonus? It’ll delight your taste buds with an explosion of flavor.
- Herb-Infused: Try adding fresh herbs like rosemary or thyme for a fragrant twist. These fresh notes will elevate your chips to gourmet status!
- Barbecue Flavor: Mix in a barbecue seasoning blend to impart a tangy sweetness. Imagine snacking on chips that taste like summer cookouts—pure bliss!
- Mixed Protein: For variety, experiment with duck or pork skin for a different texture and flavor profile, bringing a whole new dimension to your snacking experience.
- Garlic Lovers: Up the ante on garlic flavor by incorporating fresh minced garlic instead of or alongside garlic powder. Just remember, fresh garlic can alter the chips’ crunchiness.
- Sweet & Savory: Sprinkle a hint of sugar or sweet spice like cinnamon for a complementary sweet twist. The balance of flavors will have you coming back for more!
- Flavor Boost: Add a sprinkle of your favorite seasoning blend. Try adding Italian herbs, chili powder, or even ranch seasoning to bring bold new flavors into the mix!
These variations can take your Chicken Skin Chips from ordinary to extraordinary, giving you a snack you’ll look forward to making time and time again. If you’re a fan of zesty flavor, don’t forget to check out my Garlic Parmesan Chicken for more inspiration!

Chicken Skin Chips Recipe FAQs
How do I choose the best chicken skins for my chips?
Absolutely! When selecting chicken skins, look for ones that are fresh and free of dark spots or discoloration. Choose skins that come from quality sources, such as organic or free-range chickens, if possible, as they tend to have better flavor and texture. Additionally, ensure they are clean and trimmed of excess fat for the crispiest results!
How should I store any leftover Chicken Skin Chips?
Very simple! To store your Chicken Skin Chips, place them in an airtight container and keep them in the refrigerator for up to 3 days. If you notice they might be losing their crunch, you can always pop them in the oven for a few minutes to crisp them up again. Enjoy them fresh for the best experience, but storing this way keeps their flavor intact!
Can I freeze my Chicken Skin Chips? How?
Of course! To freeze your Chicken Skin Chips, follow these steps: First, place the chips in a single layer on a baking sheet and freeze for about 1 hour until they are firm. Then, transfer the chips to an airtight container or a zip-top freezer bag. They can be stored in the freezer for up to 1 month. When you’re ready to snack, simply reheat them in the oven at 375°F (190°C) for 5-10 minutes or in an air fryer for about 3-5 minutes. This method restores their lovely crunch!
What should I do if my Chicken Skin Chips come out soggy?
No worries; this can happen! To avoid sogginess, ensure you’re thoroughly drying the chicken skins with paper towels before seasoning them—moisture is the enemy of crispiness! If they’re already made and soggy, you can try reheating them in the oven or air fryer as mentioned. Maintaining an even, dry cooking surface and proper seasoning distribution is key to getting that perfect crunch next time!
Are Chicken Skin Chips suitable for those with dietary restrictions?
Absolutely! These Chicken Skin Chips are gluten-free and perfect for keto or low-carb diets. However, if you have allergies, it’s important to check the seasoning ingredients and ensure there are no allergens present. Additionally, as with any snack, these should be fed in moderation to pets, and caution is advised as the high fat content may not sit well with all animals. Always consult with your veterinarian if considering homemade snacks for your furry friends!
Crunchy Chicken Skin Chips That'll Transform Snack Time
Ingredients
Equipment
Method
- Preheat your oven to 375°F (190°C) and prepare a baking sheet lined with parchment paper or aluminum foil.
- Thoroughly pat the chicken skins dry using paper towels to ensure crispiness.
- In a mixing bowl, combine salt, garlic powder, smoked paprika, black pepper, onion powder, and optional cayenne pepper. Toss the skins with the seasoning mix until evenly coated.
- Drizzle extra virgin olive oil over the seasoned chicken skins and toss again until well-coated.
- Lay the seasoned and oiled chicken skins flat on a wire rack in a single layer.
- Bake in your preheated oven for 25 to 30 minutes, flipping halfway to ensure even cooking.
- Once done, transfer to a paper towel-lined plate to drain excess oil and let cool on a wire rack.