

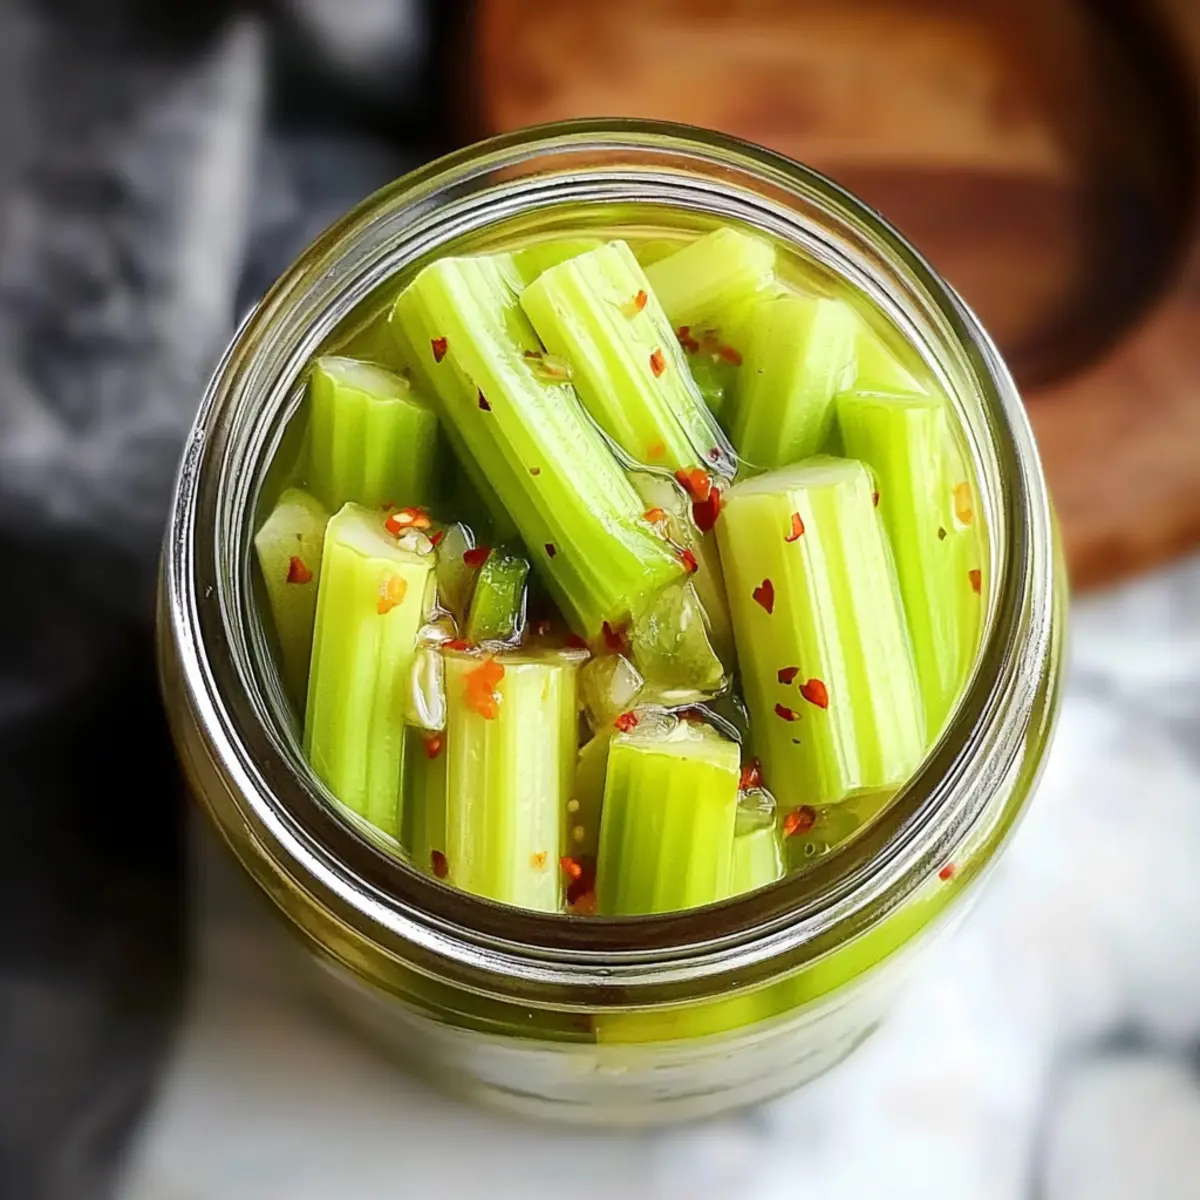
As I pulled a fresh stalk of celery from my crisper, I suddenly recalled how vibrant a quick pickling could transform this humble vegetable. With a few simple ingredients and just a couple of hours, I can turn bland snacks into a burst of flavor with my Quick Pickled Celery. The beauty of this recipe lies not only in its ability to elevate a typical munch to gourmet status but also in its incredible ease—it’s a snap to whip up on busy weeknights. Enjoy the bright crunch and zesty vinegar punch, all while embracing a gluten-free, vegan option that’s both healthy and satisfying! Ready to fill your fridge with a jar of this deliciousness? Let’s dive into the recipe and bring some excitement back to your snacking routine!
Why is Pickled Celery a Must-Try Snack?
Crisp, Bright Crunch: Get ready to elevate your snacking game with Quick Pickled Celery! This recipe transforms ordinary celery into a zesty delight that’s perfect for any occasion.
Vibrant Flavor: The balance of vinegar and spices creates a tangy goodness that will make your taste buds dance.
Easy Prep: With just a few ingredients and a short wait time, you can have a gourmet treat ready to enjoy!
Versatile Use: Enjoy it straight from the jar, toss it in salads, or add it to a cheese board for that perfect pop of flavor.
Health Conscious: At only 45 calories per serving, this gluten-free and vegan snack keeps you on track without sacrificing taste!
So what are you waiting for? Embrace this simple, delicious adventure and transform your snacks into extraordinary treats!
Pickled Celery Ingredients
Here’s everything you need to make your Quick Pickled Celery at home!
For the Brine
- White Vinegar – A tangy base for your pickling; can be swapped with apple cider vinegar for a fruitier flavor.
- Water – Helps dilute the brine; filtered water ensures the best taste.
- Sugar – Balances the acidity; optional if you’re aiming for a less sweet profile.
- Salt – Essential for flavor and crispness; use kosher or pickling salt for the best results.
- Red Pepper Flakes – Adds a delightful spicy kick; adjust the amount based on your heat preference.
For the Celery
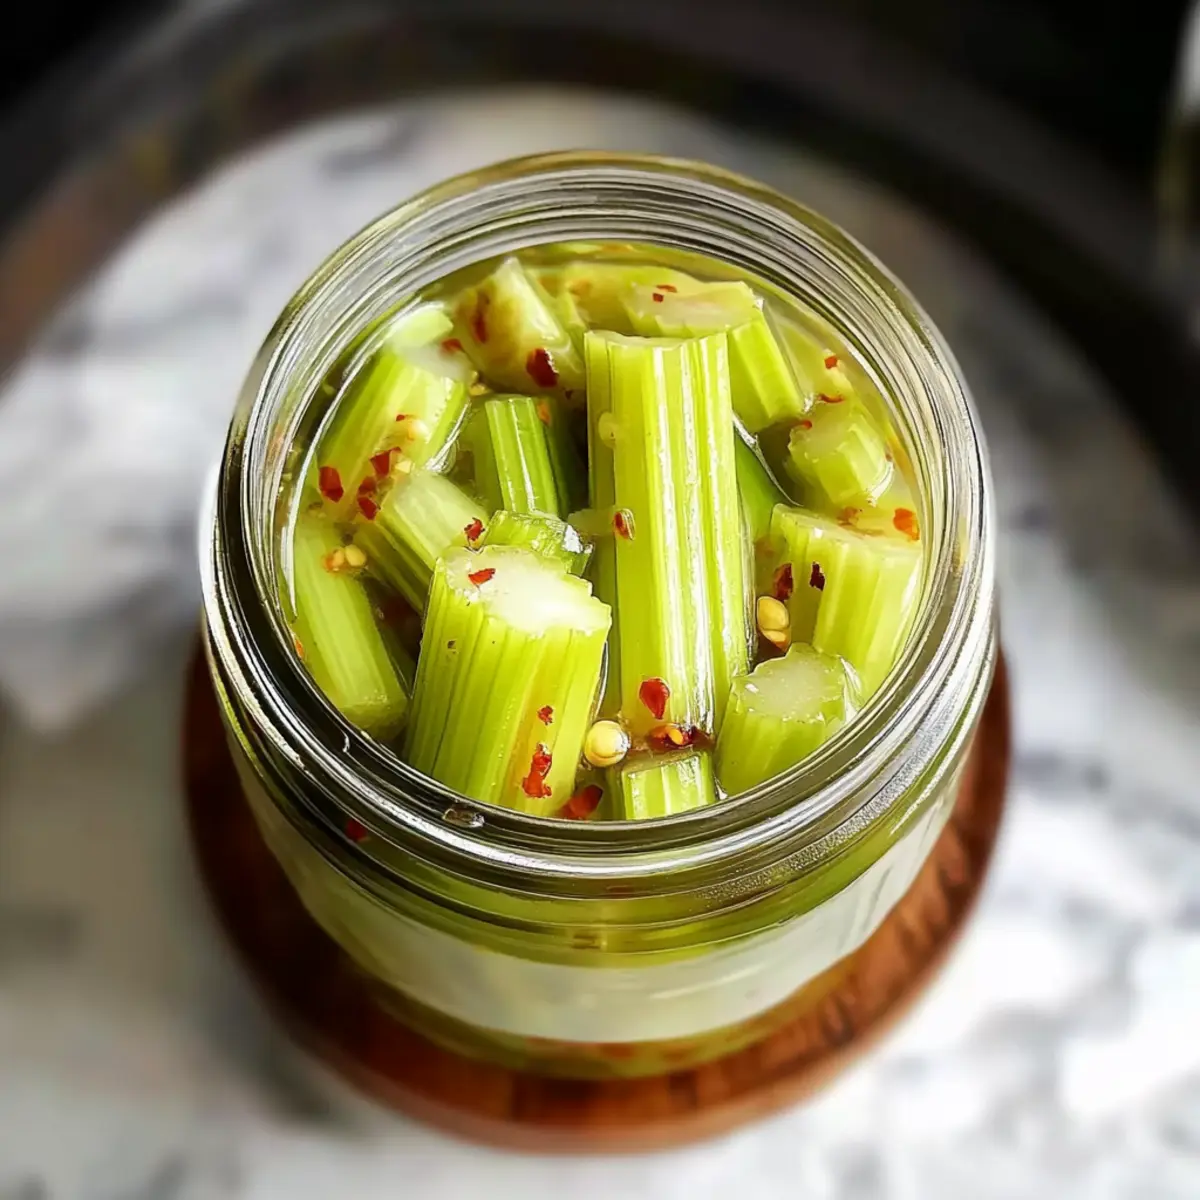
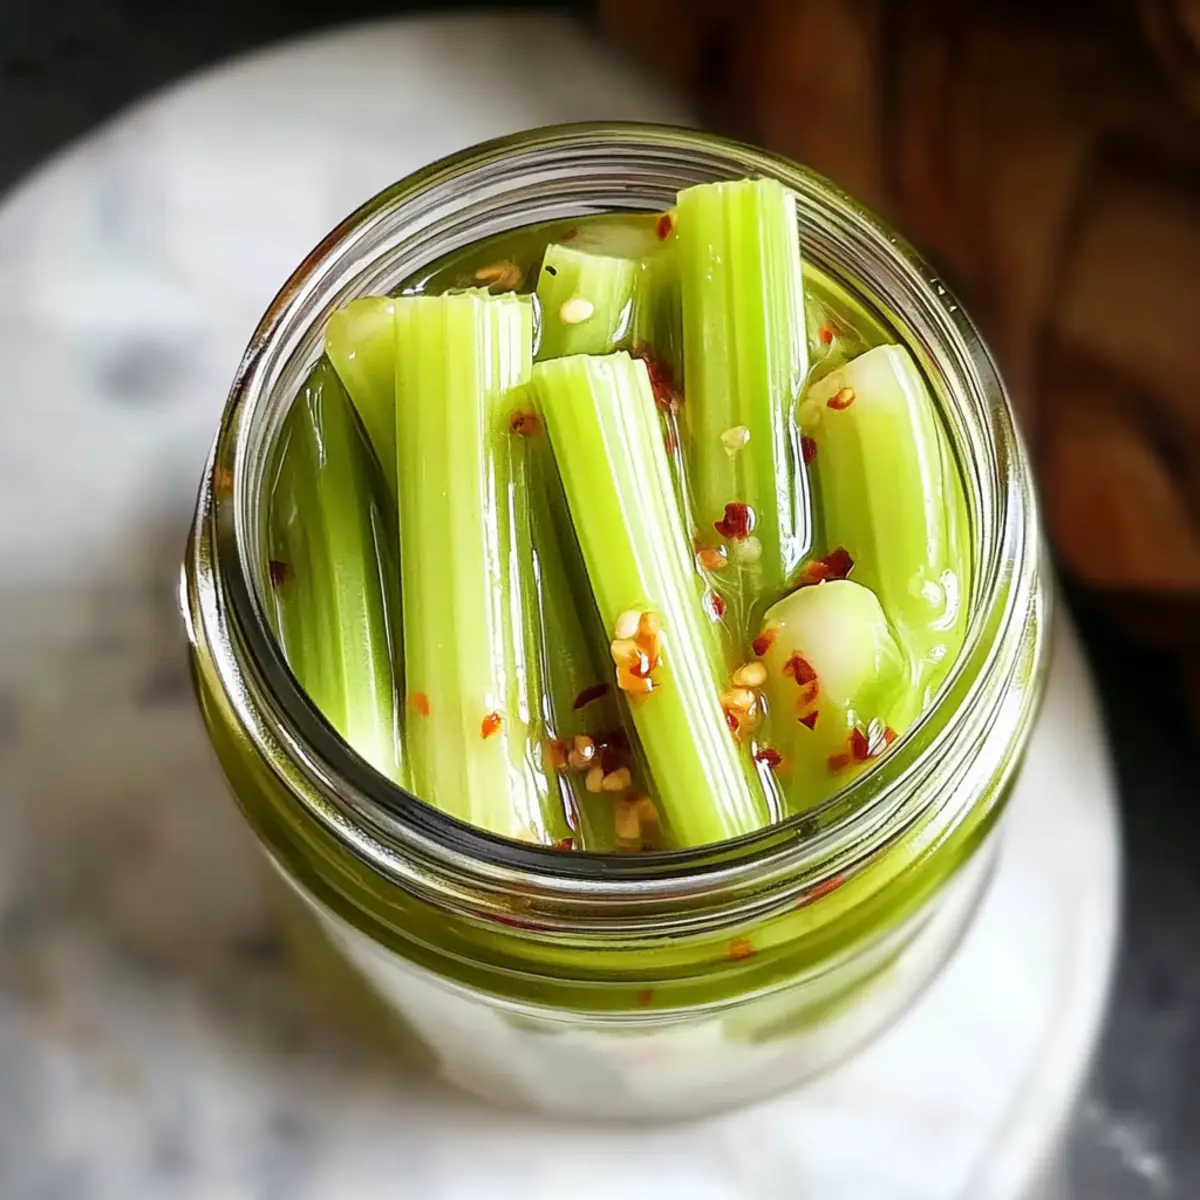
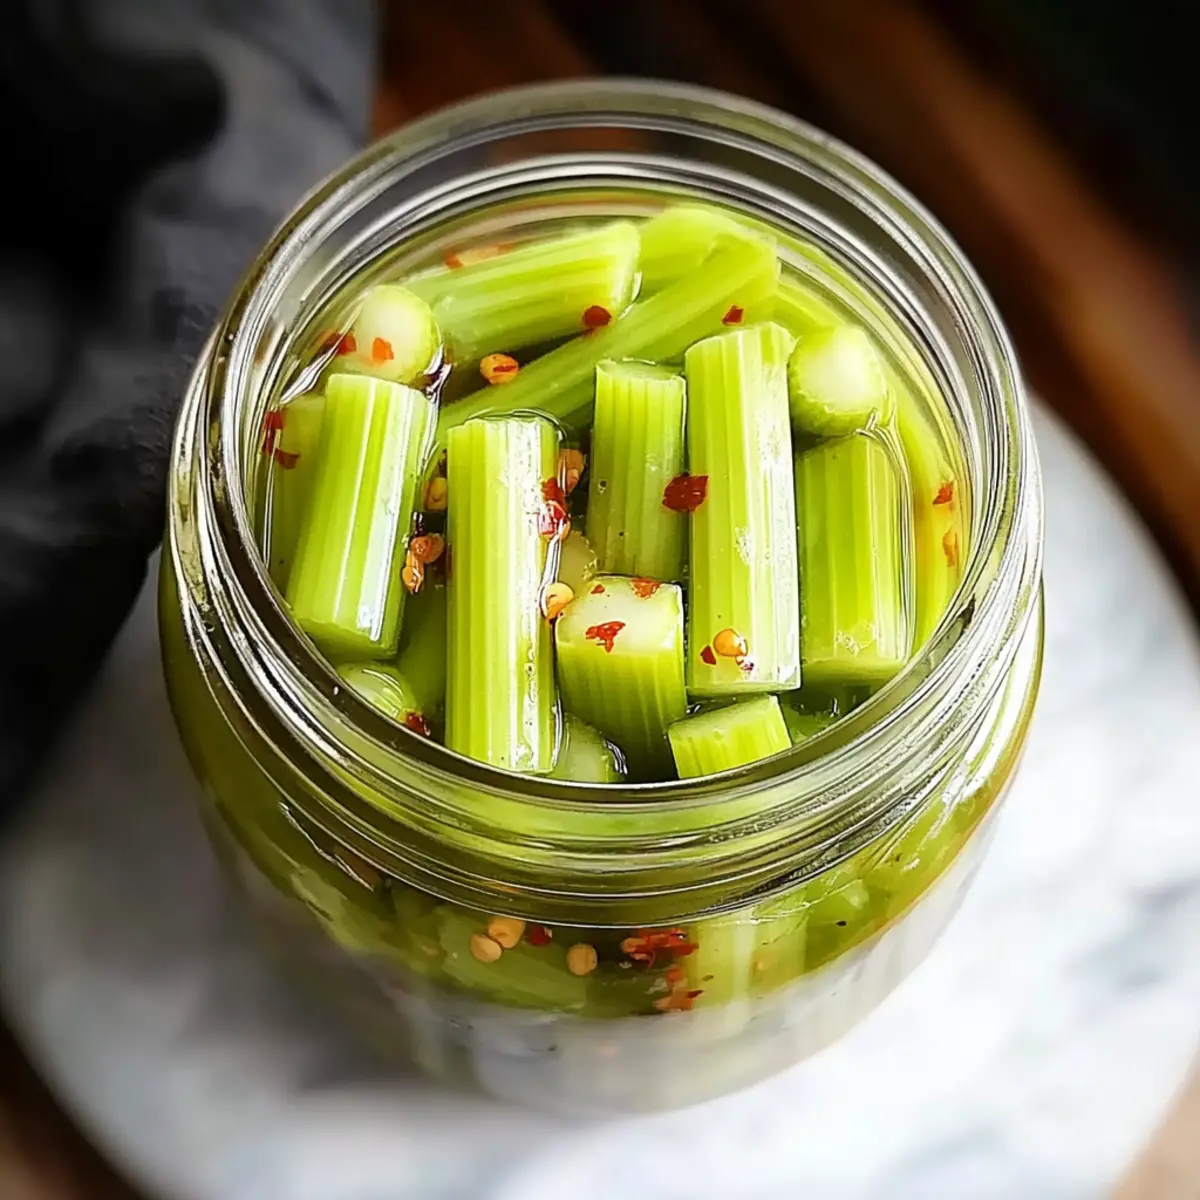
- Celery – Choose fresh, firm stalks for that perfect crunch in your pickles; the star of your dish!
Now you’re ready to infuse your celery with vibrant flavor and transform snacking into a celebration!
Step‑by‑Step Instructions for Quick Pickled Celery
Step 1: Prepare the Brine
In a medium saucepan, combine equal parts white vinegar and filtered water. Add sugar and salt to the mixture, then heat over medium until the sugar and salt dissolve completely, about 3–5 minutes. The brine should come to a gentle simmer but not boil. Remove from heat once the liquids are clear and combined.
Step 2: Add Flavorings
Stir in red pepper flakes to the warm brine, adjusting to your desired level of heat. Allow the brine to sit for a few minutes to let the flavors meld. You’ll notice the vibrant colors and aromatic hints wafting up, signaling it’s ready for the next step in creating your zingy Quick Pickled Celery.
Step 3: Pack the Celery
While the brine cools slightly, prepare a clean glass jar. Trim fresh celery stalks to fit snugly within and pack them upright in the jar. Ensure the celery spears are fresh and firm, as this will enhance the crunchiness of your final product. Having them tightly packed will help ensure even pickling.
Step 4: Pour the Brine
Carefully pour the hot brine over the packed celery in the jar, ensuring all spears are fully submerged. Use a spoon to poke around gently if necessary, to release any trapped air bubbles. The brine should cover the celery completely, providing the tangy solution needed for your Quick Pickled Celery to flavor beautifully.
Step 5: Cool and Refrigerate
Allow the jar of pickled celery to cool to room temperature—this should take about 20-30 minutes. Once cooled, seal the jar tightly with a lid and place it in the refrigerator. For the best results, let it pickle for at least 1-2 hours, but overnight is ideal for a more robust flavor profile.
How to Store and Freeze Pickled Celery
-
Fridge: Keep your pickled celery in a sealed jar in the refrigerator, where it will stay fresh for up to 2 weeks. For optimal flavor, try to consume it within the first week.
-
Room Temperature: Avoid leaving pickled celery at room temperature, as it can lead to spoilage and loss of crunch. Always refrigerate after preparation.
-
Freezer: While freezing pickled celery is not typically recommended, you can freeze the brine separately. Thaw and mix with fresh celery when ready to serve for a spontaneous snack!
-
Reheating: No need to reheat pickled celery; simply enjoy it cold straight from the jar or add it to salads and cheese boards for a refreshing crunch!
What to Serve with Quick Pickled Celery
Elevate your dining experience with delightful accompaniments that enhance the burst of flavor in your vibrant pickled celery.
-
Creamy Hummus: Perfectly smooth and rich, this dip complements the crunch while providing a satisfying contrast in flavor.
-
Cheese Plate: Pair your pickled celery with a variety of cheeses; the tangy crunch brightens rich, creamy textures for a balanced bite.
-
Spicy Toasts: Top crispy bread with zesty spreads or avocado, contrasting the pickled celery’s crunch and adding depth to your snacking.
-
Fresh Salad Greens: Toss them together in a salad for an invigorating crunch and brightness, creating a refreshing bite that’s packed with nutrients.
-
Savory Charcuterie: Salty cured meats work beautifully alongside pickled celery, enhancing the overall flavor profile with a salty, savory touch.
-
Sparkling Water: Enjoy a bubbly drink with these zesty bites; the effervescence refreshes your palate between crunchy delights.
-
Fruit Chutney: The sweetness of fruit chutney offers a beautifully balanced flavor that harmonizes with the vinegary zing of your pickles.
-
Dark Chocolate: For a daring dessert contrast, indulge in dark chocolate after your snacks; its richness will complement the tartness beautifully!
-
Pickled Veggie Medley: Serve with other quick pickles for a colorful, tangy platter, creating a delightful mosaic of flavors and textures.
Make Ahead Options
These Quick Pickled Celery spears are perfect for meal prep, saving you time during busy weeknights! You can prepare the brine (vinegar, water, sugar, salt, and red pepper flakes) up to 24 hours in advance, ensuring it’s ready when you need it. Simply store the prepared brine in an airtight container in the refrigerator to maintain its flavor. For the celery, you can also trim and pack the spears in the jar without the brine; just be sure to keep them chilled. When ready to enjoy, pour the cooled brine over the celery, seal tightly, and let it pickle for at least 1-2 hours, preferably overnight. This way, your pickled celery stays just as delicious and crisp, making snacking a breeze!
Pickled Celery Variations & Substitutions
Feel free to experiment and create your own flavor sensations with these simple tweaks!
- Dairy-Free: This recipe is naturally dairy-free, but for a creamy pairing, serve with dairy-free ranch dip for a delightful contrast!
- Spicy Kick: Want extra heat? Increase the red pepper flakes for a fiery version of your pickles that packs a punch!
- Herb-Infused: Add fresh herbs like dill or thyme to the brine to infuse an aromatic flair into your quick pickles.
- Sweet Twist: Substitute sugar with honey or maple syrup for a lovely natural sweetness that mellows the acidity.
- Vinegar Swap: Experiment with flavored vinegars, such as balsamic or malt vinegar, for a unique twist on the classic taste of pickled celery.
- Crunchy Add-Ins: Jazz up your jar by adding sliced radishes or cucumber spears for an added crunch and layers of flavor.
- Quick Ferment: Let the pickles sit for a week or more to get the benefits of good bacteria—perfect if you’re looking for a tangy kick and gut health boost!
- Flavor Boost: Consider a splash of soy sauce or Worcestershire sauce for an umami depth that will surprise your taste buds!
Embrace your creativity in the kitchen! Whether it’s a little twist or an adventurous swap, your pickled celery will shine in its own unique way.
Expert Tips for Quick Pickled Celery
-
Stay Submerged: Ensure celery spears are fully submerged in the brine to prevent spoilage and maintain crispness.
-
Brine Variations: Experiment with different vinegars like apple cider or rice vinegar for unique flavor twists in your pickled celery.
-
Add More Crunch: Include carrot sticks or green beans in your jar for extra texture and a colorful presentation!
-
Monitor Temperature: Store your pickled celery in a cool, dark spot to prevent heat exposure, ensuring they stay deliciously crunchy.
-
Use Fresh Ingredients: Always opt for the freshest celery stalks to achieve that satisfying crunch, making your pickled celery even more enjoyable.
Quick Pickled Celery Recipe FAQs
What type of celery should I use?
Absolutely! For the best results, choose fresh, firm stalks of celery. Look for vibrant green color without any dark spots or wilting, as this ensures a crisp texture in your pickled celery.
How should I store my pickled celery?
Store your pickled celery in a sealed jar in the refrigerator. It will maintain its freshness for up to 2 weeks. For optimal flavor, consume it within the first week to enjoy its peak taste and crunch!
Can I freeze pickled celery?
While freezing pickled celery is not typically advised due to potential texture changes, you can freeze the brine separately. To do this, pour cooled brine into ice cube trays and freeze. When ready to use, thaw the brine and mix it with fresh celery for a quick snack.
What should I do if my pickled celery becomes soggy?
If your pickled celery does not retain its crunch, the cause is usually due to insufficient brine coverage or exposure to air. To avoid this, ensure the celery is fully submerged in the brine and consider using a weight (like a small dish) to keep everything pressed down in the jar.
Is this recipe safe for my pet?
Try to avoid giving pickled foods to your pets, as the high salt content and spices, like red pepper flakes, may not be suitable for them. It’s best to stick to plain, fresh veggies for your furry friends!
Can I customize the brine for different flavors?
Very! You can certainly experiment with different vinegars or spices. For example, substituting white vinegar with apple cider vinegar can provide a sweeter, fruitier flavor, while adding garlic cloves or dill can offer a delightful twist. Enjoy exploring the variations that suit your taste!
Easy Pickled Celery: Crisp, Tangy Snack in Just 2 Hours
Ingredients
Equipment
Method
- In a medium saucepan, combine equal parts white vinegar and filtered water. Add sugar and salt, then heat over medium until dissolved, about 3–5 minutes.
- Stir in red pepper flakes to the warm brine and let it sit for a few minutes.
- Trim fresh celery stalks to fit snugly in a clean glass jar, packing them upright.
- Pour hot brine over the packed celery, ensuring all spears are submerged.
- Allow jar to cool to room temperature for about 20-30 minutes, then seal and refrigerate.