

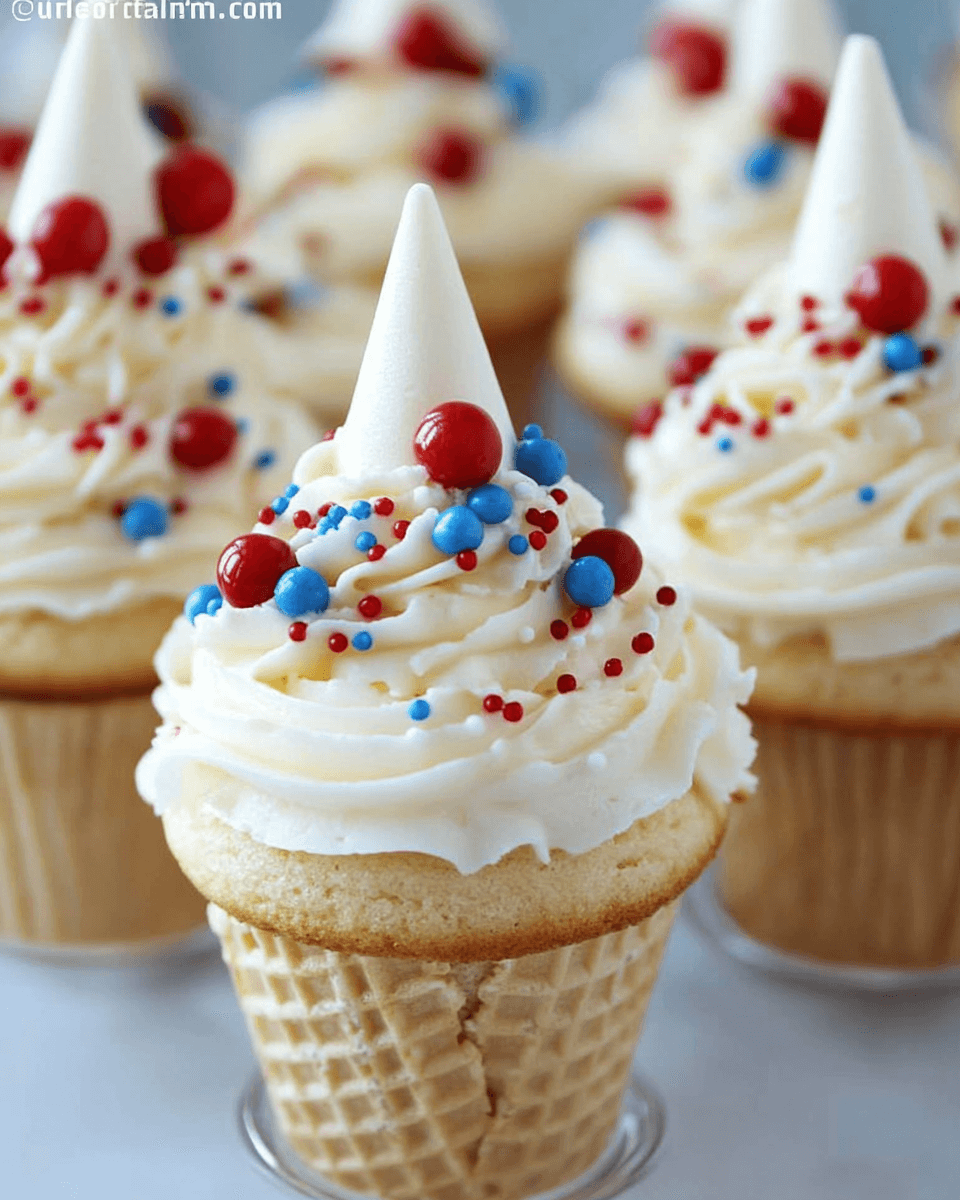
Ice Cream Cone Cupcakes
There’s something magical about combining two beloved treats into one delightful creation. Ice Cream Cone Cupcakes bring together the joy of cupcakes and the whimsy of ice cream cones, making them a hit for any occasion. Whether you’re looking to impress your kids at a birthday party or simply want a fun dessert for a cozy night in, this recipe is your go-to. It’s quick, easy, and oh-so-satisfying. Plus, who can resist that charming presentation? Let’s dive into this sweet adventure that’s sure to bring smiles all around!
Why You’ll Love This Ice Cream Cone Cupcakes
These Ice Cream Cone Cupcakes are a game-changer for dessert lovers. They’re incredibly easy to whip up, making them perfect for busy weeknights or last-minute gatherings. The delightful combination of flavors and textures will have everyone coming back for seconds. Plus, they’re a fun twist on traditional cupcakes, adding a playful element to your dessert table. Trust me, these treats will be the highlight of any occasion!
Ingredients for Ice Cream Cone Cupcakes
Gathering the right ingredients is the first step to creating these delightful Ice Cream Cone Cupcakes. Here’s what you’ll need:
- All-purpose flour: The backbone of your cupcakes, providing structure and a soft texture.
- Granulated sugar: Sweetens the batter and helps create that lovely golden crust.
- Baking powder: This leavening agent gives your cupcakes that perfect rise, making them light and fluffy.
- Salt: Just a pinch enhances the flavors and balances the sweetness.
- Unsalted butter: Adds richness and moisture; make sure it’s softened for easy mixing.
- Large eggs: They bind the ingredients together and contribute to the cupcakes’ texture.
- Vanilla extract: A splash of this classic flavor elevates the overall taste of your cupcakes.
- Milk: Keeps the batter moist and helps achieve the right consistency.
- Flat-bottomed ice cream cones: The fun vessel for your cupcakes; they hold the batter and add a whimsical touch.
- Frosting: Whether store-bought or homemade, this is the crowning glory of your cupcakes.
- Sprinkles: For that extra pop of color and fun, making your cupcakes even more festive.
For those looking to get creative, consider adding chocolate chips to the batter for a delightful surprise. You can also switch up the frosting flavors to chocolate or strawberry for a tasty twist. If you prefer a different texture, try using waffle cones instead of the traditional ice cream cones. For exact measurements, check the bottom of the article where you can find everything available for printing!
How to Make Ice Cream Cone Cupcakes
Creating Ice Cream Cone Cupcakes is a delightful journey that’s as fun as it is delicious. Follow these simple steps, and you’ll have a batch of whimsical treats ready to impress!
Step 1: Preheat the Oven
Start by preheating your oven to 350°F. This step is crucial because it ensures even baking. A hot oven helps your cupcakes rise beautifully, giving them that light and fluffy texture we all love. So, don’t skip this step!
Step 2: Prepare the Cupcake Pan
Next, line your cupcake pan with the flat-bottomed ice cream cones. Place them upright in each cupcake slot. This is essential because the cones will hold your batter and create that fun, edible vessel. Make sure they’re stable; you don’t want any toppled cones during baking!
Step 3: Mix the Dry Ingredients
In a large mixing bowl, combine the all-purpose flour, granulated sugar, baking powder, and salt. Whisk them together until well blended. This step is important for evenly distributing the leavening agent, ensuring your cupcakes rise uniformly. A good mix here sets the foundation for a perfect batter!
Step 4: Add Wet Ingredients
Now, it’s time to add the wet ingredients. Incorporate the softened butter, eggs, vanilla extract, and milk into the dry mix. This combination brings moisture and flavor to your cupcakes. Make sure the butter is softened; it blends more easily and creates a smoother batter.
Step 5: Beat the Mixture
Using an electric mixer, beat the mixture on medium speed for about 2 minutes. You’re aiming for a smooth, well-combined batter. It should be thick but pourable. Don’t overmix; just until everything is combined will do. This is where the magic starts to happen!
Step 6: Fill the Ice Cream Cones
Carefully spoon the batter into each ice cream cone, filling them about two-thirds full. This is key to prevent overflow while baking. Use a small ice cream scoop or a spoon for precision. It’s okay if some batter spills over the edges; it adds to the charm!
Step 7: Bake the Cupcakes
Place the cupcake pan in the preheated oven and bake for 18-20 minutes. To check for doneness, insert a toothpick into the center of a cupcake. If it comes out clean, they’re ready! Keep an eye on them; ovens can vary, and you want to avoid overbaking.
Step 8: Cool and Frost
Once baked, allow the cupcakes to cool in the cones for about 10 minutes. Then, transfer them to a wire rack to cool completely. This cooling step is crucial for perfect frosting. Once cooled, frost the tops with your favorite frosting and sprinkle with colorful decorations. Enjoy the delightful presentation!
Tips for Success
- Always preheat your oven for even baking.
- Use a small ice cream scoop for easy and consistent filling.
- Don’t overfill the cones; two-thirds full is perfect.
- Experiment with different frosting flavors to keep things exciting.
- Let the cupcakes cool completely before frosting for the best results.
Equipment Needed
- Mixing bowl: A large bowl for combining ingredients; a glass or stainless steel bowl works well.
- Electric mixer: For easy mixing; a whisk can be used if you prefer a workout!
- Cupcake pan: Essential for holding the ice cream cones; a muffin tin can also work.
- Ice cream scoop: For precise filling; a spoon can do the job too.
- Wire rack: For cooling; a plate can be a temporary substitute.
Variations
- Chocolate Chip Delight: Add a cup of chocolate chips to the batter for a rich, gooey surprise in every bite.
- Fruit Fusion: Incorporate mashed bananas or applesauce for a fruity twist that adds moisture and flavor.
- Gluten-Free Option: Substitute all-purpose flour with a gluten-free blend to accommodate dietary needs.
- Vegan Version: Replace eggs with flaxseed meal and use plant-based milk and butter for a delicious vegan treat.
- Flavorful Frosting: Experiment with different frosting flavors like lemon, peanut butter, or cream cheese for a unique touch.
Serving Suggestions
- Pair with a scoop of vanilla ice cream for an extra indulgent treat.
- Serve alongside fresh fruit like strawberries or raspberries for a refreshing contrast.
- For drinks, consider milkshakes or iced coffee to complement the sweetness.
- Present on a colorful platter with a sprinkle of extra toppings for visual appeal.
FAQs about Ice Cream Cone Cupcakes
Got questions about these delightful Ice Cream Cone Cupcakes? You’re not alone! Here are some common queries that might pop up as you embark on this sweet adventure.
Can I make Ice Cream Cone Cupcakes ahead of time?
Absolutely! You can bake the cupcakes a day in advance. Just store them in an airtight container at room temperature. Frost them right before serving for the best taste and presentation.
What type of frosting works best?
While any frosting can work, buttercream is a classic choice. It holds its shape well and adds a rich flavor. Cream cheese frosting is another delicious option if you want a tangy twist!
Can I use regular cupcake liners instead of ice cream cones?
While the fun of Ice Cream Cone Cupcakes lies in the cones, you can use regular cupcake liners if you prefer. Just bake the batter in a standard cupcake pan for a traditional treat.
How do I store leftover cupcakes?
Store any leftover cupcakes in an airtight container. They’ll stay fresh for about 2-3 days. If you’ve already frosted them, keep them in the fridge to maintain the frosting’s texture.
Can I freeze Ice Cream Cone Cupcakes?
Yes, you can freeze the baked cupcakes without frosting. Wrap them tightly in plastic wrap and place them in a freezer-safe bag. When you’re ready to enjoy, thaw them and frost as desired!
Final Thoughts
Creating Ice Cream Cone Cupcakes is more than just baking; it’s about crafting joyful moments. The delightful combination of flavors and the whimsical presentation make these treats a hit with everyone, from kids to adults. Each bite is a reminder of carefree days spent enjoying ice cream on a hot summer afternoon. Plus, the ease of preparation means you can whip them up anytime you need a sweet pick-me-up. So, gather your loved ones, share some laughs, and indulge in these charming cupcakes. They’re sure to become a cherished favorite in your dessert repertoire!
Ice Cream Cone Cupcakes: Delightful and Easy Recipe!
Ingredients
Method
- Preheat your oven to 350°F.
- Line a cupcake pan with the ice cream cones, placing them upright.
- In a large mixing bowl, combine the flour, sugar, baking powder, and salt.
- Add the softened butter, eggs, vanilla extract, and milk.
- Beat with an electric mixer on medium speed for about 2 minutes until well combined.
- Carefully spoon the batter into each ice cream cone, filling them about 2/3 full.
- Bake in the preheated oven for 18-20 minutes or until a toothpick inserted into the center comes out clean.
- Allow the cupcakes to cool in the cones for about 10 minutes, then transfer them to a wire rack to cool completely.
- Once cooled, frost the tops of the cupcakes with your favorite frosting and add sprinkles for decoration.
Nutrition
Notes
- For an extra twist, try adding chocolate chips to the batter.
- Use flavored frosting like chocolate or strawberry for variety.
- Substitute ice cream cones for waffle cones for a different texture and flavor.