Ingredients
Equipment
Method
Preparation Steps
- Start by slightly dampening the waffle cones using a damp paper towel, making them pliable enough to mold. Carefully press the cones into a taco shape, ensuring they hold their form without cracking. Set them aside on a baking sheet lined with parchment paper as you get ready to fill them with luscious vanilla ice cream.
- Scoop generous amounts of vanilla ice cream into each taco shell, pressing gently to ensure they're filled to the brim without overflowing. Aim for a nice dome shape on top of your cones, as this gives the final homemade Choco Tacos a delightful and abundant appearance. You may need to work quickly to avoid the ice cream melting!
- In a microwave-safe bowl, combine chocolate chips and melt them in 30-second intervals at medium heat, stirring between each interval until smooth and fully melted. Take care not to overheat the chocolate; a velvety texture is key for coating the tacos evenly. If desired, add a teaspoon of coconut oil for an even creaminess.
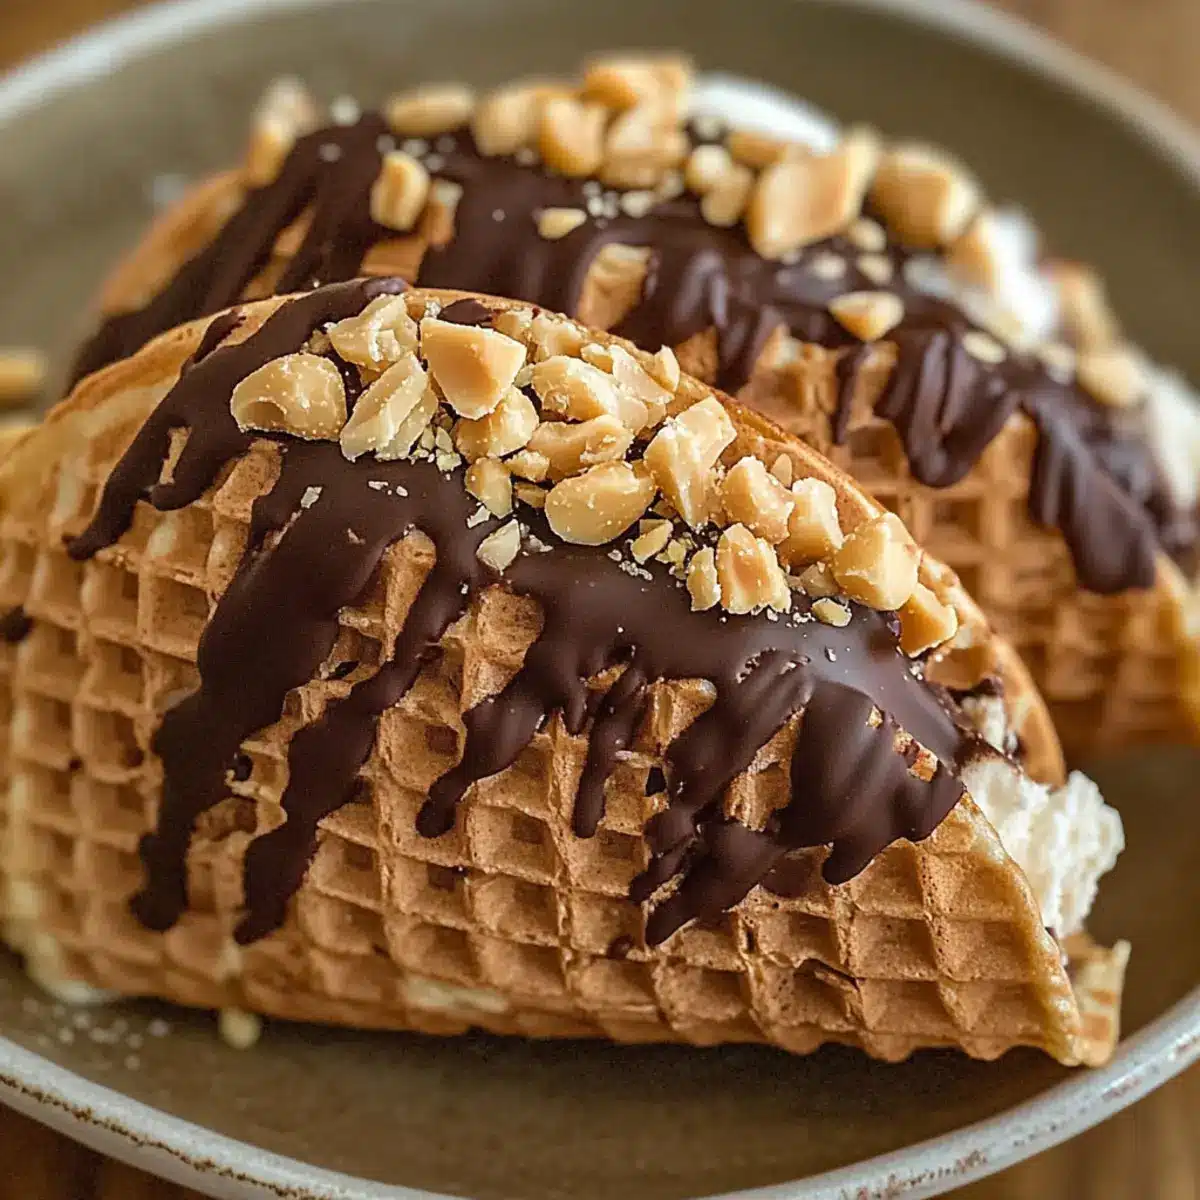
- Once your chocolate is melted and silky, gently dip each filled taco shell into the chocolate, ensuring an even coating over the ice cream and cone. Lift the taco out with a fork, letting excess chocolate drip back into the bowl, then place it back on the parchment paper for the chocolate to set.
- While the chocolate is still warm, generously sprinkle crushed peanuts or colorful sprinkles onto the tacos. This not only adds texture but also enhances their visual appeal. Make sure to do this quickly, as the chocolate will set as it cools, making it harder for the toppings to stick.
- Carefully transfer your assembled Homemade Choco Tacos to the freezer and allow them to set for at least 30-60 minutes. This will ensure the chocolate coating hardens fully, providing a delightful crunch, and the ice cream firms up, making each luscious bite a refreshing treat on a hot day.
Nutrition
Notes
For the best results, ensure waffle cones are slightly damp for molding, and sprinkle toppings while chocolate is still warm. Store leftovers in an airtight container in the freezer for up to two weeks.