

As the sun beats down and the air sizzles, there’s nothing quite like a moment of pure refreshment to cool you off. Enter my delightful watermelon bars—a perfect summer dessert that offers a sweet escape from the heat. This recipe combines the juicy sweetness of ripe watermelon with the zesty brightness of lemon, making these bars not only a treat for your taste buds but also incredibly quick to whip up. In under an hour, you’ll have a light and healthy dessert that serves as a crowd-pleaser for those warm gatherings. Trust me, with just a handful of simple ingredients, you’ll be savoring these decadent bars in no time. Are you ready to experience summer in every bite?
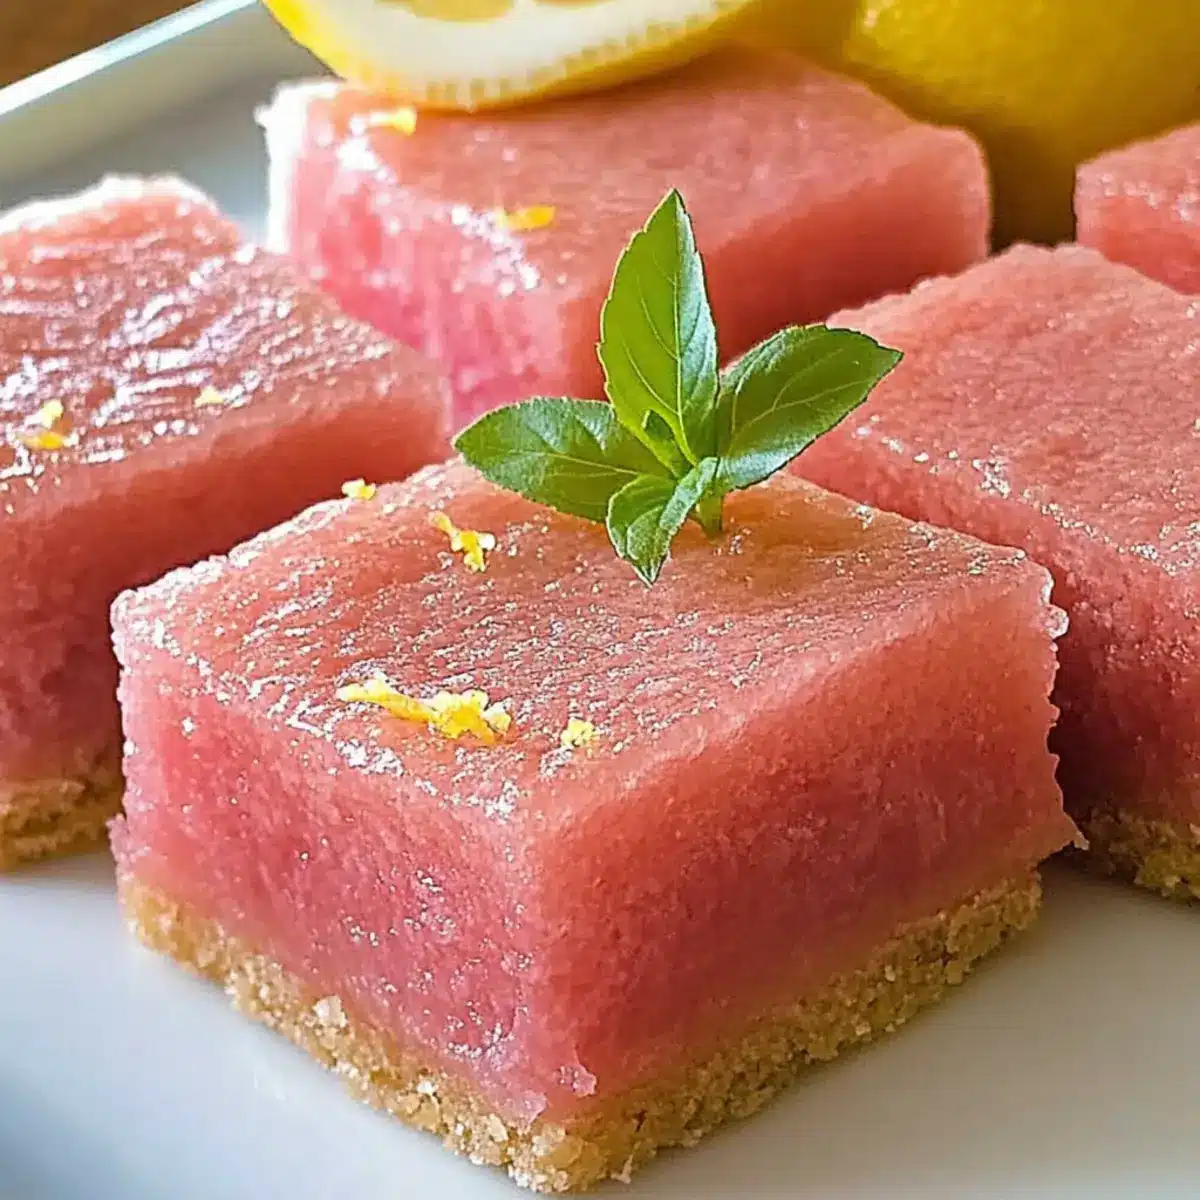
Why You’ll Love These Watermelon Bars?
Simplicity at Its Finest: With just a handful of ingredients, you can whip up these bars in under an hour, making them a breeze for busy summer days.
Refreshing Burst of Flavor: The juicy watermelon paired with zesty lemon creates a mouth-watering balance that dances on your palate, perfect for hot sunny afternoons.
Guilt-Free Indulgence: Low in calories, these bars are a deliciously healthy alternative to heavy desserts, letting you treat yourself without the guilt.
Crowd-Pleaser: Whether at a picnic, barbecue, or just a dessert for your family, these watermelon bars are sure to impress and satisfy everyone’s sweet tooth.
Versatile Twist Options: Want to add your own flair? Try infusing fresh mint or mixing in some berries for a delicious twist, inspired by my Raspberry Crumble Bars recipe!
Indulge in these delightful watermelon bars, and you’ll find yourself falling in love with each refreshing bite!
Watermelon Bars Ingredients
• A delightful blend of simple ingredients for a refreshing summer treat.
For the Bars
- Watermelon – The star of the show! Choose a fully ripe watermelon for the best sweetness and juiciness.
- Lemon Juice – Provides a zesty contrast to the sweetness; freshly squeezed is always best for flavor.
- Sugar – Helps to sweeten the watermelon bars; adjust to your taste or substitute with honey for a healthier option.
- Cornstarch – Serves as a thickening agent; ensure it’s gluten-free if needed.
- Salt – Just a pinch enhances the overall flavor by balancing sweetness.
Enjoy making these delicious watermelon bars as a refreshing dessert that embodies the essence of summer!
Step‑by‑Step Instructions for Watermelon Bars
Step 1: Prep Watermelon
Begin by cutting a fully ripe watermelon into chunks, discarding any seeds you encounter. Aim for around 3-4 cups of fruit for this refreshing watermelon bars recipe. The chunks should be roughly the same size to ensure even blending later. Place the watermelon pieces into a large mixing bowl, getting ready for the next step.
Step 2: Blend Ingredients
In a high-speed blender, combine the prepared watermelon chunks with freshly squeezed lemon juice, sugar, and a pinch of salt. Blend on high until you achieve a smooth and homogenous mixture, which should take about 1-2 minutes. You want to ensure there are no lumps remaining, as this will lead to beautifully smooth watermelon bars.
Step 3: Thicken Mixture
Pour the blended mixture into a medium saucepan and sprinkle in the cornstarch. Gently heat this over medium heat while constantly stirring with a whisk or spatula. Keep stirring for about 5-7 minutes until the mixture thickens slightly and starts to bubble gently. This step ensures your watermelon bars have a nice, firm texture.
Step 4: Transfer to Pan
Once thickened, take the saucepan off the heat and pour the mixture into a lined baking dish, ideally around 8×8 inches. Use a spatula to spread it evenly and smooth out the top. This will be the foundation of your refreshing watermelon bars. Make sure the mixture fills the dish close to the edges to form neat bars after cooling.
Step 5: Chill
Cover the baking dish with plastic wrap or a lid and place it in the refrigerator to chill for at least 2 hours. This cooling period is essential for the watermelon bars to set properly. When done, the top should appear firm with a glossy sheen, making them ready to cut.
Step 6: Cut & Serve
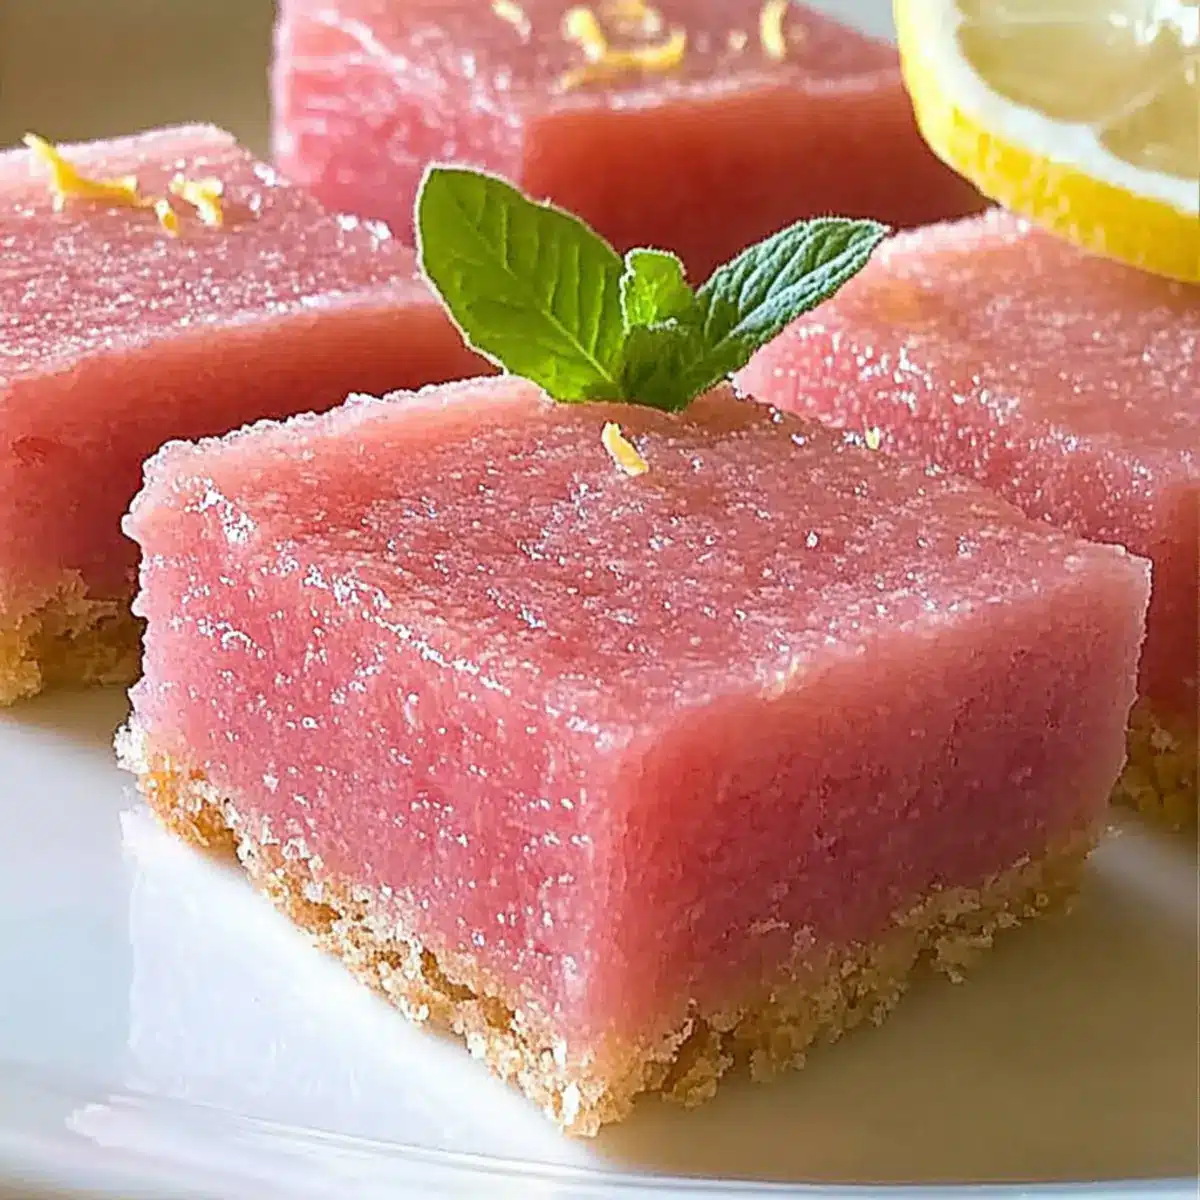
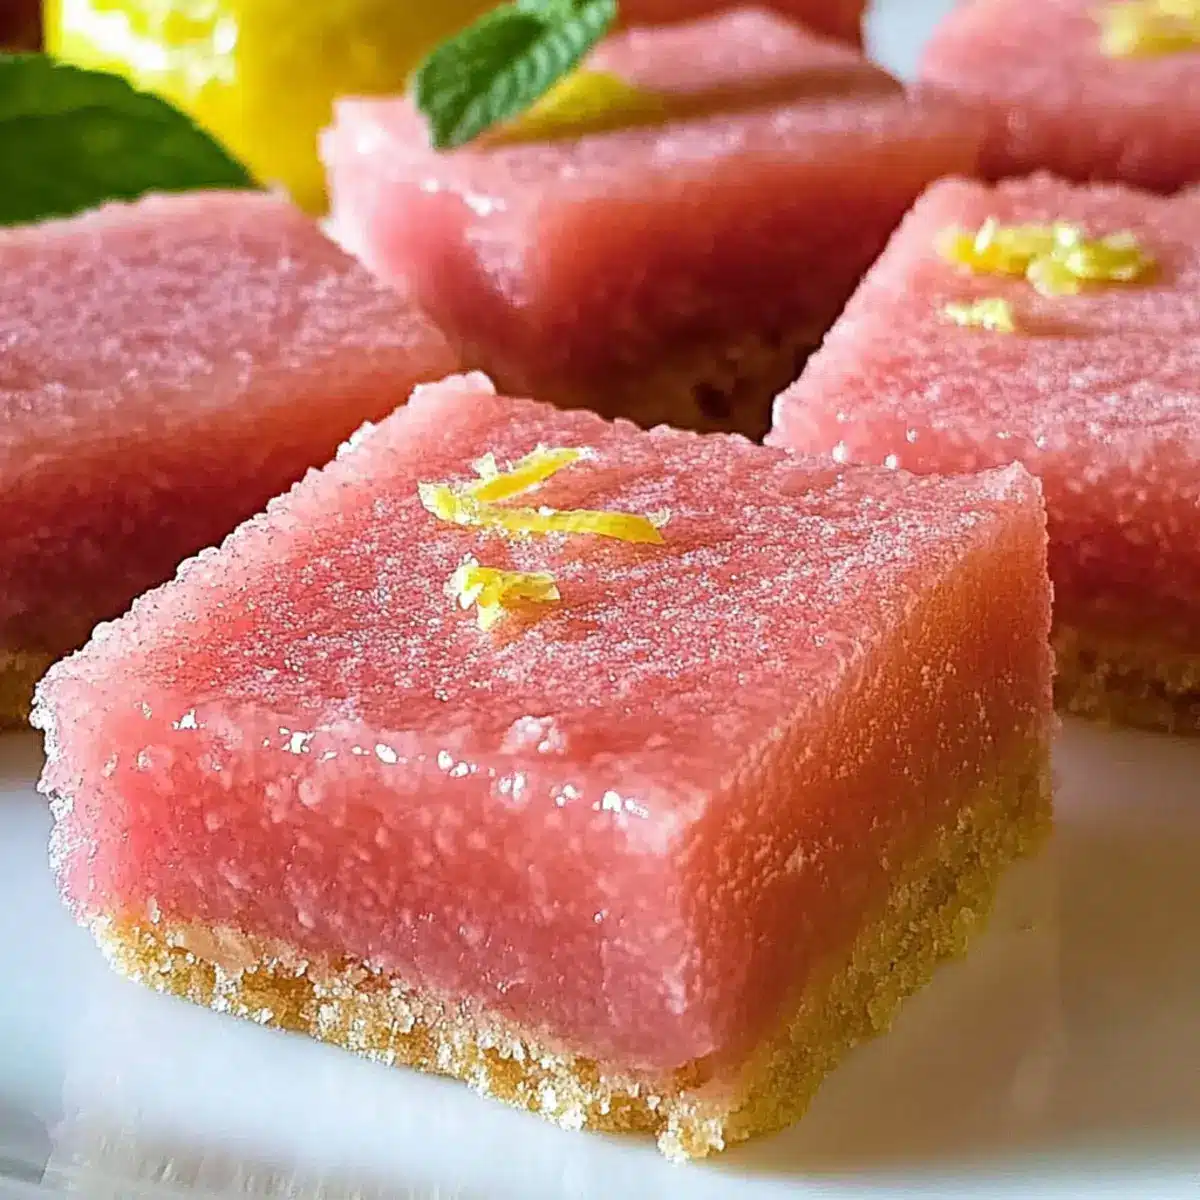
After chilling, remove the baking dish from the refrigerator. Run a knife around the edges to loosen the bars, then carefully lift them out using the parchment paper. Cut into even squares or rectangles, depending on your preference, showcasing the vibrant color of your watermelon bars. Serve chilled for the best refreshing experience!
Expert Tips for Watermelon Bars
-
Choosing Watermelon: Select a ripe and heavy watermelon for the sweetest flavor; look for a uniform shape and a creamy spot on the bottom.
-
Smooth Consistency: Ensure you blend the ingredients thoroughly to avoid lumps; a high-speed blender works best for smooth watermelon bars.
-
Thickening Process: Stir constantly in the saucepan to prevent the mixture from sticking and ensure a silky, creamy texture for your bars.
-
Preventing Sticky Bars: Use parchment paper to line your baking dish, allowing for easy removal of the watermelon bars without them sticking.
-
Perfect Chilling: Chill the bars for at least 2 hours to let them set properly; this step is crucial for achieving the right firmness.
What to Serve with Refreshing Watermelon-Lemon Bars?
Picture a table spread with vibrant summer colors, where each bite of these refreshing watermelon bars pairs perfectly with delightful accompaniments.
-
Crisp Garden Salad: Fresh mixed greens and seasonal veggies provide a crunchy contrast, brightening your plate with color and texture.
-
Grilled Chicken Skewers: Juicy, marinated chicken brings a savory element, complementing the bars’ sweetness with satisfying umami flavor.
-
Chilled Sparkling Water: A bubbly drink offers a refreshing cleanse between bites, enhancing the overall lightness of your summer feast.
-
Creamy Yogurt Dip: A tangy yogurt dip infused with herbs adds a rich, creamy touch, perfect for scooping or drizzling over your bars.
-
Berry Medley: A mix of fresh strawberries, blueberries, and raspberries harmonizes beautifully with the watermelon, enhancing the fruity experience.
-
Coconut Sorbet: This dairy-free dessert provides a tropical flair, pairing wonderfully with the zesty notes of the watermelon bars for an exotic vibe.
-
Mint Lemonade: A crisp, minty beverage cools you down while echoing the refreshing flavors of your bars, ensuring a cohesive summer feel.
-
Chocolate Dipping Sauce: For a fun twist, offer melted chocolate for those who crave a decadent pairing with the fruity bars.
These delightful options will elevate your summer gathering, inviting everyone to enjoy the tastes and textures that celebrate the season!
Watermelon Bars Variations & Substitutions
Customize your watermelon bars for a fresh twist that sparks joy in every bite!
-
Citrus Twist: Add zest from lemons or limes for an extra citrus kick. This brightens the flavors even more, making each bar a delightful citrus explosion.
-
Herbal Infusion: Incorporate fresh mint, blended into the watermelon mixture for a refreshing herbal note. A subtle hint of mint complements the watermelon beautifully, creating a garden-fresh flavor profile.
-
Berry Bliss: Mix in pureed strawberries or raspberries for an added fruit flavor that harmonizes perfectly with the watermelon. Try using mixed berries for a vibrant blend that will delight your taste buds!
-
Creamy Coconut: Substitute half of the watermelon with coconut cream for a tropical twist. This adds a rich creaminess, reminiscent of island desserts you can enjoy on a hot summer day.
-
Spicy Kick: Mix in a hint of cayenne or chili powder for a surprising spicy note. The heat balances the sweetness of the watermelon, creating an unexpected taste sensation that’s sure to impress.
-
Nutty Crunch: Top your bars with chopped nuts like almonds or pistachios before chilling. The added crunch provides texture that contrasts beautifully with the smoothness of the watermelon.
-
Chocolate Drizzle: Make dessert indulgent by drizzling melted dark chocolate over the bars before serving. This combination of flavors creates an irresistible treat that feels luxuriously decadent.
-
Plant-Based Swap: For a vegan-friendly option, swap out sugar for agave syrup or coconut sugar, maintaining the bar’s sweetness while keeping it plant-based.
Feel free to let your culinary creativity shine through! You might even find inspiration for a refreshing twist on other summer treats, like my delightful Raspberry Crumble Bars. Enjoy and happy experimenting!
Make Ahead Options
These watermelon bars are perfect for meal prep and can save you time on busy summer days! You can prepare the watermelon mixture and thicken it in advance, storing it in the refrigerator for up to 24 hours before pouring it into the baking dish. Then, just a couple of hours before serving, simply pour the thickened mixture into the lined baking dish and let it chill for at least 2 hours until it sets. To maintain quality, ensure the mixture is covered so it doesn’t absorb any odors. When you’re ready to serve these delicious watermelon bars, cut them into squares and enjoy their refreshing taste!
How to Store and Freeze Watermelon Bars
Fridge: Store leftover watermelon bars in an airtight container for up to 5 days. This will help maintain their refreshing taste and texture.
Freezer: For longer storage, freeze the watermelon bars in an airtight container, separating layers with parchment paper. They can be frozen for up to 3 months.
Thawing: To enjoy frozen watermelon bars, thaw them in the refrigerator overnight for the best texture before serving.
Reheating: There’s no need to reheat; simply enjoy the watermelon bars chilled for a refreshing dessert experience!
Watermelon Bars Recipe FAQs
How do I choose the best watermelon for this recipe?
Absolutely! Look for a watermelon that feels heavy for its size and has a uniform shape. The best melons have a creamy, yellow spot on the underside, indicating ripeness. Avoid melons with dark spots all over or those that feel too soft, as these might be overripe.
How should I store leftover watermelon bars?
You can store leftover watermelon bars in an airtight container in the refrigerator for up to 5 days. This helps them maintain their refreshing flavor and texture. Just make sure they’re sealed properly to avoid any absorption of other fridge odors.
Can I freeze watermelon bars for later?
Very much so! To freeze, layer the watermelon bars in an airtight container, separating each layer with parchment paper to prevent sticking. They can last in the freezer for up to 3 months. When you’re ready to enjoy them, simply thaw in the refrigerator overnight for a cool, refreshing treat.
What should I do if my watermelon bars are too runny?
If you find your watermelon bars are too runny, it may be due to insufficient thickening during cooking. Make sure to stir constantly while heating the blended mixture and give it time (5-7 minutes) to thicken. If they still don’t set properly, you might consider adding a bit more cornstarch mixed with a little water before reheating gently.
Are watermelon bars safe for pets or people with allergies?
While watermelon is generally safe for dogs as a treat in moderation, these bars contain sugar and lemon juice, which may not be suitable for all pets. If your dog is sensitive to citrus or has allergies, it’s best to keep these bars away from them. For humans, ensure you’re using allergy-friendly alternatives if necessary, like gluten-free cornstarch.
Can I use any other fruits in this recipe?
Absolutely! You can experiment with other fruits like strawberries, raspberries, or even mangoes to create a delightful twist. Just keep in mind that different fruits may require adjustments in sugar levels, depending on their sweetness. Adding fresh herbs, like mint, can also elevate the flavor profile beautifully!
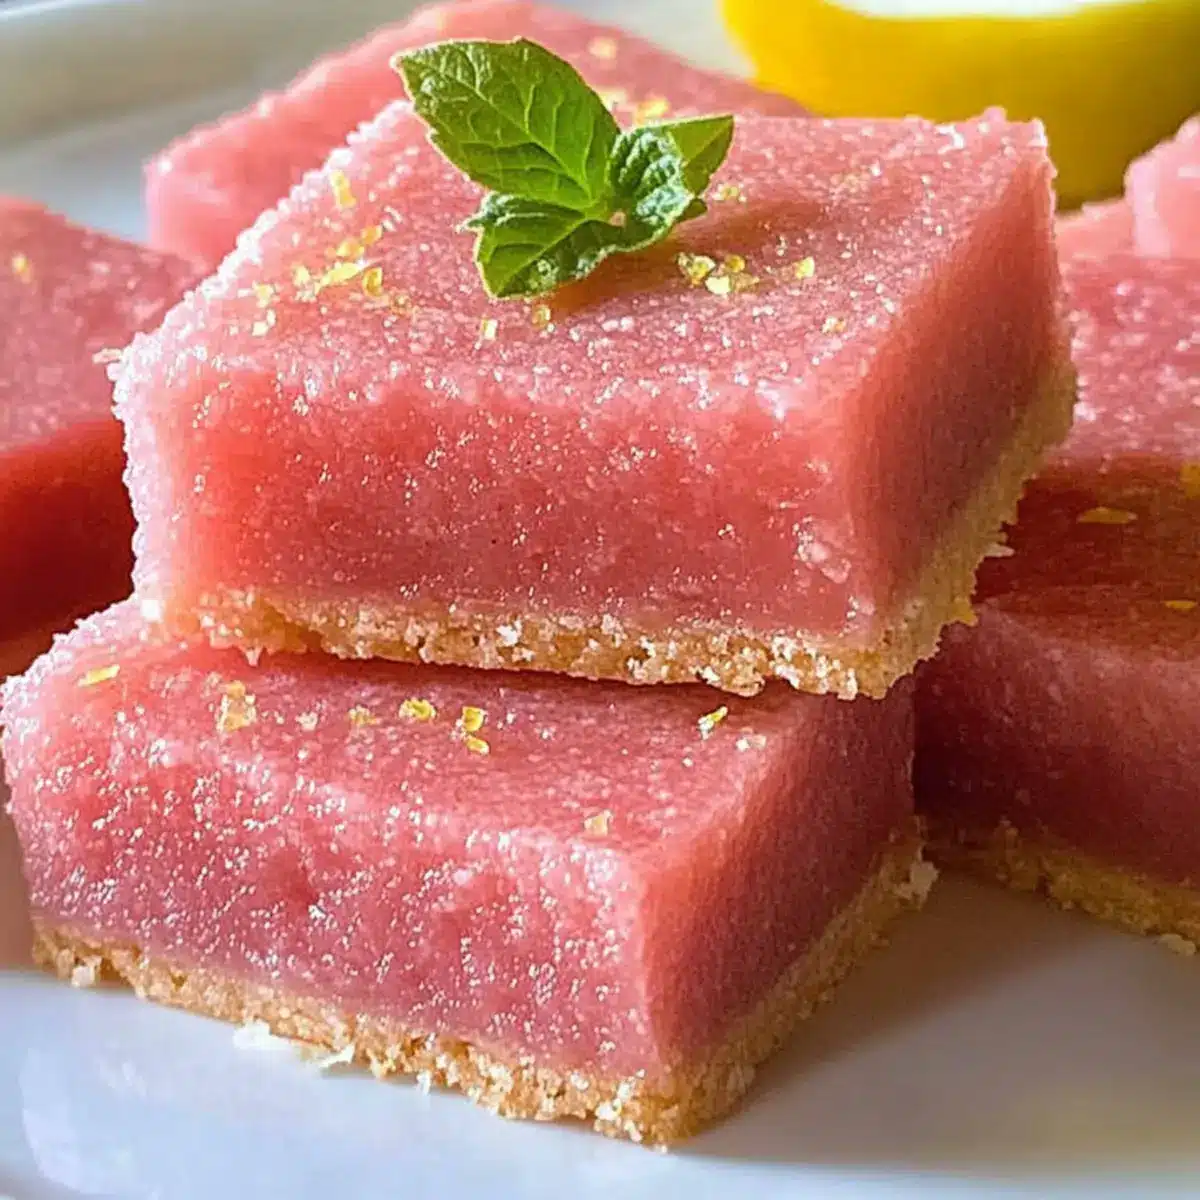
Refreshing Watermelon Bars That Beat the Heat!
Ingredients
Equipment
Method
- Begin by cutting a fully ripe watermelon into chunks, discarding any seeds. Aim for around 3-4 cups of fruit.
- In a high-speed blender, combine the prepared watermelon chunks with freshly squeezed lemon juice, sugar, and a pinch of salt. Blend until smooth, about 1-2 minutes.
- Pour the blended mixture into a medium saucepan and sprinkle in the cornstarch. Gently heat over medium heat while stirring for 5-7 minutes until thickened.
- Take the saucepan off the heat and pour the mixture into a lined baking dish. Spread it evenly to form a smooth top.
- Cover the baking dish and chill in the refrigerator for at least 2 hours until set.
- Remove from the fridge, run a knife around the edges, lift out using parchment paper, and cut into squares. Serve chilled.