

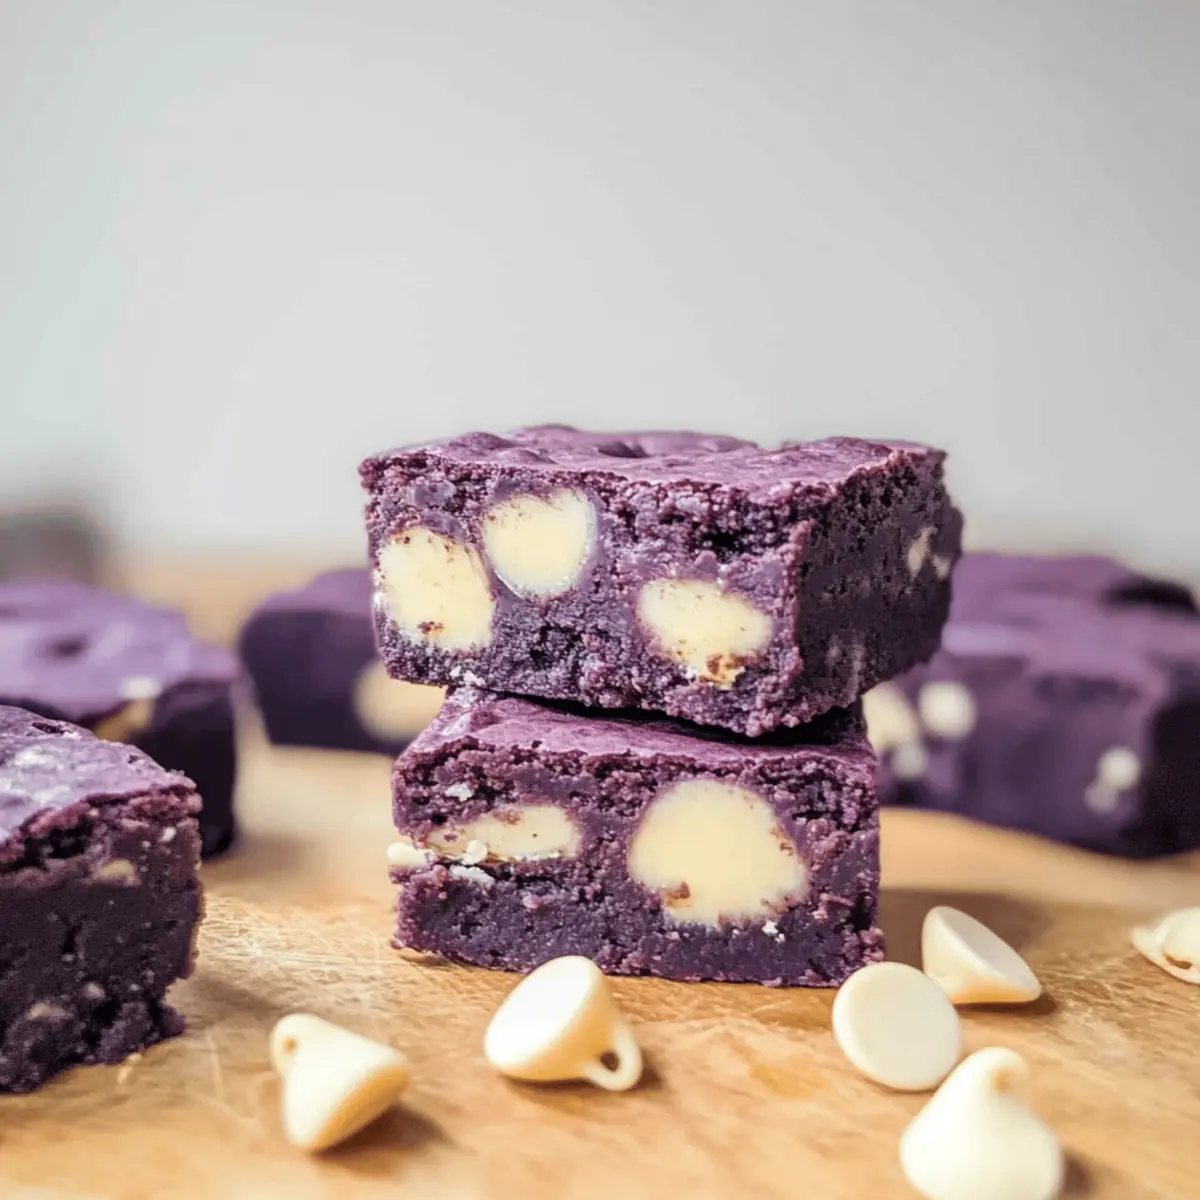
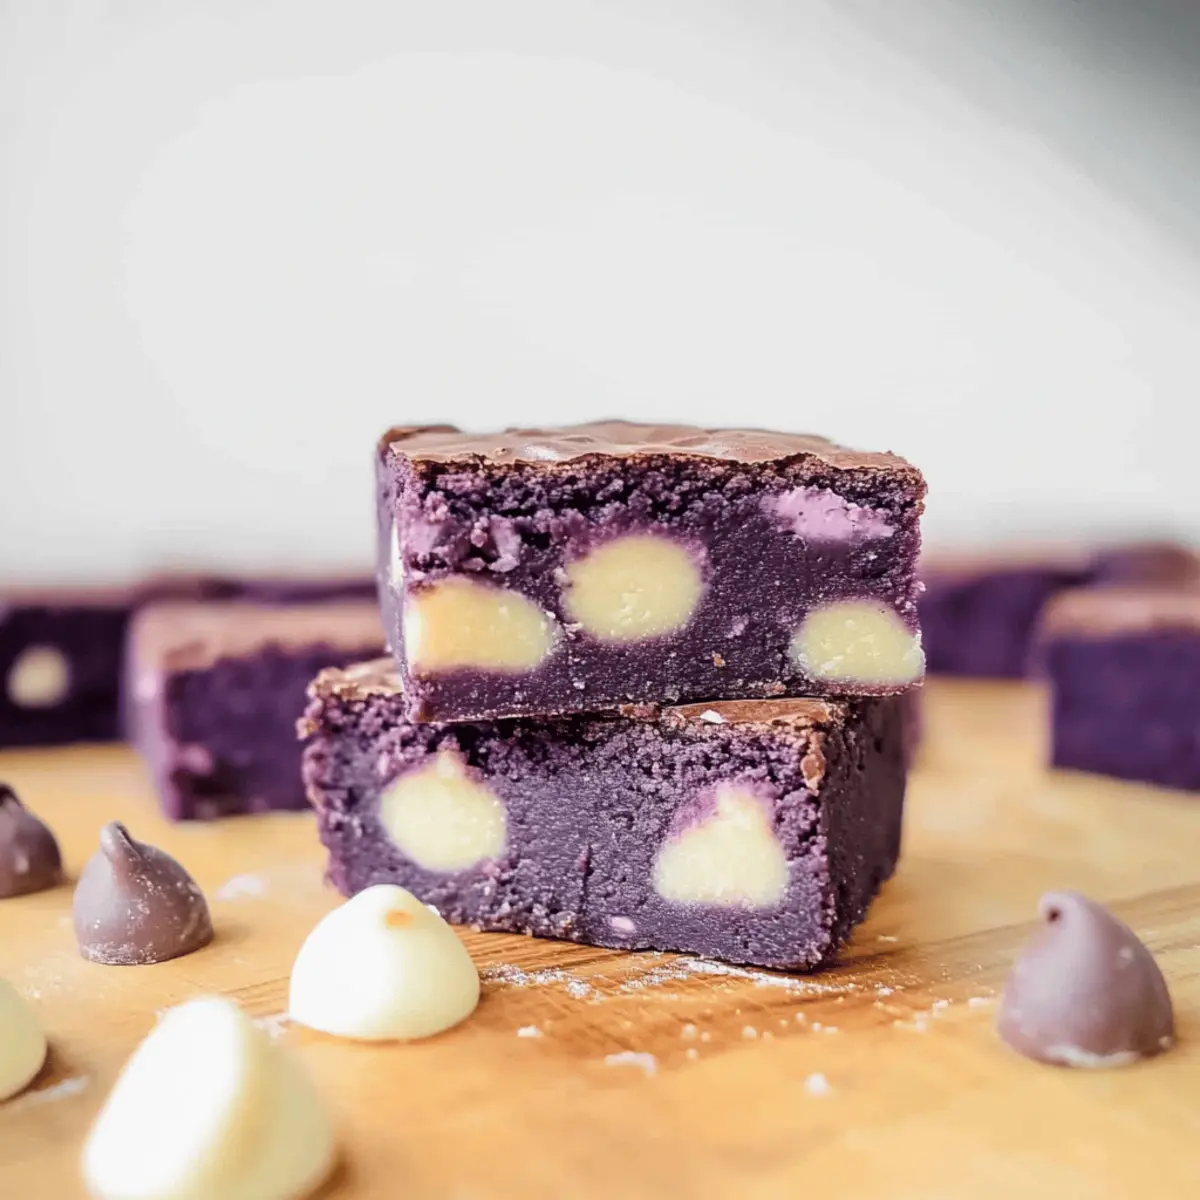
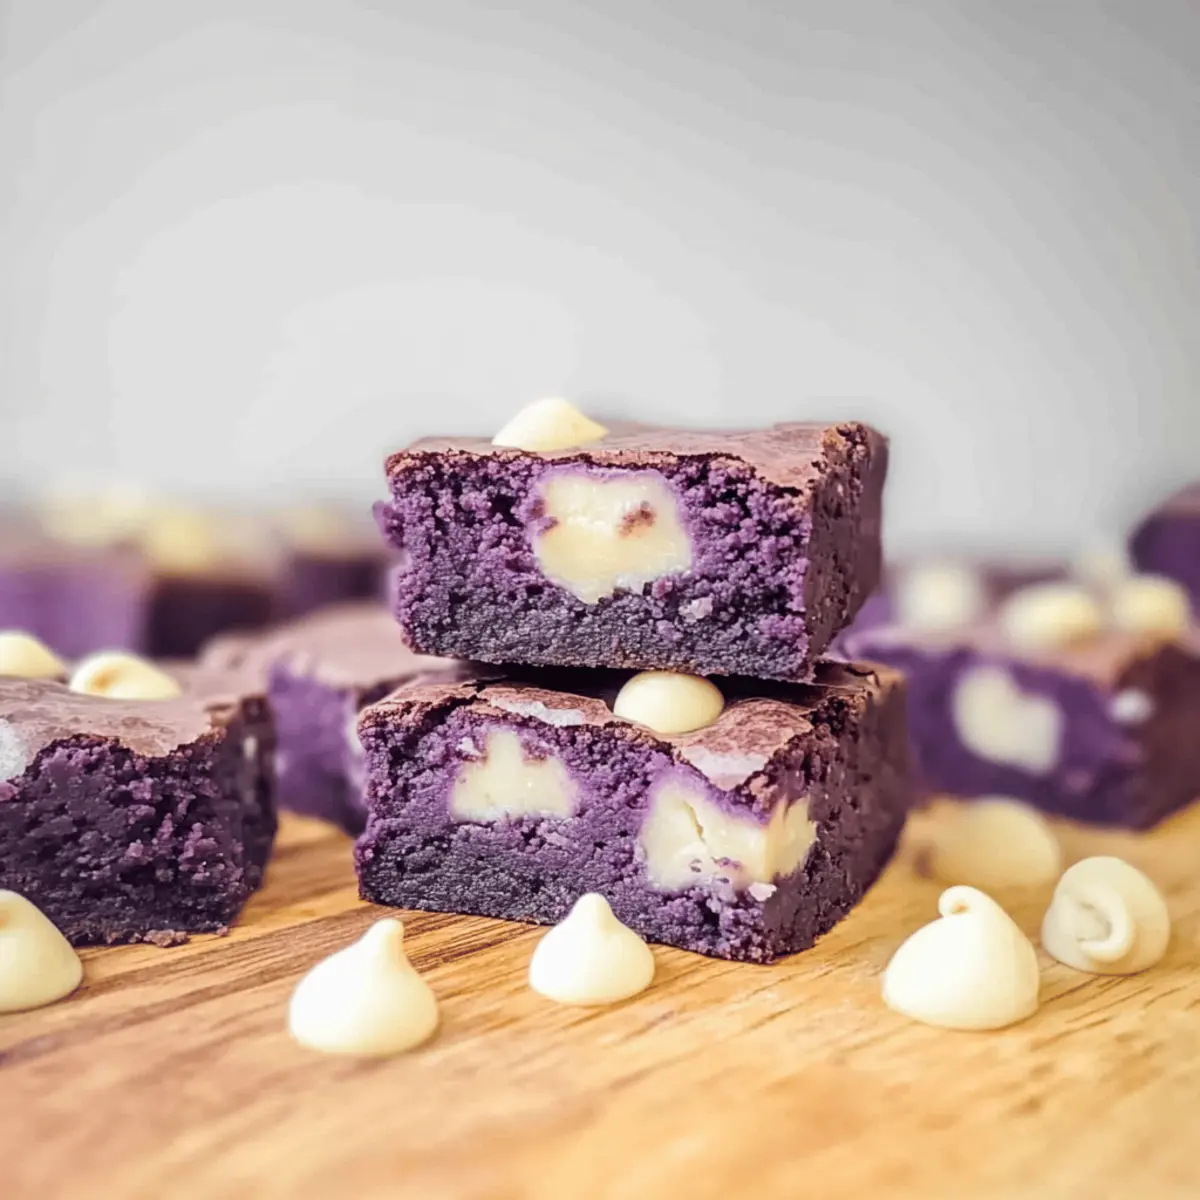
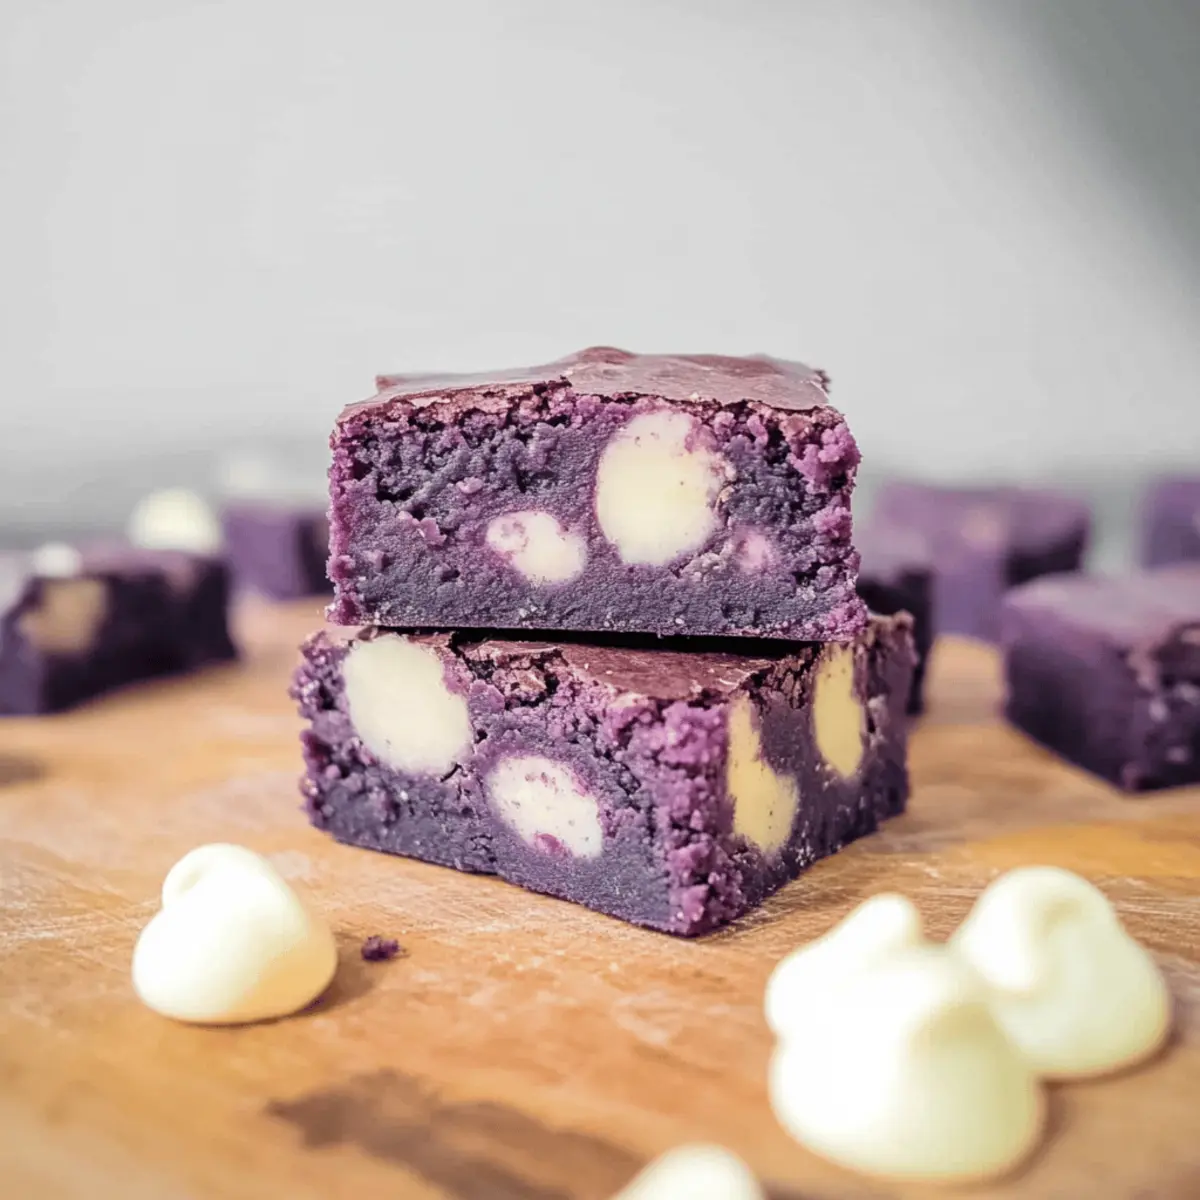
As I stood in my kitchen, a beautiful wave of purple began to swirl in my mixing bowl, transforming what was once a plain batter into a captivating treat. These Ube Brownies, infused with the sweet essence of purple yam and embraced by creamy white chocolate chips, are my latest obsession. Not only is this one-bowl recipe incredibly easy to whip together, but it also offers the comfort of homemade desserts without the fuss of multiple dishes—a true crowd-pleaser for any gathering. Whether you’re hosting a festive party or just want to indulge on a cozy afternoon, these brownies are a delightful fusion of flavors that are sure to impress. Curious about how to make them? Let’s dive into this colorful journey!
Why Are Ube Brownies So Irresistible?
Decadent, unique flavor: These ube brownies boast a delightful twist on traditional desserts, with their nutty sweetness and striking purple hue sure to captivate your taste buds. One-bowl convenience: Who doesn’t love easy clean-up? This simple recipe minimizes mess, making baking a breeze. Versatile pairings: Serve them warm with a scoop of ice cream or alongside fresh fruit for an impressive dessert display. Allergy-friendly options: Substitute ingredients effortlessly, ensuring everyone can enjoy these treats, no matter their dietary restrictions. If you’re a fan of innovative sweet treats, don’t miss our mouthwatering Red Velvet Brownies for another unforgettable option!
Ube Brownie Ingredients
For the Brownies
- Unsalted Butter – Provides moisture and richness. Substitution: Use coconut oil for a dairy-free version.
- Light Brown Sugar – Adds sweetness with a hint of caramel flavor. Substitution: All white sugar for a lighter flavor.
- White Sugar – Contributes sweetness and structure. Note: Finely granulated sugar, such as caster sugar, is recommended.
- Large Egg – Binds ingredients and adds moisture. Tip: Ensure it is at room temperature for better incorporation.
- Ube Extract – Imparts the characteristic nutty sweetness and vibrant color of ube. Note: Can replace with real ube powder for a stronger flavor, but amounts may vary.
- Plain All-Purpose Flour – Provides structure and base for the brownies. Substitution: Gluten-free flour blend may work, but results may vary.
- Cornstarch – Enhances chewiness and gives a softer texture. Substitution: Use the same amount of additional all-purpose flour—caution: texture will change.
- Salt – Enhances flavor. Optional based on preference.
- White Chocolate Chips – Adds sweetness and creaminess. Substitution: Use milk or dark chocolate chips, or swap half for nuts like macadamias or pecans for crunch.
Step‑by‑Step Instructions for Ube Brownies
Step 1: Preheat the Oven
Begin your delicious ube brownies by preheating your oven to 180°C (350°F). While the oven warms up, grease an 8-inch square baking pan with a touch of butter or non-stick spray to ensure your brownies release easily once baked. Having everything ready will streamline your process!
Step 2: Melt the Butter
In a large heatproof bowl, melt ½ cup of unsalted butter in the microwave for about 30 to 50 seconds. You’ll know it’s ready when the butter is completely melted and slightly bubbling. This adds moisture and richness to your brownies, setting a wonderful foundation for the flavors to come.
Step 3: Combine the Sugars
Once the butter is melted, whisk in ¾ cup of light brown sugar and ½ cup of white sugar until the mixture is smooth and thickened. This step is crucial as it creates a beautiful caramel flavor that blends perfectly with the ube. You should see a shiny mixture that invites the next ingredient.
Step 4: Add the Egg and Ube Extract
Beat in one large egg, ensuring it’s at room temperature for better incorporation. Then, mix in 2 teaspoons of ube extract until everything is fully combined. The vibrant purple essence of ube will transform your batter, making it not only delicious but also visually delightful.
Step 5: Incorporate Dry Ingredients
Sift in 1 cup of all-purpose flour and ¼ cup of cornstarch into the wet mixture. Gently stir until just mixed—be careful not to overmix, as this can affect the texture of your brownies. The batter should be slightly thick and hardly lumpy, ready to hold its shape in the next steps.
Step 6: Add Flavor Bursts
Now, fold in a pinch of salt (if desired) along with 1 cup of white chocolate chips. This is where your ube brownies get a sweet, creamy boost. Make sure the white chocolate is evenly distributed throughout the batter, ensuring that every bite is rich and rewarding.
Step 7: Pour and Level the Batter
Carefully pour the brownie batter into your prepared baking pan, using a spatula to spread and level the top gently. This helps ensure even baking and a lovely presentation when you cut into your brownies. Take a moment to admire the beautiful purple hue!
Step 8: Bake to Perfection
Place the pan in the preheated oven and bake for 20-25 minutes. Keep an eye on your ube brownies, looking for a slight wobble in the center; this indicates they’re perfectly baked and will set as they cool. Avoid overbaking to preserve that gooey texture!
Step 9: Cool and Slice
Once done, remove the brownies from the oven and allow them to cool completely in the pan. This cooling period helps them firm up, making slicing easier. After about 30 minutes to an hour, cut into squares and enjoy these delightful ube brownies!
Make Ahead Options
These Ube Brownies are perfect for busy home cooks looking to save time during the week! You can prepare the brownie batter up to 24 hours in advance. Simply mix all your ingredients and store the batter in an airtight container in the refrigerator. To maintain the rich flavors and texture, it’s crucial to keep it tightly sealed. When you’re ready to bake, pour the chilled batter into the prepared pan and bake as directed, adding a couple of extra minutes if needed since the batter will be cold. This way, you can enjoy decadent, gooey Ube Brownies with minimal fuss whenever the craving strikes!
What to Serve with Deliciously Chewy Ube Brownies?
Elevate your dessert experience with delightful accompaniments that perfectly complement these sweet, chewy treats.
-
Vanilla Ice Cream:
The classic pairing of warm brownies with creamy vanilla ice cream adds a rich contrast, making each bite a divine indulgence. -
Fresh Berries:
A burst of tartness from berries like strawberries or blueberries offers a refreshing counterbalance to the sweetness of the brownies. -
Coconut Whipped Cream:
Light and airy, this dairy-free topping not only adds a tropical twist but also complements the nutty flavors of ube beautifully. -
Espresso or Coffee:
A warm cup of espresso or rich coffee accentuates the chocolatey notes and enhances the overall flavor profile of the brownies. -
Coconut Macaroons:
Chewy coconut macaroons bring a delightful textural contrast while also offering a tropical vibe that enhances the ube’s unique flavor. -
Chocolate Drizzle:
Consider drizzling a rich chocolate sauce on top for an extra touch of decadence, perfect for chocolate lovers. -
Nutty Protein Bars:
Enjoy a nutty protein bar on the side for an energy boost; its crunch adds a satisfying texture alongside the soft brownies.
As you gather around the table, these pairings will surely create a memorable dessert experience that your friends and family will cherish!
Storage Tips for Ube Brownies
- Room Temperature: Keep your ube brownies in an airtight container at room temperature for up to 4 days to maintain their chewy and moist texture.
- Fridge: For a firmer texture, store the brownies in the fridge for up to 1 week, but allow them to come to room temperature before serving for the best flavor.
- Freezer: Freeze your ube brownies wrapped tightly in plastic wrap and then in aluminum foil for up to 3 months. Let them thaw in the fridge overnight before enjoying!
- Reheating: If you prefer warm brownies, reheat them in the microwave for 10-15 seconds. This will bring back their gooey goodness, making each bite a delightful experience!
Expert Tips for Ube Brownies
-
Room Temperature Egg: Ensure your large egg is at room temperature for better incorporation into the batter, promoting a silky texture in your ube brownies.
-
Don’t Overmix: Gently combine dry and wet ingredients until just mixed. Overmixing can lead to tough brownies instead of the desired chewy texture.
-
Check for Doneness: Use the wobble test! Your brownies should have a slight wobble in the center when done, ensuring they’re perfectly gooey.
-
Cooling Time Matters: Allow the brownies to cool completely in the pan for better slicing. This will help achieve neat, square portions that maintain their rich texture.
-
Storage Tip: Store your ube brownies in an airtight container at room temperature for up to 4 days, keeping them fresh and delicious for everyone to enjoy!
Ube Brownies Variations & Substitutions
Feel free to explore these delightful variations and substitutions to make the ube brownies uniquely yours!
-
Dairy-Free: Substitute unsalted butter with coconut oil for a deliciously creamy dairy-free version.
Imagine the rich, tropical aroma filling your kitchen, promising a guilt-free indulgence everyone can enjoy! -
Gluten-Free: Replace all-purpose flour with a gluten-free flour blend for a gluten-free treat.
Just be sure to mix thoroughly; you might be surprised at how wonderfully soft and tasty these gluten-free brownies can be! -
Cheesecake Swirl: Add a creamy twist by swirling in a mixture of cream cheese, sugar, vanilla, and an egg yolk before baking.
This rich layer contrasts delightfully with the brownies, creating a luxurious dessert experience that will impress your guests. -
Nutty Crunch: Swap half of the white chocolate chips for chopped macadamias or pecans for a nutty crunch.
The added texture brings a satisfying contrast to the chewy brownie, elevating every bite to a delightful adventure. -
Ube Mochi Brownies: For a chewy delight, mix in sweet glutinous rice flour alongside the other dry ingredients.
These ube mochi brownies will introduce a unique texture, combining chewy and fudgy in every square! -
Minty Freshness: Add a teaspoon of peppermint extract for a refreshing mint flavor that pairs beautifully with the sweetness of ube.
This twist will leave taste buds tingling, making these brownies a marvelous option for special occasions. -
Chocolate Lovers: Swap all white chocolate chips for dark chocolate chips for a rich, decadent experience.
Dark chocolate enhances the nuttiness of ube, creating a beautifully complex flavor profile that’s sure to please! -
Spicy Kick: For those who enjoy a little heat, add a pinch of cayenne pepper or chili powder to the batter.
This unexpected kick can elevate the sweetness, giving your ube brownies a unique twist that’s sure to surprise and delight!
Now that you’re inspired by these variations, don’t forget to also try out some delicious combinations like our delightful Red Velvet Brownies for more layering of flavors in your dessert repertoire! Enjoy creating and customizing these ube brownies to make them your own!
Ube Brownies Recipe FAQs
What is the best way to select ube extract?
Absolutely! When selecting ube extract, look for high-quality brands that contain real ube and have minimal artificial colors or flavors. If you can access fresh ube, using real ube powder is a fantastic alternative. Just adjust the quantity as real powder has a stronger flavor compared to extract, usually needing about 1 tablespoon for a similar impact.
How should I store leftover ube brownies?
Very! To keep your ube brownies fresh, store them in an airtight container at room temperature for up to 4 days. If you prefer them firmer, refrigerate them for up to a week, but let them warm to room temperature before serving to enhance the flavors.
Can I freeze ube brownies?
Absolutely! To freeze your ube brownies, wrap each piece tightly in plastic wrap, then cover them with aluminum foil. They can be stored in the freezer for up to 3 months. When you’re ready to enjoy, thaw them in the refrigerator overnight. If you’re in a hurry, you can also let them sit at room temperature for a couple of hours.
My brownies turned out too dry. What did I do wrong?
Oh no! Dry brownies can happen if the batter is overmixed or if they are baked too long. Always mix just until combined and keep an eye on them in the oven. A slight wobble in the center is key to ensuring they’re the perfect gooey texture. If they feel dense but dry, it might help to add a little more moisture next time, either through additional butter or a splash of milk.
Are there any allergy considerations with ube brownies?
Very! This recipe can be adjusted to accommodate various dietary needs. For dairy allergies, substitute unsalted butter with coconut oil or a dairy-free margarine. If there are nut allergies, swap out the white chocolate chips with allergy-friendly chocolate chips or leave them out altogether. Always double-check ingredient labels for hidden allergens!
What if I want to make these brownies gluten-free?
Absolutely! To make gluten-free ube brownies, you can use a gluten-free flour blend that measures cup-for-cup in place of all-purpose flour. However, be aware that the texture might differ slightly. Adding a tablespoon of cornstarch can help replicate the chewy texture you’d expect. Just be sure to check all other ingredients for gluten, especially the baking powder and any chocolate chips.
Gooey Ube Brownies That Melt in Your Mouth
Ingredients
Equipment
Method
- Preheat your oven to 180°C (350°F) and grease an 8-inch square baking pan.
- Melt ½ cup of unsalted butter in the microwave for about 30 to 50 seconds until completely melted.
- Whisk in ¾ cup of light brown sugar and ½ cup of white sugar until smooth and thickened.
- Beat in one large egg, then mix in 2 teaspoons of ube extract until fully combined.
- Sift in 1 cup of all-purpose flour and ¼ cup of cornstarch, gently stirring until just mixed.
- Fold in a pinch of salt and 1 cup of white chocolate chips, ensuring even distribution.
- Pour the brownie batter into the prepared pan and level the top with a spatula.
- Bake for 20-25 minutes, looking for a slight wobble in the center.
- Remove the brownies from the oven and cool completely in the pan before slicing.