

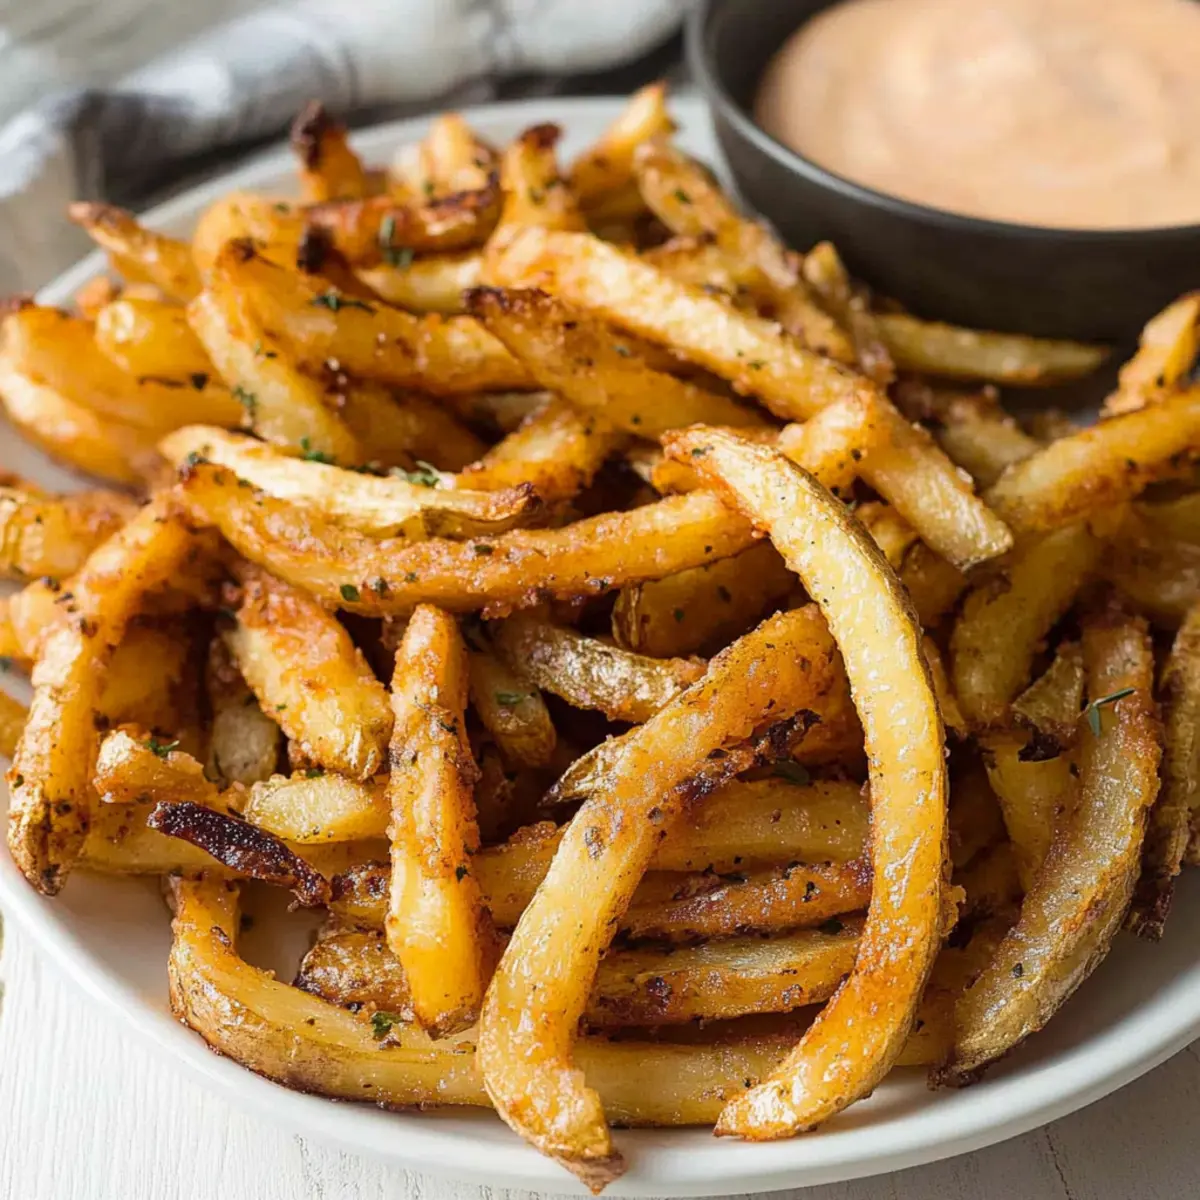
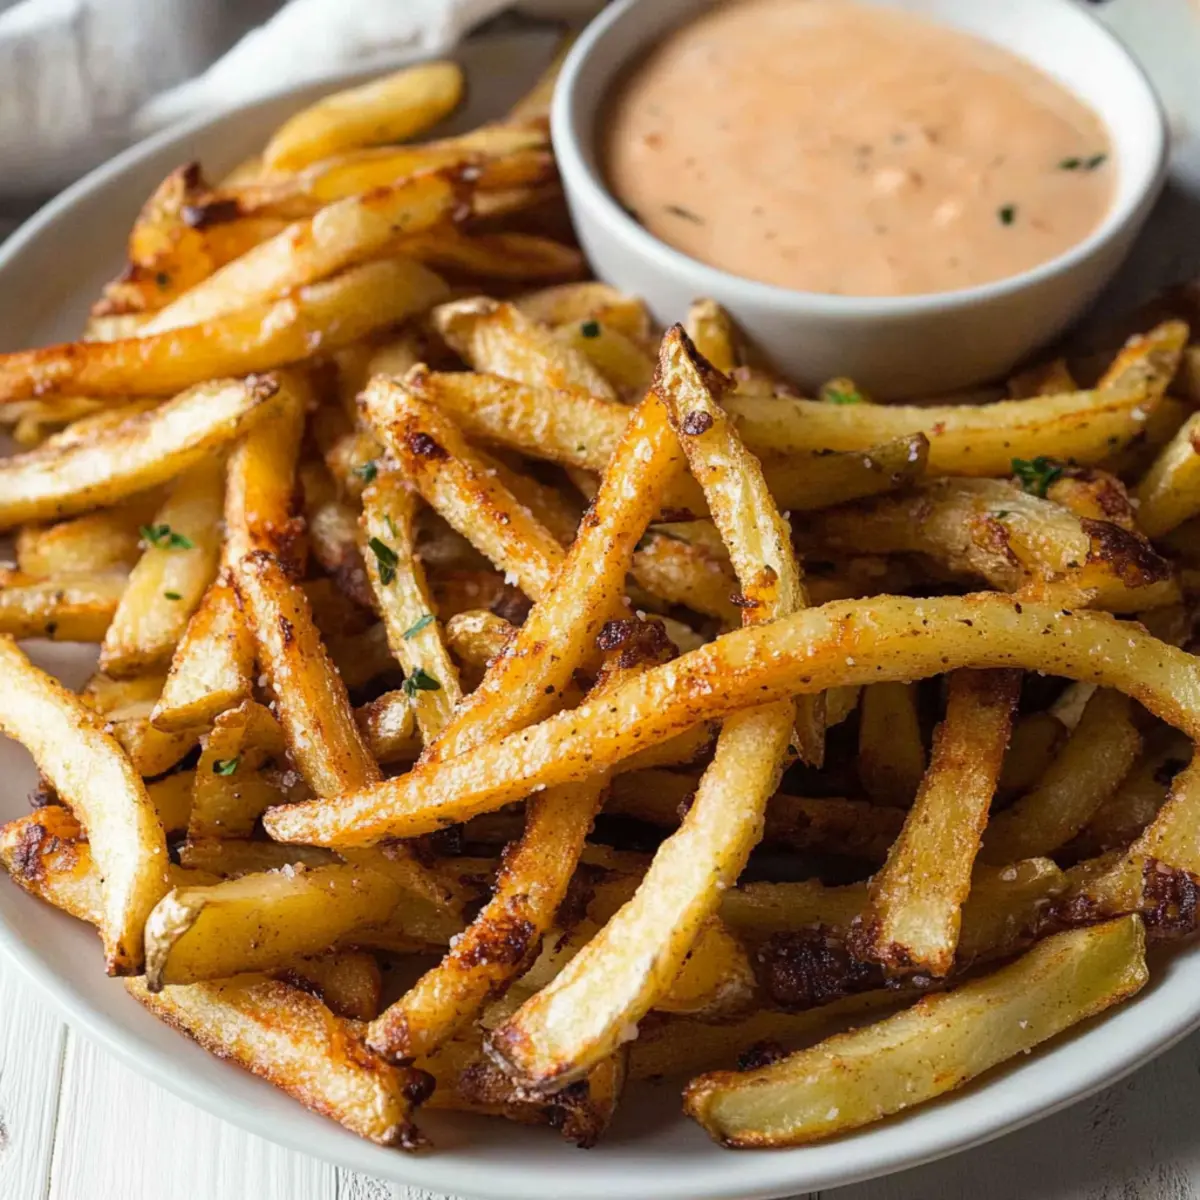
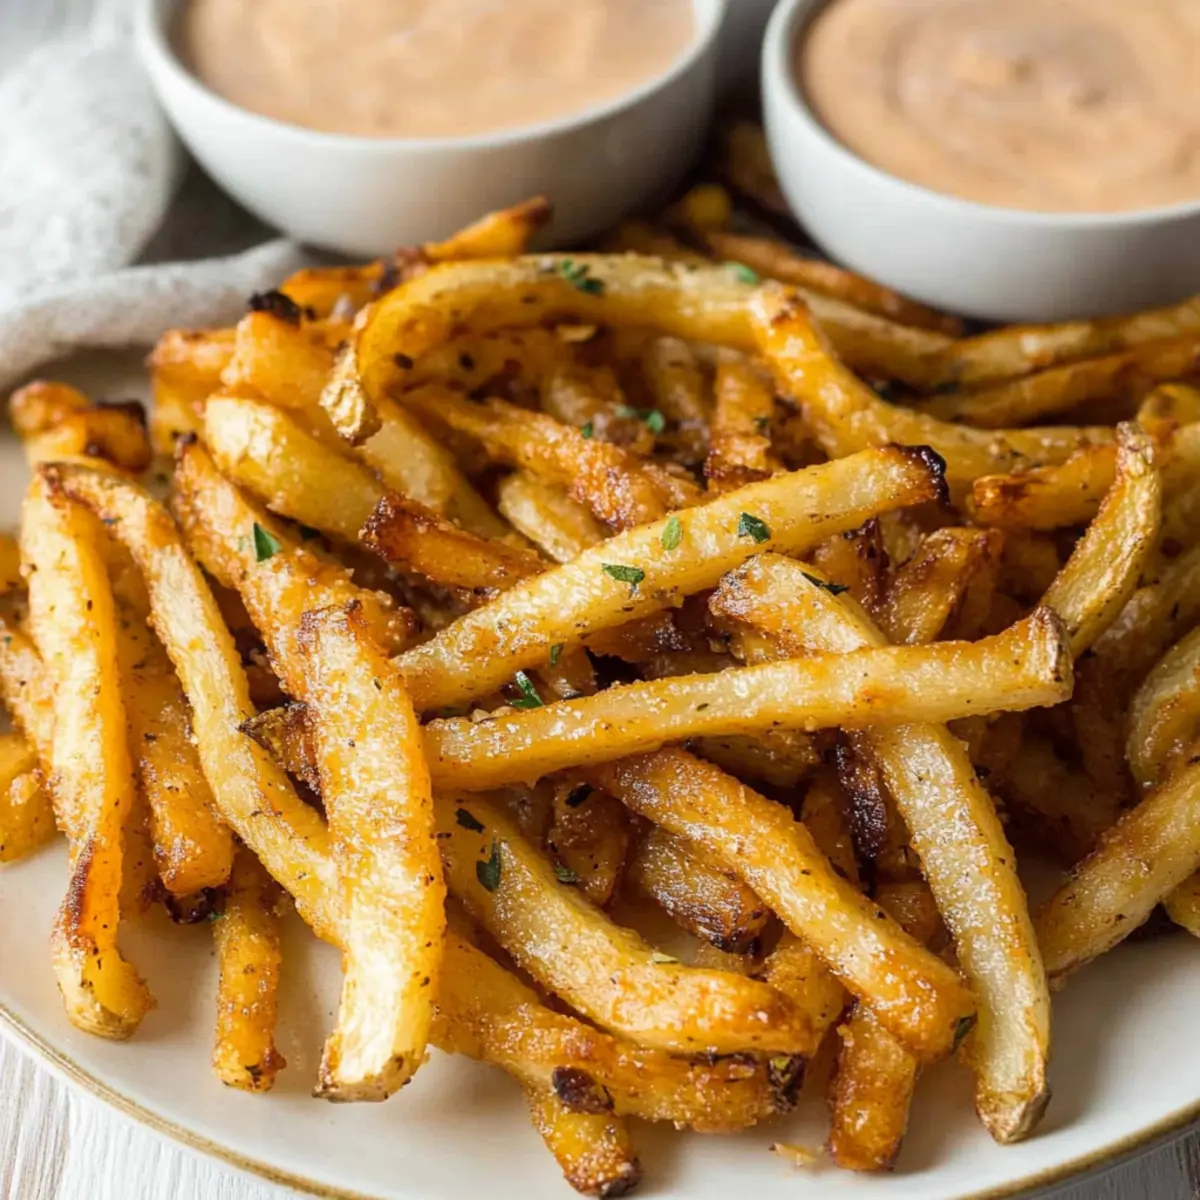
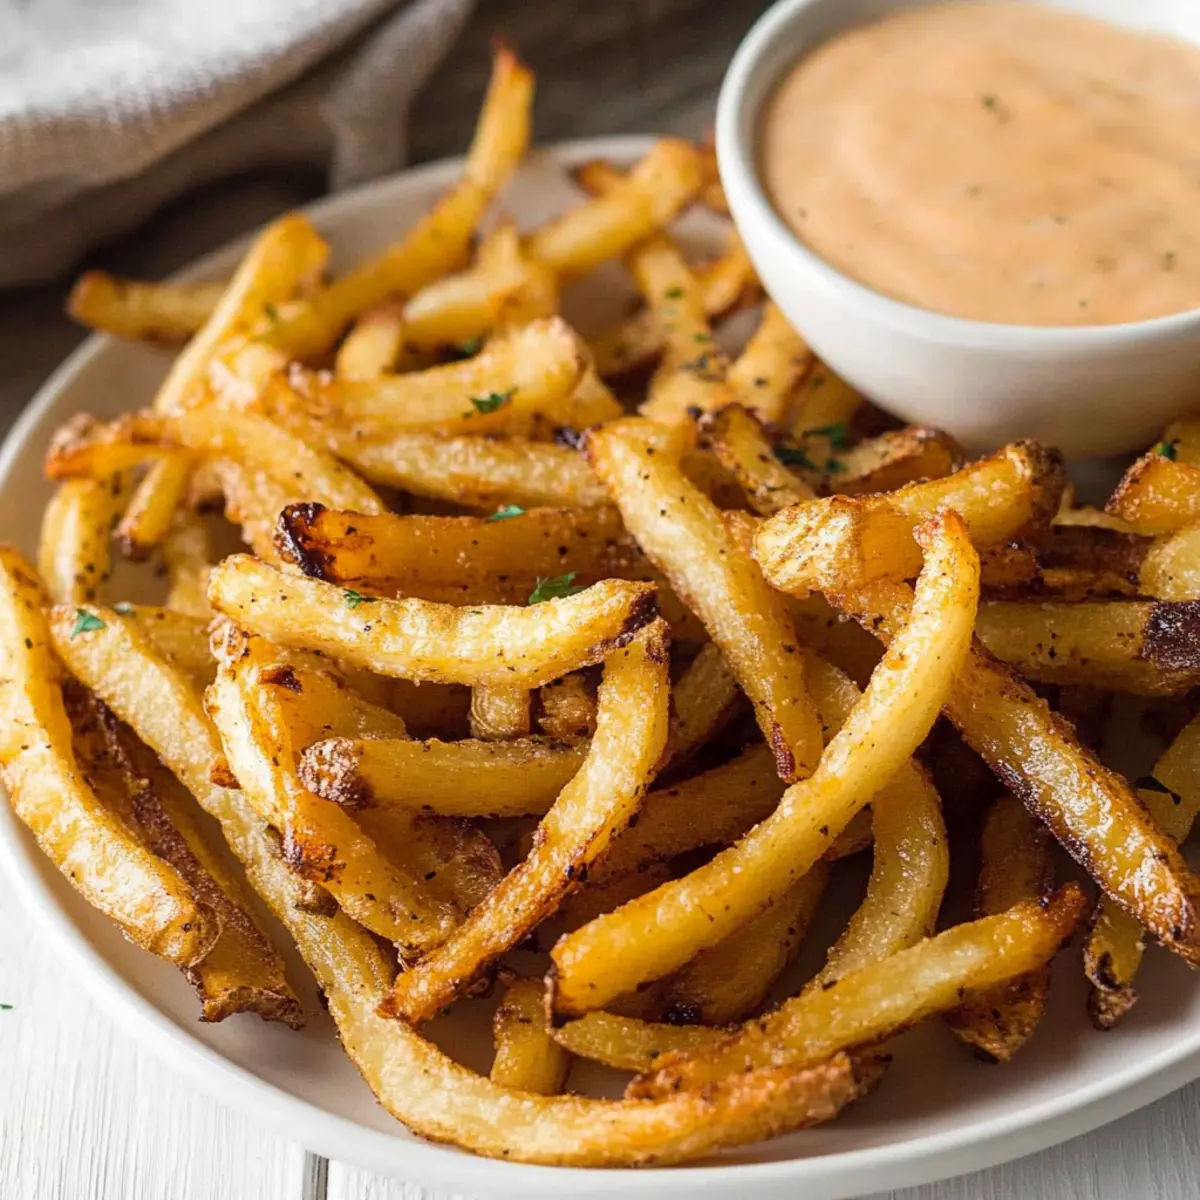
The aroma wafts through the kitchen, a hint of earthiness beckoning me closer. As I prepare these Crispy Baked Turnip Fries, I can’t help but feel excitement building. This healthier alternative to traditional fries captures the essence of comfort food while being gluten-free and low-carb, making it the perfect guilt-free snack. With easy prep and quick cooking times, they’re fantastic as a side dish or a stand-alone treat. I love how their golden, crispy edges contrast the tender insides, offering a delightful twist that even the pickiest eaters will enjoy. Have you ever tried transforming humble turnips into something so deliciously satisfying? Let’s dive into this recipe and discover how to create your very own batch of irresistible fries!
Why Choose Turnip Over Potato Fries?
Unique Taste: The earthy flavor of turnips brings a refreshing twist to your usual fry cravings.
Healthier Option: These fries are gluten-free and low-carb, making them a perfect guilt-free indulgence.
Quick Preparation: With minimal prep time and simple ingredients, you can whip up a batch in no time!
Crispy Delight: Achieve that perfect crunch without deep frying, thanks to baking or air frying methods.
Versatile Pairing: Serve them with your favorite dips, like homemade ranch or even Southern Comeback Sauce, for an elevated snacking experience. Grab your turnips and let’s create a snack that pleases everyone!
Turnip Fries Ingredients
• Discover the magic of preparing your very own crispy turnip fries!
For the Fries
- Turnips – The star ingredient, packed with nutrients and lower in calories than typical potatoes.
- Olive Oil – Adds a healthy fat and aids in achieving that perfect crispy texture while baking.
For the Seasoning
- Garlic Salt – Delivers a savory kick; swap it with regular salt and fresh garlic if desired.
- Dried Oregano – Offers an earthy note; this is optional and can be replaced with Italian seasoning.
- Smoked Paprika – Enriches flavor with a hint of smokiness; can be substituted with regular paprika for a milder taste.
- Onion Powder – Enhances the savory aspect; fresh minced onion can provide a more robust flavor.
- Cayenne Pepper – Adds a touch of heat for spice lovers; feel free to omit or replace with black pepper for a milder option.
Now you’re all set to create your delicious turnip fries that will amaze your taste buds!
Step‑by‑Step Instructions for Crispy Baked Turnip Fries
Step 1: Preheat the Oven
Begin by preheating your oven to 425°F (or 400°F for convection). This high temperature is crucial for achieving that perfect crisp on your turnip fries. As the oven warms up, grab a baking sheet and line it with parchment paper or a silicone mat to ensure the fries don’t stick during baking.
Step 2: Mix the Seasonings
In a medium bowl, combine garlic salt, dried oregano, smoked paprika, onion powder, and cayenne pepper. Stir them together until well mixed, creating a delightful seasoning blend for your turnip fries. This mixture will infuse the fries with rich flavors, making them even more enjoyable once baked.
Step 3: Prepare the Turnips
Peel the turnips carefully and cut them into even strips, about 1/3 x 1/3 inches, to promote uniform cooking. As you chop, visualize the golden, crispy turnip fries that you’ll soon enjoy. Ensuring the pieces are uniformly sized will guarantee that they all cook evenly and achieve that satisfying crunch.
Step 4: Toss the Turnip Strips
Place the cut turnips into a large mixing bowl and drizzle with olive oil. Toss the turnips gently using your hands or a spatula until they are fully coated. This oil is essential for achieving that crispy outer texture during baking. Make sure every turnip strip glistens with oil for maximum flavor and crunch.
Step 5: Season the Turnips
Add the prepared seasoning mix to the bowl of oiled turnips and toss again to coat evenly. You want to ensure that each turnip fry is generously seasoned, allowing the herbs and spices to create a flavorful crust as they bake. At this stage, become excited about the fragrant aroma that will soon fill your kitchen!
Step 6: Spread on the Baking Sheet
Carefully spread the seasoned turnip fries in a single layer on your prepared baking sheet. Avoid overcrowding the fries; this will ensure they bake rather than steam. Give them a little space, as this contributes to optimal crispiness, setting the stage for deliciously crunchy baked turnip fries.
Step 7: Bake and Flip
Place the baking sheet in the oven and bake the fries for 20 minutes. After this initial cooking time, open the oven and flip the fries gently with a spatula to encourage an even golden color on all sides. This technique helps the fries crisp up nicely and ensures that no side is left soggy.
Step 8: Continue Baking
Return the baking sheet to the oven for an additional 10 minutes, keeping an eye on the fries as they transform into crispy perfection. They should look golden brown and feel firm to the touch. If a few fries are larger, continue baking them a bit longer until all are crispy and tender inside.
Step 9: Serve and Enjoy
Once your crispy baked turnip fries are fully cooked and golden, take them out of the oven and let them cool for a couple of minutes. Serve them warm alongside your favorite dipping sauces, such as homemade ranch or ketchup alternatives. You’ve now transformed turnips into a delicious snack that everyone will love!
Make Ahead Options
Preparing these Crispy Baked Turnip Fries ahead of time is a fantastic way to save precious minutes on busy weeknights! You can peel and cut the turnips into strips up to 24 hours in advance; simply refrigerate them in an airtight container to keep them fresh. Additionally, you can mix the seasoning blend and store it separately in a small jar, making it easy to grab when it’s time to cook. When you’re ready to serve, toss the refrigerated turnip strips with olive oil and seasoning, then bake according to the instructions for crispy, delicious fries that taste just as wonderful as when freshly made! Enjoy guilt-free snacking with minimal effort!
How to Store and Freeze Turnip Fries
Fridge: Store leftover turnip fries in an airtight container for up to 3 days. This helps retain their flavor and texture while preventing them from getting soggy.
Freezer: If you want to save them for longer, freeze the turnip fries in a single layer on a baking sheet until firm, then transfer to a freezer-safe container. They can be stored for up to 3 months.
Reheating: To regain that crispy texture, reheat the stored fries in an oven preheated to 400°F for about 10-15 minutes, flipping halfway through. Enjoy your delicious turnip fries even after they’ve been stored!
Expert Tips for Crispy Turnip Fries
-
Even Sizing: Make sure your turnip strips are uniform in size for consistent cooking. This will help achieve evenly crispy turnip fries.
-
Single Layer: Spread your fries in a single layer on the baking sheet to avoid steaming. Overcrowding can lead to soggy fries instead of a delightful crunch.
-
Don’t Skip the Oil: Drizzling enough olive oil is key for crispiness. Each turnip should be well-coated to enhance flavor and texture—this step is essential!
-
Flip for Crunch: Halfway through baking, gently flip the fries to ensure they are crisped evenly on all sides. This technique helps avoid any soggy spots.
-
Experiment with Seasonings: Feel free to adjust the seasoning mix according to your taste or try adding a new spice to explore different flavors. Every batch can be unique!
What to Serve with Crispy Baked Turnip Fries?
Pair your turnip fries with these delightful accompaniments to create a mouthwatering meal experience!
- Zesty Dipping Sauces: A tangy ranch or creamy garlic aioli enhances the fries’ earthy flavor, making for a satisfying dip.
- Grilled Veggie Skewers: Colorful, charred vegetables provide a crunchy, fresh contrast that perfectly balances the tender fries.
- Herbed Quinoa Salad: This nutty, fiber-rich dish adds a wholesome touch and a burst of freshness to each bite.
- Garlic Butter Shrimp: Juicy, succulent shrimp tossed in garlic butter creates an incredible seafood contrast that elevates the meal.
- Roasted Chicken Thighs: Juicy, seasoned chicken offers a hearty protein that complements the crispy yet tender texture of the fries.
- Sweet Potato Wedges: For a mix of flavors, serve alongside sweet potato wedges. Their sweetness beautifully contrasts the savory turnip fries.
- Refreshing Green Salad: A light salad drizzled with lemon vinaigrette brings a refreshing acidity to the plate, brightening up the dish.
- Sparkling Lemonade: A fizzy citrus drink can cleanse the palate, rounding out a delightful, flavor-filled meal.
- Chocolate Avocado Mousse: For dessert, this creamy treat is a rich yet healthy end to balance your savory snack.
Turnip Fries Variations & Substitutions
Customization opens up a world of flavor and creativity, giving you the chance to make these turnip fries truly yours!
- Dairy-Free: Replace parmesan with nutritional yeast for a cheesy flavor without the dairy.
- Spice it Up: Add chili powder or red pepper flakes for an extra kick that will set your taste buds dancing.
The heat can really bring your fries to life! Just remember, a little goes a long way, so start with a small amount and adjust to your preference.
- Herb Boost: Toss in fresh herbs like rosemary or thyme before baking to infuse a fragrant depth of flavor.
- Sweet Twist: Drizzle a touch of honey or maple syrup before baking for a surprising sweet contrast to the savory spices.
Sweetness meets savory in every crispy bite; it’s a dance of flavors that can’t be missed!
- Smoky Variation: Substitute smoked paprika with liquid smoke for a boldly smoky flavor that’s simply irresistible.
- Add Crunch: Mix in panko breadcrumbs or crushed almonds for an extra crispy texture that elevates every fry to gourmet status!
Consider pairing these crispy fries with your favorite dips, perhaps some tangy homemade ranch or even the fabulous Southern Comeback Sauce for a flavor-packed treat that’s sure to impress.
- Lower Carb: For an even lower-carb option, try using zucchini or eggplant instead of turnips while maintaining the same delicious seasonings.
With all these variations, your turnip fries will be nothing short of extraordinary! Enjoy personalizing your creations!
Crispy Baked Turnip Fries Recipe FAQs
How do I know when my turnips are ripe?
Absolutely! You’ll want to look for turnips that are firm and smooth with no dark spots or blemishes. Smaller turnips are often sweeter and less bitter. If they feel soft or have dark spots, they’re past their prime and should be avoided.
What’s the best way to store leftover turnip fries?
To keep them fresh, place your leftover turnip fries in an airtight container in the fridge. They will stay good for up to 3 days. For best results, reheat them in the oven to regain their crispy texture—just spread them out on a baking sheet and warm them at 400°F for about 10-15 minutes.
Can I freeze turnip fries for later?
Absolutely! Here’s how to do it: Spread your baked turnip fries in a single layer on a baking sheet and place them in the freezer until they’re firm, about 1-2 hours. Once solid, transfer them to a freezer-safe container or bag, where they can be stored for up to 3 months. When you’re ready to enjoy them, you can bake straight from frozen, adjusting the baking time to ensure they’re heated through and crispy!
What if my turnip fries turn out soggy?
Very! If your fries end up soggy, it might be due to overcrowding on the baking sheet or not enough oil. To avoid this, make sure to spread them out in a single layer and ensure they’re adequately coated in olive oil. If you’re air frying, working in small batches is crucial to maintain that perfect crisp.
Are baked turnip fries safe for pets?
Generally speaking, turnips are safe for dogs and other pets in moderation. However, be cautious of any seasonings you may use, as garlic salt can be harmful to pets. It’s best to keep pet portions plain and unseasoned, and always consult with your veterinarian if unsure.
Crispy Turnip Fries: Your New Favorite Guilt-Free Snack
Ingredients
Equipment
Method
- Preheat your oven to 425°F (or 400°F for convection) and line a baking sheet with parchment paper.
- In a medium bowl, combine garlic salt, dried oregano, smoked paprika, onion powder, and cayenne pepper.
- Peel and cut the turnips into even strips, about 1/3 x 1/3 inches.
- Place the cut turnips into a large mixing bowl and drizzle with olive oil, then toss to coat.
- Add the seasoning mix to the bowl of oiled turnips and toss again to coat evenly.
- Spread the seasoned turnips in a single layer on the baking sheet.
- Bake for 20 minutes, then flip the fries gently with a spatula.
- Return to the oven and bake for an additional 10 minutes until golden brown.
- Let cool for a couple of minutes before serving warm with your favorite dips.