

The scent of warm vanilla and nostalgic holiday cheer always brings back memories of festive family gatherings. This year, let’s create something truly special with my Toffee Crunch Cake, a delightful treat that mirrors the joy of the season. Bursting with buttery layers, crunchy toffee bits, and gooey chocolate chips, it’s not just a festive dessert—it’s an experience that’s as simple to prepare as it is magnificent to behold. Whether you’re welcoming guests or treating yourself, this cake is adaptable, inviting gluten-free and dairy-free options to ensure everyone can indulge. Ready to whip up this holiday showstopper and make your celebrations even sweeter?
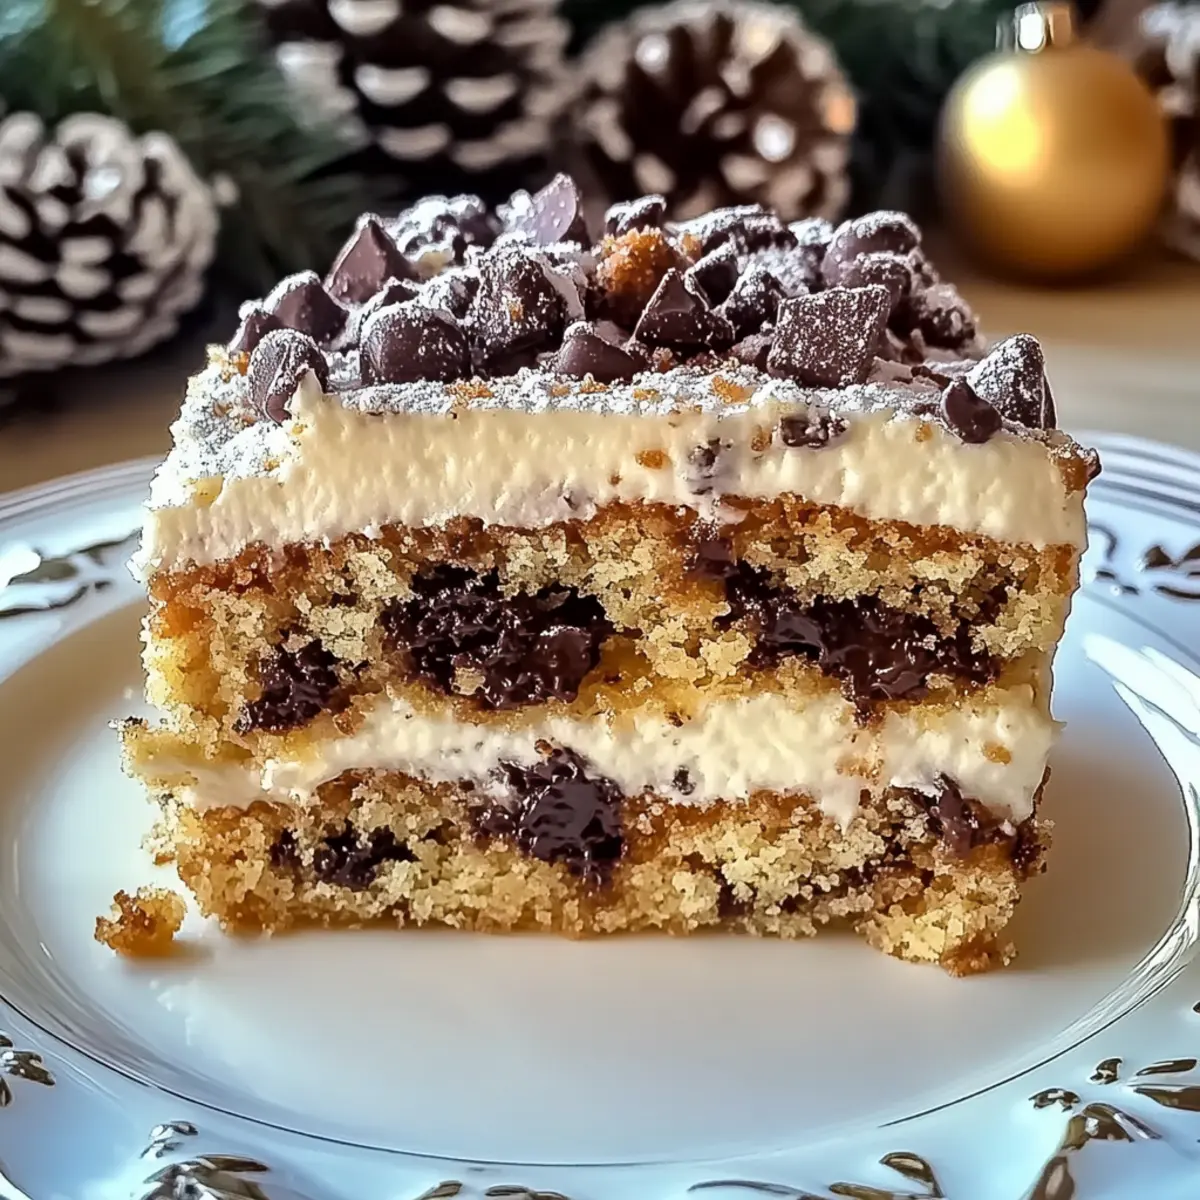
Why is Toffee Crunch Cake a Must-Try?
Festive flair: This Toffee Crunch Cake is perfect for holiday gatherings, bringing joy and sweetness to your celebrations. Simple preparation: Even novice bakers can master this recipe with ease, making it a stress-free addition to your festivities. Customizable ingredients: With options for gluten-free and dairy-free alternatives, this dessert accommodates various dietary needs. Irresistibly delicious: The combination of rich, buttery layers, crunchy toffee, and gooey chocolate creates a flavor explosion that everyone will love. Pair it with a dollop of whipped cream or a scoop of vanilla ice cream for the ultimate treat! For those who prefer even more delectable options, check out my Chocolate Lava Cakes or Caramel Swirl Cheesecake for a wonderful holiday dessert buffet.
Toffee Crunch Cake Ingredients
For the Cake
• All-Purpose Flour – Provides structure to the cake; substitute with a certified gluten-free blend for a gluten-free version.
• Granulated Sugar – Sweetens the cake nicely; coconut sugar can serve as a lower-glycemic alternative.
• Unsalted Butter – Adds richness and moisture; swap with margarine or vegan butter for a dairy-free option.
• Large Eggs – Contributes to structure and moisture; try using aquafaba for a vegan alternative.
• Vanilla Extract – Enhances the overall flavor; opt for pure vanilla for the best results.
• Baking Powder – A key leavening agent for rise; ensure it’s fresh for optimal results.
• Baking Soda – Works with acidic ingredients to help the cake rise.
• Salt – Balances the sweetness; consider using sea salt for more depth of flavor.
• Buttermilk – Adds moisture and tenderness; can be substituted with milk mixed with a tablespoon of vinegar.
For the Crunch
• Toffee Bits – Provides a sweet, crunchy texture; crushed candy canes make a festive alternative.
• Chopped Pecans – Adds nuttiness and crunch; can be replaced with walnuts or almonds for your preference.
• Chocolate Chips – Offers gooey chocolate goodness; experiment with dark, milk, or white chocolate to customize flavor.
For Dusting and Serving
• Powdered Sugar – Perfect for dusting and adding a sweet finish; cacao powder can be used instead for a chocolatey twist.
• Whipped Cream – Adds an indulgent richness; use dairy-free whipped topping to make it vegan-friendly.
Your Toffee Crunch Cake is set to become a cherished holiday classic that everyone can enjoy!
Step‑by‑Step Instructions for Toffee Crunch Cake
Step 1: Preheat the Oven and Prepare the Pans
Begin by preheating your oven to 350°F (175°C). While the oven warms up, grease two 9-inch round cake pans thoroughly with butter or cooking spray, then dust them lightly with flour. This ensures that your Toffee Crunch Cake will release easily after baking, providing a beautiful, clean edge once cooled.
Step 2: Cream the Butter and Sugar
In a large mixing bowl, cream together 1 cup of softened unsalted butter and 2 cups of granulated sugar using an electric mixer on medium speed for about 3 to 5 minutes. The mixture should become light and fluffy, turning pale in color. This step is essential for incorporating air into your batter, which contributes to the delightful texture of the cake.
Step 3: Add Eggs and Vanilla
Next, add 4 large eggs one at a time to the creamed mixture, mixing well after each addition to ensure that everything blends smoothly. Once fully incorporated, pour in 2 teaspoons of pure vanilla extract and mix until the batter is homogenous. The sweet aroma of vanilla will fill your kitchen, signaling that you’re on the right path to creating your festive Toffee Crunch Cake.
Step 4: Combine Dry Ingredients
In a separate bowl, whisk together 3 cups of all-purpose flour, 2 teaspoons of baking powder, 1 teaspoon of baking soda, and ½ teaspoon of salt. This dry mix is vital for the structure of your cake. Once combined, set it aside as you prepare to blend it into the moist mixture, ensuring an even distribution of the leavening agents.
Step 5: Alternate Dry Ingredients with Buttermilk
Gradually add the dry ingredient mixture to the creamed batter in three parts, alternating with 1 cup of buttermilk. Start and finish with the dry ingredients, mixing gently after each addition until just combined. Aim for a smooth batter while being careful not to overmix, as this could affect the fluffiness of your Toffee Crunch Cake.
Step 6: Fold in the Crunch Elements
With your batter ready, gently fold in 1 cup of toffee bits, 1 cup of chopped pecans, and 1 cup of chocolate chips using a rubber spatula. Ensure that the mix-ins are evenly distributed throughout the batter without deflating it. This step adds delightful textures and flavors that will shine in your festive cake.
Step 7: Pour and Smooth the Batter
Divide the batter evenly between the prepared cake pans, making sure to smooth the tops with a spatula. This helps create a level surface, allowing each layer to bake evenly. The anticipation grows as you prepare to pop these pans into the oven, where they will transform into your glorious Toffee Crunch Cake.
Step 8: Bake the Cake
Place the pans in the preheated oven and bake for 25 to 30 minutes. Keep an eye on the cakes, and they should turn a lovely golden brown. To check for doneness, insert a toothpick into the center of each cake; it should come out clean or with a few moist crumbs, indicating that your Toffee Crunch Cake is perfectly baked.
Step 9: Cool the Cakes
Once baked, remove the pans from the oven and allow them to cool for about 10 minutes. After this, carefully transfer the cakes onto a wire rack to cool completely. Cooling completely is essential to avoid sogginess and ensures that your layers are just right for assembling the cake.
Step 10: Assemble the Cake
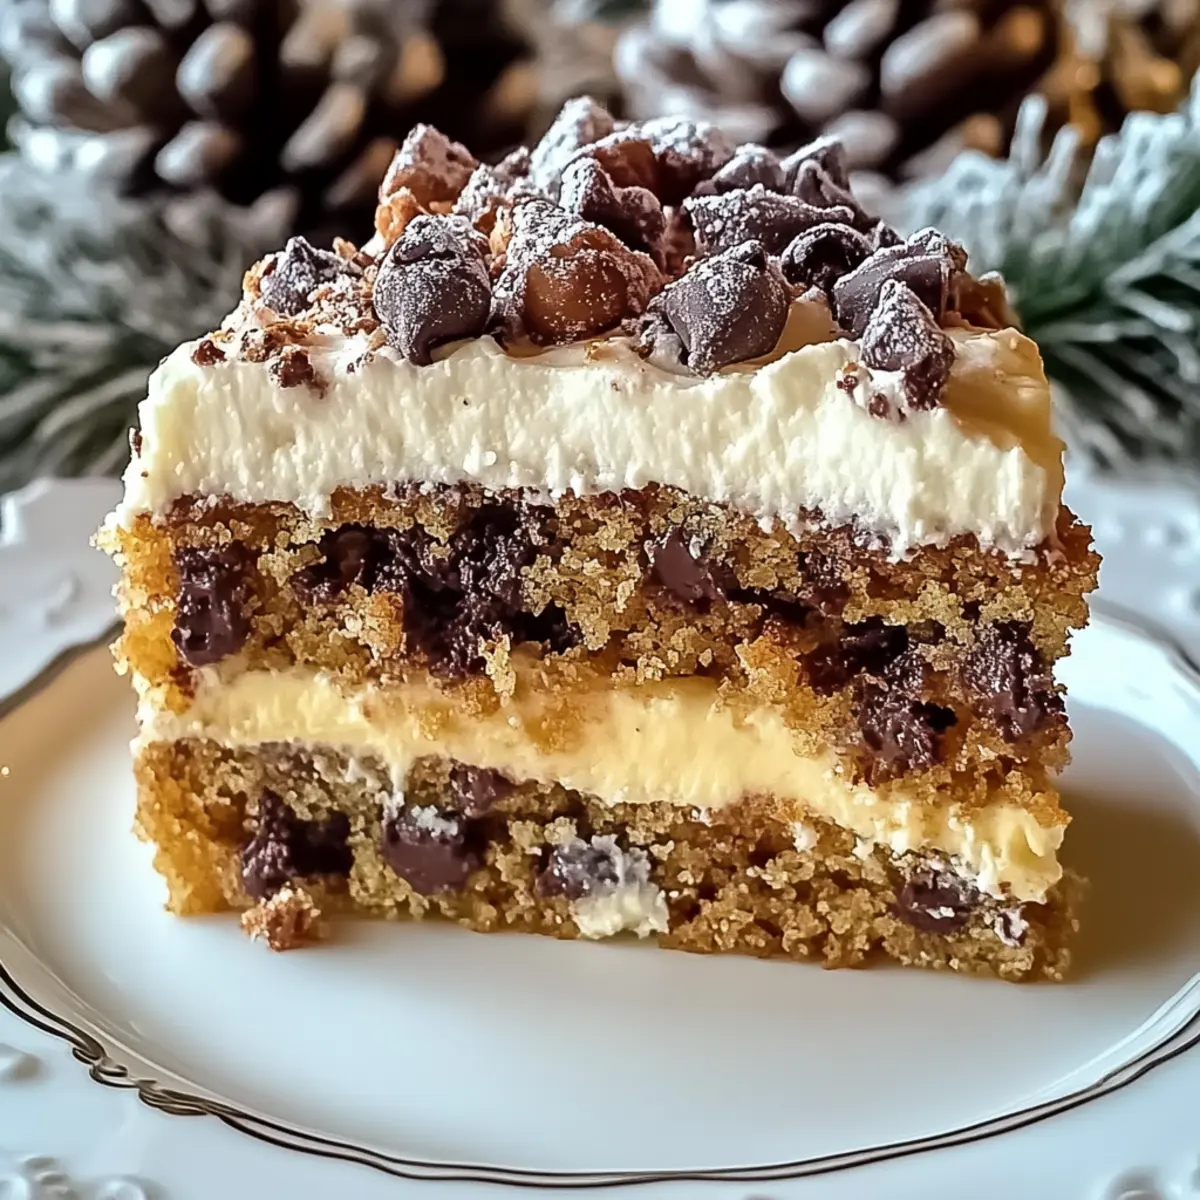
To assemble your Toffee Crunch Cake, place one layer on a serving plate and generously spread whipped cream over the top. Carefully position the second layer on top, creating a beautiful two-layer cake. Dust the top with powdered sugar and garnish as desired to make it an eye-catching centerpiece for your festive celebrations.
Make Ahead Options
These Christmas Toffee Crunch Cakes are ideal for meal prep, offering an easy solution for busy holiday schedules! You can prepare the cake layers up to 24 hours in advance by wrapping them tightly in plastic wrap once they’ve cooled completely. This way, they stay fresh and moist without browning. You can also mix the dry ingredients (flour, baking powder, baking soda, and salt) up to 3 days before baking. When ready to serve, simply bake the prepped batter, assemble the cake with whipped cream, and enjoy your delightful dessert. With these make-ahead options, your Toffee Crunch Cake will be just as delicious, saving you valuable time during the festivities!
How to Store and Freeze Toffee Crunch Cake
Room Temperature: Store the Toffee Crunch Cake in an airtight container at room temperature for up to 2 days to maintain its delightful texture and flavor.
Fridge: If you’ve topped your cake with whipped cream, refrigerate it to keep it fresh for up to 3 days. Cover it lightly to prevent drying out.
Freezer: For longer storage, individual slices can be wrapped tightly in plastic wrap and aluminum foil, freezing them for up to 2 months. Thaw overnight in the fridge before enjoying.
Reheating: If you prefer your cake warm, pop a slice in the microwave for about 10-15 seconds after thawing, giving you that gooey goodness back in a jiffy!
Expert Tips for Toffee Crunch Cake
-
Room Temperature Ingredients: Use eggs and butter at room temperature for better mixing, which leads to a lighter cake texture.
-
Avoid Overmixing: Once you add the dry ingredients, mix just until combined; overmixing can lead to a dense Toffee Crunch Cake.
-
Check for Doneness: Use a toothpick to ensure your cake is perfectly baked; it should come out clean or with a few moist crumbs.
-
Cool Completely: Allow layers to cool completely before assembly. This prevents sogginess and ensures a beautiful final presentation.
-
Flavor Boost: Consider browning the butter before creaming it with sugar for an extra rich flavor in your Toffee Crunch Cake.
What to Serve with Christmas Toffee Crunch Cake?
Indulge in a delightful array of pairings that elevate your holiday dessert experience.
-
Whipped Cream: A classic companion, adding lightness and creaminess to the rich layers of the cake.
-
Vanilla Ice Cream: The soothing sweetness contrasts beautifully with the crunchy toffee and chocolate, creating an enjoyable texture mix.
There’s something magical about warm cake paired with cold ice cream— it’s bliss in every bite!
-
Fresh Berries: The tartness of strawberries or raspberries cuts through the sweetness, providing a refreshing balance to your celebrations.
-
Chocolate Ganache: Drizzling this smooth, rich chocolate over the cake intensifies the flavors, making it even more decadent for chocolate lovers.
-
Coffee: A warm cup complements the dessert perfectly, enhancing the flavors and creating a cozy atmosphere during holiday gatherings.
-
Mint Chocolate Chip Ice Cream: For a festive twist, this minty delight adds a refreshing flavor that plays off the toffee’s sweetness.
-
Spiced Cider: Warm, spiced apple cider brings a comforting warmth to the table, enhancing the cozy feel of your festive celebration.
Toffee Crunch Cake Variations & Substitutions
Feel free to get creative with your Toffee Crunch Cake by making these tasty adjustments that will cater to your palate and dietary needs.
-
Gluten-Free: Substitute all-purpose flour for a certified gluten-free blend to make this cake gluten-free. The same delicious texture will shine through without compromising on flavor!
-
Dairy-Free: Swap unsalted butter with vegan butter or margarine and use a dairy-free whipped topping for a delightful dairy-free treat. Your guests won’t even notice the difference!
-
Lower-Glycemic Sugar: Replace granulated sugar with coconut sugar for a lower-glycemic option that adds a mild caramel flavor. It’s a sweet swap for those watching their sugar intake.
-
Minty Twist: Substitute toffee bits with crushed candy canes to infuse a festive minty flavor into your cake. It’s a wonderful way to add holiday cheer and surprise your taste buds.
-
Nut Varieties: Switch out chopped pecans for walnuts or almonds based on your preference. Each option brings a unique flavor profile to the crunch, making your cake truly your own.
-
Chocolate Choices: Experiment with dark, milk, or white chocolate chips to customize the sweetness level and richness of your cake. Each variety creates a different experience, perfect for chocolate lovers!
-
Aquafaba Alternative: Use aquafaba instead of eggs for a vegan option that still provides moisture and structure. This legume water will surprise you with its baking prowess!
Pair your cake with some whipped cream or serve it alongside my delightful Buttermilk Pancakes Breakfast for a brunch twist. You truly can’t go wrong with this festive favorite!
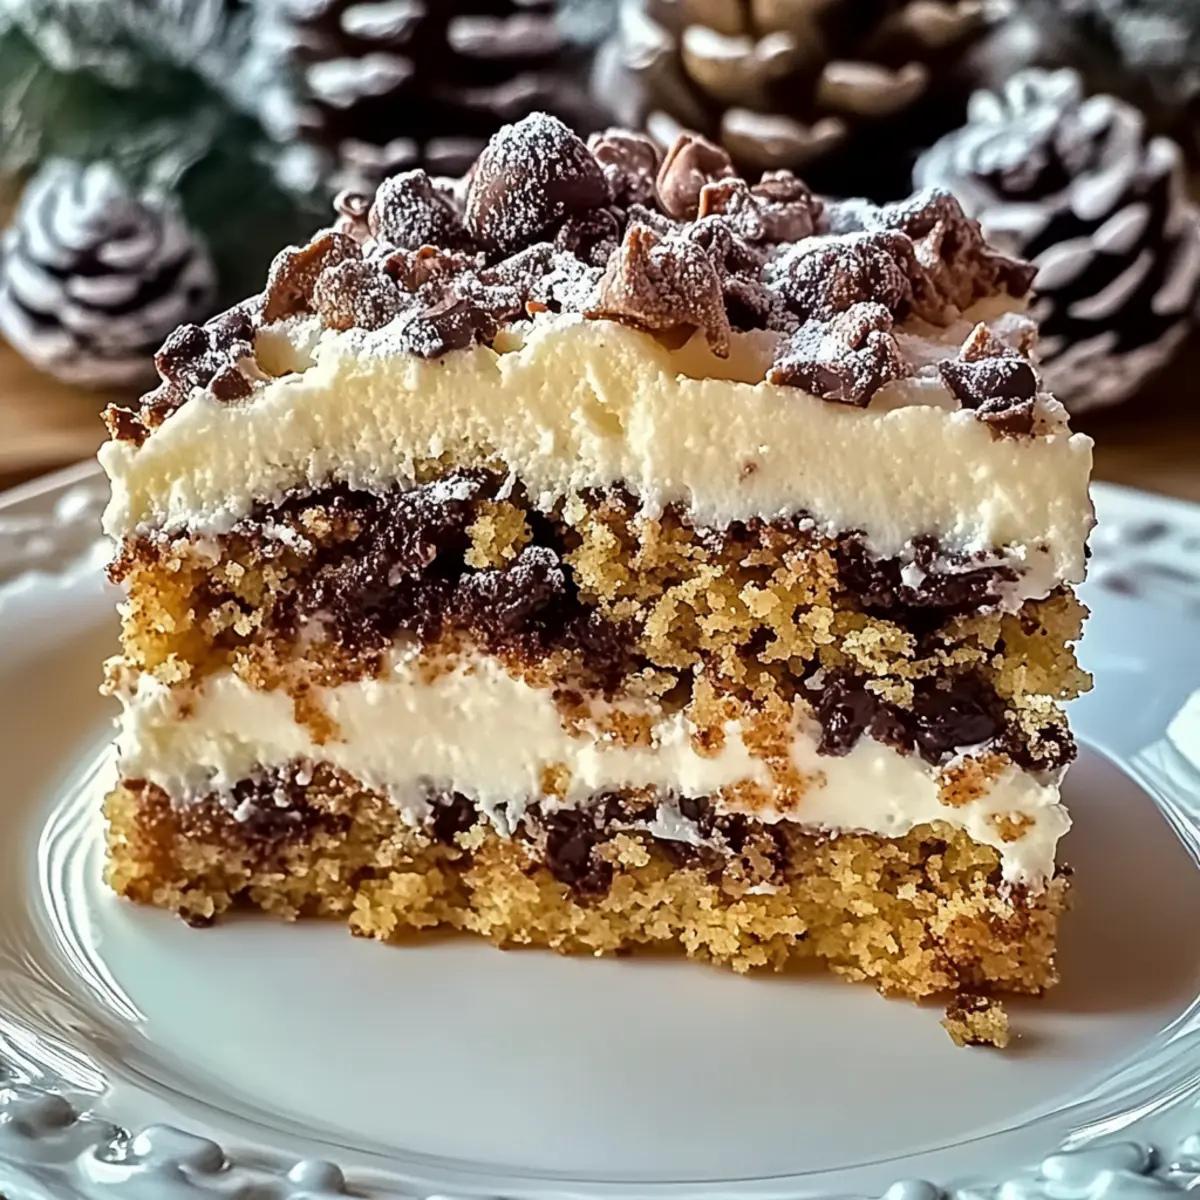
Toffee Crunch Cake Recipe FAQs
How do I select ripe ingredients for the Toffee Crunch Cake?
Absolutely! Use fresh, room temperature eggs and unsalted butter for the best results. For flour, check the expiration date, and ensure your baking powder and soda are fresh—this will enhance the rise of your cake. As for buttermilk, it’s best to use it when it’s still within date, and look for any signs of separation as a cue to avoid it.
What’s the best way to store the Toffee Crunch Cake?
To maintain the delightful texture and flavor, store your Toffee Crunch Cake in an airtight container at room temperature for up to 2 days. If you’ve topped it with whipped cream, refrigerate it for up to 3 days, covering it lightly with plastic wrap. Just be sure to enjoy it within this time frame!
Can I freeze slices of Toffee Crunch Cake?
Very much! To freeze your cake, wrap individual slices tightly with plastic wrap first, then aluminum foil to prevent freezer burn. You can freeze it for up to 2 months. When you’re ready to enjoy, thaw them overnight in the fridge, then warm in the microwave for about 10-15 seconds for that gooey goodness!
What should I do if my cake doesn’t rise properly?
If your Toffee Crunch Cake doesn’t rise as expected, first check your leavening agents—make sure your baking powder and baking soda are fresh, as expired ingredients can hinder rise. Also, if you overmixed the batter, that could lead to a denser cake. Ensure you fold in the dry ingredients just until combined—that’s the perfect key to fluffy layers.
Are there any allergy considerations for the Toffee Crunch Cake?
Definitely! If you’re accommodating allergies, swap the all-purpose flour with a certified gluten-free blend for a delightful gluten-free version. You can also substitute unsalted butter with vegan butter or margarine and use aquafaba instead of eggs for a completely dairy-free and egg-free cake. Always make sure to double-check ingredient labels if you’re serving guests with known allergies.
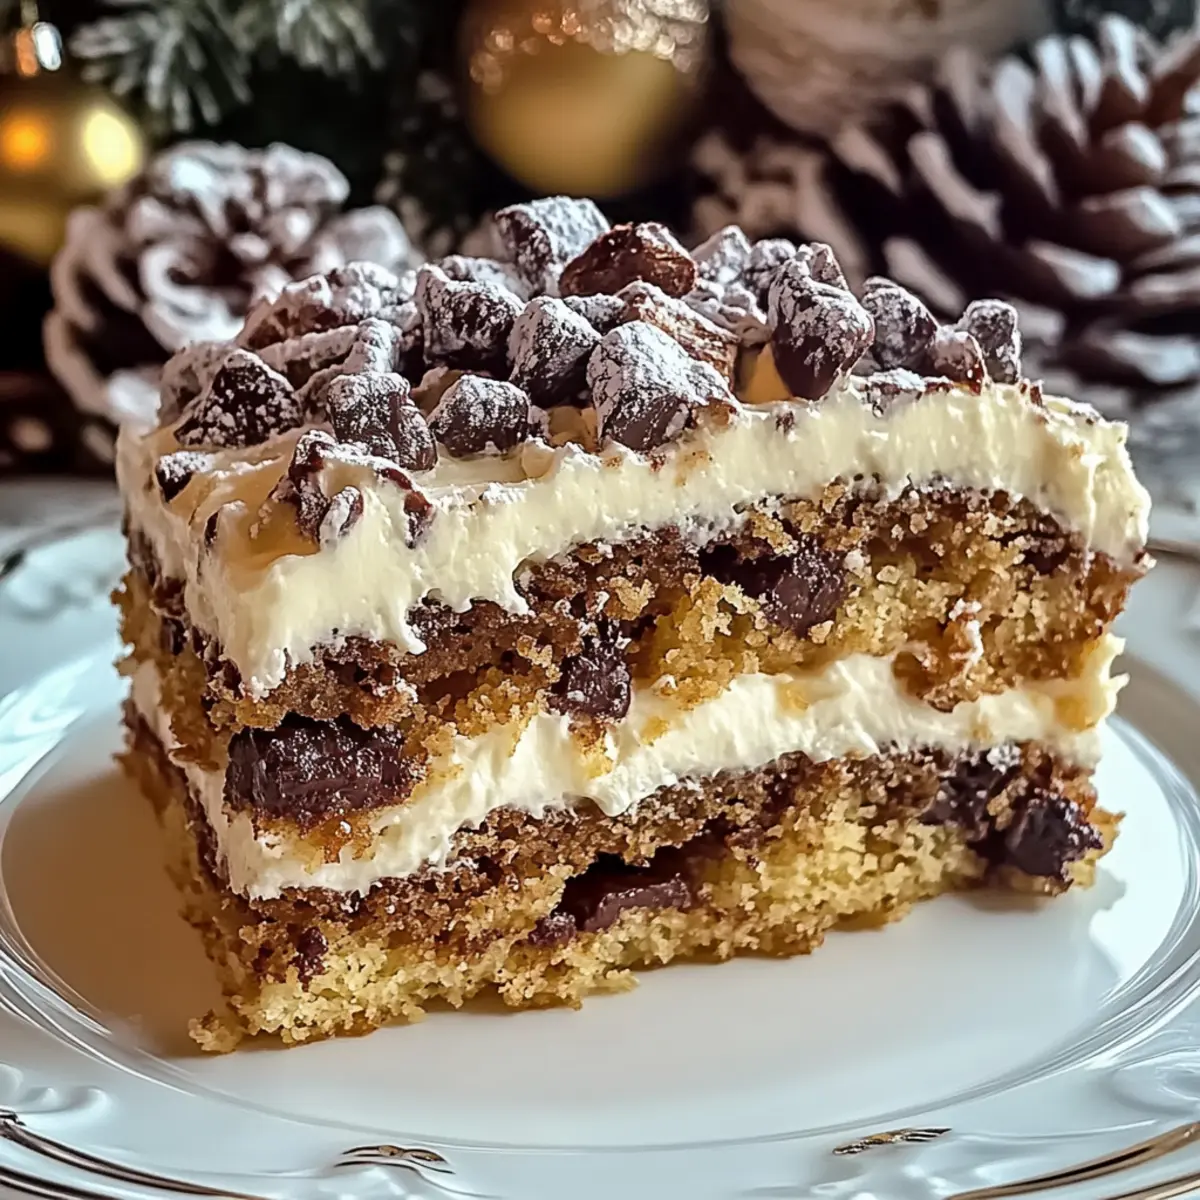
Indulge in Homemade Toffee Crunch Cake for Festive Joy
Ingredients
Equipment
Method
- Preheat your oven to 350°F (175°C), grease and flour two 9-inch round cake pans.
- Cream together butter and sugar for 3 to 5 minutes until light and fluffy.
- Add eggs one at a time, mixing well, then add vanilla extract and mix until homogenous.
- Whisk together dry ingredients: flour, baking powder, baking soda, and salt in a separate bowl.
- Gradually add dry ingredients to creamed mixture, alternating with buttermilk, mixing gently until just combined.
- Gently fold in toffee bits, chopped pecans, and chocolate chips using a rubber spatula.
- Divide batter between prepared pans and smooth the tops with a spatula.
- Bake for 25 to 30 minutes until golden brown and a toothpick comes out clean.
- Cool cakes in pans for 10 minutes, then transfer to a wire rack to cool completely.
- Assemble the cake by placing one layer on a plate, spreading whipped cream on top, and adding the second layer.
- Dust the top with powdered sugar and garnish as desired.