

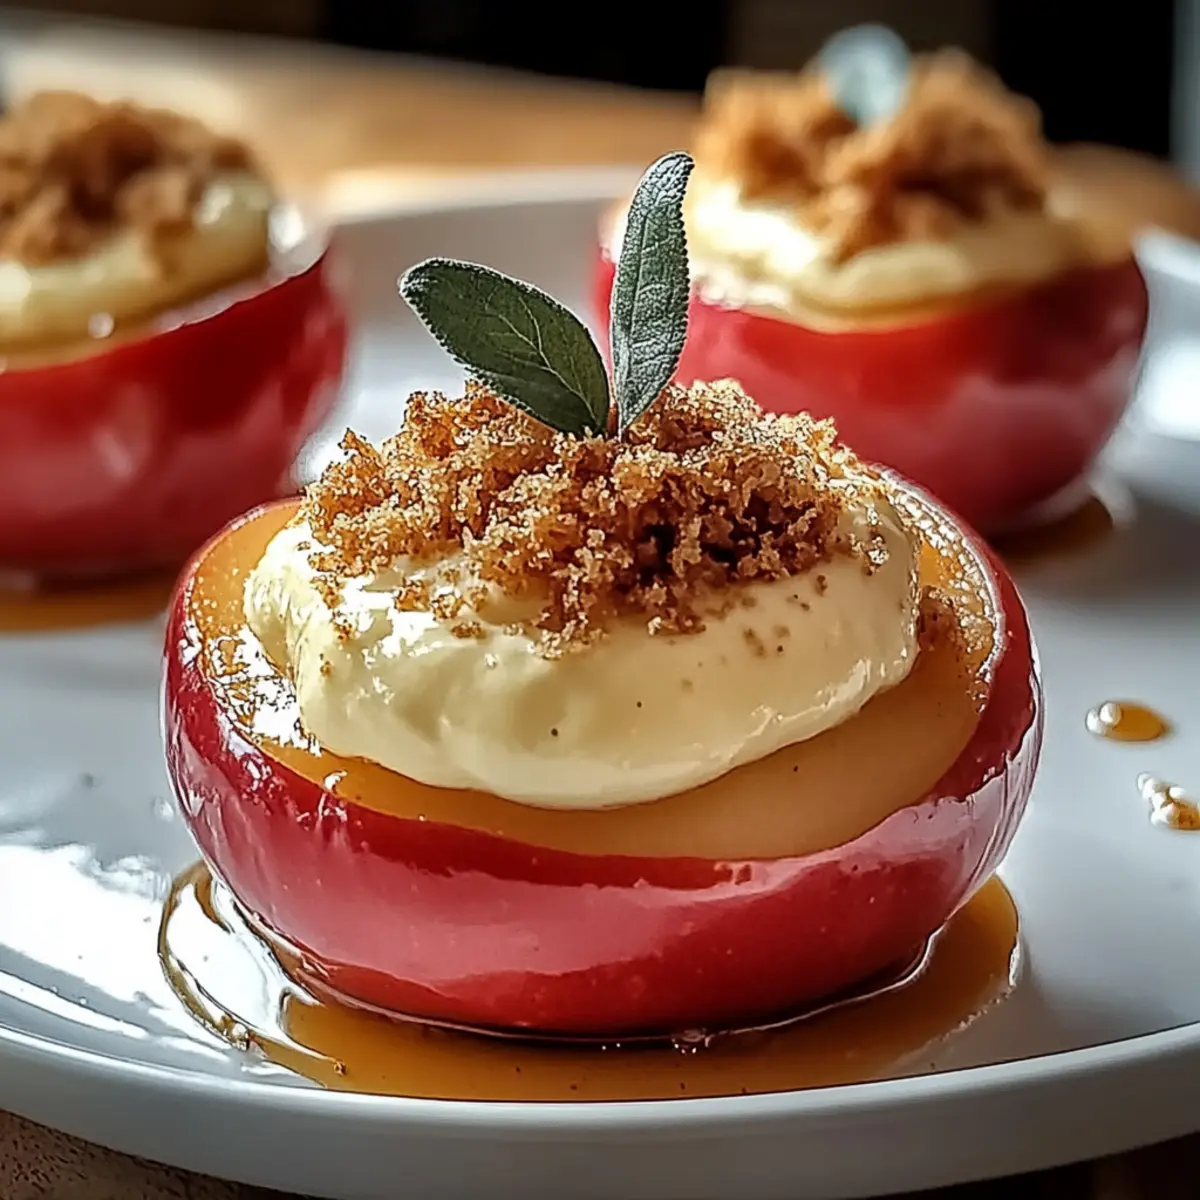
As the crisp autumn air fills your kitchen, the inviting scent of baked apples can transport you to a cozy orchard on a sunny afternoon. Today, I’m excited to share my recipe for Tasty Cheesecake-Stuffed Baked Apples, an easy and delightful treat that fits seamlessly into any fall gathering. This beginner-friendly dessert not only pleases the eye with its beautiful presentation but is also gluten-free, making it perfect for everyone at your table. The wonderful combination of sweet-tart apples and creamy cheesecake filling creates a heartwarming dessert that’s hard to resist. Plus, it allows for plenty of customization, so you can make it your own! Are you ready to take your autumn desserts to the next level? Let’s dive in!
Why You’ll Love These Baked Apples
Irresistible Flavor: The combination of sweet-tart apples and creamy cheesecake filling creates an explosion of taste that’s perfect for fall.
Customizable Creations: Feel free to play with flavors! Whether you prefer Fuji or Granny Smith apples, or wish to add a touch of almond extract, the options are endless.
Effortlessly Easy: With simple steps and beginner-friendly instructions, you’ll create a beautiful dessert that impresses without stress.
Perfectly Cozy: Enjoy these as a warm treat with a scoop of vanilla ice cream or a drizzle of caramel, making them a hit during family gatherings.
Healthier Indulgence: At around 250 calories per serving, these baked apples are a delightful way to satisfy your sweet tooth without guilt. For other tasty options, check out these Savory Baked Meatballs or Baked Chicken Parmesan.
Tasty Cheesecake-Stuffed Baked Apples Ingredients
Get ready to transform your autumn gatherings with this delightful dessert!
For the Apples
• Apples – Choose firm, sweet-tart varieties like Honeycrisp or Gala to hold their shape during baking.
• Lemon Juice – Helps prevent browning and adds a zesty flavor that brightens the dish.
For the Cheesecake Filling
• Cream Cheese – Use softened cream cheese for a smooth and creamy filling that is rich and delicious.
• Granulated Sugar – Sweetens the filling perfectly; adjust according to your taste preference.
• Vanilla Extract – Deepens the flavor profile of the filling, adding a warm touch.
• Ground Cinnamon – A classic fall spice that offers warmth and comfort to the mixture.
• Ground Nutmeg – Adds a subtle earthiness, enhancing the overall flavor.
For the Crunch
• Graham Cracker Crumbs – Gives a nod to traditional cheesecake crust; opt for gluten-free crumbs if desired.
• Chopped Nuts (Optional) – Walnuts or pecans add delightful texture and a nutty flavor.
For Baking
• Melted Butter – Drizzled on top of the apples, it helps achieve a beautifully browned finish while baking.
For Serving
• Whipped Cream (Optional) – A delightful addition on top that adds creaminess and decadence.
Dive into this recipe for Tasty Cheesecake-Stuffed Baked Apples and watch how it captures the hearts of your friends and family!
Step‑by‑Step Instructions for Tasty Cheesecake-Stuffed Baked Apples
Step 1: Preheat the Oven
Start by preheating your oven to 350°F (175°C). This step is crucial to ensure that your Tasty Cheesecake-Stuffed Baked Apples bake evenly. By the time you’re ready to pop the apples in, your oven will be perfectly warmed, ready to create that deliciously cozy treat.
Step 2: Prepare the Apples
Carefully cut off the tops of the apples and core them using a paring knife or melon baller, ensuring to remove the seeds while keeping the apple’s shape intact. Brush the insides with lemon juice to prevent browning and add a zesty flavor. Set the apples aside in a baking dish, ready for their cheesecake filling.
Step 3: Make the Cheesecake Filling
In a mixing bowl, combine softened cream cheese, granulated sugar, vanilla extract, ground cinnamon, and ground nutmeg. Use a hand mixer or spatula to blend the ingredients smoothly until you achieve a creamy consistency. This delightful cheesecake filling is the heart of your Tasty Cheesecake-Stuffed Baked Apples.
Step 4: Add Crunch!
Gently fold in the graham cracker crumbs and any optional chopped nuts to the cream cheese mixture. This adds a lovely texture reminiscent of classic cheesecake crust. Make sure not to overmix; you want to keep the filling light and airy, ready to stuff into your apples.
Step 5: Stuff Those Apples
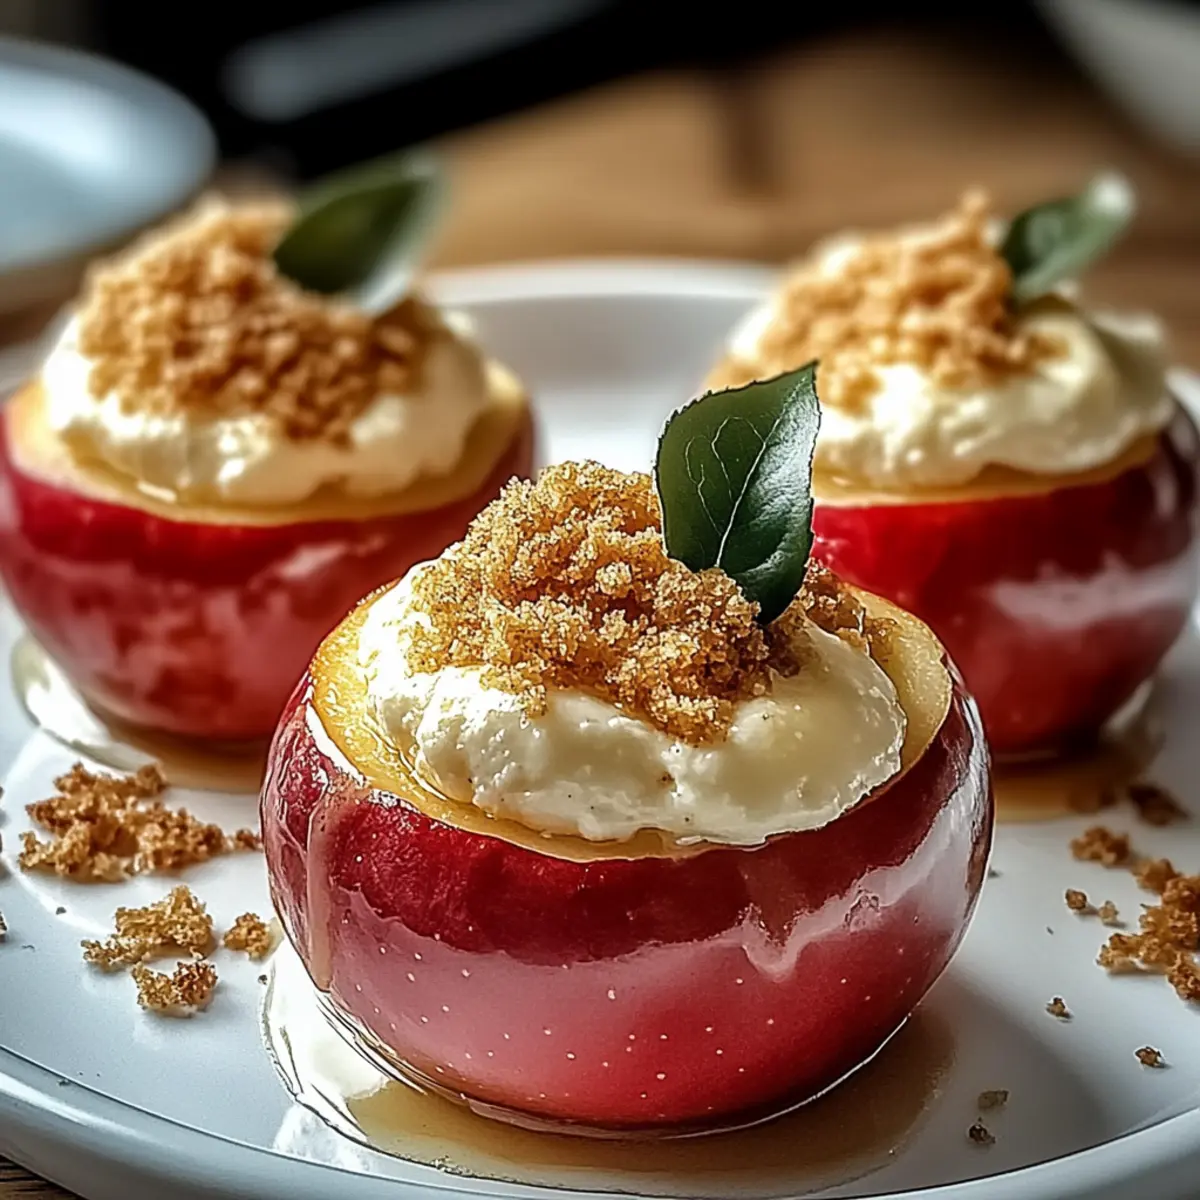
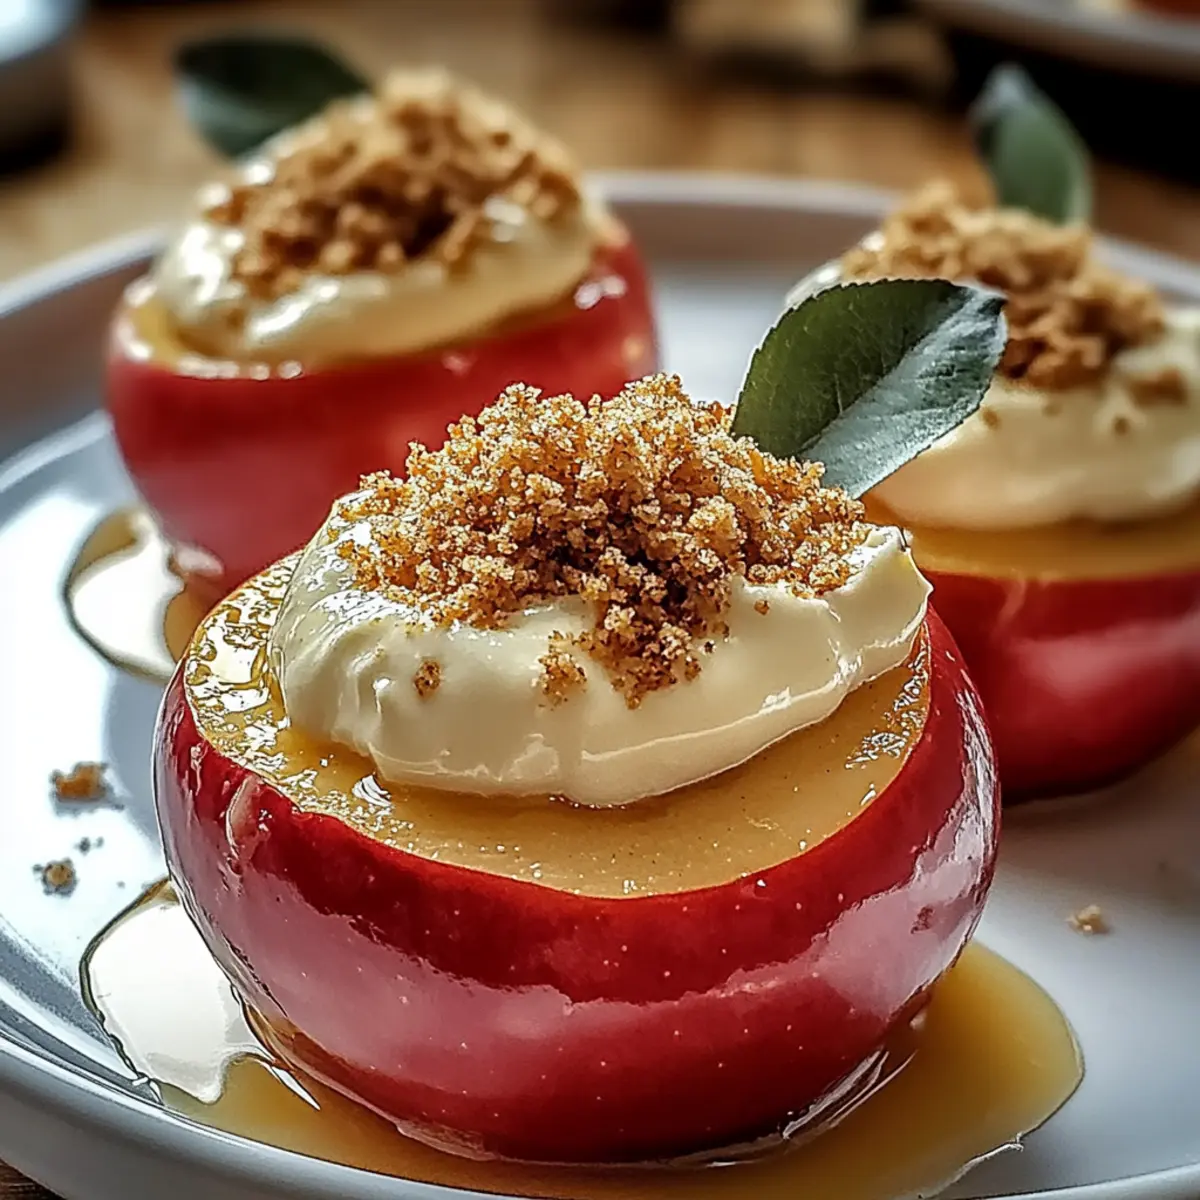
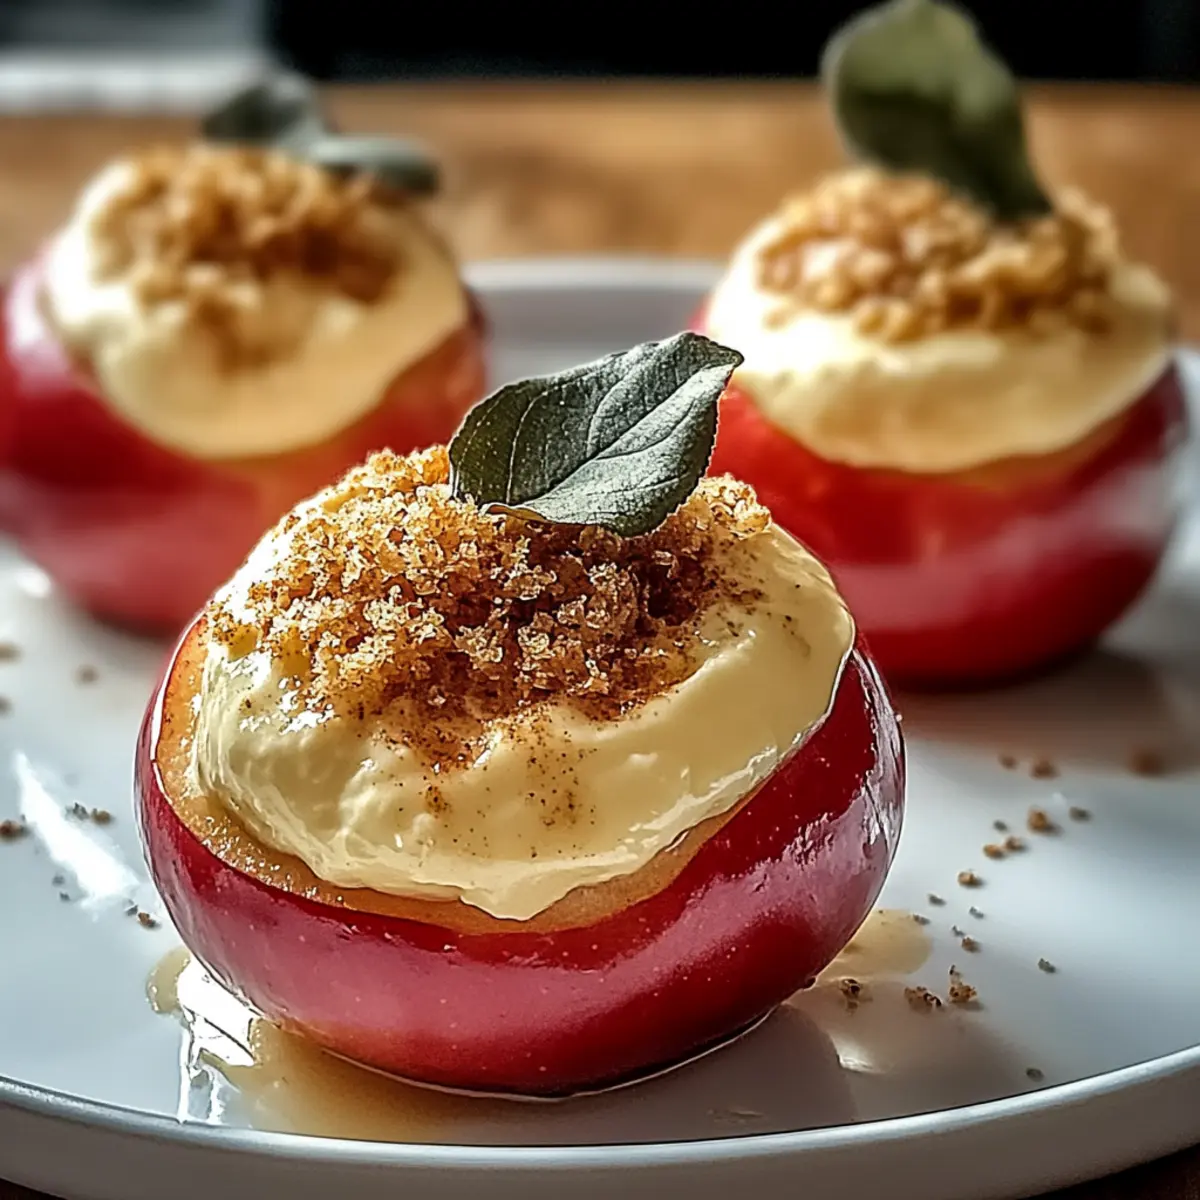
Using a spoon, carefully stuff each apple with the cheesecake filling, mounding it slightly on top to create a beautiful presentation. Ensure the filling is well-distributed within the apple for that melt-in-your-mouth experience while baking. These are going to be the star of your Tasty Cheesecake-Stuffed Baked Apples dish!
Step 6: Prepare for Baking
Arrange the stuffed apples upright in the baking dish, ensuring they have room to breathe and expand. Drizzle melted butter on top of the apples to achieve that golden-brown finish during baking. Cover the baking dish with foil to keep the moisture in while the apples become tender.
Step 7: Bake the Apples
Place the covered baking dish in your preheated oven and bake for 25–30 minutes. Check for doneness by inserting a knife; the apples should be tender yet still hold their shape. The aroma wafting through your kitchen will be irresistible!
Step 8: Finish Baking for a Perfect Top
After 30 minutes, remove the foil from the dish and return it to the oven for an additional 10 minutes. This allows the tops of your Tasty Cheesecake-Stuffed Baked Apples to brown nicely, creating a beautiful caramelized finish. Keep an eye on them to prevent over-browning.
Step 9: Serve and Enjoy
Once baked, remove the apples from the oven and let them cool slightly before serving. They can be enjoyed warm, perhaps drizzled with caramel sauce or topped with whipped cream for a delightful indulgence. These Tasty Cheesecake-Stuffed Baked Apples are the perfect way to warm up your cozy fall nights!
Make Ahead Options
These Tasty Cheesecake-Stuffed Baked Apples are perfect for busy weeknights or gatherings, allowing you to savor cozy moments without the rush! You can prepare the cheesecake filling and stuff the apples up to 24 hours in advance. Simply mix your softened cream cheese, sugar, and spices, and stuff the apples beforehand. Store them in an airtight container in the refrigerator to maintain their freshness. When you’re ready to bake, just pop them into your preheated oven for about 25-30 minutes until they’re tender and perfectly caramelized. This way, you’ll enjoy a warm, delightful dessert with minimal effort, ensuring it’s just as delicious as when freshly made!
Tasty Cheesecake-Stuffed Baked Apples Variations
Feel free to get creative with this dessert! The possibilities are endless, and each variation adds a touch of your own flair.
-
Apple Variety: Try using Fuji or Granny Smith apples for different flavor profiles. Each type brings its own sweetness and tartness to the dish.
-
Dairy-Free: Swap in dairy-free cream cheese for the filling. This ensures everyone can enjoy this delicious treat without sacrificing flavor!
-
Nutty Twist: Add a handful of finely chopped walnuts or pecans to the cheesecake filling. The crunch complements the soft apple beautifully, offering a delightful textural contrast.
-
Flavor Boost: Incorporate almond extract or a teaspoon of orange zest into the filling for a delightful surprise that elevates the overall taste. These flavors sing against the backdrop of apple and cream cheese.
-
Chocolate Delight: Drizzle some melted chocolate over the apples just before serving. This rich addition makes for a decedent experience that’s sure to please any chocolate lover in your family!
-
Spicy Upgrade: Don’t hesitate to add a pinch of nutmeg or allspice to the filling. These warm spices deepen the fall experience and bring a cozy aroma to your baked apples.
-
Fruit Medley: Fold in a handful of dried cranberries or raisins for a fruity twist in the filling. It adds bursts of flavor and a hint of chewiness, contrasting with the creamy texture beautifully.
These tweaks to your Tasty Cheesecake-Stuffed Baked Apples mean you’re just a few switches away from a brand new dessert experience! And for more delicious options to grace your table, you might also enjoy these Crispy Baked Chicken Thighs or explore new flavor profiles with BBQ Chicken Twice Baked Sweet Potatoes.
What to Serve with Tasty Cheesecake-Stuffed Baked Apples
Elevate your cozy autumn dining experience by creating a delightful spread that pairs beautifully with these scrumptious desserts.
-
Vanilla Ice Cream: A classic pairing that melts beautifully over the warm stuffed apples, enhancing the creamy texture of the cheesecake filling.
-
Caramel Sauce: Drizzle this sweet, gooey treat on top for an indulgent twist that complements the apples’ natural sweetness. It brings out the comforting fall flavors even more.
-
Cinnamon-Spiced Oatmeal: A warm bowl of oatmeal lightly spiced with cinnamon offers a heartwarming contrast to the rich cheesecake filling, creating a satisfying brunch or dessert combo.
-
Pecan Pie: This classic dessert adds a crunchy, nutty element that pairs nicely with the soft apples, making for a delightful tasting adventure across textures.
-
Chai Tea: The warm, spiced notes of chai tea create a cozy beverage option that harmonizes with the flavors of your apples, enhancing the autumn experience.
-
Cranberry Sauce: A tart, bright sauce introduces a sophisticated balance to the sweetness of the baked apples, offering a refreshing counterpoint at your table.
-
Hot Chocolate: A rich cup of hot chocolate, complete with whipped cream and sprinkles, creates an indulgent after-dinner treat that complements the warm flavors of your decadent dessert.
-
Pumpkin Spice Cookies: These delightful cookies echo the spice notes found in your baked apples, making for a delightful pairing that celebrates the season’s flavors.
-
Spiced Apple Cider: A warm beverage that enhances the overall apple theme, adding another layer of cozy comfort to your meal and perfectly matching your cheesecake-stuffed apples.
How to Store and Freeze Tasty Cheesecake-Stuffed Baked Apples
Fridge: Store your baked apples in an airtight container for up to 3 days. Make sure they’re completely cooled before sealing to retain their delicious creaminess.
Freezer: These Tasty Cheesecake-Stuffed Baked Apples can be frozen for up to 2 months. Wrap each apple individually in plastic wrap, then place in a freezer-safe bag.
Reheating: To enjoy your frozen apples, thaw overnight in the fridge. Reheat in the oven at 350°F (175°C) for about 15–20 minutes, until warmed through.
Make-Ahead Tip: Prep the filling and stuff the apples up to 24 hours in advance. Cover and refrigerate, then bake directly from the fridge for a convenient dessert option!
Expert Tips for Tasty Cheesecake-Stuffed Baked Apples
• Cream Cheese Prep: Always use softened cream cheese to prevent lumps in your filling; it creates a smooth, delectable cheesecakey texture.
• Apple Selection: Choose firm, sweet-tart apples like Honeycrisp or Gala that won’t turn mushy during baking—this is key for perfect Tasty Cheesecake-Stuffed Baked Apples.
• Mixing Gently: When folding in graham cracker crumbs and nuts, do so gently to maintain the lightness of the filling; overmixing can make it dense.
• Watch the Bake Time: Baking times may vary based on apple size; check for tenderness but avoid letting them get mushy.
• Extra Flavor: Don’t hesitate to customize! Add a splash of vanilla or almond extract for an extra layer of flavor in your cheesecake filling.
• Serving Ideas: Serve warm with a dollop of whipped cream or a drizzle of caramel sauce to elevate your Tasty Cheesecake-Stuffed Baked Apples to an irresistible delight.
Tasty Cheesecake-Stuffed Baked Apples Recipe FAQs
What kind of apples should I use for the best results?
Absolutely! For the best flavor and texture, choose firm varieties like Honeycrisp or Gala. These sweet-tart apples hold their shape beautifully during baking while offering the right balance of sweetness and tang.
How should I store leftovers?
Very! You can keep your baked apples in an airtight container in the fridge for up to 3 days. Just make sure they are completely cooled before sealing to keep their creamy filling intact and delicious!
Can I freeze Tasty Cheesecake-Stuffed Baked Apples?
Absolutely! You can freeze these delightful apples for up to 2 months. Individually wrap each apple in plastic wrap and then place them in a freezer-safe bag or container. To enjoy, simply thaw them overnight in the fridge and reheat in the oven at 350°F (175°C) for about 15–20 minutes until warmed through.
What if my apples are too soft after baking?
Oh no! If your apples are too soft, it may be due to over-baking or using overly ripe apples. Aim for firm apples and keep an eye on the baking time. If they do come out too mushy, try serving them as a delicious warm sauce over ice cream!
Can I customize the cheesecake filling for dietary needs?
Absolutely! You can easily make your filling dairy-free by using dairy-free cream cheese. Additionally, feel free to adjust sugar content or flavor additions, like using coconut sugar or incorporating almond extract, to suit your individual dietary requirements.
Is it possible to prepare these apples ahead of time?
Yes, indeed! You can prep the filling and stuff the apples up to 24 hours in advance. Just cover them and store them in the fridge. When you’re ready to bake, pop them directly in the oven from the fridge—convenience at its best!
Tasty Cheesecake-Stuffed Baked Apples for Cozy Fall Nights
Ingredients
Equipment
Method
- Preheat your oven to 350°F (175°C).
- Cut off the tops of the apples and core them, brushing the insides with lemon juice.
- In a mixing bowl, combine cream cheese, sugar, vanilla, cinnamon, and nutmeg until creamy.
- Gently fold in the graham cracker crumbs and chopped nuts.
- Stuff each apple with the cheesecake filling, mounding it slightly on top.
- Place the stuffed apples in the baking dish, drizzle with melted butter, and cover with foil.
- Bake for 25-30 minutes until apples are tender but hold shape.
- Remove the foil and bake for an additional 10 minutes to brown the tops.
- Let the apples cool slightly before serving warm, optionally with whipped cream or caramel.