

As I sat by the fire, the sweet aroma of melting chocolate and toasted marshmallows filled the air, instantly transporting me back to carefree summer nights. That’s the magic of this Ultimate S’mores Pie! It captures all the beloved flavors of a traditional campfire treat but in a delightful, no-bake dessert that’s perfect for any occasion. Not only is this S’mores Pie a showstopper with its rich chocolate layers and fluffy toasted marshmallows, but it’s also incredibly easy to prepare ahead of time—ideal for gatherings or cozy nights in. Imagine slicing into this graham cracker crust to reveal all that gooey goodness inside! I can’t wait to share how you can recreate these cherished memories with every delicious bite. Ready to dive into a slice of nostalgia?
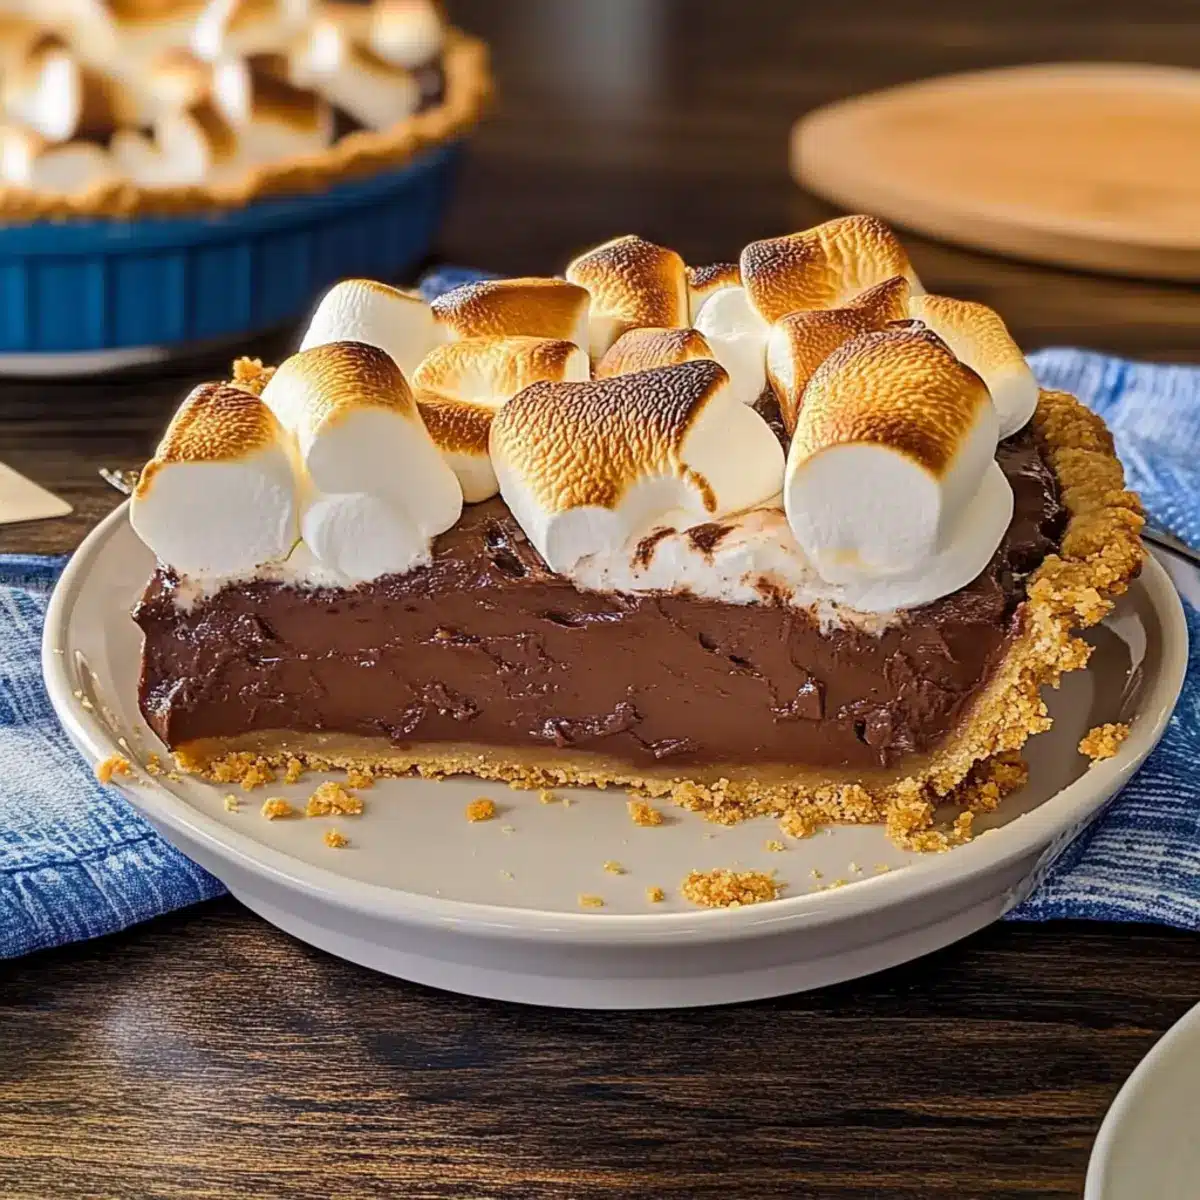
Why is S’mores Pie So Irresistible?
Decadent Layers: Each slice showcases luscious chocolate, perfectly balanced with fluffy marshmallows and a crunchy graham cracker crust that transports you to summer nights around the campfire.
Make-Ahead Magic: Easily prepare this pie in advance, allowing you to enjoy your time with friends and family without a last-minute rush!
No-Bake Simplicity: With minimal cooking required, this dessert makes it a breeze to whip up, even for the busiest home cooks.
Crowd-Pleasing Delight: Whether at a picnic, party, or family dinner, the nostalgic flavors will leave everyone asking for seconds—this S’mores Pie is a guaranteed hit!
Try Your Own Twist: Feeling adventurous? You can even experiment with variations, like adding peanut butter for an indulgent twist. For another crowd favorite, check out my delicious Pecan Pie Cheesecake that takes dessert to another level!
S’mores Pie Ingredients
For the Crust
• Graham Cracker Crumbs – Provides the crust’s structure and crunch; a store-bought graham cracker crust can also be used but may not hold all the filling.
• Salted Butter – Binds the crust and adds richness; always use melted for ease of mixing.
• Sugar – Sweetens the crust; brown sugar can enhance the flavor for a deeper taste.
For the Chocolate Filling
• Cornstarch – Thickens the chocolate filling, ensuring a silky texture; it’s essential for achieving the desired consistency.
• Kosher Salt – Balances sweetness in the filling; sea salt can be used if preferred.
• Whole Milk – Forms the base of the pudding filling, contributing to creaminess; whole or 2% milk works best—avoid skim for better texture.
• Egg Yolks – Adds richness and helps set the filling; make sure to beat them before mixing.
• Semi-Sweet Chocolate – Defines the filling’s intense chocolate flavor; high-quality chocolate yields the best results.
• Vanilla Bean Paste/Extract – Adds depth of flavor; pure vanilla extract can be used if the paste is unavailable.
For the Topping
• Marshmallows – The sweet topping that brings S’mores flavor; regular, mini, or jumbo marshmallows work wonderfully.
• Chocolate Bar for Shaving – For optional garnish, enhancing the chocolatey richness.
Step‑by‑Step Instructions for S’mores Pie
Step 1: Prepare the Crust
Begin by preheating your oven to 350°F (175°C). In a mixing bowl, combine graham cracker crumbs, melted salted butter, and sugar until evenly blended. Press this mixture firmly into a deep-dish pie plate, ensuring the base and sides are compact. Bake the crust for about 10 minutes, or until lightly golden and set. Allow it to cool completely before filling.
Step 2: Make the Chocolate Filling
While the crust cools, prepare the luscious chocolate filling for your S’mores Pie. In a medium saucepan, whisk together sugar, cornstarch, and kosher salt. Gradually stir in whole milk and beaten egg yolks until fully incorporated. Cook over medium heat, whisking constantly until the mixture thickens and starts to bubble—this should take around 8-10 minutes. Remove from heat and mix in chopped semi-sweet chocolate, butter, and vanilla bean paste until silky smooth.
Step 3: Fill the Pie
Once your chocolate filling is ready, pour it into the cooled graham cracker crust. Spread the filling evenly with a spatula, smoothing the top for a neat finish. Let the pie cool to room temperature for about 30 minutes, then cover it with plastic wrap or foil. Refrigerate for at least four hours, or ideally overnight, allowing the filling to set perfectly.
Step 4: Toast the Marshmallows
When ready to serve your S’mores Pie, it’s time to toast the marshmallows! Evenly arrange marshmallows over the chilled chocolate filling, covering it completely. Using a kitchen torch, carefully toast the marshmallows until they are golden brown and bubbly, keeping a close eye to avoid burning, which may take about 1-3 minutes. Alternatively, you can use a broiler, but monitor closely.
Step 5: Slice and Serve
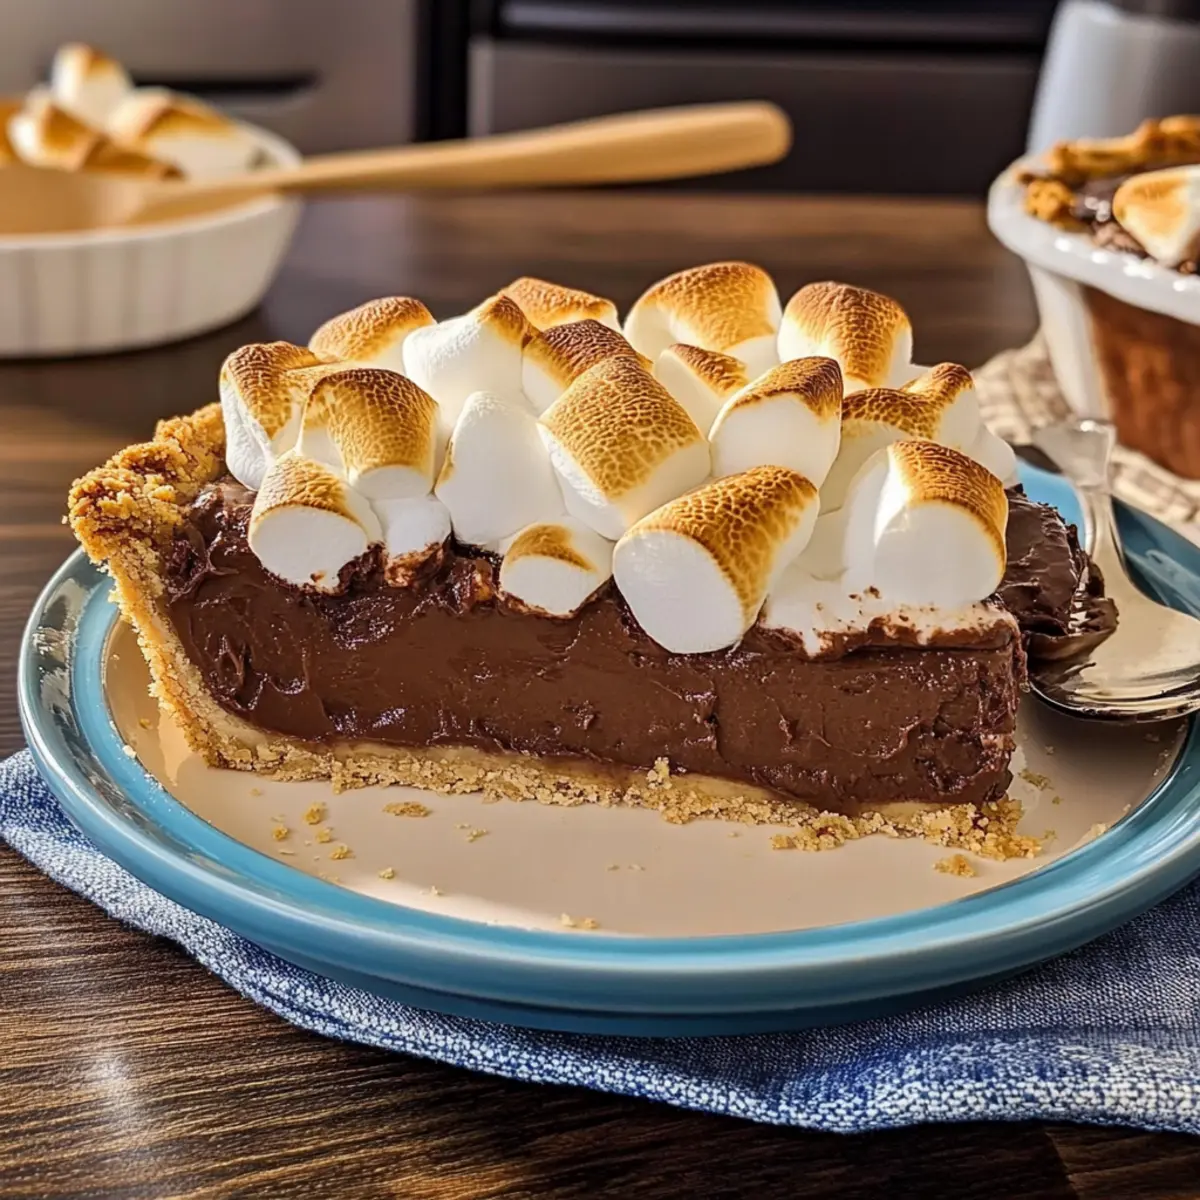
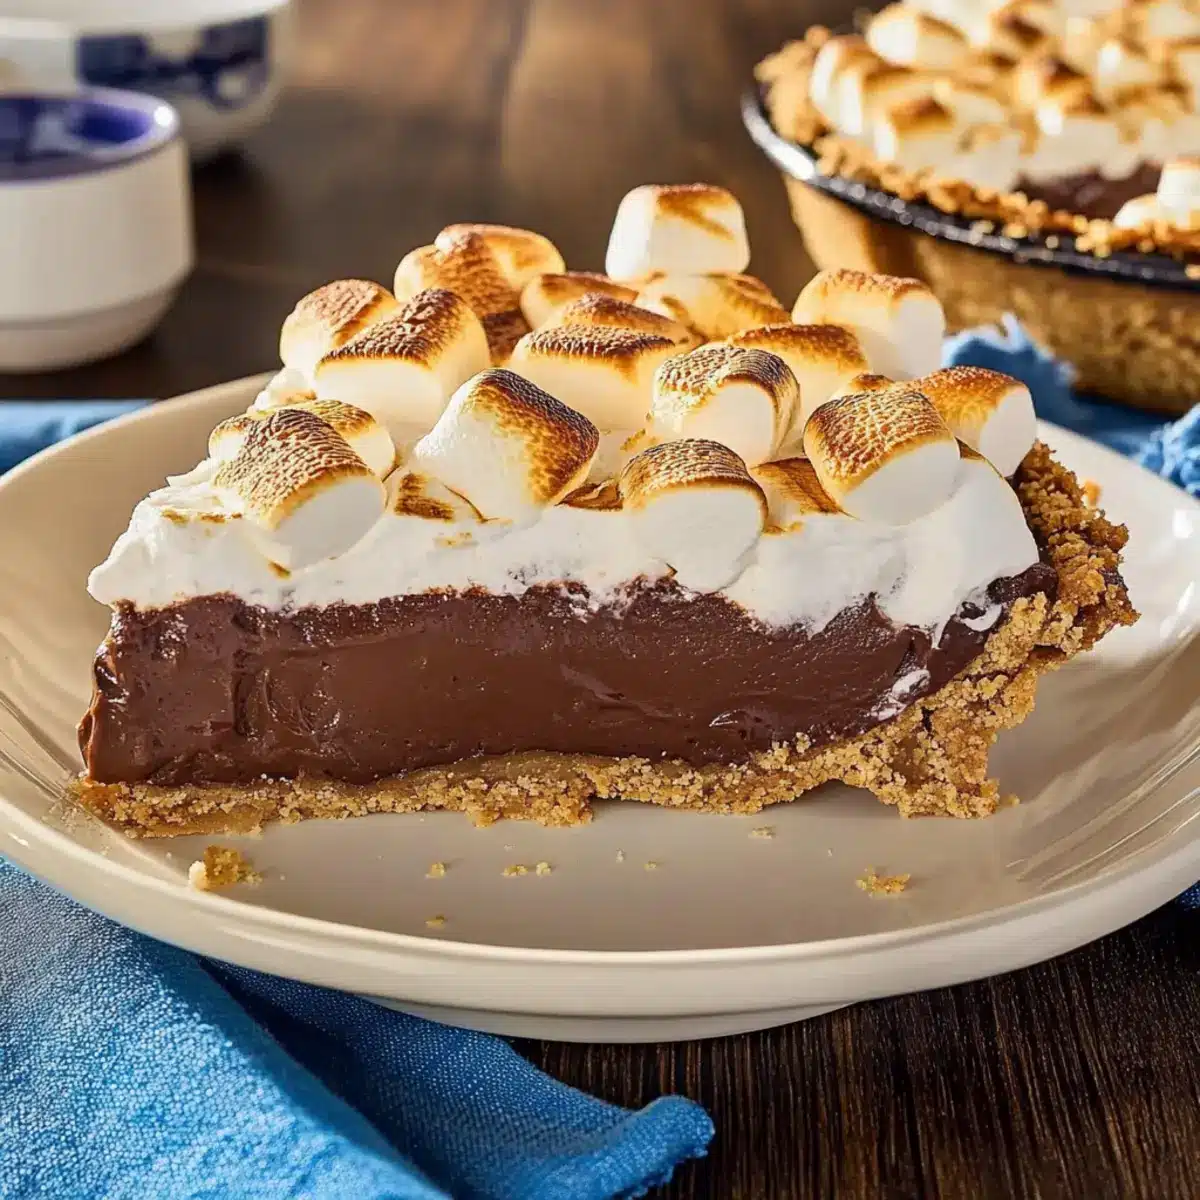
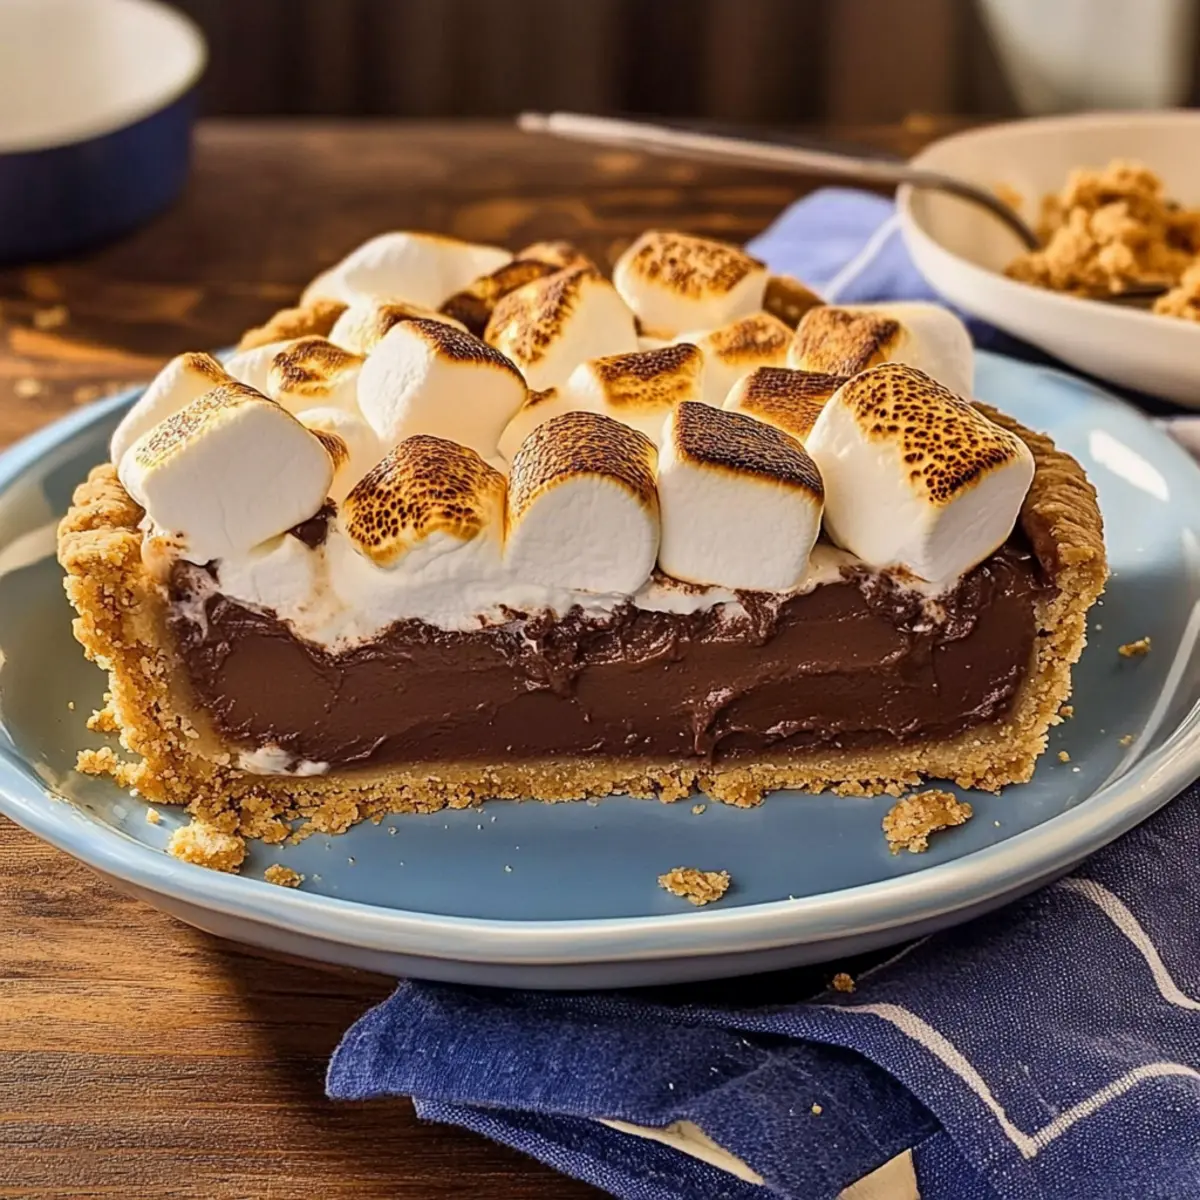
For perfect slices of your delightful S’mores Pie, dip a sharp knife in hot water before slicing, wiping it dry between cuts. Serve the pie immediately after toasting, optionally garnishing with chocolate shavings for an extra touch of indulgence. Each slice reveals layers of rich chocolate and fluffy marshmallows, making every bite a cherished memory of summer nights.
S’mores Pie Variations & Substitutions
Feel free to get creative with your S’mores Pie—every variation brings a new layer of flavor and fun!
- Nutty Delight: Add crushed nuts like almonds or hazelnuts into the crust for an extra crunchy texture and nutty flavor.
- Dairy-Free: Substitute whole milk with almond or coconut milk and use dairy-free chocolate for a tasty vegan version.
- Spicy Kick: Sprinkle cayenne pepper or chili powder in the chocolate filling for a surprising heat that enhances the chocolate richness.
- Fruit Twist: Incorporate a layer of fresh raspberries or strawberries between the chocolate filling and marshmallows for a bright, fruity contrast.
- Peanut Butter Swirl: Mix creamy peanut butter into the chocolate filling before pouring it into the crust. This nutty addition elevates the flavor profile significantly.
- Caramel Drizzle: Drizzle homemade or store-bought caramel sauce over the pie just before serving for a luscious, sweet touch that pairs beautifully with the chocolate.
- Chocolate Cookie Crust: Swap the graham crackers for crushed chocolate cookies—this simple change adds a deep chocolate flavor to your pie’s foundation.
- Single Serving: Make mini versions in ramekins for individual servings. They’re perfect for gatherings and easy to customize with various toppings!
For a twist on a classic dessert, you might also love exploring my delectable Pecan Pie Cheesecake that blends rich flavors just like this S’mores Pie. Your creativity knows no bounds, so enjoy baking and crafting your unforgettable treats!
Make Ahead Options
These S’mores Pie is perfect for busy home cooks looking to save time on dessert preparation! You can make the crust and chocolate filling up to 24 hours in advance, storing them separately in the refrigerator. Simply bake the graham cracker crust, allow it to cool, then cover it with plastic wrap. Prepare the filling and let it cool before refrigerating it. When you’re ready to serve, simply pour the chilled filling into the crust, refrigerate again for at least 4 hours or overnight for optimal firmness, then toast the marshmallows just before serving. This way, you preserve that delightful texture and flavor without compromising quality, ensuring every bite remains just as delicious!
What to Serve with S’mores Pie
Indulging in a slice of this heavenly pie can be even more delightful when paired with complementary flavors and textures.
-
Whipped Cream: A dollop of fluffy whipped cream adds a light, creamy contrast that enhances the richness of the pie. Its sweetness balances the chocolate and marshmallows perfectly.
-
Fresh Berries: Strawberries or raspberries offer a refreshing acidity that cuts through the richness of the S’mores Pie, providing a lovely burst of flavor in each bite.
-
Chocolate Shavings: Sprinkle some extra chocolate shavings on top for an elegant touch that accentuates the chocolatey goodness of the filling. It’s a visual delight as well as a flavorful enhancement.
-
Ice Cream: Whether vanilla or chocolate, a scoop of ice cream brings a luxurious creaminess and helps mellow the sweetness of the dessert. It’s like a cozy hug in a bowl!
-
Nutty Trail Mix: A crunchy nutty trail mix on the side adds texture and a little savory contrast, making it a fun and unexpected combination alongside the creamy pie.
-
Coffee or Espresso: A warm cup of coffee or a shot of espresso can enhance the chocolate flavors while providing a delightful bitterness that balances the sweetness of the dessert.
-
Hazelnut Spread: Serve with a dollop of hazelnut spread on the side for an indulgent twist. It’s a wonderful addition that adds a nutty flavor profile to every forkful.
-
Caramel Sauce: A drizzle of warm caramel sauce can elevate the dessert to new heights, adding both sweet and salty notes that complement the S’mores flavor beautifully.
-
Toasted Coconut Flakes: For a tropical twist, sprinkle some toasted coconut flakes on top. They add flavor, texture, and a hint of sweetness that pairs well with the pie.
Expert Tips for S’mores Pie
Marshmallow Monitoring: Keep a close eye while toasting marshmallows to prevent burning; turning them a little can encourage even browning.
Chill Time Secret: For the best texture, refrigerate your S’mores Pie overnight. This enhances the creaminess of the filling and makes it easier to slice.
Quality Counts: Use high-quality semi-sweet chocolate for your filling; it significantly elevates the overall flavor of the S’mores Pie.
Avoid Soggy Crust: Ensure your graham cracker crust is completely cooled before adding the filling to prevent sogginess and maintain its crunch.
Sharp Knife Tip: Dip your knife in hot water before slicing to achieve clean cuts, making for beautiful presentation and easier serving!
How to Store and Freeze S’mores Pie
Fridge: Keep the assembled S’mores Pie covered in the refrigerator for up to 3 days. This ensures it stays fresh and the layers remain intact.
Freezer: For longer storage, you can freeze the pie without marshmallows for up to 2 months. Wrap it tightly in plastic wrap and foil for best protection.
Thawing: When ready to enjoy, thaw the pie in the fridge overnight and add toasted marshmallows just before serving for the best texture.
Reheating: While it’s typically served chilled, you can gently warm individual slices in the microwave for about 15-20 seconds if you prefer a gooey, melty experience.
S’mores Pie Recipe FAQs
What type of graham crackers should I use for the crust?
For the crust, I recommend using classic graham cracker crumbs, as they provide a satisfying crunch. If you’re short on time, a store-bought graham cracker crust can work in a pinch, but keep in mind it might not hold all the filling, which can lead to a less cohesive dessert.
How should I store my S’mores Pie after making it?
You can store the assembled S’mores Pie covered in the refrigerator for up to 3 days. Just make sure it’s well-wrapped to keep it fresh; this refrigerator time allows the flavors to meld beautifully.
Can I freeze S’mores Pie, and if so, how?
Absolutely! You can freeze the pie without the marshmallows for up to 2 months. Wrap it tightly in plastic wrap followed by aluminum foil to prevent freezer burn. When you’re ready to enjoy it, just thaw it overnight in the fridge, and add the toasted marshmallows just before serving for the best experience.
What should I do if my chocolate filling isn’t thickening?
If your filling isn’t thickening, don’t worry! It might just need a little more time on the heat. Continue to cook it at medium heat, whisking constantly until bubbles form and it thickens (this usually takes around 8-10 minutes). If you find it still won’t thicken, you can mix a teaspoon of cornstarch with an equal amount of cold milk and stir that into your mixture while cooking to help it along.
Are there any dietary restrictions I should be aware of with this recipe?
Yes, it’s important to consider allergies, especially since this S’mores Pie contains eggs, dairy (milk and butter), and chocolate, which may have traces of nuts. If preparing for someone with food allergies, you might want to substitute the regular marshmallows for vegan ones or use nut-free chocolate options. Always check product labels to be safe!
Irresistible S'mores Pie: No-Bake Delight for Everyone
Ingredients
Equipment
Method
- Preheat your oven to 350°F (175°C). In a mixing bowl, combine graham cracker crumbs, melted salted butter, and sugar until evenly blended. Press this mixture firmly into a pie plate and bake for about 10 minutes until lightly golden. Allow it to cool completely.
- In a saucepan, whisk together sugar, cornstarch, and kosher salt. Gradually stir in whole milk and beaten egg yolks until fully incorporated. Cook over medium heat, whisking constantly until the mixture thickens and bubbles for about 8-10 minutes. Mix in chopped chocolate, butter, and vanilla until smooth.
- Pour the chocolate filling into the cooled crust, smoothing the top with a spatula. Let it cool for 30 minutes, then cover with plastic wrap and refrigerate for at least four hours, or overnight.
- Arrange marshmallows over the chocolate filling, toasting with a kitchen torch until golden brown, about 1-3 minutes, monitoring closely to avoid burning.
- For clean slices, dip a sharp knife in hot water before slicing. Serve immediately, optionally garnishing with chocolate shavings.