

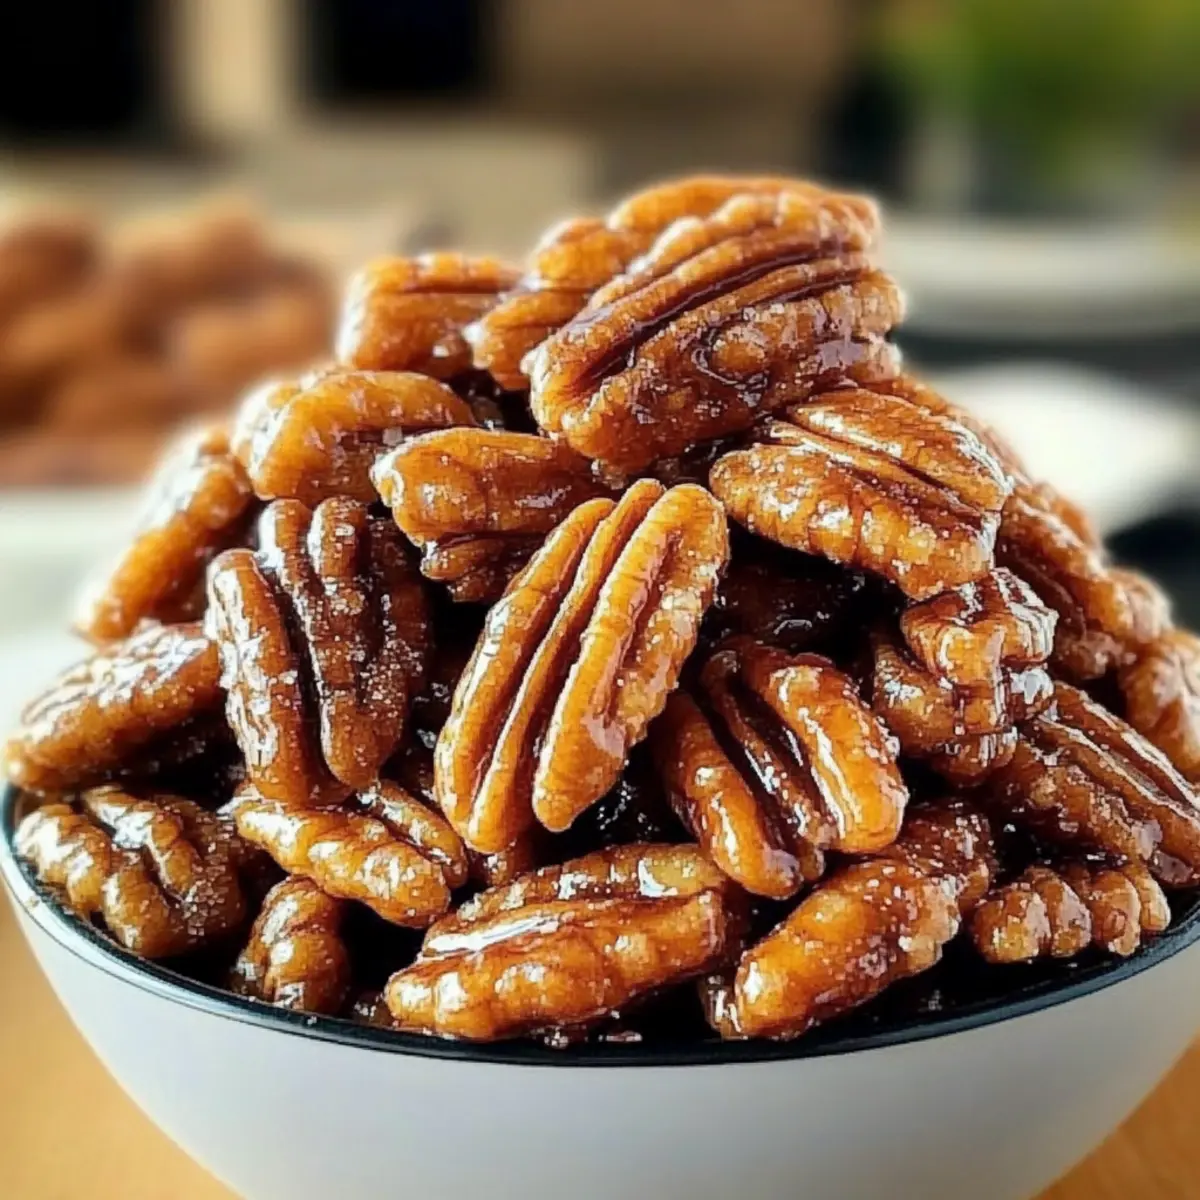
As I stood in the kitchen, the sweet aroma of melting butter filled the air, instantly transporting me to the heart of the South. This Irresistible Praline Crunch recipe has become my go-to treat, where rich pecans meet a buttery, brown sugar glaze that’s simply impossible to resist. Not only is it a fun and easy recipe to whip up—perfect for beginner chefs—but it also makes for a fantastic make-ahead snack that will charm your guests during any gathering. Whether you’re looking to impress at holiday parties or just craving a delightful sweet treat for yourself, this crunchy goodness is sure to deliver! What fun twist will you add to your Praline Crunch?
Why is Praline Crunch a Must-Try?
Unforgettable Flavor: Each bite of this Praline Crunch offers a delightful blend of sweet, salty, and nutty flavors that will keep you coming back for more.
Beginner-Friendly: No need for special skills or equipment; this recipe is simple, making it perfect for cooks of all levels.
Versatile Treat: Serve it as a snack, dessert topping, or jar it as a thoughtful gift—its uses are endless!
Make-Ahead Convenience: Prepare a batch in advance and store it for easy snacking any time you need a sweet pick-me-up.
Crowd-Pleaser: Bring it to your next gathering and watch it disappear—your friends and family will be begging for the recipe!
Praline Crunch Ingredients
• Here’s everything you need for your delicious Praline Crunch!
For the Crunch
- Pecan Halves – The primary ingredient providing delightful crunch and nuttiness; walnuts or almonds can be substituted, but adjust cooking time as needed.
- Unsalted Butter – Adds richness and is essential for forming the crunchy glaze; for a dairy-free version, use vegan butter instead.
- Brown Sugar – The star of the show, providing sweetness and caramel flavor; you can choose between light or dark brown sugar based on your preferred flavor intensity.
- Vanilla Extract – Enhances and rounds out the flavor; ensure you use pure extract for the best results.
- Cinnamon (optional) – Adds a warm depth to the flavor profile; feel free to omit it if you prefer a more neutral taste.
- Sea Salt – A pinch balances the sweetness and highlights the nutty flavor of the pecans; just a small amount is all you need.
Enjoy crafting your own homemade Praline Crunch—it’s sure to become a cherished favorite!
Step‑by‑Step Instructions for Irresistible Praline Crunch
Step 1: Prep Baking Sheet
Line a large baking sheet with parchment paper, making sure it’s smooth and free of wrinkles. This will prevent the Praline Crunch from sticking and allow for easy clean-up later. Set the prepared baking sheet aside while you move on to the next steps.
Step 2: Melt Butter
In a nonstick skillet, combine ½ cup of unsalted butter and heat it over medium heat. Stir occasionally until the butter is bubbling and fragrant, which usually takes about 2-3 minutes. Keep a close eye to avoid browning, and ensure the butter melts completely to create a smooth base for the glaze.
Step 3: Add Brown Sugar
Once the butter is melted, add 1 cup of brown sugar to the skillet, mixing vigorously with a wooden spoon or silicone spatula. Stir continuously for about 2-3 minutes until the mixture is smooth and begins to bubble. Look for a slightly thickened consistency, as this is the foundation of your delicious Praline Crunch glaze.
Step 4: Add Pecans
Next, toss in 2 cups of pecan halves, stirring constantly with your spatula for about 5-7 minutes. You’ll want to ensure each pecan is well-coated and glistening with the sweet glaze. Watch for the mixture to thicken—this means you’re getting close to that perfect crunch texture that defines the Praline Crunch.
Step 5: Flavor it Up
Remove the skillet from heat and add 1 teaspoon of pure vanilla extract, a pinch of sea salt, and optional cinnamon if desired. Mix everything well until the pecans are completely coated in the delightful mixture. The aromas will be heavenly, and the flavors will deepen once they cool!
Step 6: Spread Mixture
Quickly pour the sticky pecan mixture onto the prepared baking sheet, using a spatula to spread it out evenly. As you spread, separate the pieces to avoid clumping, which will help each pecan crisp up nicely as it cools. You’ll want to take your time to ensure an even layer across the parchment.
Step 7: Cool Down
Allow the Praline Crunch to cool completely on the baking sheet, which should take about 30 minutes. Once cooled, you’ll notice that it hardens nicely, creating that perfect, crunchy texture. Now, it’s ready to be broken into pieces and served or stored away for later snacking.

Make Ahead Options
These irresistible Praline Crunch treats are perfect for meal prep enthusiasts! You can prepare the pecan mixture up to 24 hours in advance by cooking it according to the recipe, allowing it to cool completely, and then storing it in an airtight container at room temperature. This way, you can save time on busy days and simply spread the cooled mixture onto the prepared baking sheet right before serving. To maintain the crunchy goodness, be sure to allow for good airflow around the pecans to prevent sticky clumping. When you’re ready to enjoy, just break the pieces apart or toss them as a topping for desserts—resulting in deliciously quick snacking anytime!
Expert Tips for the Best Praline Crunch
-
Perfect Timing: Keep a close eye on your butter and sugar mixture; cooking it even a minute too long can lead to a burnt flavor.
-
Stir Constantly: As you add the pecans, stir continuously to ensure even coating and prevent any nuts from sticking too closely together.
-
Quick Spreading: Immediately spread the pecan mixture onto the baking sheet after cooking; if it cools too long in the skillet, it may harden, making spreading difficult.
-
Storage Secrets: For maximum crunch, store your Praline Crunch in an airtight container at room temperature, avoiding places with high humidity.
-
Flavor Experimentation: Don’t be afraid to add your twist! Mixing in a hint of nutmeg or a drizzle of melted chocolate can elevate flavors beautifully.
How to Store and Freeze Praline Crunch
Airtight Container: Store your Praline Crunch in an airtight container at room temperature for up to 2 weeks. This keeps it fresh and maintains its irresistible crunchiness.
Refrigeration: If you want to extend the shelf life, refrigerate the praline for up to 4 weeks. Just ensure it’s sealed tightly to avoid any moisture.
Freezer Friendly: For longer storage, freeze your praline in a freezer-safe bag or container for up to 3 months. Thaw at room temperature before enjoying!
Reheating: To restore that crunchy texture, you can place the praline on a baking sheet in a 350°F (175°C) oven for about 5-7 minutes—just keep an eye on it to prevent burning.
What to Serve with Irresistible Praline Crunch?
Elevate your snack game with these delightful pairings that perfectly complement the sweet and nutty flavors of your Praline Crunch.
-
Creamy Vanilla Ice Cream: The richness and creaminess cools the crunch’s sweetness, making for a luscious dessert experience.
-
Fresh Berries: The tartness of strawberries or blueberries balances the praline’s sweetness, creating a refreshing and vibrant contrast.
-
Cheese Platter: A mix of sharp cheeses like aged cheddar alongside the praline creates an exciting flavor contrast when snacking.
-
Spicy Pecans: For an adventurous twist, serve spicy pecans that deliver a kick, enhancing the nutty flavor of your praline.
Consider hosting an afternoon snack gathering! Pair these crunchy treats with iced tea or coffee, and enjoy every moment with family and friends.
-
Hot Coffee: The warmth and bitterness of coffee enhance the sweet caramel tones in the praline, creating a comforting combination.
-
Chocolate Drizzle: For an extra touch, consider drizzling melted chocolate over the finished praline. It adds sophistication to your snack experience.
Your Praline Crunch will shine even brighter alongside these delicious accompaniments!
Praline Crunch Variations & Substitutions
Feel free to add your personal touch to this delightful Praline Crunch, making it uniquely yours and even more irresistible!
-
Dairy-Free: Substitute unsalted butter with vegan butter for a creamy, non-dairy version that tastes just as delicious.
Embracing a plant-based lifestyle doesn’t mean sacrificing flavor! This swap keeps the buttery richness without dairy. -
Nut Alternatives: Swap pecans for walnuts, almonds, or even hazelnuts depending on your preference or availability.
Each nut brings its unique flavor profile, and playing around with different varieties can lead to exciting new twists! -
Sweet Options: Experiment with maple syrup or agave nectar instead of brown sugar for a lighter sweetness.
This not only reduces the refined sugar content but also infuses your praline with a lovely, subtle flavor. -
Spice It Up: Add a dash of nutmeg or cardamom for an aromatic twist that elevates the overall taste.
Warm spices add depth and makes your Praline Crunch perfect for cozy gatherings—or just to savor during a quiet evening! -
Chocolate Drizzle: For extra decadence, drizzle melted chocolate (dark or white) over the finished praline after it cools.
This delightful addition brings a rich chocolatey contrast, transforming each bite into a luxurious treat. -
Coconut Flakes: Stir in some unsweetened coconut flakes for added texture and a touch of tropical flair.
Coconut’s natural sweetness complements the praline wonderfully and enhances the crunch factor you’ll adore! -
Savory Kick: Sprinkle in a bit of cayenne pepper or chili powder for a spicy version that balances the sweetness.
A hint of heat can elevate your snack, making it an exciting conversation starter at your next gathering! -
Fruit Infusion: Mix in some dried fruit, like cranberries or cherries, for a sweet and chewy contrast to the crunchy nuts.
This twist adds color and nutrition, making your Praline Crunch not just tasty but also visually appealing.
Try out some of these ideas to customize your Praline Crunch and surprise your family and friends with delightful variations. You can even think about pairing it with some delicious homemade vanilla ice cream or drizzling warm fudge over the top for a truly indulgent experience. If you are looking for other easy snacks, check out my recipe for Chocolate-Dipped Pretzels or Cinnamon Sugar Doughnuts that are sure to satisfy any sweet tooth!
Praline Crunch Recipe FAQs
What type of pecans should I use for Praline Crunch?
Absolutely, use fresh pecan halves for the best flavor and texture. Look for nuts that are firm, free from dark spots or any signs of moisture, which can indicate spoilage. If you can’t find pecans, walnuts or almonds are great substitutes; just keep an eye on the cooking time as they may require slight adjustments.
How should I store Praline Crunch for maximum freshness?
I recommend storing your Praline Crunch in an airtight container at room temperature for up to 2 weeks. If you live in a humid area, consider refrigerating it to extend its shelf life to about 4 weeks. Just make sure it’s in a sealed container to prevent moisture from affecting its crunchy goodness.
Can I freeze Praline Crunch, and how do I do it?
Very! To freeze your praline, place it in a freezer-safe bag or container, ensuring all air is removed to avoid freezer burn. It can be stored for up to 3 months. When you’re ready to enjoy it again, thaw it at room temperature, or pop it in a 350°F (175°C) oven for about 5-7 minutes to restore its crunch.
What should I do if my Praline Crunch is sticky and won’t harden?
If your Praline Crunch ends up sticky, it might be due to not cooking the sugar mixture long enough. For a future batch, make sure you stir constantly until the mixture thickens before adding the pecans. If it’s already sticky, you can try reheating it gently on the stovetop to dissolve some of the sugar again, then spread it on the baking sheet to cool properly.
Are there any dietary considerations for Praline Crunch?
While this treat is vegetarian-friendly, it does contain butter, so for a dairy-free version, feel free to substitute with vegan butter. Additionally, be cautious if you or your guests have nut allergies, as this recipe contains pecans, which are tree nuts. Always inform others if you’re serving a dish that contains common allergens.
Sweet and Crunchy Praline Crunch for Easy Homemade Snacking
Ingredients
Equipment
Method
- Line a large baking sheet with parchment paper and set aside.
- Melt 1/2 cup of unsalted butter in a nonstick skillet over medium heat for 2-3 minutes.
- Add 1 cup of brown sugar to the melted butter and stir for 2-3 minutes until smooth.
- Stir in 2 cups of pecan halves, cooking for about 5-7 minutes until well coated.
- Remove from heat, add 1 teaspoon of vanilla extract, a pinch of sea salt, and cinnamon if desired.
- Quickly pour the pecan mixture onto the prepared baking sheet and spread it evenly.
- Allow to cool completely on the baking sheet for about 30 minutes.