

Standing in my kitchen, I couldn’t help but feel a little amazed—how could something so rich and satisfying come together without even turning on the oven? These No-Bake Peanut Butter Bars are the answer to my dessert dilemmas, perfectly marrying creamy peanut butter and luscious chocolate into one delightful bar. Not only are they ridiculously easy to whip up, making them a go-to recipe for any home-chef, but they also bring a sweet, nostalgic flavor to the table that everyone loves. With minimal prep time and just a handful of simple ingredients, you can conquer those cravings without any fuss. So, ready to create a delectable treat that’ll have your friends asking for seconds? Let’s dive in!
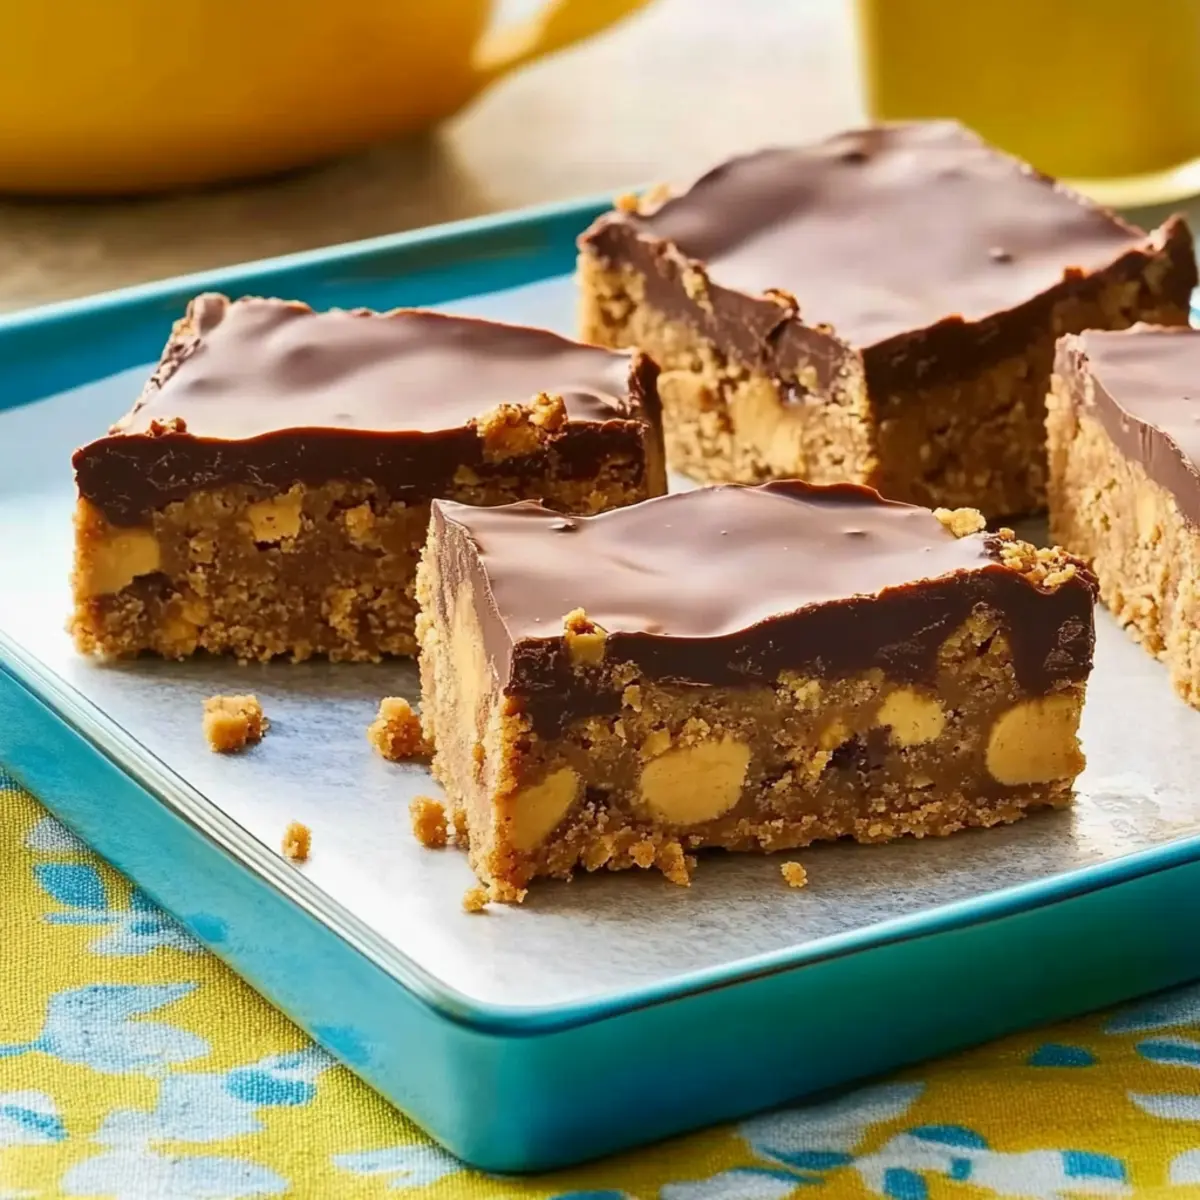
Why are these Peanut Butter Bars so special?
Simplicity is the name of the game: With just a handful of ingredients and no baking required, you’ll be enjoying these bars in no time!
Decadent flavors: The rich combination of creamy peanut butter and silky chocolate creates a satisfyingly indulgent treat.
Crowd-pleaser: Perfect for gatherings or an after-school snack, these bars are guaranteed to impress family and friends.
Versatile options: Feel free to swap almond butter for a twist, or use dairy-free chocolate chips for a vegan version.
Make-ahead magic: Prep them on the weekend and have a delicious sweet treat ready to go all week long. Enjoy them chilled, perhaps paired with a glass of milk or coffee, much like you would with Honey Butter Chicken for a complete indulgence!
Peanut Butter Bars Ingredients
• Here’s everything you need to create these mouthwatering Peanut Butter Bars!
For the Topping
- Semi-Sweet Chocolate Chips – Provides a rich chocolate flavor for the topping; dark chocolate enhances the richness.
- Creamy Peanut Butter – Melts smoothly into the chocolate, creating a luscious finish; stick to creamy varieties for the best results.
For the Base
- Butter (softened) – Adds richness and moisture to the base; be sure it’s at room temperature for easy blending.
- Chunky Peanut Butter – Offers a delightful texture with crunch; swapping in almond butter also works for those avoiding peanuts.
- Powdered Sugar – Sweetens the base and contributes to its creamy texture; avoid granulated sugar for smoothness.
- Vanilla Wafers – Acts as the base structure, providing crunch and flavor; any cookie crumbs will work in a pinch.
Optional Mix-Ins
- Mini Chocolate Chips – Boosts chocolate flavor and adds little bursts of sweetness; totally optional, but highly recommended!
- Chopped Peanuts (or pretzels) – Adds a final crunchy texture on top; crushed graham crackers can also be an interesting alternative.
These easy Peanut Butter Bars are packed with flavors and textures that everyone will love—perfect for satisfying your sweet tooth!
Step‑by‑Step Instructions for No-Bake Peanut Butter Bars
Step 1: Make the Topping
In a microwave-safe bowl, combine the semi-sweet chocolate chips and creamy peanut butter. Microwave on high for 1-2 minutes, stopping to stir every 30 seconds until the mixture is fully melted and smooth. Once melted, allow it to cool slightly before setting it aside as you prepare the base for your luscious No-Bake Peanut Butter Bars.
Step 2: Prepare the Base
In a food processor, pulse the vanilla wafers until they resemble fine crumbs. In a mixing bowl, beat the softened butter and chunky peanut butter together until smooth and creamy. Gradually sift in the powdered sugar, mixing until well combined, then gently fold in the wafer crumbs and mini chocolate chips until just incorporated, creating a rich, cohesive mixture for the base.
Step 3: Assemble Bars
Lightly grease a 9 x 13-inch dish to ensure your No-Bake Peanut Butter Bars release easily. Press the prepared base mixture evenly into the bottom of the dish with your hands or a spatula, creating a compact layer. Next, pour the cooled chocolate topping over this base, using a spatula to spread it evenly, making sure it covers the base completely.
Step 4: Add Crunch
Before the topping sets, sprinkle the chopped peanuts (or pretzels) over the chocolate layer for an extra crunch. Ensure the toppings are evenly distributed, giving your No-Bake Peanut Butter Bars a delightful texture and a visually appealing finish. This step adds an enjoyable contrast to the smooth chocolate and creamy base.
Step 5: Set and Serve
Refrigerate the assembled dessert for 1-2 hours, allowing it to firm up properly. Once set, remove the dish from the refrigerator and cut the bars into squares or rectangles with a sharp knife. These No-Bake Peanut Butter Bars are now ready to serve, offering a perfect balance of chewy, creamy, and crunchy textures for an irresistible treat!
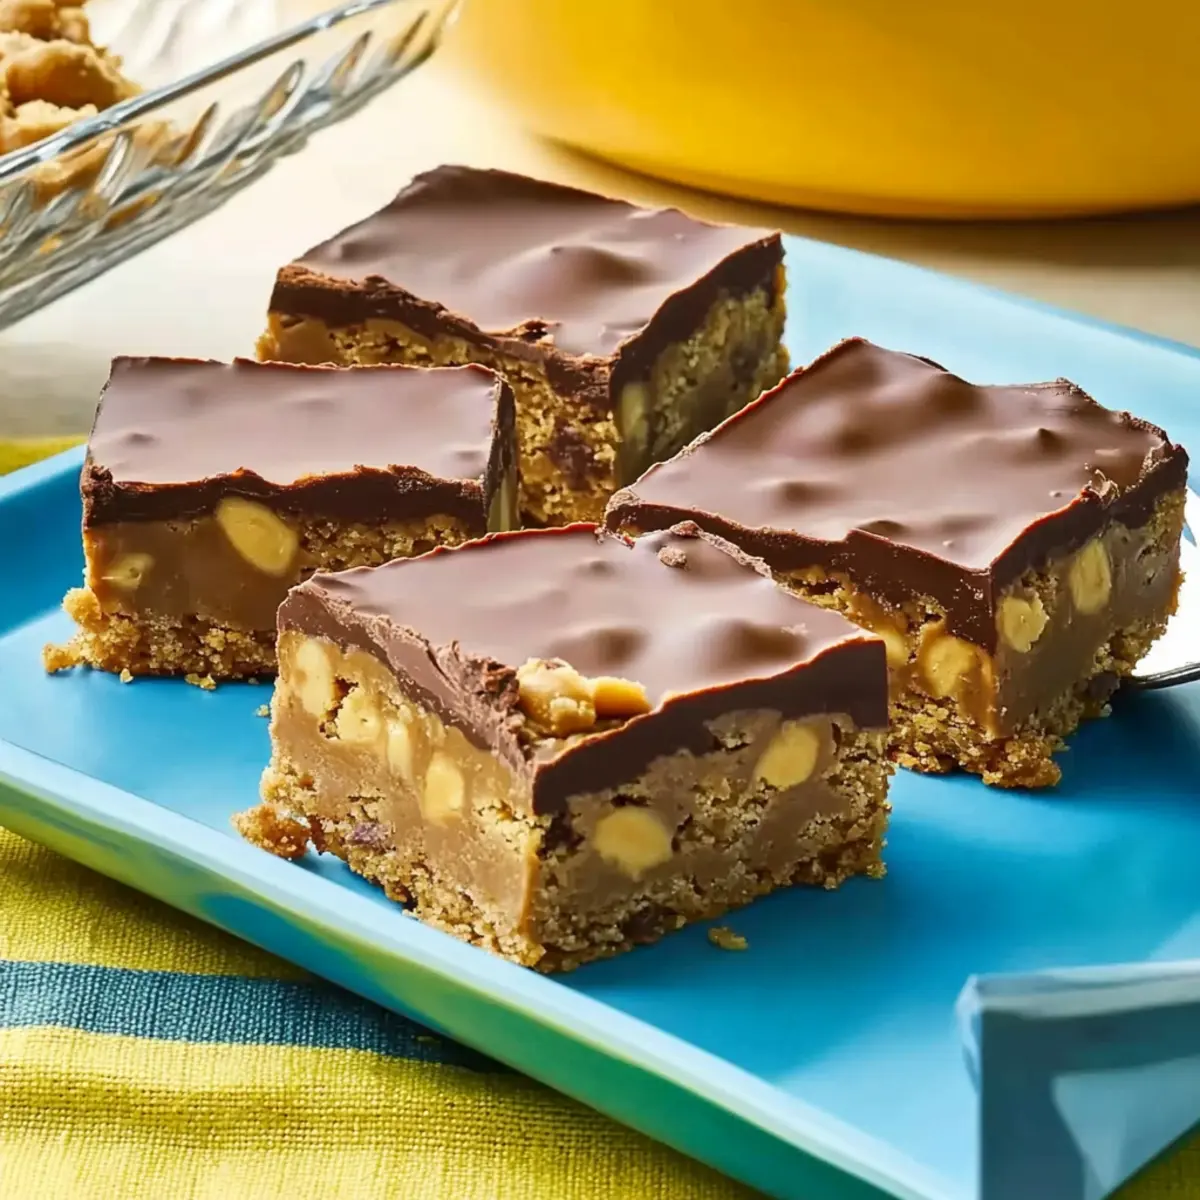
Storage Tips for Peanut Butter Bars
Room Temperature: These Peanut Butter Bars can be kept at room temperature for up to 2 days, but be sure to store them in an airtight container to prevent them from drying out.
Fridge: For optimal freshness, store the bars in the fridge in an airtight container for up to 1 week. This helps maintain their chewy texture and flavor.
Freezer: Freeze the bars wrapped tightly in plastic wrap or an airtight container for up to 2 months. Thaw in the refrigerator before serving for the best taste.
Reheating: These bars can be enjoyed cold straight from the fridge or at room temperature after thawing; no reheating is necessary since they are a delightful no-bake treat!
Peanut Butter Bars Variations & Substitutions
Feel free to let your creativity shine as you customize these Peanut Butter Bars to suit your palate and dietary needs!
-
Nut-Free: Substitute the peanut butter with sun butter for a delicious allergen-free version. The unique flavor will keep all the indulgence without peanuts.
-
Vegan Delight: Use coconut oil in place of butter and opt for dairy-free chocolate chips. This makes your bars plant-based without losing taste!
-
Sugar-Free: Swap powdered sugar with a sugar substitute like erythritol. Just make sure it’s a 1:1 ratio to maintain sweetness.
-
Flavor Boost: Add a teaspoon of cinnamon or a splash of coffee extract to the chocolate mixture for a deeper flavor profile. A hint of cinnamon always enhances desserts beautifully!
-
Textured Crunch: Mix in crushed graham crackers or rice crispy cereal into your base for an exciting new crunch. This offers an extra layer of fun!
-
Decadent Drizzle: Drizzle melted chocolate or caramel on top before serving. This adds a luxurious touch that could remind you of desserts like Cajun Honey Butter Salmon.
-
Fun Flavors: Experiment with flavored nut butters, like chocolate peanut butter or honey almond butter, for a unique taste that will surprise your family.
Feel free to mix and match these variations to find your favorite combination or enjoy them in a new way every time you make them!
Make Ahead Options
These No-Bake Peanut Butter Bars are perfect for busy cooks looking to save time during the week! You can prepare the base mixture up to 3 days in advance. Simply follow the initial steps to create the base and press it into your dish, then cover and refrigerate it. The chocolate topping can also be made 24 hours ahead; just store it separately in the fridge. When you’re ready to finish the bars, simply melt the topping and pour it over the set base, then add your crunchy topping before refrigerating until firm again. This way, you’ll have delicious bars ready to serve without any stress!
What to Serve with No-Bake Peanut Butter Bars?
Pair your tantalizing treats with these perfect accompaniments to elevate your dessert experience.
-
Fresh Fruit Salad: A bright and refreshing medley of seasonal fruits balances the rich flavors of the bars—think crisp apples, juicy berries, and vibrant citrus.
-
Creamy Vanilla Ice Cream: Serve with a scoop of smooth vanilla ice cream for a delightful temperature contrast, making each bite a decadent experience.
-
Coconut Whipped Cream: Light and airy, this whipped topping adds a tropical twist that complements the peanut butter and chocolate beautifully.
-
Chocolate Dipped Strawberries: For the chocolate lovers, these berries provide an indulgent pop of flavor without overwhelming the palate and add a romantic touch.
-
Nutty Granola: Sprinkle some crunchy granola on top as an extra layer of texture. It adds wholesome flavor and makes for a lovely garnish.
-
Glass of Cold Milk: The classic pairing! A chalice of chilled milk swirls flavors together perfectly making it a nostalgic favorite for everyone.
-
Coffee or Espresso: For the adults, a rich cup of coffee enhances the dessert’s creamy and chocolatey notes, creating a cozy moment of bliss.
-
Mini Cheesecakes: Serve alongside mini cheesecakes for a delightful combination of creamy sweetness and texture that complements the bars’ chewiness.
These suggestions transform your No-Bake Peanut Butter Bars into a full-fledged dessert spread that’s sure to delight!
Expert Tips for Peanut Butter Bars
• Softened Butter: Ensure your butter is truly softened before mixing; cold butter can lead to lumps and uneven texture in your bars.
• Chocolate Melting: Microwave the chocolate and peanut butter in short intervals to prevent burning; stirring frequently helps achieve a smooth topping.
• Patience Is Key: Allow the bars to chill in the fridge for a full 2 hours; this makes a noticeable difference in achieving the perfect texture.
• Even Distribution: When pressing the base into the dish, work with your fingers or a spatula to create an even layer; this ensures uniform bars and prevents crumbling.
• Customization Options: Don’t shy away from adding your favorite mix-ins; different nuts or cookie crumbs can offer unique flavors and textures, making your Peanut Butter Bars truly your own!
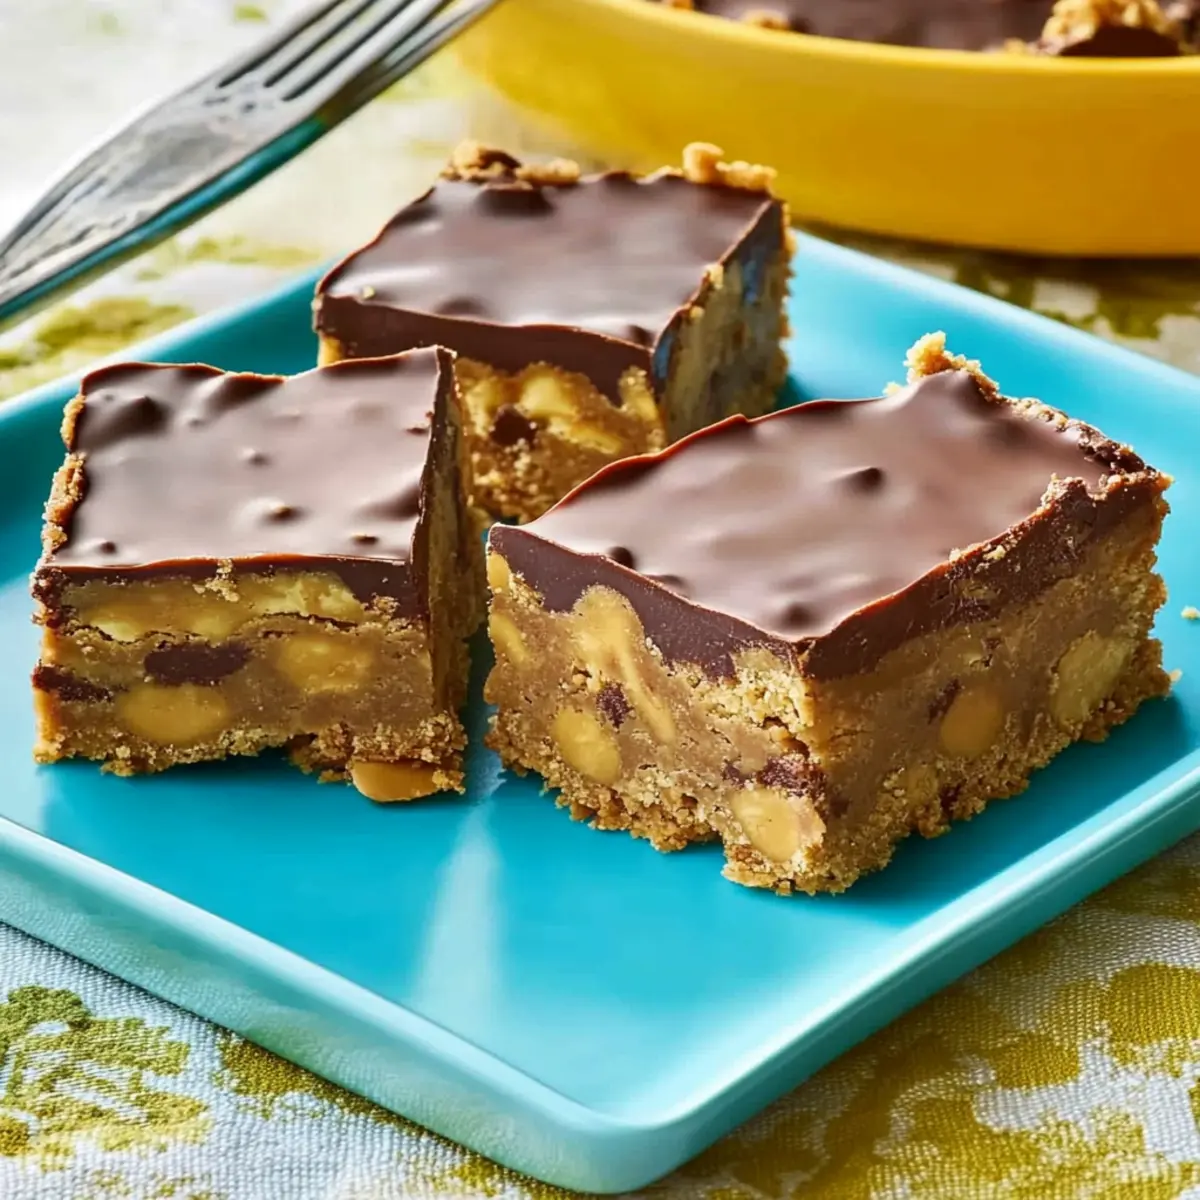
No-Bake Peanut Butter Bars Recipe FAQs
How should I select peanut butter for this recipe?
Absolutely! When choosing your peanut butter, opt for creamy peanut butter that melts smoothly without added oils. I recommend staying away from natural styles that require stirring, as they can be too oily and alter the texture of your bars.
What’s the best way to store Peanut Butter Bars?
For optimal freshness, store your No-Bake Peanut Butter Bars in an airtight container in the fridge for up to one week. This keeps them chewy and prevents them from drying out. You can also keep them at room temperature for up to 2 days, but believe me, the fridge is the way to go for longer enjoyment!
Can I freeze these bars, and if so, how?
Yes, they freeze beautifully! Wrap the completely cooled bars tightly in plastic wrap or store them in an airtight container. They will stay fresh in the freezer for up to 2 months. When you’re ready to enjoy them, just thaw them in the refrigerator overnight for the best flavor and texture before serving.
Why are my Peanut Butter Bars crumbly?
Very! If your bars crumble, it could be a result of not compacting the base mixture enough when pressing it into the dish. Ensure you really pack it down to create a solid base. Additionally, using too much powdered sugar without allowing enough moisture from the peanut butter can cause crumbliness. If this happens, review the butter and peanut butter ratios next time for a smoother finish!
Can I make these bars safe for my nut-allergic friends?
Certainly! To cater to those with nut allergies, simply swap out the peanut butter for sunflower seed butter or almond butter if you’re confident there’s no cross-contamination. You can also skip any toppings that contain nuts, so everyone can enjoy a sweet treat!
How do I know when my peanut butter bars are set?
The bars need to set in the fridge for 1-2 hours. You’ll know they’re ready when the chocolate topping has firmed up and the bars feel somewhat solid when you gently press your finger on the surface. For best results, allow them to chill fully, which leads to a perfectly chewy and delicious bite.
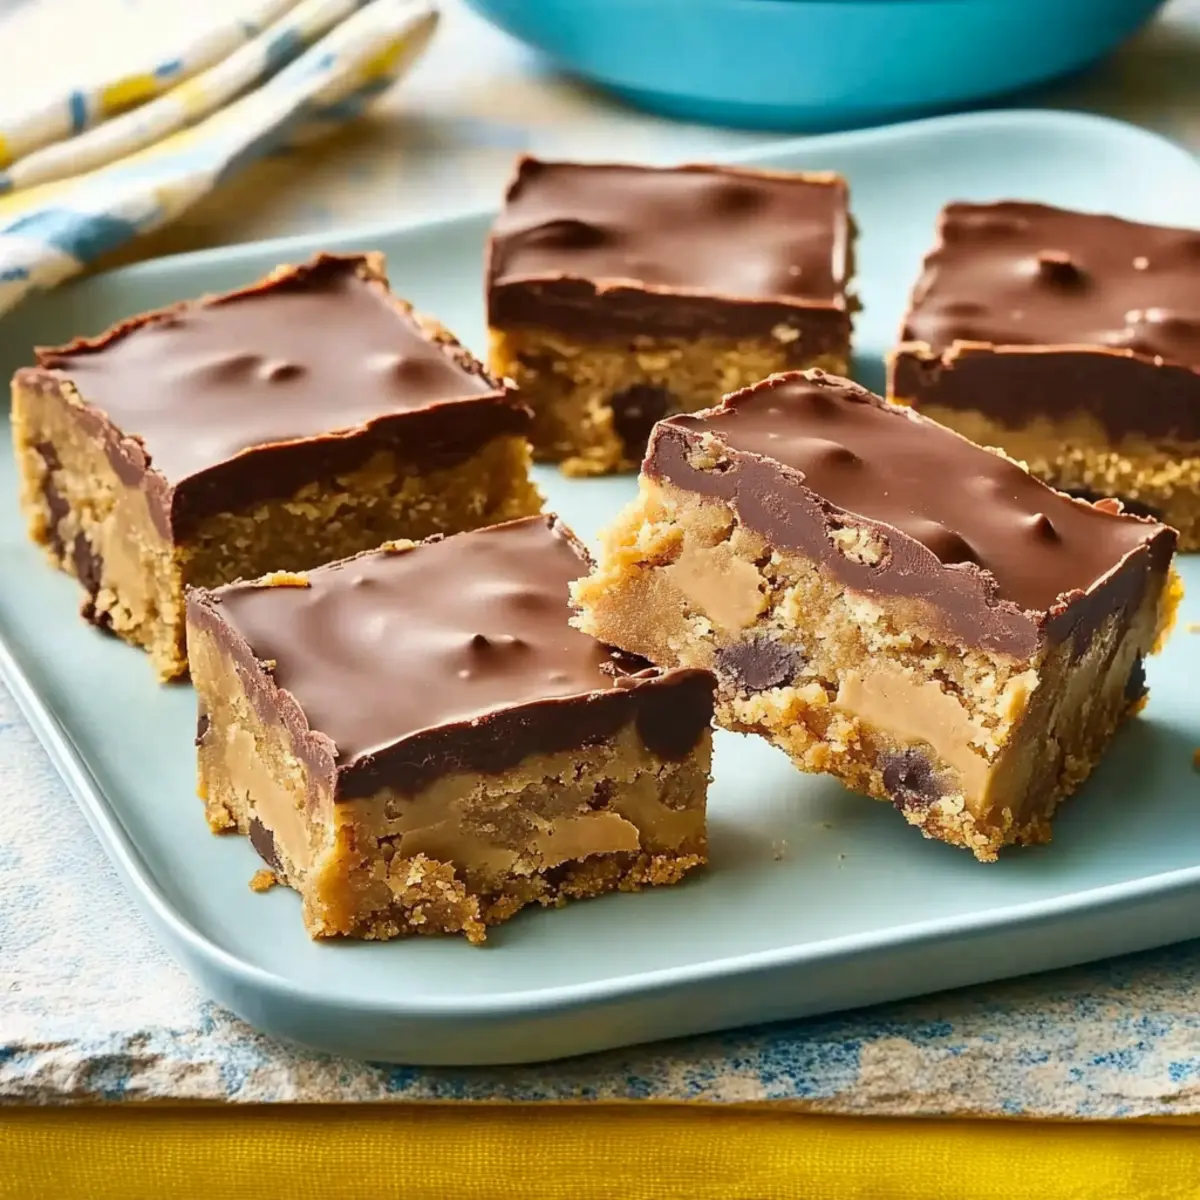
Irresistible Peanut Butter Bars That You Can Make in Minutes
Ingredients
Equipment
Method
- In a microwave-safe bowl, combine the semi-sweet chocolate chips and creamy peanut butter. Microwave on high for 1-2 minutes, stirring every 30 seconds until smooth. Allow to cool slightly.
- In a food processor, pulse the vanilla wafers until fine crumbs. In a mixing bowl, beat the softened butter and chunky peanut butter until smooth. Gradually sift in powdered sugar, mixing until combined, then fold in wafer crumbs and mini chocolate chips.
- Lightly grease a 9 x 13-inch dish and press the base mixture evenly into the bottom. Pour the cooled chocolate topping over the base and spread it evenly.
- Before the topping sets, sprinkle the chopped peanuts over the chocolate layer for extra crunch.
- Refrigerate for 1-2 hours until firm. Once set, cut into squares or rectangles to serve.