

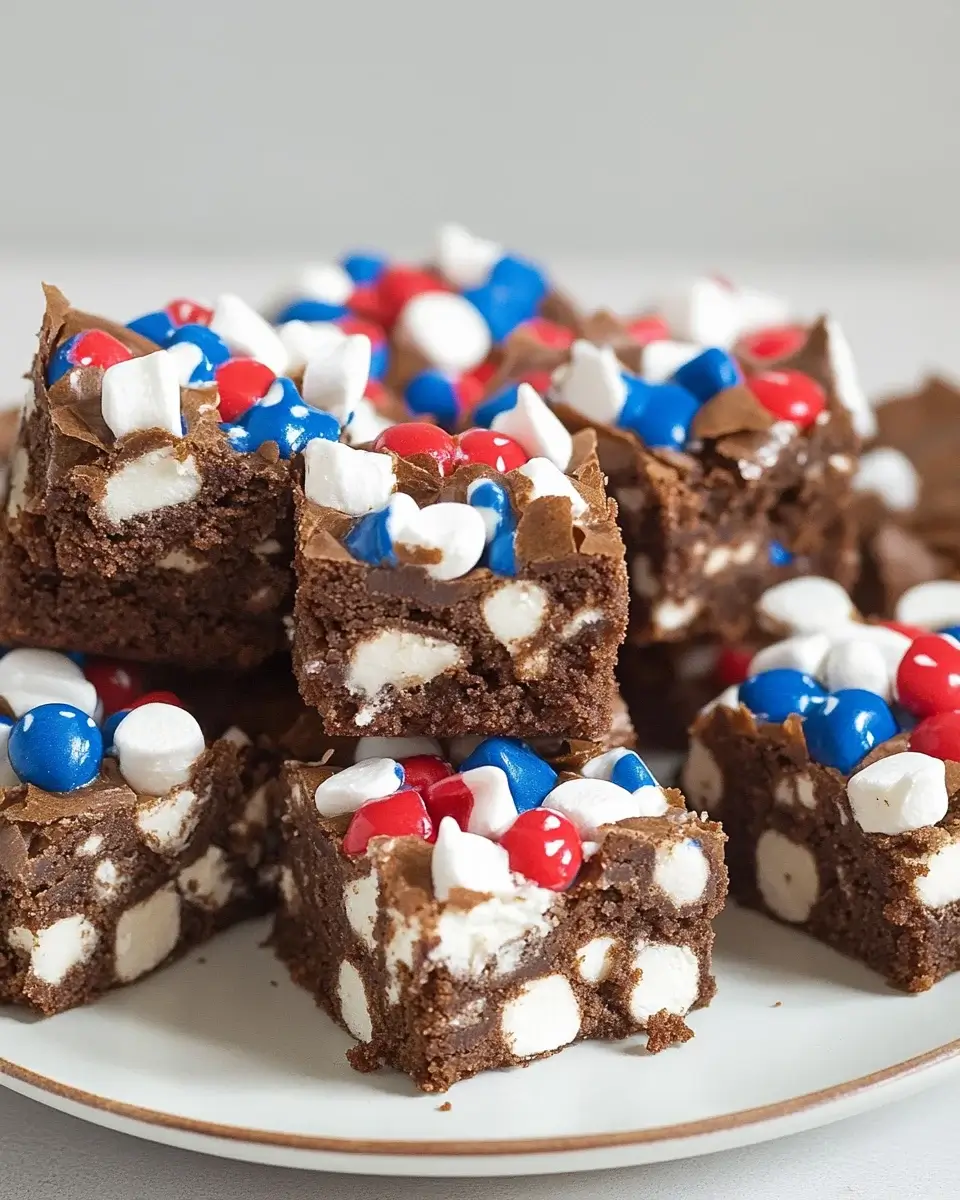
Patriotic Marshmallow Crunch Brownies
There’s something magical about a dessert that brings people together, especially when it’s as delightful as Patriotic Marshmallow Crunch Brownies. These brownies are not just a treat; they’re a celebration on a plate! Whether you’re hosting a backyard barbecue or simply looking to impress your family, this recipe is your go-to solution. With a crunchy texture and a burst of festive colors, they’re perfect for any occasion. Plus, they’re quick to whip up, making them ideal for those busy days when you still want to create something special.
Why You’ll Love This Patriotic Marshmallow Crunch Brownies
These Patriotic Marshmallow Crunch Brownies are a dream come true for any home cook. They’re incredibly easy to make, requiring just one bowl and minimal cleanup. In about 45 minutes, you can serve up a dessert that’s not only delicious but also visually stunning. The combination of gooey marshmallows and crispy rice cereal creates a delightful texture that will have everyone coming back for seconds. Trust me, they’ll be the star of your next gathering!
Ingredients for Patriotic Marshmallow Crunch Brownies
Gathering the right ingredients is the first step to creating these delightful Patriotic Marshmallow Crunch Brownies. Here’s what you’ll need:
- Unsalted butter: This adds richness and moisture to your brownies, making them fudgy and delicious.
- Granulated sugar: Sweetness is key! It helps create that perfect balance of flavors.
- Large eggs: Eggs provide structure and help bind everything together for a chewy texture.
- Vanilla extract: A splash of vanilla enhances the overall flavor, making your brownies irresistible.
- All-purpose flour: This is the backbone of your brownies, giving them body and structure.
- Unsweetened cocoa powder: For that rich chocolate flavor, cocoa powder is a must-have.
- Salt: Just a pinch elevates the sweetness and balances the flavors beautifully.
- Mini marshmallows: These little puffs add a fun, gooey texture and a touch of sweetness.
- Crispy rice cereal: This is where the crunch comes in! It adds a delightful texture contrast.
- Red and blue sprinkles: Perfect for a festive touch, these sprinkles make your brownies pop with color.
For those looking to mix things up, consider adding chocolate chips for an extra chocolatey kick or swapping the marshmallows for chopped nuts for a different crunch. You can find all the exact measurements at the bottom of the article, ready for printing!
How to Make Patriotic Marshmallow Crunch Brownies
Now that you have all your ingredients ready, it’s time to dive into the fun part: making these delicious Patriotic Marshmallow Crunch Brownies! Follow these simple steps, and you’ll have a batch of brownies that will wow your friends and family.
Step 1: Preheat and Prepare
First things first, preheat your oven to 350°F (175°C). This is crucial for achieving that perfect brownie texture. While the oven warms up, grease a 9×13-inch baking pan. A little butter or cooking spray will do the trick. This step ensures your brownies won’t stick, making cleanup a breeze!
Step 2: Mix the Wet Ingredients
In a large mixing bowl, melt the unsalted butter. I usually do this in the microwave for about 30 seconds. Once melted, stir in the granulated sugar until it’s well combined. Next, add the eggs one at a time, mixing well after each addition. Don’t forget to add the vanilla extract! This creates a rich, flavorful base for your brownies.
Step 3: Combine Dry Ingredients
In a separate bowl, sift together the all-purpose flour, unsweetened cocoa powder, and salt. Sifting is key here; it helps to break up any lumps and ensures even distribution. This step is essential for achieving that smooth, fudgy texture we all love in brownies.
Step 4: Combine Wet and Dry Mixtures
Now, it’s time to bring it all together! Gradually mix the dry ingredients into the wet mixture. Stir gently until just combined. Be careful not to overmix; a few lumps are perfectly fine. This will keep your brownies soft and chewy!
Step 5: Add Crunchy Elements
Here comes the fun part! Fold in the mini marshmallows and crispy rice cereal. This is what gives your brownies that signature crunch and festive flair. Make sure they’re evenly distributed throughout the batter for that delightful texture in every bite.
Step 6: Bake the Brownies
Pour the brownie batter into your prepared baking pan, spreading it evenly. Now, sprinkle the top with red and blue sprinkles for that patriotic touch. Pop the pan into the oven and bake for 25-30 minutes. The magic happens here, as the brownies rise and fill your kitchen with a heavenly aroma!
Step 7: Cool and Cut
Once baked, remove the brownies from the oven and let them cool in the pan for at least 15 minutes. This cooling time is crucial; it helps maintain their shape and texture when you cut them into squares. Trust me, the wait will be worth it!
Tips for Success
- Use room temperature eggs for better mixing and texture.
- Don’t overmix the batter; it can lead to tough brownies.
- For extra flavor, try adding a pinch of espresso powder to the batter.
- Let the brownies cool completely before cutting for cleaner edges.
- Store leftovers in an airtight container to keep them fresh.
Equipment Needed
- 9×13-inch baking pan: A standard size for brownies; you can use a glass or metal pan.
- Mixing bowls: A large bowl for wet ingredients and a smaller one for dry.
- Whisk or spatula: For mixing; a spatula is great for folding in ingredients.
- Measuring cups and spoons: Essential for accurate ingredient measurements.
- Cooling rack: Optional, but helps brownies cool evenly.
Variations
- Nutty Delight: Swap mini marshmallows for chopped walnuts or pecans for a crunchy twist.
- Chocolate Lovers: Add 1/2 cup of chocolate chips to the batter for an extra chocolatey experience.
- Gluten-Free Option: Use a gluten-free all-purpose flour blend to make these brownies suitable for gluten-sensitive friends.
- Vegan Version: Replace eggs with flax eggs (1 tablespoon ground flaxseed mixed with 2.5 tablespoons water) and use vegan butter.
- Minty Fresh: Incorporate a teaspoon of peppermint extract for a refreshing mint flavor that pairs beautifully with chocolate.
Serving Suggestions
- Pair these brownies with a scoop of vanilla ice cream for a delightful contrast.
- Serve with fresh berries for a pop of color and freshness.
- Drizzle with chocolate or caramel sauce for an extra indulgent touch.
- Present on a festive platter to enhance the patriotic theme.
- Enjoy with a cold glass of milk or a hot cup of coffee.
FAQs about Patriotic Marshmallow Crunch Brownies
Can I make these brownies ahead of time?
Absolutely! You can bake the Patriotic Marshmallow Crunch Brownies a day in advance. Just store them in an airtight container at room temperature. They’ll stay fresh and delicious, ready to impress your guests!
What can I substitute for mini marshmallows?
If you’re not a fan of marshmallows, feel free to swap them out for chopped nuts or even dried fruit. Both options will add a unique twist while still keeping that delightful crunch.
How do I know when the brownies are done baking?
The best way to check is by inserting a toothpick into the center. If it comes out with a few moist crumbs, your brownies are perfectly baked. If it’s wet with batter, give them a few more minutes.
Can I freeze the brownies?
Yes! These brownies freeze beautifully. Just wrap them tightly in plastic wrap and then in aluminum foil. They can be stored in the freezer for up to three months. Thaw them at room temperature before serving.
What’s the best way to cut brownies for clean edges?
To achieve those perfect squares, use a sharp knife and wipe it clean between cuts. This prevents the brownies from sticking to the knife, giving you those clean, beautiful edges.
Final Thoughts
Creating these Patriotic Marshmallow Crunch Brownies is more than just baking; it’s about crafting sweet memories. The joy of watching friends and family gather around a plate of these colorful treats is unmatched. Each bite offers a delightful crunch and a burst of flavor that celebrates togetherness. Whether it’s a holiday gathering or a simple weekend treat, these brownies are sure to bring smiles. So, roll up your sleeves, embrace the mess, and let the magic of baking fill your kitchen with warmth and laughter. Trust me, you’ll be making these again and again!
Patriotic Marshmallow Crunch Brownies: Unleash Sweet Joy!
Ingredients
Method
- Preheat your oven to 350°F (175°C) and grease a 9x13-inch baking pan.
- In a large mixing bowl, melt the butter and stir in the sugar until well combined.
- Add the eggs one at a time, mixing well after each addition, then stir in the vanilla extract.
- In a separate bowl, sift together the flour, cocoa powder, and salt.
- Gradually add the dry ingredients to the wet mixture, stirring until just combined.
- Fold in the mini marshmallows and crispy rice cereal until evenly distributed.
- Pour the brownie batter into the prepared baking pan and spread it evenly.
- Sprinkle the top with red and blue sprinkles.
- Bake for 25-30 minutes or until a toothpick inserted in the center comes out with a few moist crumbs.
- Allow the brownies to cool in the pan for at least 15 minutes before cutting into squares.
Nutrition
Notes
- For a richer flavor, consider adding 1/2 cup of chocolate chips to the batter.
- You can also substitute the mini marshmallows with chopped nuts for added crunch.