

In a world where desserts often compete for attention, I stumbled upon a culinary gem that fuses fun and flavor: the Viral No-Bake Oreo Sushi Rolls. When I first created this whimsical delight, I was amazed at how easily Oreo cookies transformed into adorable little sushi bites, perfect for impressing guests or delighting kids. This Oreo Sushi Recipe is not only quick, taking just 15 minutes to whip up, but it’s also vegan-friendly with a simple swap for plant-based milk. Whether you’re hosting a lively gathering or simply seeking a playful twist on your dessert routine, these rolls will leave everyone clamoring for more. Curious to learn how to make your own dessert sushi? Let’s roll up our sleeves and dive in!
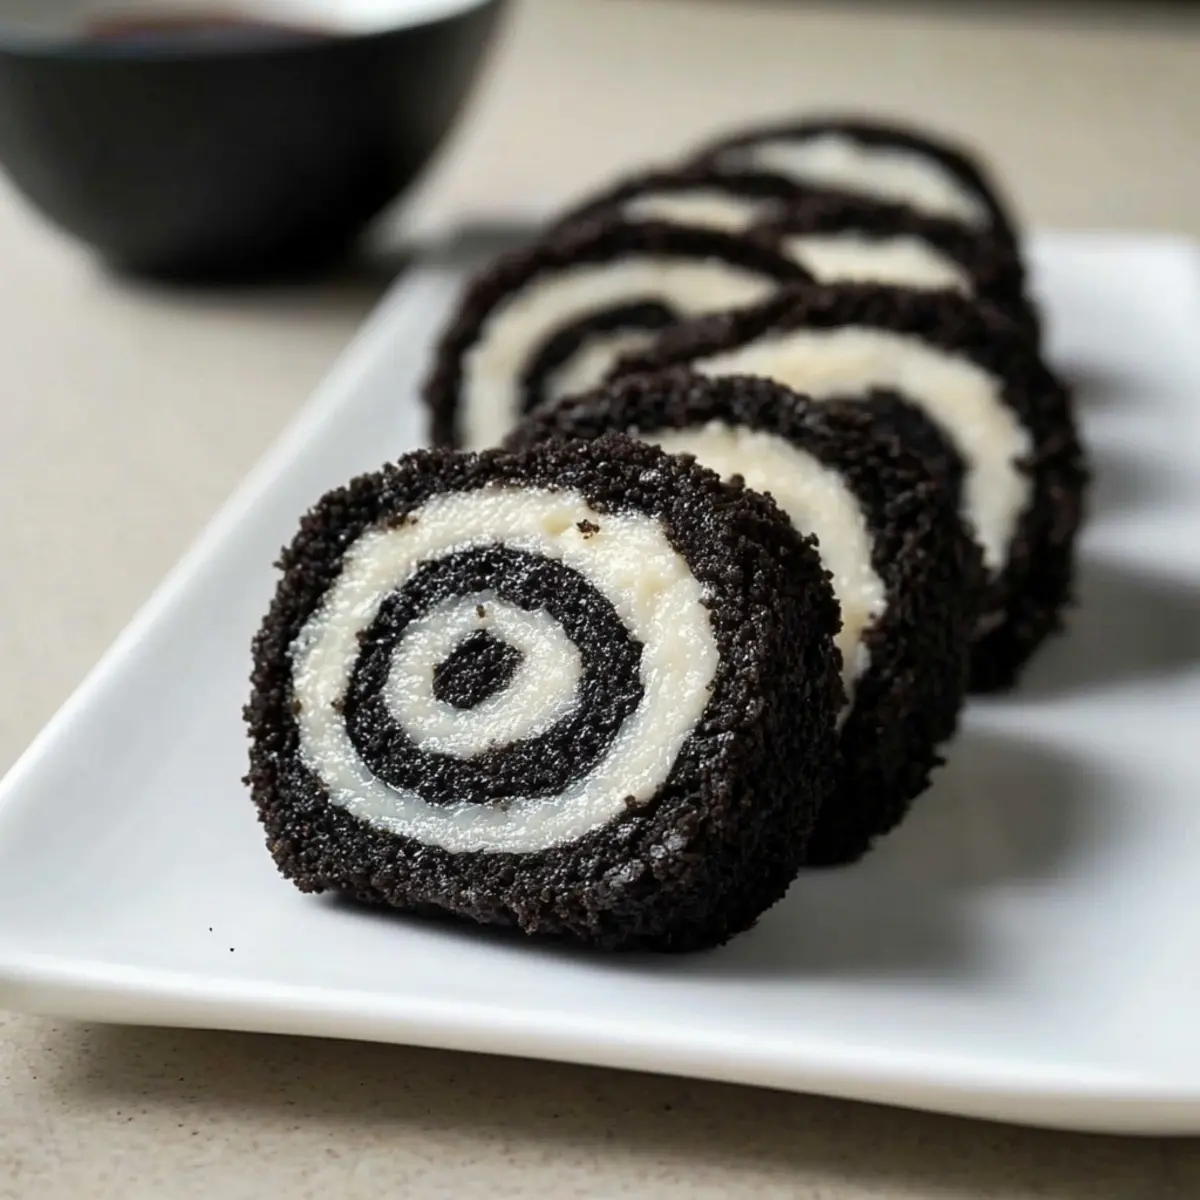
Why You’ll Love This Oreo Sushi?
Unique and Fun: These adorable Oreo sushi rolls are a playful twist on traditional desserts that kids and adults alike will adore.
Quick Prep: Made in just 15 minutes, this no-bake recipe is perfect for those busy days when you crave something sweet without the fuss.
Customize Your Flavors: With various Oreo flavors such as mint or birthday cake, every batch can be a delightful surprise!
Vegan-Friendly Options: Easily swap in plant-based milk to create a delicious vegan treat that everyone can enjoy.
Impressive Presentation: Serve these sushi rolls at parties or gatherings, and watch as they become the star of the dessert table!
For similar quick treats, check out this Deliciously Fun Oreo Sushi Recipe and get inspired by my Cheesy Bacon Breakfast for your next event!
Oreo Sushi Ingredients
• For the Dough
- Oreo Cookies – The star of the dish; any flavor of Oreo can be used to create your ultimate Oreo sushi recipe.
- Milk – This helps bind the crushed cookies into a dough; opt for plant-based milk for a vegan-friendly version.
• For the Filling
- Reserved Cream Filling – Adds a rich and sweet layer to the rolls, enhancing the overall flavor.
- Additional Milk – Use this to mix with the cream until smooth for spreading.
• For the Garnish
- Sprinkles or Shredded Coconut – These optional toppings add a pop of color and texture, making your dessert sushi even more irresistible.
Step‑by‑Step Instructions for Oreo Sushi Recipe
Step 1: Prepare Cookies
Start by carefully separating the Oreo cookies into their halves, placing all the cream filling in a bowl. Set the Oreo cookie halves aside, as you’ll be using them later in the recipe. This step is essential for creating the delightful layers in your Oreo Sushi Recipe.
Step 2: Crush Cookies
In a food processor, add the separated Oreo cookie halves and pulse until they turn into fine crumbs. This should take about 30 seconds to 1 minute, so keep an eye on the consistency. Once you see a sandy texture, you’re ready to progress to the next step!
Step 3: Make Dough
Transfer the crushed Oreo cookies into a mixing bowl, then gradually pour in the milk. Stir the mixture until it forms a soft, pliable dough, which should take about 1-2 minutes. If the dough is crumbly, add a splash more milk until it holds together without falling apart, ensuring a perfect base for your Oreo Sushi Recipe.
Step 4: Shape Dough
Place the dough between two pieces of plastic wrap and use a rolling pin to roll it out into a rectangle that is about 1/4 inch thick. This should take roughly 2-3 minutes. Be sure to keep the edges as even as possible for uniform sushi rolls. The smooth, flat surface will make it easier to spread the filling later.
Step 5: Add Filling
In a separate bowl, combine the reserved cream filling with a bit of additional milk until smooth and spreadable, about 1 minute. Carefully remove the top layer of plastic wrap from your rolled-out dough, then spread the cream mixture evenly across the surface, leaving a small border at the edges. This will add a delightful creaminess to your Oreo Sushi Recipe.
Step 6: Roll & Slice
Using the plastic wrap, gently roll the dough tightly into a log, starting from one edge. Once rolled, twist the ends of the plastic wrap to secure the roll and chill it in the fridge for about 10 minutes to firm up. After chilling, use a sharp knife in a gentle sawing motion to cut the log into slice-sized pieces, just like you would with traditional sushi.
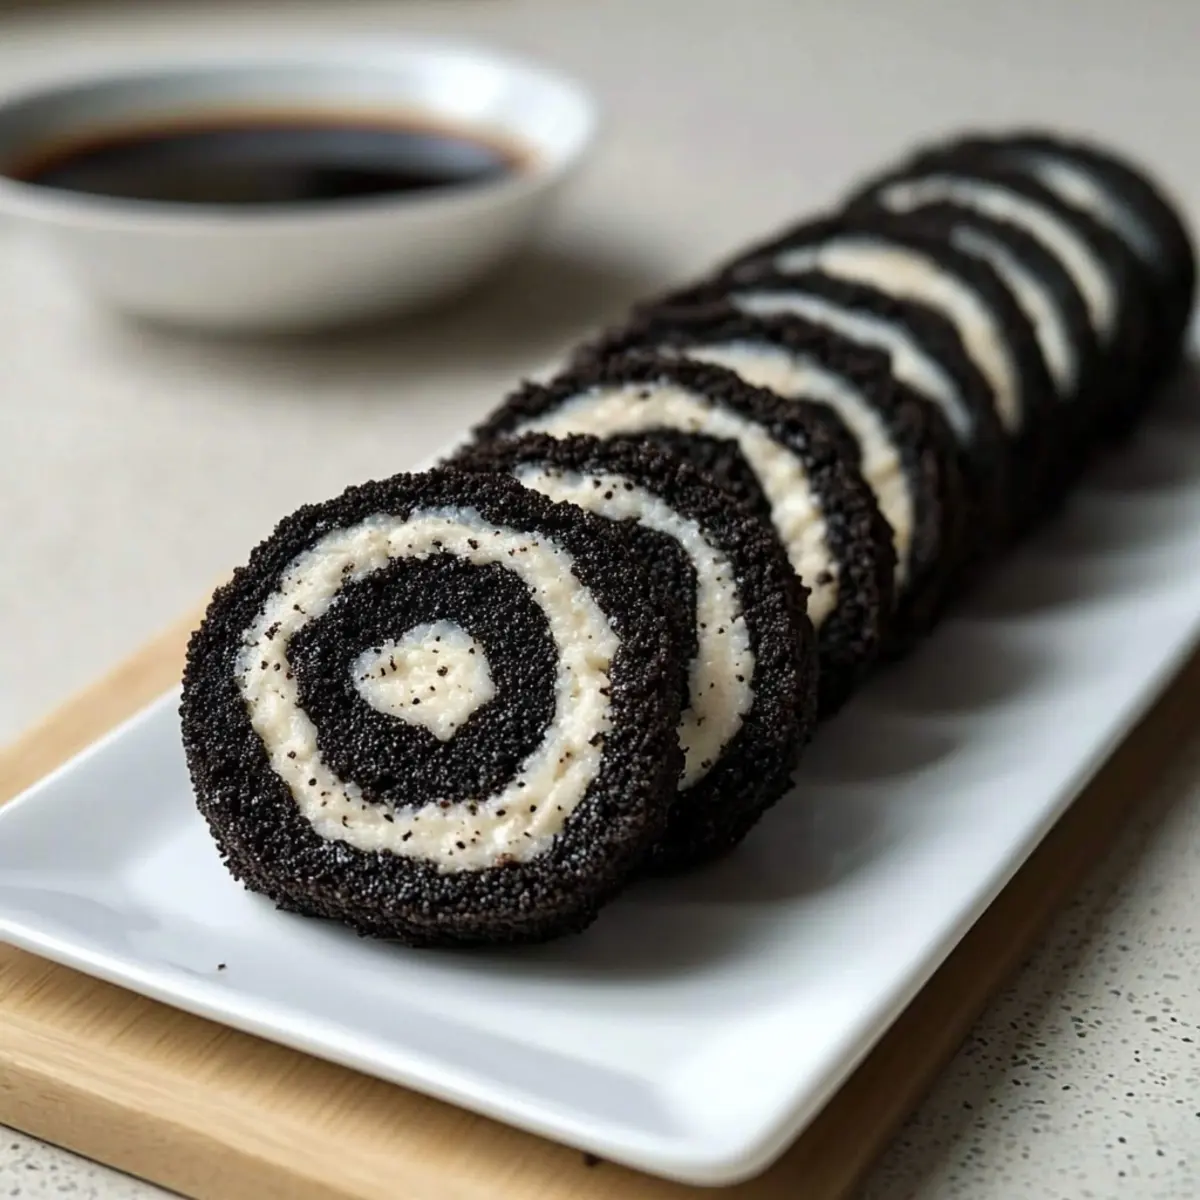
What to Serve with Viral No-Bake Oreo Sushi Rolls
Looking to create a delightful dessert spread that perfectly complements your fun Oreo sushi?
-
Creamy Vanilla Ice Cream: The smooth creaminess melts beautifully against the sweet chocolate of the sushi for a refreshing balance.
-
Whipped Coconut Cream: A light, fluffy topping that adds a tropical hint, accentuating the layered texture of the sushi with every bite.
-
Fresh Berries: Strawberries, raspberries, or blueberries deliver a burst of tartness, enhancing the sweetness of the Oreo rolls while adding a colorful flair to the plate.
A fruit medley may also elevate your dessert’s aesthetic, inviting everyone to dive in.
-
Chocolate Dipping Sauce: Rich and indulgent, dunking these sushi rolls in melted chocolate provides a delightful bite of sweetness, perfect for any chocolate lover.
-
Chilled Lemonade: A zesty beverage that cuts through the sweetness of the dessert, making each bite feel refreshingly light.
-
Mini Fruit Tarts: These provide a contrasting texture and sweetness, making them a beautiful addition that pairs well with the Oreo sushi’s playful vibe.
Add in a few sweet treats alongside the sushi, and watch as your dessert table transforms into a feast of joy!
Oreo Sushi Recipe Variations
Feel free to let your creativity shine as you explore delightful twists on this fun dessert!
-
Minty Fresh: Swap regular Oreos for mint Oreos to add a refreshing peppermint flavor that pairs beautifully with the sweet filling.
-
Chocolate Lover’s Delight: Use double-stuffed Oreos for an extra creamy experience. Double the cream means double the flavor, creating a richer taste sensation in every bite.
-
Birthday Cake Bash: Celebrate in style by using birthday cake-flavored Oreos. This cheerful option adds a funfetti vibe that’s perfect for festive occasions.
-
Nutty Infusion: For a crunchy texture, sprinkle crushed nuts like almonds or pistachios inside the rolls before slicing for an exciting twist. The combination of sweet and nutty is utterly irresistible.
-
Coconut Bliss: Roll the outside of the sushi in shredded coconut for a tropical feel. The delightful sweetness of coconut complements the creamy filling and adds a chewy texture.
-
Berry Goodness: Add small pieces of dried fruit or fresh berries within the roll for bursts of fruity flavor. This gives an unexpected tartness that balances the sweet cookie dough.
-
Spicy Surprise: For adventurous eaters, drizzle a touch of sriracha or spicy chocolate over the top for a surprising kick. This will certainly awaken your taste buds and add an intriguing twist to the classic flavor.
-
Colorful Sprinkles: Before slicing, coat the exterior in colorful sprinkles for a festive presentation. Kids will love the fun colors, making it a hit at parties or gatherings!
With these variations, you can transform your Oreo sushi into a delectable treat that fits any occasion. Speaking of fun treats, don’t miss out on my Brown Butter Pecan Cookies and see how to elevate your dessert game!
Make Ahead Options
These delightful Oreo Sushi rolls are perfect for busy cooks who want to save time without sacrificing flavor! You can prepare the dough and filling up to 24 hours in advance, allowing for easy assembly on the day you plan to serve. Simply follow the initial steps to make the dough and mix the reserved cream with milk, then refrigerate them separately in airtight containers. When you’re ready to serve, roll the dough with the filling, chill for an additional 10 minutes, and slice into pieces. This prep-ahead approach ensures your Oreo Sushi Recipe remains just as delicious and fun, even after being prepped in advance!
How to Store and Freeze Oreo Sushi
Fridge: Store your Oreo sushi rolls in an airtight container in the refrigerator for up to 3 days. This enhances the flavor and keeps the rolls fresh.
Freezer: For long-term storage, wrap the rolls tightly in plastic wrap and then place them in a freezer-safe container. They can be frozen for up to 2 months.
Thawing: When you’re ready to enjoy your dessert sushi, transfer the rolls from the freezer to the fridge for a few hours or until fully thawed.
Reheating: Enjoy these no-bake treats chilled, as they don’t require reheating.
Expert Tips for Oreo Sushi
-
Perfect Crumbs: Ensure cookie crumbs are finely crushed: A food processor works best for achieving a sandy texture that binds well in your Oreo Sushi recipe.
-
Prevent Crumbliness: If the dough is too crumbly, add more milk: Gradually introduce additional milk until the dough holds together smoothly, ensuring easy rolling.
-
Chill for Ease: Refrigerate the rolled log briefly: Chilling for about 10 minutes makes it easier to slice into neat, sushi-style pieces without squishing the rolls.
-
Gentle Cutting: Use a gentle sawing motion while cutting: This helps maintain the round shape of your sushi pieces and prevents them from getting crushed.
-
Flavor Variations: Mix and match Oreo flavors for fun twists: Try birthday cake or peanut butter Oreos to surprise your friends and family with unique combinations!
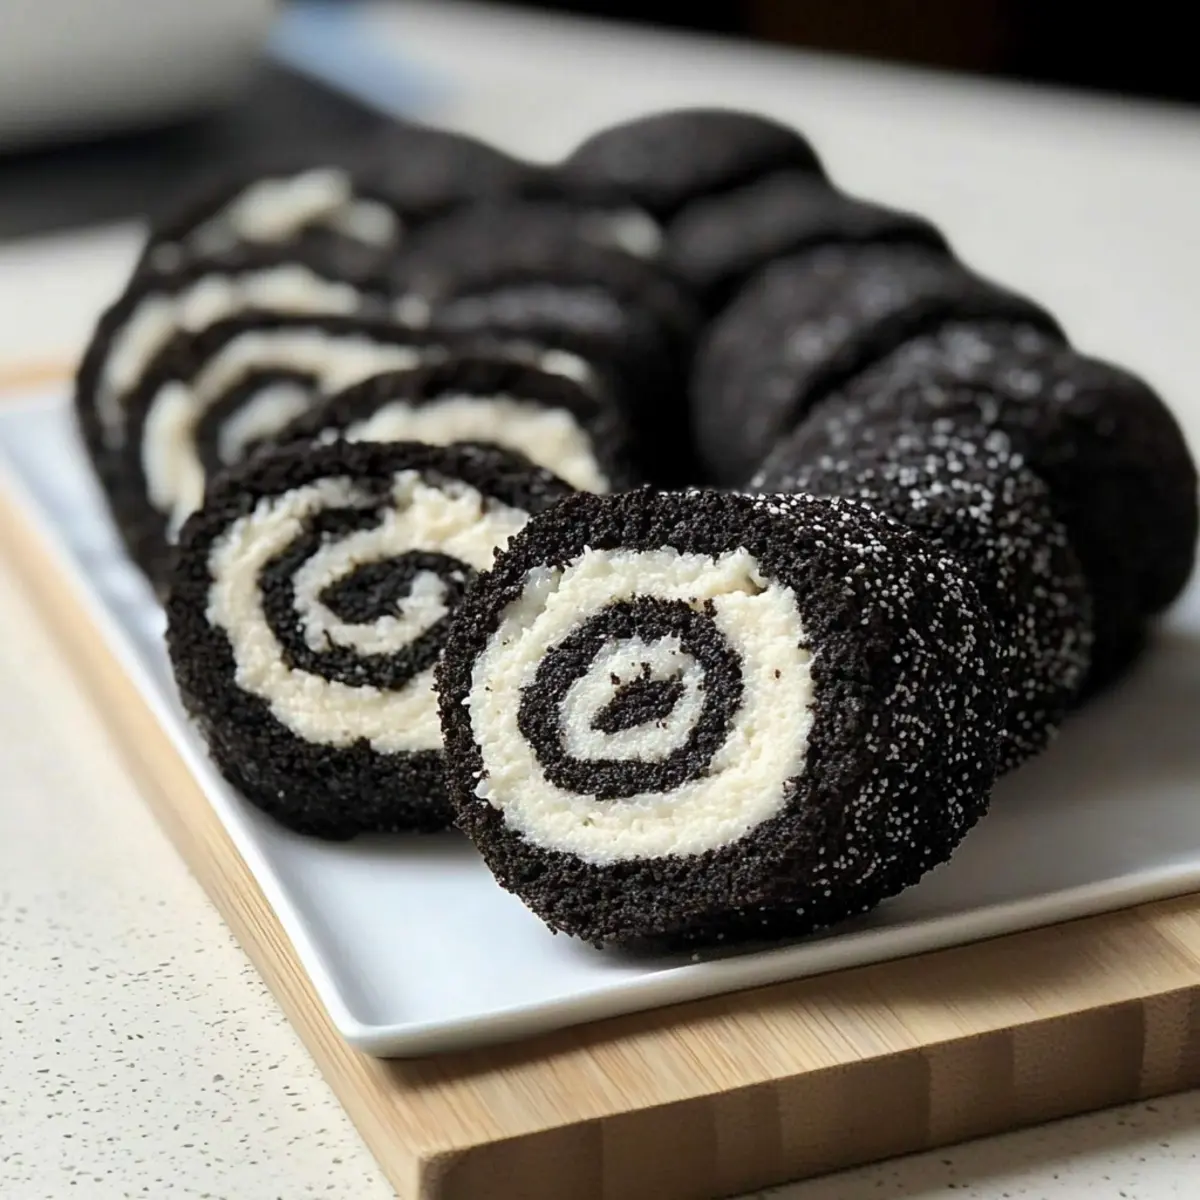
Oreo Sushi Recipe FAQs
How do I choose the best Oreos for this recipe?
Absolutely! While you can use any flavor of Oreo for your sushi rolls, I recommend sticking to the classics for a balanced taste. Look for cookies that are fresh and have no dark spots or damage. You can even experiment with seasonal flavors, like pumpkin spice or gingerbread during the holidays, for a fun twist!
How should I store leftover Oreo sushi?
Very simply! Store your Oreo sushi rolls in an airtight container in the refrigerator for up to 3 days. Not only does this keep them fresh, but it also allows the flavors to meld beautifully. Just make sure to seal the container tightly to avoid any unwanted moisture!
Can I freeze Oreo sushi, and how do I do it?
Of course! To freeze your Oreo sushi, wrap each roll tightly in plastic wrap, ensuring no air pockets remain. Then transfer them into a freezer-safe container or a zip-lock bag for extra protection. You can freeze them for up to 2 months. When you’re ready to enjoy them, thaw in the refrigerator for a few hours or overnight for the best texture.
What should I do if my dough is too crumbly?
Don’t worry, this is a common issue! If you find that your dough isn’t holding together, simply add more milk—a tablespoon at a time—until the dough is soft and pliable. Mix thoroughly after each addition, and you’ll find the perfect consistency that’s easy to roll out.
Are these Oreo sushi rolls suitable for kids with allergies?
It’s important to check! While the basic Oreo cookies typically contain wheat and dairy, there are many brands that offer allergy-friendly options, including gluten-free and dairy-free cookies. Always read the labels and consider using a plant-based milk to cater to various dietary restrictions. Just make sure to assess any other potential allergens based on your chosen Oreo flavor!
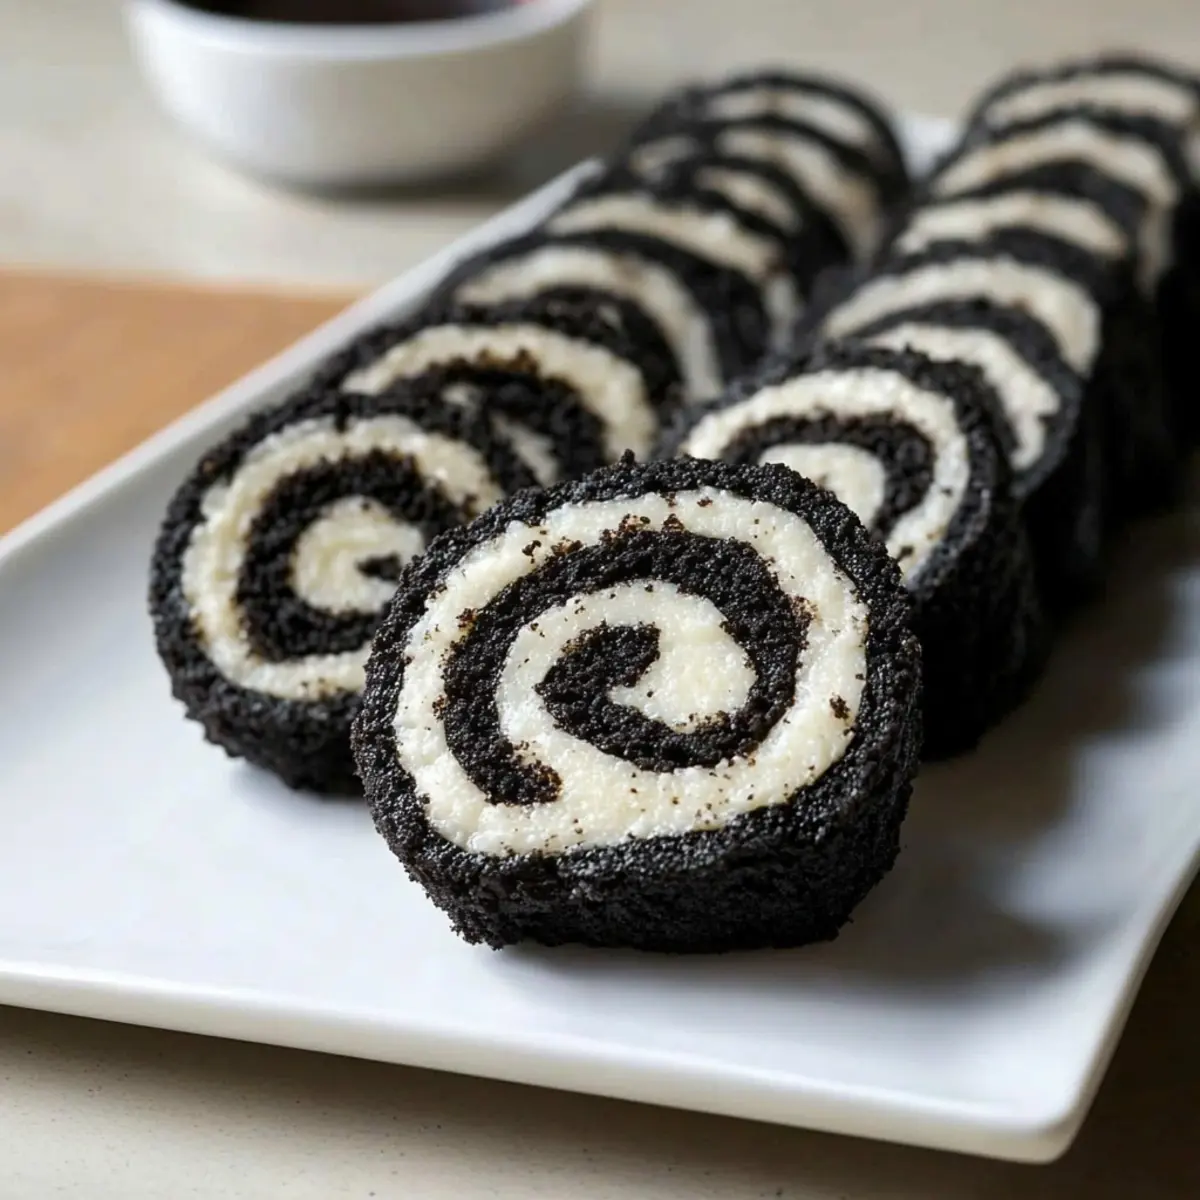
Deliciously Fun Oreo Sushi Recipe for Sweet Treat Lovers
Ingredients
Equipment
Method
- Start by carefully separating the Oreo cookies into their halves, placing all the cream filling in a bowl. Set aside the cookie halves.
- In a food processor, add the separated Oreo cookie halves and pulse until they turn into fine crumbs, about 30 seconds to 1 minute.
- Transfer the crushed Oreo cookies into a mixing bowl and gradually pour in the milk. Stir until it forms a soft, pliable dough.
- Place the dough between two pieces of plastic wrap and roll it out into a rectangle about 1/4 inch thick.
- Combine the reserved cream filling with a bit of additional milk until smooth, then spread it evenly across the dough, leaving a small border.
- Using the plastic wrap, roll the dough tightly into a log, twist the ends of the wrap to secure, and chill in the fridge for about 10 minutes.
- After chilling, use a sharp knife to cut the log into slice-sized pieces, similar to traditional sushi.