

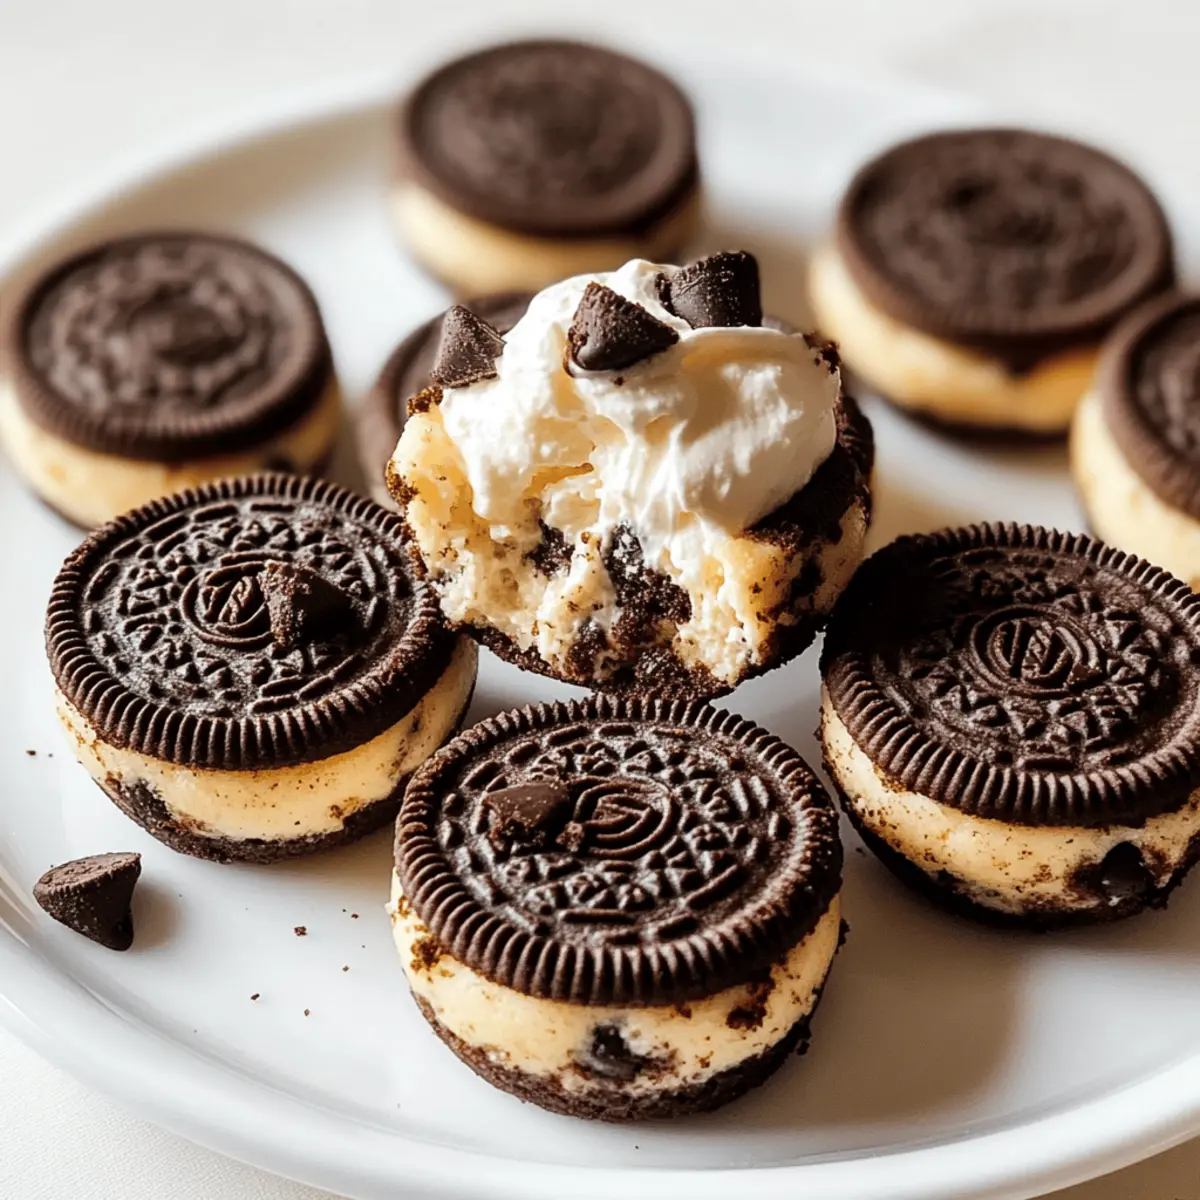
As I rummaged through my pantry, my eyes landed on a familiar box of Oreos, and it hit me: why not transform them into something extraordinary? That’s how these Oreo Cheesecake Cookie Cups were born—a delightful fusion of crispy chocolate crust and rich, creamy cheesecake filling. Not only are they an absolute crowd-pleaser, but these little treats are also incredibly easy to whip up, making them perfect for any occasion or last-minute gatherings. With the ability to customize them to your heart’s desire—think extra chocolate chips or even a dollop of your favorite fruit jam—these cookie cups promise to satisfy every sweet craving. So, are you ready to indulge your taste buds and create a dessert that’s both fun and impressive? Let’s get started!
Why are Oreo Cheesecake Cookie Cups amazing?
Deliciously Indulgent: These cookie cups are a mouthwatering blend of silky cheesecake and a crunchy Oreo crust that creates a heavenly dessert experience.
Effortless Preparation: They are super easy to make, requiring minimal baking skills and common pantry ingredients, making them perfect for both novice and experienced bakers.
Customizable Options: You can tailor them to your tastes by adding mini chocolate chips or experimenting with different cookies for the crust.
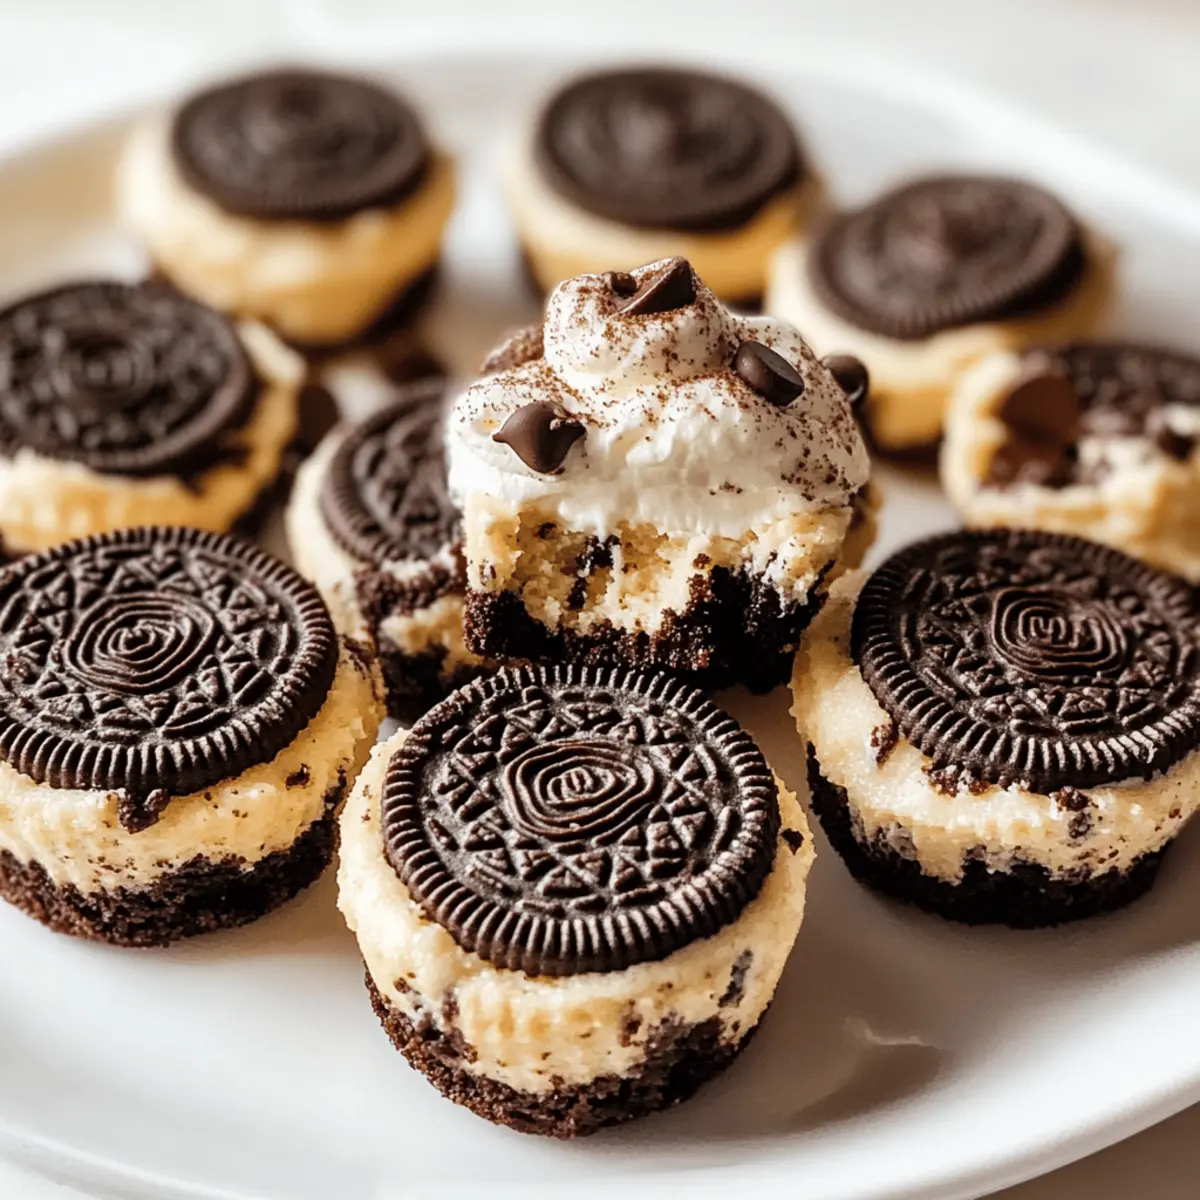
Perfect for Sharing: Ideal for parties or family gatherings, these treats are guaranteed to impress your guests with their eye-catching presentation and rich flavors.
Make-Ahead Friendly: Prep them in advance for a stress-free event, allowing you time to enjoy your company. These cookie cups stay delicious in the fridge, ready to serve when you are!
So, if you’re seeking a quick yet decadent dessert, look no further than these Oreo Cheesecake Cookie Cups, or check out some delightful variations like Caramel Swirl Cheesecake for even more sweet inspiration!
Oreo Cheesecake Cookie Cups Ingredients
Get ready to whip up something extraordinary with these delicious Oreo Cheesecake Cookie Cups!
For the Crust
- Oreo Cookies – These form the base, providing a classic chocolate flavor; try Double Stuf for extra creaminess!
- Unsalted Butter – It binds the Oreo crumbs together, so melt it for a moist mixture that holds its shape perfectly.
For the Cheesecake Filling
- Cream Cheese – This key ingredient creates a rich and creamy texture; opt for full-fat for the best results.
- Sugar – Sweeten your cheesecake filling with standard granulated sugar to balance the flavors.
- Sour Cream or Greek Yogurt – Adds tanginess and creamy depth; Greek yogurt can be a healthier alternative if desired.
- Mini Chocolate Chips – Optional but recommended for a delightful texture and extra chocolatey taste; omit if you prefer a simpler flavor.
For the Topping
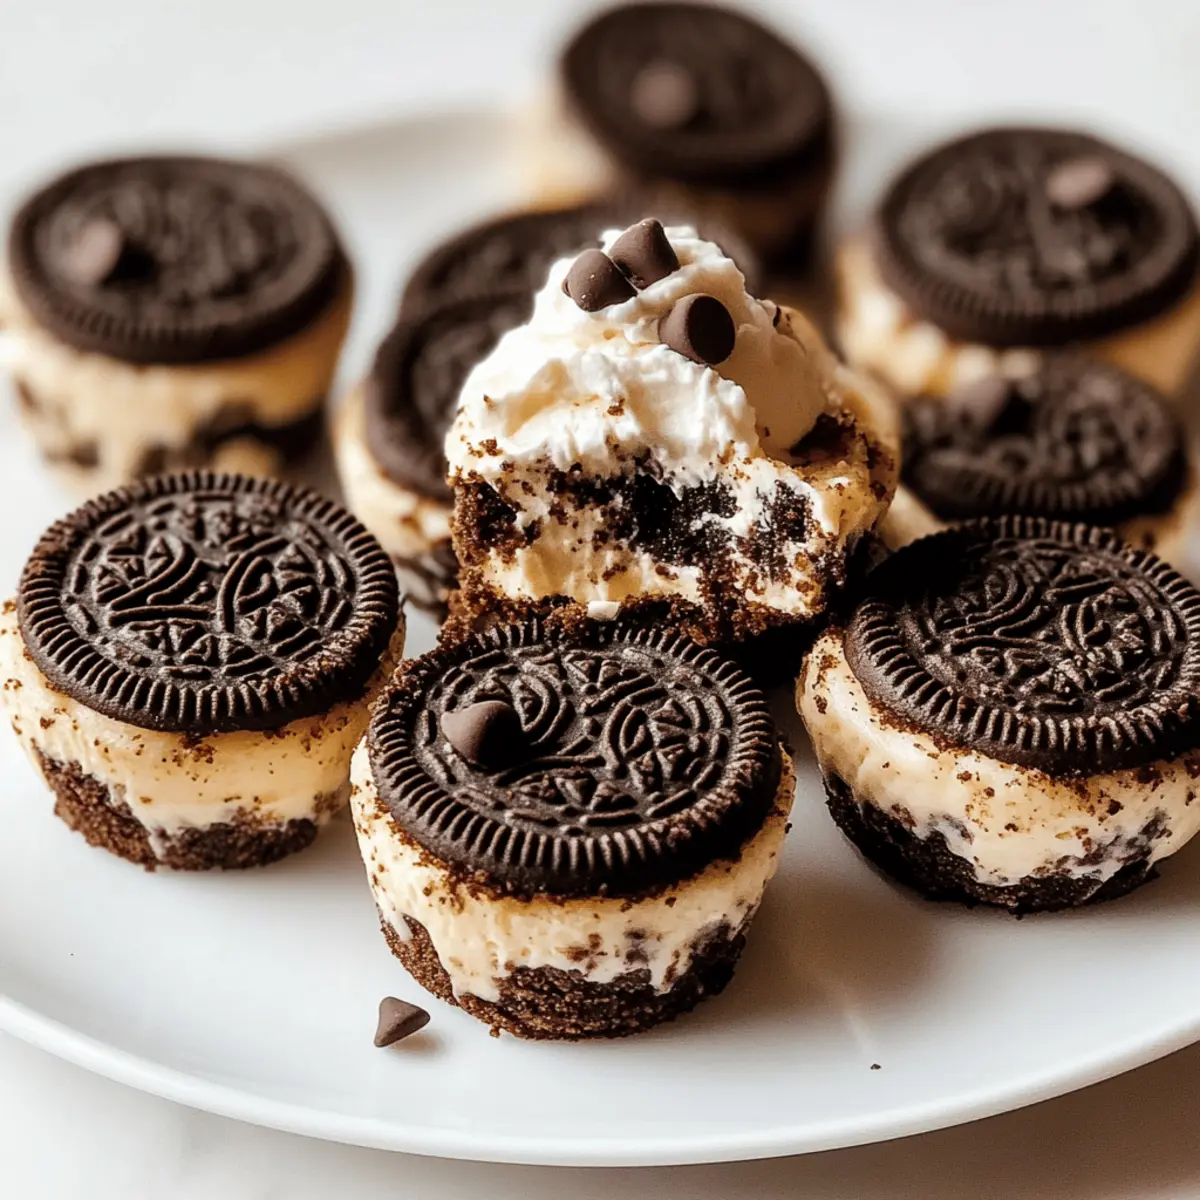
- Whipped Cream – Lightly sweetened, it adds an airy touch to your cookie cups; pipe it on just before serving for a beautiful finish.
Step‑by‑Step Instructions for Oreo Cheesecake Cookie Cups
Step 1: Preheat the Oven
Begin by preheating your oven to 350°F (175°C). This step is essential for achieving that perfect bake on your Oreo Cheesecake Cookie Cups. As the oven warms up, gather your muffin tin and ready cupcake liners, ensuring everything is in place for seamless assembly.
Step 2: Prepare the Crust
Crush about 20 Oreo cookies into fine crumbs using a food processor or by placing them in a zip-top bag and rolling over them with a rolling pin. In a mixing bowl, combine the cookie crumbs with melted unsalted butter until well mixed. The mixture should resemble wet sand. This will create the delightful base for your cookie cups.
Step 3: Form the Cookie Cups
Line your muffin tin with cupcake liners, ensuring they’re securely in place. Press about 1 tablespoon of the Oreo crumb mixture firmly into the bottom of each liner, creating a solid crust layer. Use the back of a spoon or your fingers to ensure it’s evenly distributed and compact. This sets the foundation for the creamy cheesecake filling.
Step 4: Make the Cheesecake Filling
In a medium mixing bowl, beat together softened cream cheese and granulated sugar until the mixture is fluffy and smooth. This should take about 2-3 minutes with an electric mixer on medium speed. Once combined, blend in sour cream until fully incorporated, contributing to that luscious texture cherished in Oreo Cheesecake Cookie Cups.
Step 5: Add Chocolate Chips
If desired, fold in mini chocolate chips into your cheesecake filling for an extra burst of flavor and texture. Be gentle while folding to maintain the lightness of your mixture. The chocolate chips will provide delightful surprises with every bite and elevate your Oreo Cheesecake Cookie Cups even further.
Step 6: Fill the Cookie Cups
Spoon the cheesecake filling gently over the prepared Oreo crusts in the muffin tin, filling each cup about three-quarters full. Leave a small gap at the top to allow for any rising that may occur during baking. This ensures a perfect balance between the crust and filling in your finished cookie cups.
Step 7: Baking Time
Place the muffin tin in your preheated oven and bake for 15-18 minutes. You’ll know they’re ready when the centers are just slightly jiggly; this indicates a wonderful creamy texture. Keep a close eye on them to prevent overbaking, which can lead to a less desirable tough filling.
Step 8: Cooling and Setting
Once baked, remove the muffin tin from the oven and let it cool at room temperature for about 30 minutes. After cooling, refrigerate the Oreo Cheesecake Cookie Cups for at least 1 hour to allow them to fully set and enhance their creamy consistency. This cooling step is crucial for the best eating experience.
Step 9: Adding the Final Touch
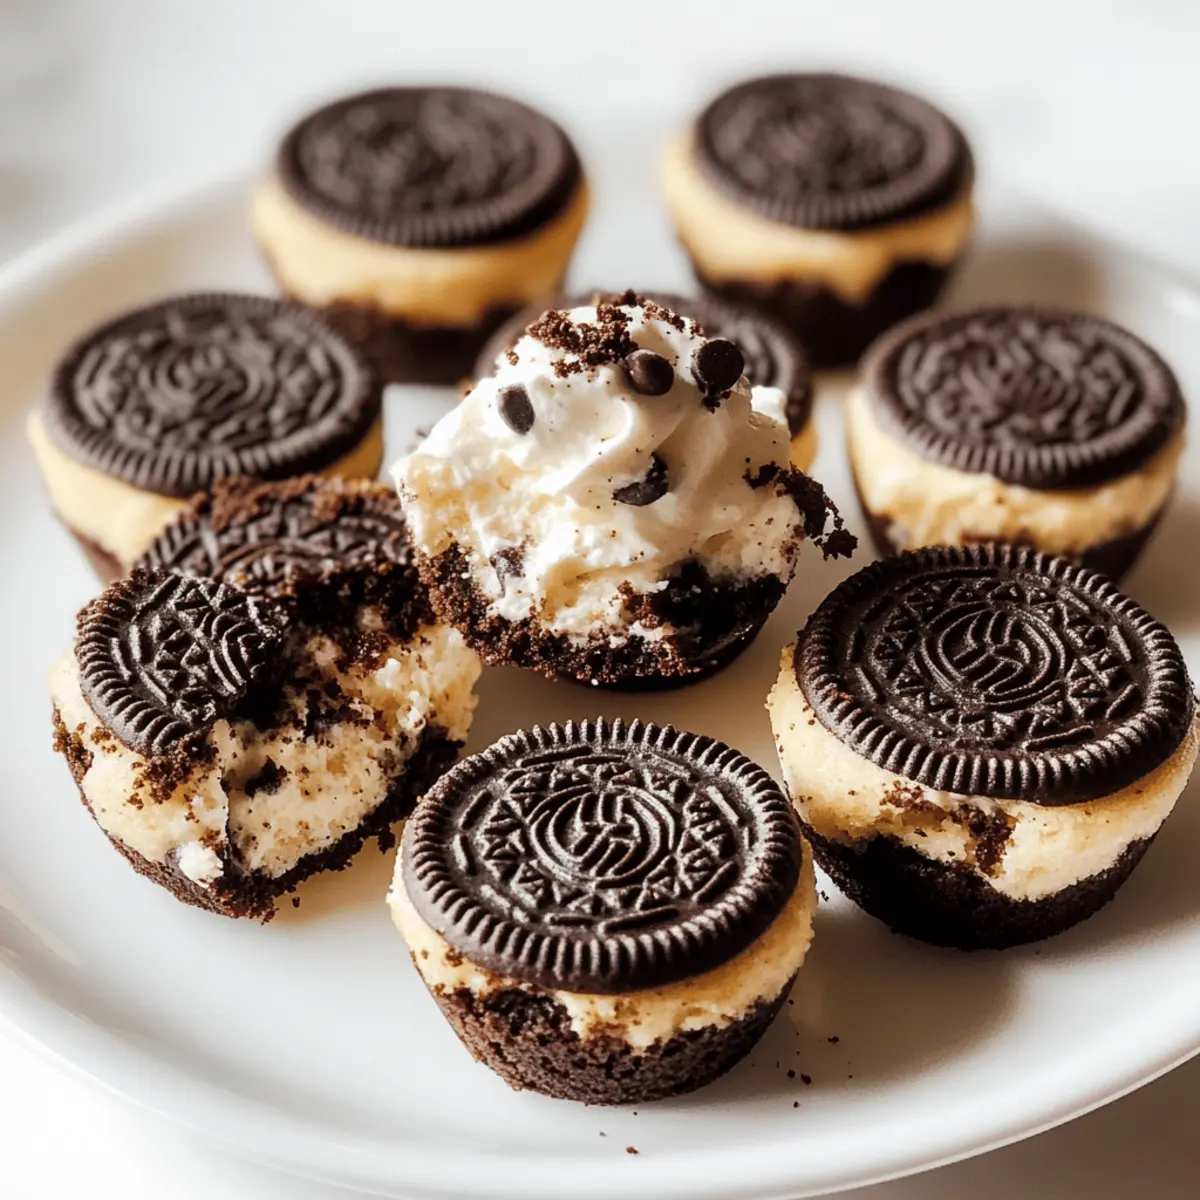
Before serving, pipe some lightly sweetened whipped cream on top of each cookie cup for a touch of elegance. For an extra special finish, sprinkle crushed Oreo cookies over the whipped cream. This step not only adds visual appeal but also offers a delightful textural contrast to your Oreo Cheesecake Cookie Cups.
Expert Tips for Oreo Cheesecake Cookie Cups
• Room Temperature Cream Cheese: Ensure your cream cheese is at room temperature to avoid lumps and achieve a smooth filling.
• Crust Compaction: Press the Oreo mixture into the cupcake liners firmly; this creates a sturdy base that holds up well when serving your cookie cups.
• Right Baking Time: Bake just until the centers are slightly jiggly; overbaking can lead to a dry and tough filling.
• Chill Before Serving: Allow the baked cookie cups to cool to room temperature then refrigerate for at least one hour to ensure they set properly.
• Endless Customization: Feel free to personalize your Oreo Cheesecake Cookie Cups with toppings like caramel drizzle or fresh fruit for added flavor.
What to Serve with Oreo Cheesecake Cookie Cups
Indulge your senses with delightful additions that elevate your Oreo Cheesecake Cookie Cups into a complete dessert experience.
- Fresh Berries: Sweet and tart, fresh berries like strawberries or raspberries contrast beautifully with the rich cheesecake, adding a pop of color and flavor.
- Chocolate Sauce: Drizzle warm chocolate sauce over the tops before serving for an extra layer of decadence that complements the cookie cups’ flavor perfectly.
- Coffee or Espresso: A warm cup of coffee or a bold espresso balances the sweetness of the cookie cups, enhancing the overall dessert experience.
- Whipped Topping: Serve alongside a dollop of lightly sweetened whipped cream for additional creaminess and a lovely textural contrast to the cookie cups.
Add a personal touch to your gatherings—consider serving these cookie cups on a beautiful dessert platter with a mix of berries and a chocolate drizzle for an eye-catching presentation.
Make Ahead Options
These Oreo Cheesecake Cookie Cups are perfect for meal prep enthusiasts! You can prepare the crust up to 24 hours in advance by crushing the Oreo cookies and mixing them with melted butter, then storing the mixture in the refrigerator to maintain its freshness. Additionally, the cheesecake filling can be made up to 3 days ahead; simply blend the cream cheese, sugar, and sour cream as directed, then refrigerate the filling until you’re ready to assemble. When it’s time to bake, spoon the filling into the pre-made crust and bake as instructed. This advanced preparation will save you time on busy weeknights while ensuring your cookie cups are just as delicious when served!
Oreo Cheesecake Cookie Cups Variations
Feel free to get creative and personalize these irresistible cookie cups to match your taste!
- Gluten-Free: Substitute regular Oreos with gluten-free cookies like those made from almond flour for a delicious alternative.
- Nutty Twist: Add crushed walnuts or pecans to the crust for a delightful crunch that enhances the overall flavor.
- Fruit Infusion: Mix in mashed strawberries or blueberries into the cheesecake filling for a refreshing, fruity surprise!
- Chocolate-Lovers Delight: Use chocolate Oreos for the crust, and add extra chocolate chips into the filling for an indulgent treat.
- Cheesecake Flavors: Experiment with different flavored cream cheese, such as raspberry or pumpkin, to create unique varieties that will wow your guests.
- Spice It Up: Add a pinch of cinnamon or nutmeg to the crust to elevate the flavor profile and introduce a warming note.
- Caramel Swirl: Drizzle caramel sauce into the cheesecake filling before baking for a luscious, gooey twist that everyone will adore.
These options not only enhance the flavor but can also tailor the dessert for various occasions. For more sweet inspiration, check out this delightful Caramel Swirl Cheesecake or enjoy a classic Tiramisu Cheesecake Dessert!
How to Store and Freeze Oreo Cheesecake Cookie Cups
Fridge: Store your Oreo Cheesecake Cookie Cups in an airtight container in the refrigerator for up to 5 days. This keeps them fresh and delicious for easy snacking!
Freezer: For longer storage, freeze the cookie cups in a single layer on a baking sheet, then transfer them to an airtight container for up to 2 months. Thaw in the fridge before serving.
Reheating: If you prefer your cookie cups at room temperature, simply allow them to sit out for about 30 minutes after removing from the fridge. Avoid reheating in the microwave, as it may alter their texture.
Make-Ahead Tip: You can prepare the crust and filling ahead of time; the crust can be made 24 hours in advance. Just assemble and bake the Oreo Cheesecake Cookie Cups when you’re ready!
Oreo Cheesecake Cookie Cups Recipe FAQs
How do I choose ripe ingredients for Oreo Cheesecake Cookie Cups?
Absolutely! When selecting ingredients, make sure your cream cheese is at room temperature—this ensures a smooth filling without lumps. Choose Oreo cookies that are fresh, as those with dark spots or a stale taste can affect the flavor of your dessert.
How should I store Oreo Cheesecake Cookie Cups?
Store your Oreo Cheesecake Cookie Cups in an airtight container in the refrigerator for up to 5 days. This helps maintain their freshness and deliciousness, making them perfect for sneaky snacks or last-minute dessert cravings!
Can I freeze Oreo Cheesecake Cookie Cups?
Definitely! To freeze, place the cooled cookie cups in a single layer on a baking sheet so they don’t stick together, and freeze for about 2 hours. Once solid, transfer them to an airtight container or freezer bag. They will keep well for up to 2 months! When you’re ready to enjoy, thaw them in the fridge overnight.
What should I do if my cheesecake filling is lumpy?
Very well! If your filling turns out lumpy, it’s likely due to cold cream cheese. Ensure your cream cheese is at room temperature before mixing; this gives you that nice, creamy texture. If you find lumps in the filling, try beating it for longer until the mixture is smooth.
Are there any dietary considerations for Oreo Cheesecake Cookie Cups?
Yes, bear in mind that this recipe contains dairy and gluten, thanks to the cream cheese and Oreos. If you have dietary restrictions like lactose intolerance or gluten sensitivity, consider using dairy-free cream cheese alternatives and gluten-free cookies. Just keep in mind that that will change the flavor and texture a bit, but experimentation can lead to delightful new treats!
Irresistible Oreo Cheesecake Cookie Cups for Dessert Lovers
Ingredients
Equipment
Method
- Preheat your oven to 350°F (175°C). Gather your muffin tin and cupcake liners.
- Crush about 20 Oreo cookies into fine crumbs. Combine the crumbs with melted butter in a bowl until mixed.
- Line the muffin tin with cupcake liners. Press 1 tablespoon of the crumb mixture into the bottom of each liner.
- In a mixing bowl, beat together cream cheese and sugar until fluffy. Blend in sour cream until smooth.
- Fold in mini chocolate chips into the cheesecake filling, if desired.
- Spoon the cheesecake filling over the prepared crusts, filling each cup about three-quarters full.
- Bake for 15-18 minutes, until the centers are slightly jiggly. Cool at room temperature for 30 minutes.
- Refrigerate for at least 1 hour to set. Before serving, pipe whipped cream on top.
- Optionally, sprinkle crushed Oreo cookies over whipped cream for garnish.