

What if I told you that a simple mix of garlic chives and chili flakes could transform your meals into a vibrant sensory experience? These Zingy Korean Garlic Chive Pickles with Chili Flakes are the perfect condiment for adding a crunchy, spicy twist to any dish. Not only are they incredibly easy to prepare, but their bold flavors and zesty kick make them a standout addition to your table. Imagine elevating everything from rice bowls to barbecued meats with this quick pickling recipe, which is also vegan-friendly! With just a handful of fresh ingredients and a little patience while they marinate, you’ll have a delightful side dish ready to impress. Curious how this quick pickling journey can start in your kitchen today?
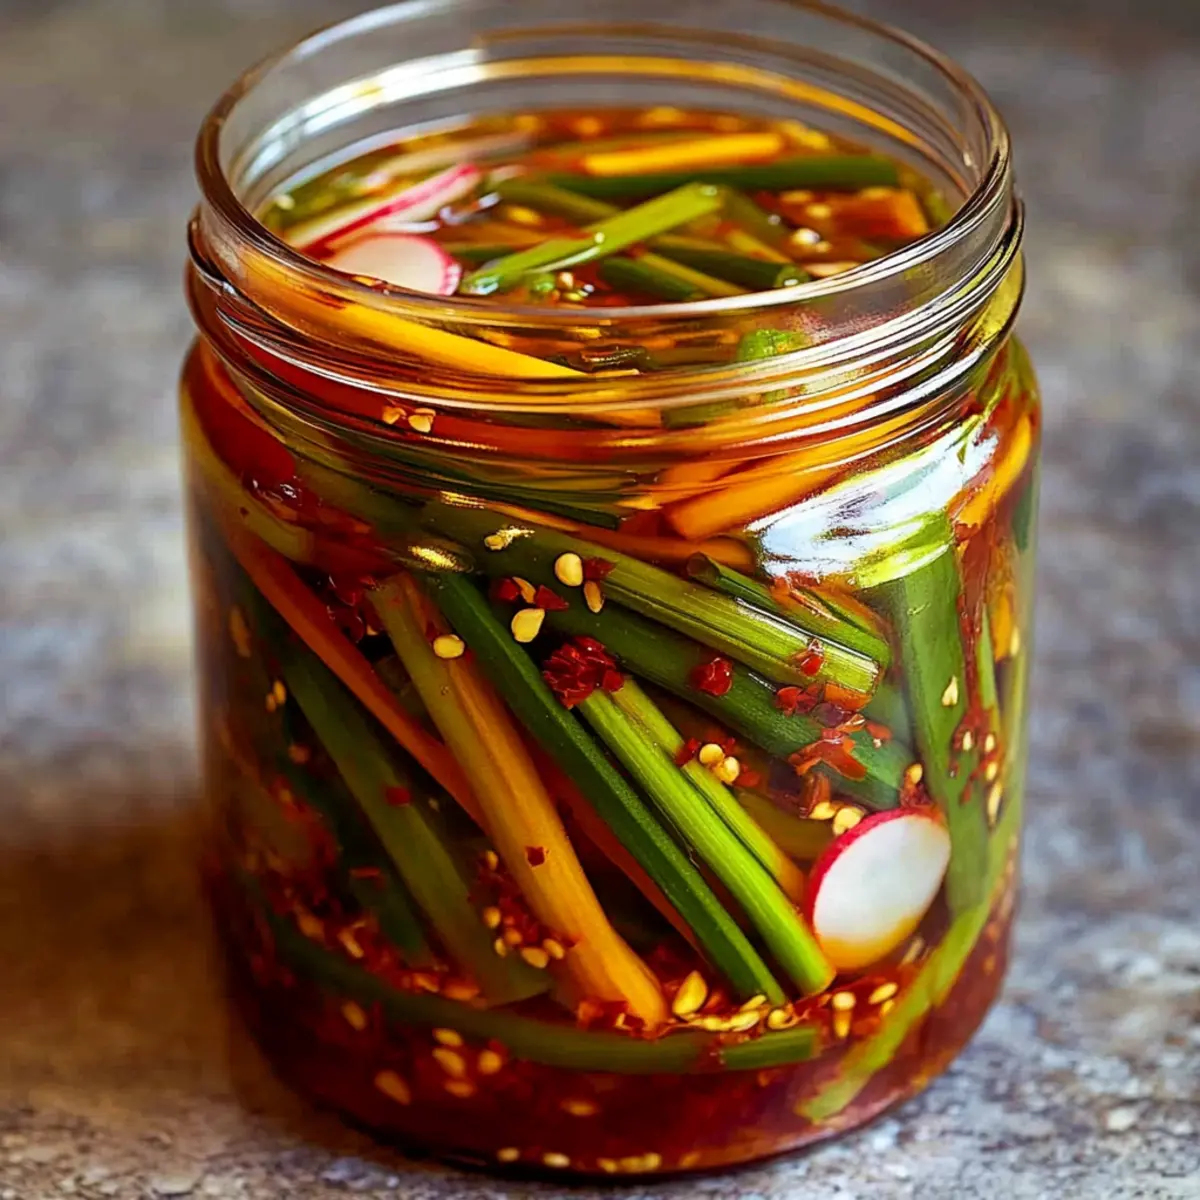
Why Choose Korean Garlic Chive Pickles?
Bold Flavors: The combination of garlic chives and chili flakes adds an invigorating kick that makes every bite delightful.
Quick and Easy: This recipe requires minimal prep and offers a hassle-free way to elevate any meal in no time.
Versatile Addition: These pickles pair wonderfully with everything from Korean barbecue to simple rice dishes, making them a must-have condiment.
Vegan-Friendly: Made with wholesome ingredients, this recipe accommodates various dietary preferences without sacrificing flavor.
Crowd-Pleaser: Impress your guests with unique flavors that bring a taste of Korea to your table. Try them alongside my Garlic Parmesan Chicken for an unforgettable meal experience!
Korean Garlic Chive Pickles Ingredients
For the Pickles
• Garlic Chives – Add a mild, garlicky flavor; substitute with regular chives or green onions for a similar taste.
• Korean Radish (or Daikon) – Provides a crunchy base; you can use turnip or watermelon radish as alternatives.
• Carrot – Adds color and extra crunch; julienne other firm vegetables like cucumber if desired.
• Garlic – Infuses a rich flavor into the pickles; thinly slice for better distribution of flavor.
• Korean Chili Flakes (Gochugaru) – Delivers heat and vibrant color; a mix of smoked paprika and cayenne can be used if needed.
• Toasted Sesame Seeds – Adds texture and nutty flavor; omit if desired.
For the Brine
• Rice Vinegar – Acts as the primary acid for pickling; apple cider vinegar or white vinegar can be used, but may alter the flavor.
• Water – For diluting the vinegar to achieve proper brine consistency.
• Sugar – Balances the tartness of the vinegar; reduce or omit to lower sweetness.
• Salt – Essential for flavoring and preserving; use kosher or sea salt.
• Fish Sauce (or Soy Sauce for vegan) – Enhances umami depth; for a vegetarian version, omit or use tamari for gluten-free needs.
Step‑by‑Step Instructions for Zingy Korean Garlic Chive Pickles with Chili Flakes
Step 1: Prepare the Vegetables
Begin by rinsing fresh garlic chives under cold water. Cut the chives into 2-inch lengths, julienne the Korean radish and carrot, and thinly slice the garlic cloves. Place all prepared vegetables into a large mixing bowl, allowing their colors and textures to shine. This vibrant mix is the foundation for your Korean Garlic Chive Pickles.
Step 2: Add Chili Flakes
Sprinkle the Korean chili flakes, or gochugaru, over the bowl of vegetables. Using your hands or a spoon, gently toss everything together, ensuring that the chili flakes evenly coat the mixture. The goal is to have each piece glisten with flavor, setting the stage for a spicy kick that enhances your pickles.
Step 3: Make the Pickling Brine
In a medium saucepan, combine rice vinegar, water, sugar, salt, and fish sauce over medium heat. Stir the mixture gently, bringing it to a simmer until the sugar is fully dissolved—this should take about 3-5 minutes. The brine will become slightly clearer, indicative of its readiness to infuse your vegetables with bold flavors.
Step 4: Jar the Vegetables
Carefully pack the coated vegetables into a clean glass jar, ensuring that you fill it tightly without crushing them. A wide-mouth jar works best for this task, as it allows for easier packing. Aim to leave about half an inch of space at the top for the brine, creating a delightful crunch in your Korean Garlic Chive Pickles.
Step 5: Pour Brine
After letting the brine cool to room temperature for 10-15 minutes, pour it over the packed vegetables in the jar. Ensure that the brine completely covers the vegetables to enable proper pickling. The contrast of the vibrant colors peeking through the brine is a delightful sight to behold, hinting at the flavors to come.
Step 6: Seal and Chill
Once the jar is filled and securely sealed, place it in the refrigerator. Allow the pickles to marinate for at least 24 hours for the flavors to meld, though letting them sit for 2-3 days will yield even bolder tastes. Keep an eye out for the colors intensifying, signaling that your Zingy Korean Garlic Chive Pickles are nearly ready to enjoy.
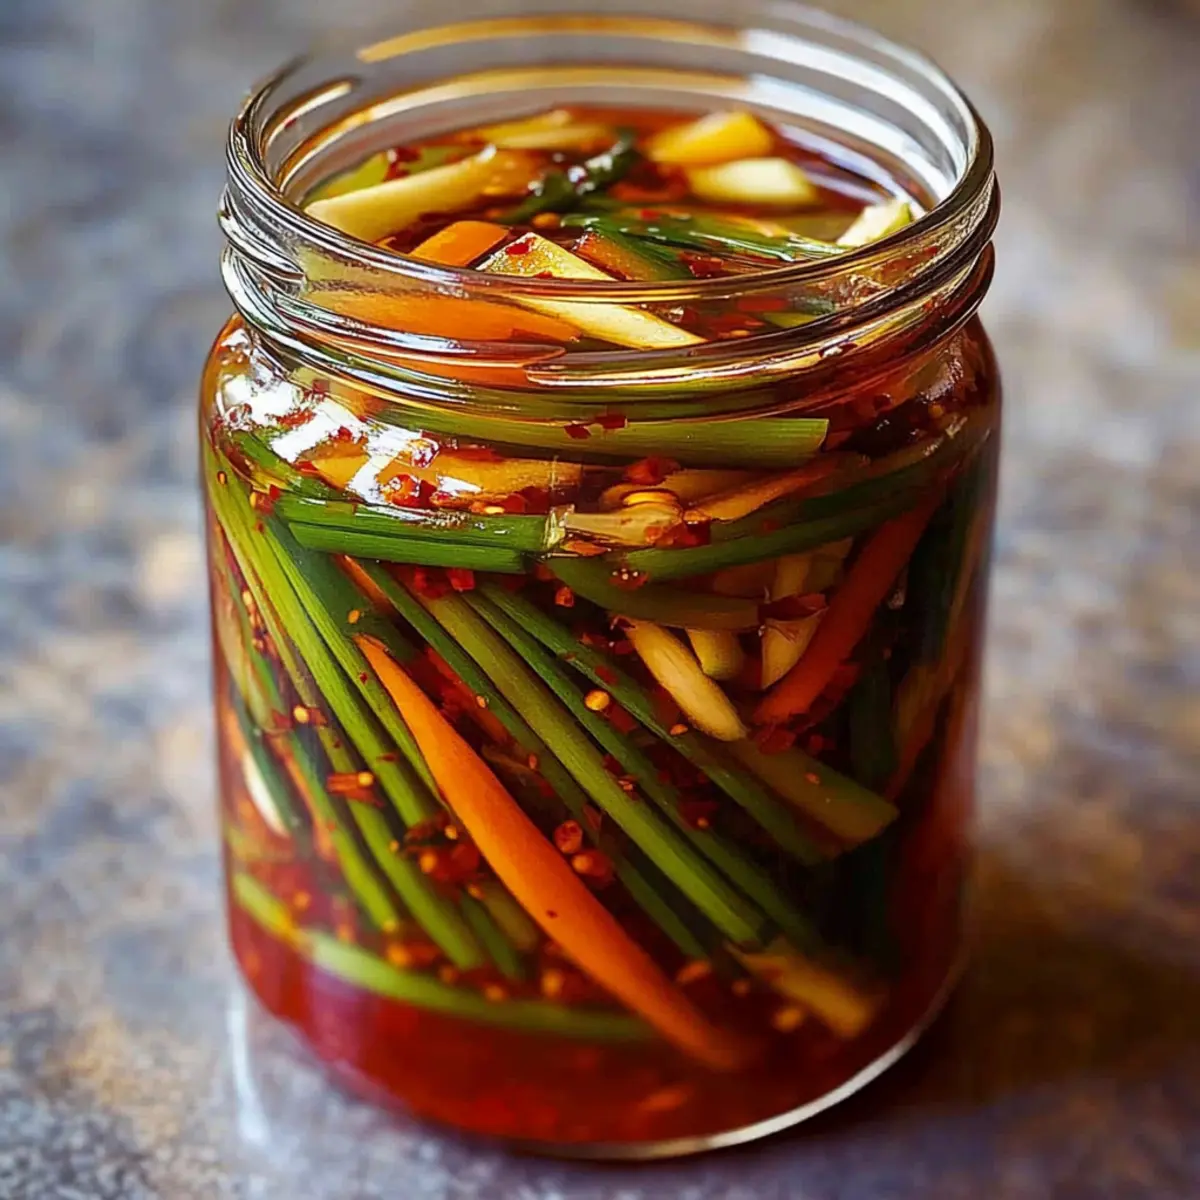
How to Store and Freeze Korean Garlic Chive Pickles
Fridge: Store your Korean garlic chive pickles in an airtight container in the refrigerator, where they can last up to 2-3 weeks. The flavors will continue to deepen over time, making them even more delicious!
Room Temperature: Avoid leaving the pickles at room temperature. For best quality and flavor, they should always be kept refrigerated.
Freezer: Freezing is not recommended for these pickles, as it may compromise their crunchy texture and flavor. Enjoy them fresh instead!
Reheating: There’s no need to reheat these pickles; serve them cold or at room temperature to preserve their zingy freshness, making them a perfect crunchy addition to any meal.
What to Serve with Zingy Korean Garlic Chive Pickles?
Add an exciting flair to your dinner table with these pairing ideas that perfectly complement your pickles’ bold, garlicky crunch.
-
Grilled Meats: Flavorsome cuts like bulgogi or grilled chicken create a delightful contrast with the pickles’ zingy spice. The smoky tones and tender juiciness harmonize beautifully, enhancing your meal experience.
-
Steamed Rice: A bowl of fluffy white or brown rice serves as the ideal canvas to soak up the tangy brine, balancing the heat of the pickles while adding heartiness to your meal.
-
Asian Noodle Salads: Tossed with a punchy dressing, these salads offer a refreshing crunch that meets the pickles perfectly in flavor, making every bite exciting.
-
Kimchi Fried Rice: Infuse your fried rice with layers of flavor as the umami of kimchi meets the garlic chives’ vibrant taste. A comforting and hearty pairing!
-
Tofu Stir-Fry: The creamy texture of sautéed tofu layered with crisp vegetables complements the pickles remarkably. This dish’s savory sauce beautifully mingles with the boldness of the chives.
-
Sesame Garlic Green Beans: These sweet and savory green beans not only add a crisp element to your meal but their garlic notes beautifully echo the flavors in your Zingy Korean Garlic Chive Pickles.
-
Spicy Tuna Sushi Rolls: For a leisurely meal, enjoy sushi rolls filled with spicy tuna, as the freshness of the fish coupled with the pickles sets a tantalizing contrast of flavors.
-
Korean Barbecue: Unforgettable and rich, the smoky flavors of grilled meats make an indulgent combination with your zingy pickles, bringing a festive touch to any gathering.
These pairings can effectively elevate the dining experience, making your meal memorable and deeply flavorful.
Expert Tips for Korean Garlic Chive Pickles
• Use Fresh Ingredients: Always select the freshest garlic chives and vegetables to ensure maximum flavor and crunch in your Korean garlic chive pickles.
• Proper Cooling: Let the brine cool to room temperature before pouring over the vegetables to prevent wilting and ensure a crisp texture.
• Pack Tightly: Fill the jar tightly with vegetables, but avoid crushing them. This helps maintain their crunch while enhancing the pickling process.
• Marinate Longer: For deeper flavors, allow your pickles to marinate for 2-3 days instead of just 24 hours; this patience pays off in richer taste.
• Adjust Heat to Taste: Modify the amount of Korean chili flakes based on your spice preference; start with less and increase to find your perfect balance.
Variations & Substitutions for Korean Garlic Chive Pickles
Embrace your culinary creativity and discover a world of flavors with these delightful variations!
- **Quick Pickle: ** For a faster version, shorten the marinating time to a few hours—great for when you’re in a pinch.
- **Crispy Cucumber: ** Substitute Korean radish with crisp cucumber for a refreshing summer twist. These pickles will be light and crunchy!
- **Spicy Kick: ** Add sliced jalapeños or crushed red pepper flakes for an extra burst of heat that spice lovers will adore.
- **Dijon Mustard Twist: ** Mix in a teaspoon of Dijon mustard into the brine for a tangy depth—an unexpected delectable flavor!
- **Zesty Lime: ** Enhance the brine with a squeeze of fresh lime juice for a zesty kick that brightens the pickles.
- **Fermented Flavor: ** For those who enjoy probiotics, allow the mixture to ferment for a week at room temperature before refrigerating, creating a tangy delight!
- **Sweet Potato Addition: ** Incorporate julienne sweet potatoes for a delightful sweetness that balances the savory and spicy flavors.
- **Garlic Lovers: ** Increase the amount of garlic per your taste—add roasted garlic slices for a richer, mellow flavor that complements the pickles beautifully.
Feeling adventurous? Pair these pickles alongside my Korean Ground Beef for a meal packed with flavor and excitement! Each bite will transport you to a bustling Korean market, with vibrant tastes dancing on your palate.
Make Ahead Options
These Zingy Korean Garlic Chive Pickles with Chili Flakes are ideal for meal prep enthusiasts looking to add fantastic flavor to their dishes! You can prepare the vegetables—garlic chives, Korean radish, carrot, and garlic—up to 24 hours in advance by cutting and mixing them together, ensuring they stay fresh in an airtight container in the fridge. Furthermore, the pickling brine can also be made ahead of time. Once you’re ready to serve, simply pack the prepped vegetables into a jar, pour the cooled brine over them, seal, and refrigerate for at least 24 hours (preferably 2-3 days) for those bold flavors to develop. With these make-ahead steps, you’ll have a delicious, vibrant condiment ready to complement your meals with minimal effort!
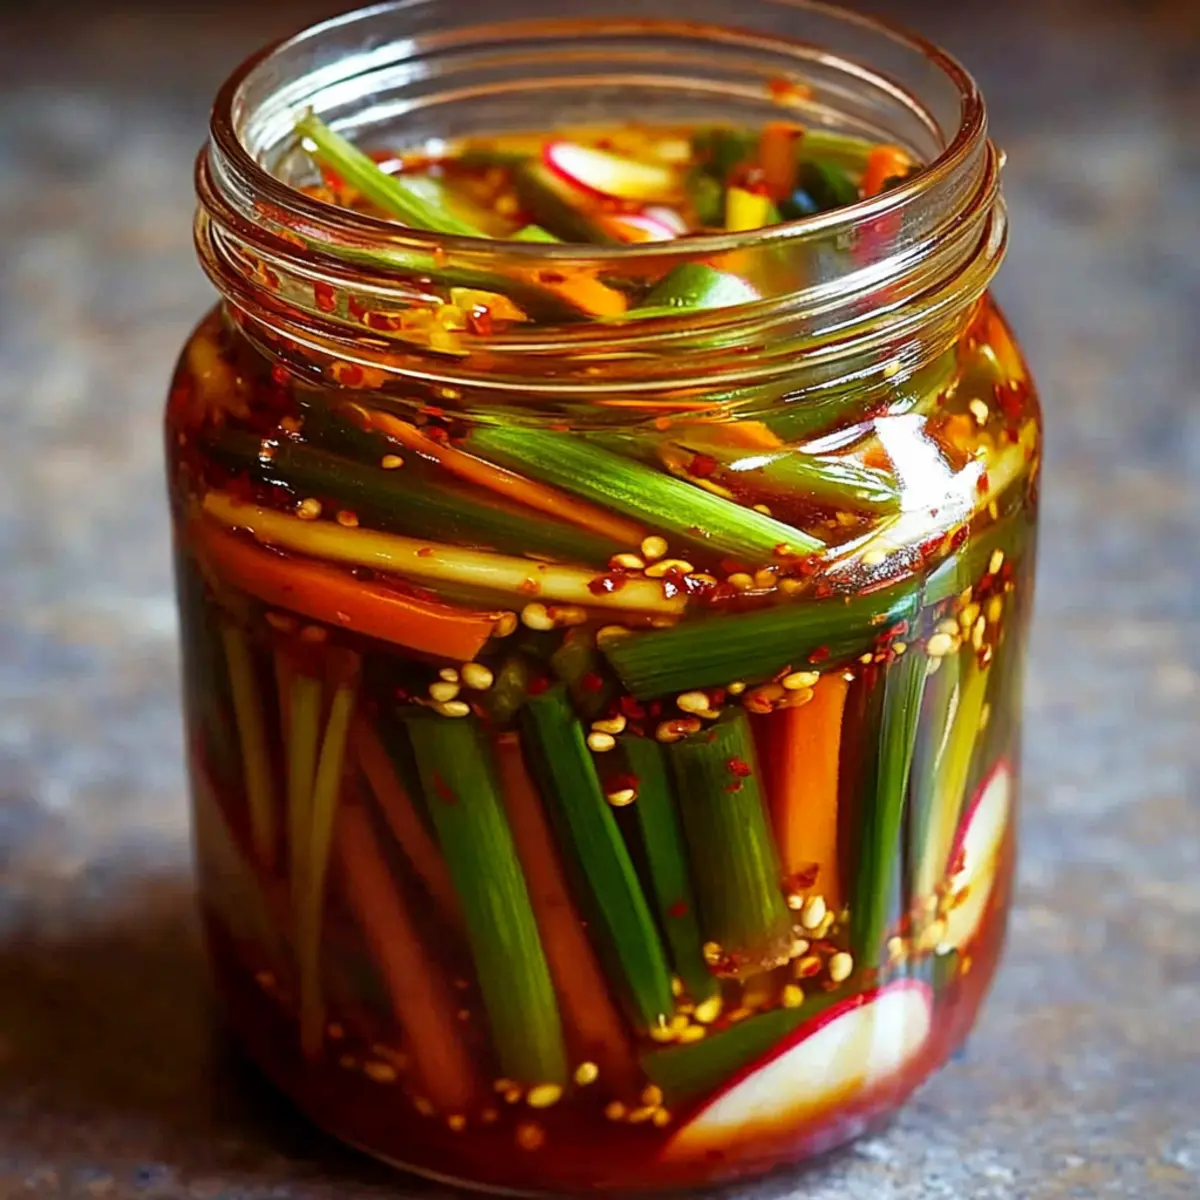
Korean Garlic Chive Pickles with Chili Flakes Recipe FAQs
What should I look for when selecting garlic chives?
Absolutely! When choosing garlic chives, look for vibrant green stalks that are firm and fresh, with no wilting or dark spots. The best garlic chives should have a mild garlicky aroma. If you can’t find garlic chives, regular chives or green onions can work well as a substitute!
How should I store my Korean garlic chive pickles?
To keep your pickles fresh, store them in an airtight container in the refrigerator, where they’ll last for about 2-3 weeks. Keep an eye on the texture, ensuring they stay crunchy. If packaged properly, their flavors will even deepen over time!
Can I freeze Korean garlic chive pickles?
No, freezing isn’t ideal for these pickles. They tend to lose their crunch and vibrant flavor once thawed. It’s best to enjoy them fresh from the fridge, where they shine best as a crunchy condiment.
What if my pickles become too limp?
Very! To remedy this, ensure you pack the vegetables tightly in the jar without crushing them, which helps maintain their crunch. Also, be sure to let the pickles marinate at least 24 hours. If limpness occurs, consider trying a new batch with fresh veggies for a better outcome.
Are Korean garlic chive pickles safe for my pets or anyone with allergies?
Great question! While the ingredients are safe for human consumption, garlic can be toxic to pets, particularly dogs. If you have allergies to any specific ingredients, like fish sauce or gluten, simply swap those out for alternatives like tamari sauce, and feel free to omit them altogether!
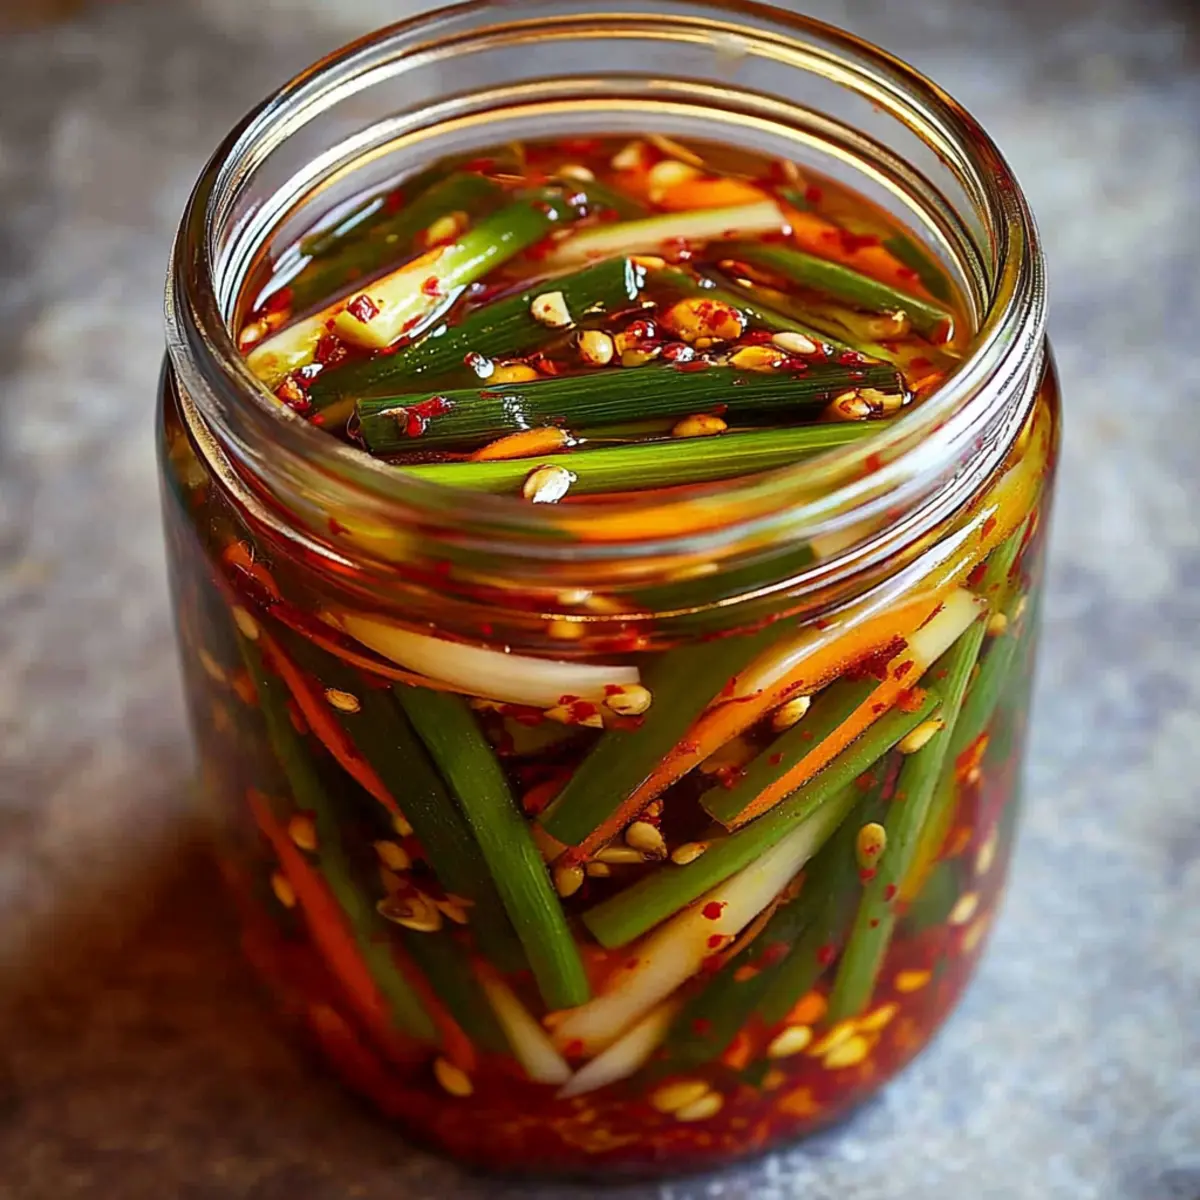
Zesty Korean Garlic Chive Pickles with Chili Flakes to Wow Your Meals
Ingredients
Equipment
Method
- Prepare the Vegetables: Rinse garlic chives, cut into 2-inch lengths, julienne the radish and carrot, and thinly slice the garlic. Combine in a mixing bowl.
- Add Chili Flakes: Sprinkle chili flakes over the vegetables and toss to coat evenly.
- Make the Pickling Brine: In a saucepan, combine rice vinegar, water, sugar, salt, and fish sauce. Heat until sugar is dissolved, about 3-5 minutes.
- Jar the Vegetables: Pack the coated vegetables into a glass jar without crushing them, leaving half an inch at the top.
- Pour Brine: Once the brine cools, pour it over the vegetables until fully submerged.
- Seal and Chill: Seal the jar and refrigerate for at least 24 hours before enjoying.