

As I stood in my kitchen, the golden syrup bubbling away in the pan, I couldn’t help but feel a wave of nostalgia wash over me. There’s something magical about creating your own Homemade Honeycomb Ice Cream, where the sweet, crunchy honeycomb pieces perfectly complement a rich, creamy base. This no-churn recipe is a delightful solution for warm evenings, making it a breeze to whip up and impress friends or family with an easy dessert that’s entirely customizable. With just five simple ingredients, you can enjoy a comforting scoop of homemade heaven in no time. Are you ready to transform your summer nights with this delightful treat? Let’s dive in!
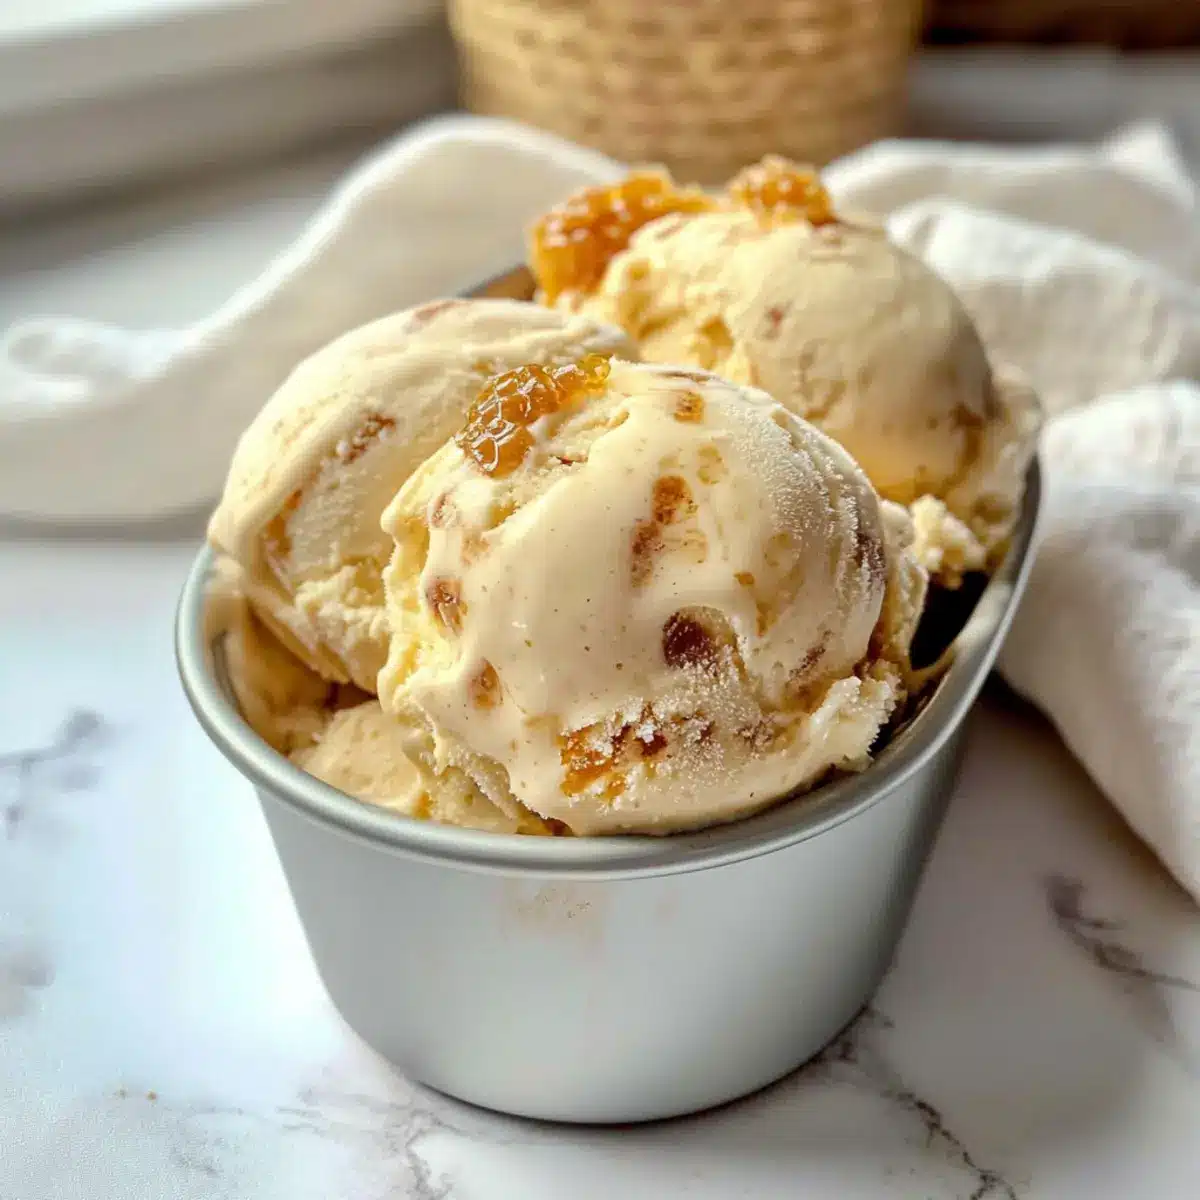
Why Make Honeycomb Ice Cream at Home?
Simplicity at Its Best: This no-churn recipe requires just five ingredients, making it incredibly easy for both novice bakers and seasoned chefs alike.
Decadent Flavor: The sweet, buttery notes from golden syrup paired with creamy condensed milk intertwine to create a dessert that’s hard to resist.
Customizable Delight: You can easily add your favorite toppings or mix-ins, like chocolate chunks or nuts, tailoring it to your taste preferences.
Crowd-Pleasing Treat: Perfect for summer gatherings, this homemade honeycomb ice cream is a showstopper that will impress your guests and leave them craving more!
Memorable Experience: Engage in the nostalgic process of making honeycomb from scratch, connecting to culinary traditions and creating lasting memories with family or friends while enjoying each delightful scoop.
Honeycomb Ice Cream Ingredients
• Make sure to gather these simple staples for your delicious no-churn Honeycomb Ice Cream!
For the Honeycomb
- Golden Syrup – Adds a rich sweetness; swap with runny honey for a floral twist.
- Caster Sugar – Crucial for that delightful honeycomb crunch; avoid brown sugar, as it can change the outcome.
- Bicarbonate of Soda – Creates airy bubbles in the honeycomb when mixed with hot sugar; don’t skip it!
For the Ice Cream Base
- Double Cream – Ensures a luscious, creamy texture; single cream won’t whip properly.
- Condensed Milk – Provides sweetness and creaminess, forming the base of your Honeycomb Ice Cream.
With these ingredients, you’re just steps away from a heavenly treat that speaks to the heart of homemade desserts!
Step‑by‑Step Instructions for Honeycomb Ice Cream
Step 1: Prepare the Honeycomb Base
In a large saucepan, gently heat 200g of golden syrup over medium heat until it becomes runny. Stir occasionally to prevent it from sticking, and bring it to a slow boil. This should take about 2–3 minutes; you’ll know it’s ready when the syrup creates a fine bubble.
Step 2: Incorporate Caster Sugar
Once the golden syrup is bubbling, add 100g of caster sugar. Allow the mixture to boil vigorously for 3 minutes without stirring, swirling the pan gently to ensure even cooking. This step is crucial in creating that sweet honeycomb texture, and it will turn a beautiful golden color during this time.
Step 3: Add Bicarbonate of Soda
Remove the pan from heat and immediately stir in 1 teaspoon of bicarbonate of soda. Be prepared for the mixture to bubble up dramatically, creating air pockets that contribute to the honeycomb’s light, crunchy texture. Quickly pour the frothy mixture into a lined baking tin, smoothing it out evenly, then let it cool and set for at least an hour.
Step 4: Chop the Honeycomb
Once the honeycomb has fully cooled and hardened, carefully remove it from the tin. Using a sharp knife, chop it into small, bite-sized pieces. Set the chopped honeycomb aside, as this delicious crunchy element will be folded into your creamy ice cream base.
Step 5: Whip the Double Cream
In a mixing bowl, pour 400ml of double cream and whip it using an electric mixer until soft peaks form. This should take about 3–4 minutes on medium speed. Be careful not to over-whip; you want a light, airy texture that will blend beautifully with the other ingredients for your honeycomb ice cream.
Step 6: Combine with Condensed Milk
Add 397g of condensed milk into the whipped cream, gently folding it in with a spatula until the mixture thickens and becomes smooth. This combination gives your Honeycomb Ice Cream its rich, creamy base, ensuring every scoop is a decadent delight.
Step 7: Incorporate Honeycomb Pieces
Gently fold in the chopped honeycomb pieces into the creamy mixture, making sure they are evenly distributed. This step allows those sweet, crunchy bits to scatter throughout your Honeycomb Ice Cream, creating delightful bursts of flavor in every scoop.
Step 8: Freeze the Mixture
Pour the ice cream mixture into a lined loaf tin, smoothing the top with a spatula for an even finish. Cover the tin with cling film and transfer it to the freezer. Let your homemade honeycomb ice cream freeze for at least 6 hours or until it is firm enough to scoop.
Step 9: Serve and Enjoy
Before serving, remove the Honeycomb Ice Cream from the freezer 5 minutes prior to scooping. This allows it to soften slightly for easy serving. Use a hot, dry knife to slice through the ice cream neatly, and enjoy this delightful treat with family and friends!
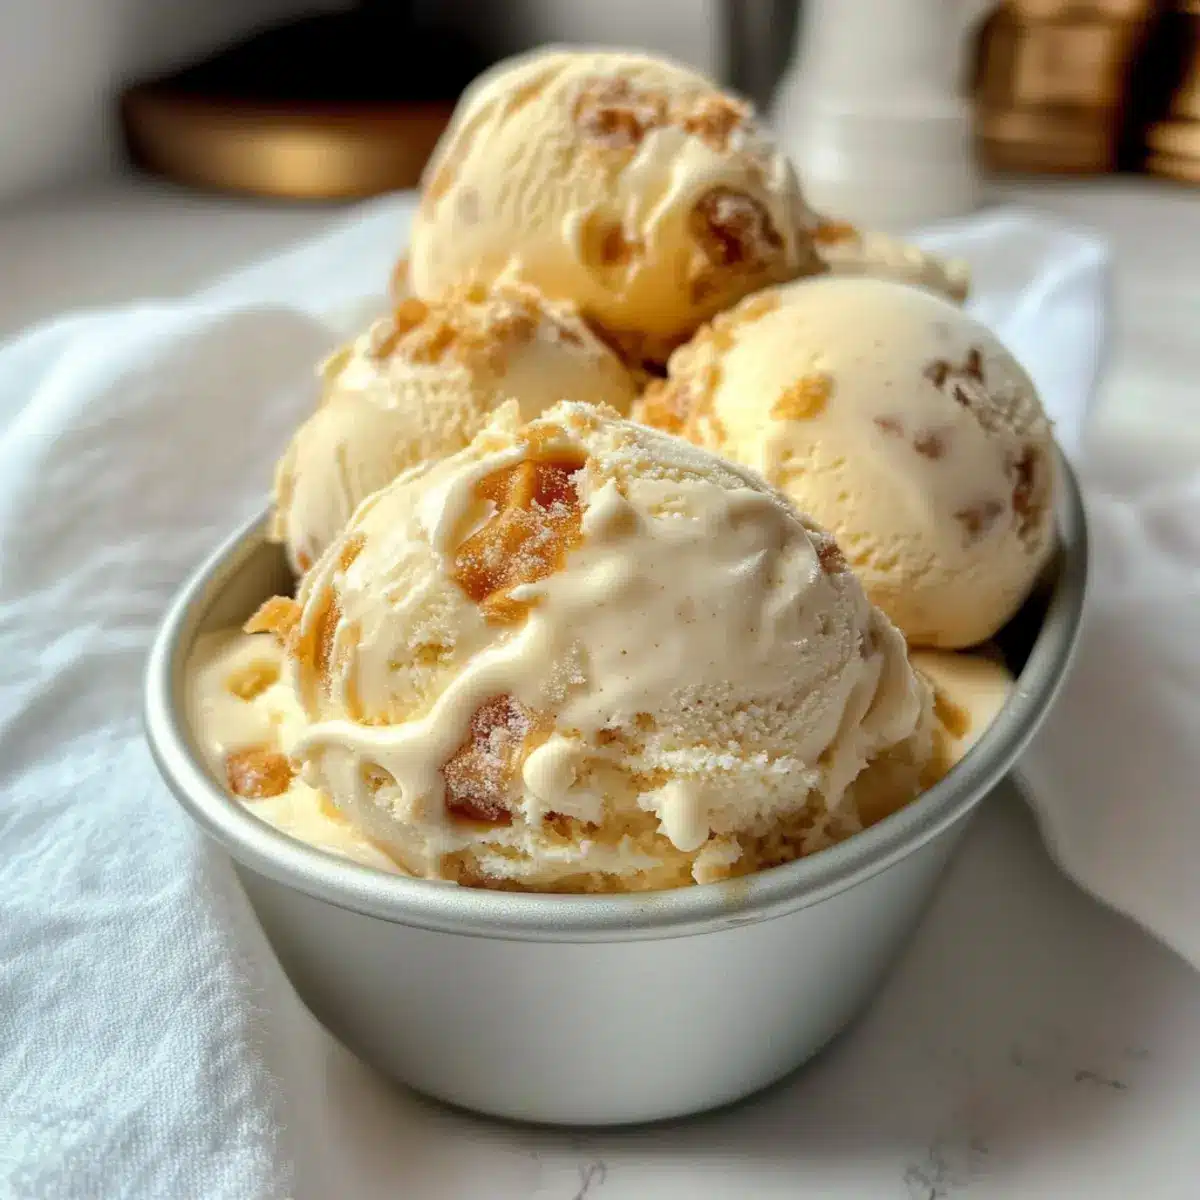
What to Serve with No-Churn Homemade Honeycomb Ice Cream
Treat your taste buds to a delightful meal that perfectly complements the sweetness of your creamy creation.
- Warm Brownies: The fudgy texture enhances the cold ice cream, creating a luscious contrast that’s simply irresistible. Each spoonful delivers a rich, chocolatey burst.
- Fresh Berries: Juicy raspberries or strawberries add a tart brightness that cuts through the creaminess, making every bite refreshing and vibrant.
- Chocolate Sauce: Drizzled over your honeycomb ice cream, this indulgent chocolate sauce melts slightly, adding an extra layer of decadence that you won’t want to miss.
- Buttery Shortbread Cookies: Their crumbly texture provides a delightful crunch, making them perfect for dipping into the ice cream while balancing out its richness.
- Caramel Sauce: A sweet caramel drizzle brings an added depth of flavor that enhances the honeycomb notes, creating a delightful sweet symphony.
- Toasted Nuts: Almonds or hazelnuts add a satisfying crunch that contrasts beautifully with the creamy, smooth texture of the ice cream.
- Mint Tea: A soothing herbal tea, like peppermint, complements the sweet flavors and provides a refreshing end to your indulgent dessert experience.
- Grilled Peaches: The warm, caramelized juices from the peaches pair beautifully with the cold ice cream, creating a harmonious blend of warm and cool flavors.
- Coconut Macaroons: These chewy treats offer a delightful tropical twist, adding another layer of texture and flavor that complements your delicious honeycomb ice cream.
How to Store and Freeze Honeycomb Ice Cream
Airtight Container: Store your homemade honeycomb ice cream in an airtight container to prevent ice crystals from forming and to keep it fresh for up to 2 months.
Freezing Duration: For the best taste and texture, enjoy the honeycomb ice cream within 1 month; while it can last up to 2 months, freshness wanes over time.
Scooping Tip: Before serving, let the honeycomb ice cream sit at room temperature for about 5 minutes. This softens it slightly, making it easier to scoop and enjoy!
Avoid Refreezing: If the ice cream melts, avoid refreezing it. This can lead to an undesirable texture; instead, try to enjoy it fresh within a few days.
Honeycomb Ice Cream Variations You’ll Love
Feel free to explore these fun variations and substitutions that allow your homemade honeycomb ice cream to shine even more!
-
Crunchy Alternatives: Substitute homemade honeycomb with chopped Crunchie bars for a quick and equally delightful crunch. A sweet short cut if you’re pressed for time!
-
Nutty Addition: Add chopped nuts, like almonds or hazelnuts, to the ice cream for extra textured richness. This nutty surprise in each scoop enhances both flavor and crunch.
-
Chocolate Indulgence: Stir in chocolate chunks or swirls of fudge for a decadent twist that elevates the flavor profile. Rich chocolate complements the sweet honeycomb brilliantly!
-
Flavor Infusion: Try infusing some flavored syrups or liqueurs, such as Baileys or mint, into your ice cream mixture before freezing it. This twist gives a unique flair to the classic recipe.
-
Fruity Delight: Incorporate pureed fruits, like strawberries or raspberries, into the base for a fruity contrast. It not only brightens the flavor but also adds a lovely color!
-
Dairy-Free Delight: Use coconut cream and plant-based condensed milk for a creamy, dairy-free version. You’ll enjoy all the rich, indulgent texture without any dairy!
-
Extra Sweetness: If you love a sweeter finish, consider drizzling in more golden syrup or honey before serving. This extra touch of sweetness will satisfy those sweet cravings!
Now that you have these fantastic variations in mind, you can make your no-churn honeycomb ice cream truly your own. Plus, enjoy it alongside some delicious treats like Cookies Cream Cookies or a warm bowl of Creamy Chicken and Rice Casserole for a delightful dessert experience!
Expert Tips for Honeycomb Ice Cream
• Perfect Honeycomb Texture: Ensure the mixture boils for a full 3 minutes; undercooking can result in a chewy honeycomb instead of the light, airy texture you want.
• Don’t Rush Cooling: Allow the honeycomb to cool completely before chopping; this prevents breakage and achieves a beautiful, crunchy finish.
• Whip Gently: When whipping the double cream, stop once you reach soft peaks; over-whipping can lead to a grainy texture in your Honeycomb Ice Cream.
• Use a Nice Knife: For clean slices of ice cream, run your knife under hot water before cutting; this helps create a smooth and appealing presentation.
• Freezing Time Matters: Be patient with freezing; a minimum of 6 hours ensures your ice cream is perfectly firm and scoopable, delivering the best indulgent experience.
Make Ahead Options
These delightful Homemade Honeycomb Ice Cream treats are perfect for busy home cooks looking to save time on warm summer nights! You can prepare the honeycomb up to 3 days in advance and store it in an airtight container to maintain its crunch. When you’re ready to make the ice cream, whip the double cream and mix in the condensed milk before folding in your prepped honeycomb pieces. The ice cream can be made up to 24 hours ahead of serving, just remember to cover it tightly with cling film after pouring it into the loaf tin. By prepping these components ahead, you ensure a delicious dessert is ready to impress guests while saving valuable time on your entertaining day!
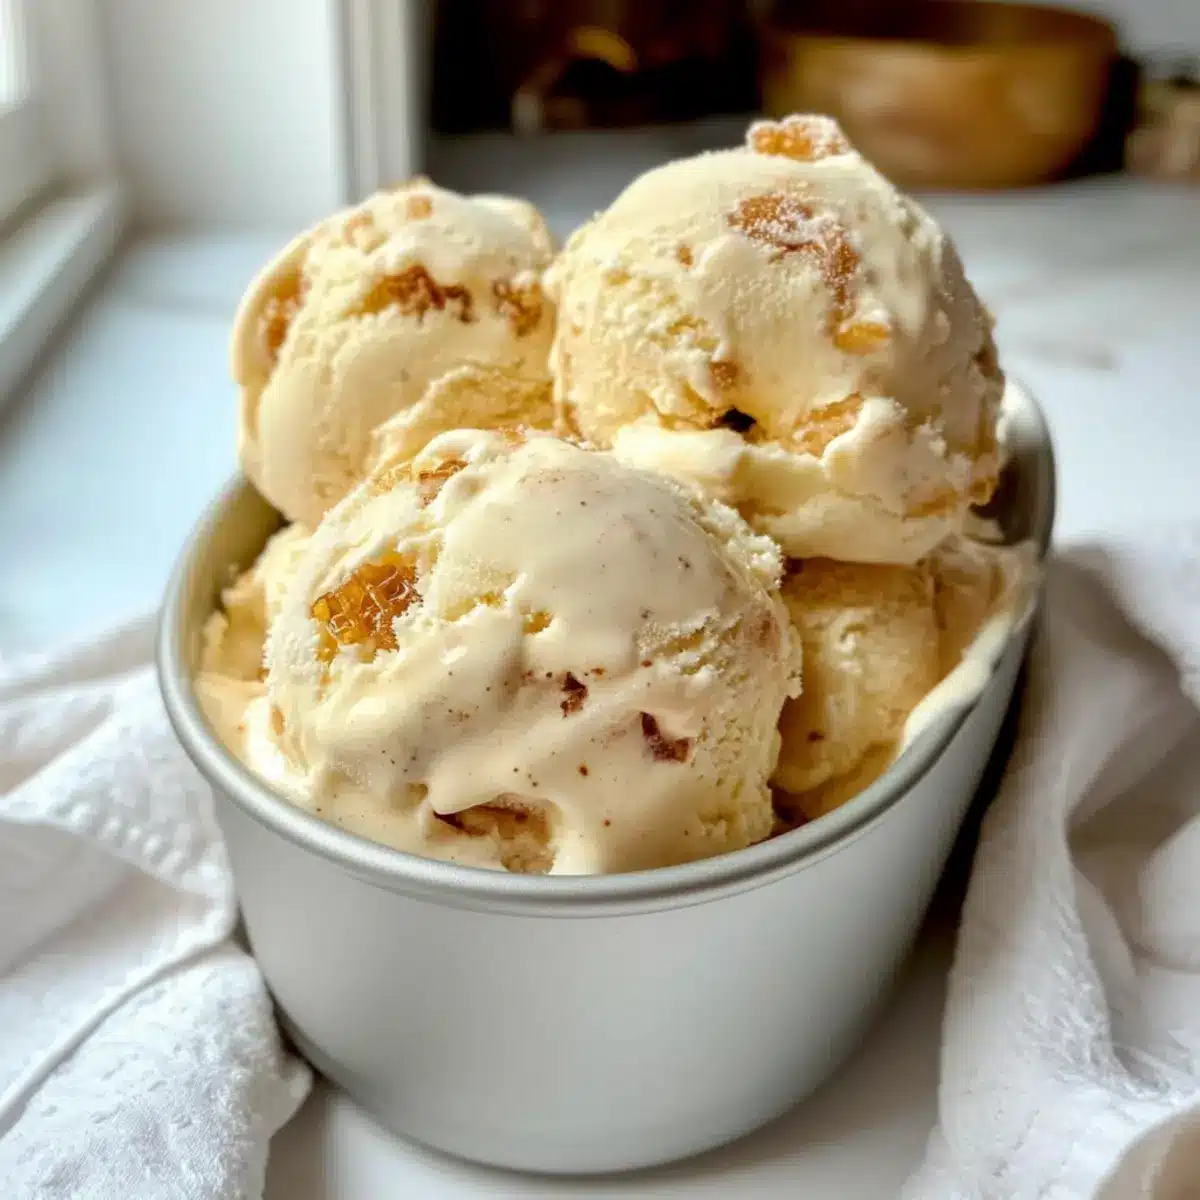
Honeycomb Ice Cream Recipe FAQs
How do I know if my honeycomb ingredients are fresh enough?
Absolutely! For optimal results, use fresh ingredients. Golden syrup should be uniformly liquid without any crystallization, while caster sugar should be dry and easy to pour. If your bicarbonate of soda is older than six months, it may not activate properly when mixed.
What is the best way to store leftover Honeycomb Ice Cream?
For the best preservation, transfer your Honeycomb Ice Cream to an airtight container, ensuring it’s sealed tightly to avoid freezer burn. It can keep fresh for up to 2 months in the freezer. However, for the best flavor and consistency, I recommend consuming it within one month.
Can I freeze my Honeycomb Ice Cream? How?
Absolutely! To freeze, simply pour the finished ice cream mixture into a lined loaf tin, cover tightly with cling film or a lid, and place it in the freezer. Allow it to freeze for at least 6 hours or until solid. When ready to serve, let it sit at room temperature for about 5 minutes to soften for easier scooping.
What should I do if my honeycomb is chewy instead of crunchy?
If your honeycomb turns out chewy, it may not have been boiled long enough or had the right heat. Ensure you let the sugar mixture boil for a full 3 minutes without stirring, reaching a thermometer reading of 150°C (300°F). If it’s chewy, it can still be enjoyed as a topping for ice cream or mixed into brownies!
Is this Honeycomb Ice Cream suitable for people with allergies?
Very! This recipe contains dairy and sugar, so check for lactose intolerance or dairy allergies. You can substitute condensed milk with a dairy-free alternative and make the honeycomb style without allergens by using alternatives in place of sugar and syrup if necessary. Always read labels to be sure!
Can I customize the mix-ins for my Honeycomb Ice Cream?
The more the merrier! Feel free to fold in your favorite additions like chocolate chunks, crushed nuts, or even some swirls of caramel for a unique twist on your base recipe. I often like to add a splash of vanilla extract to enhance the flavor further!
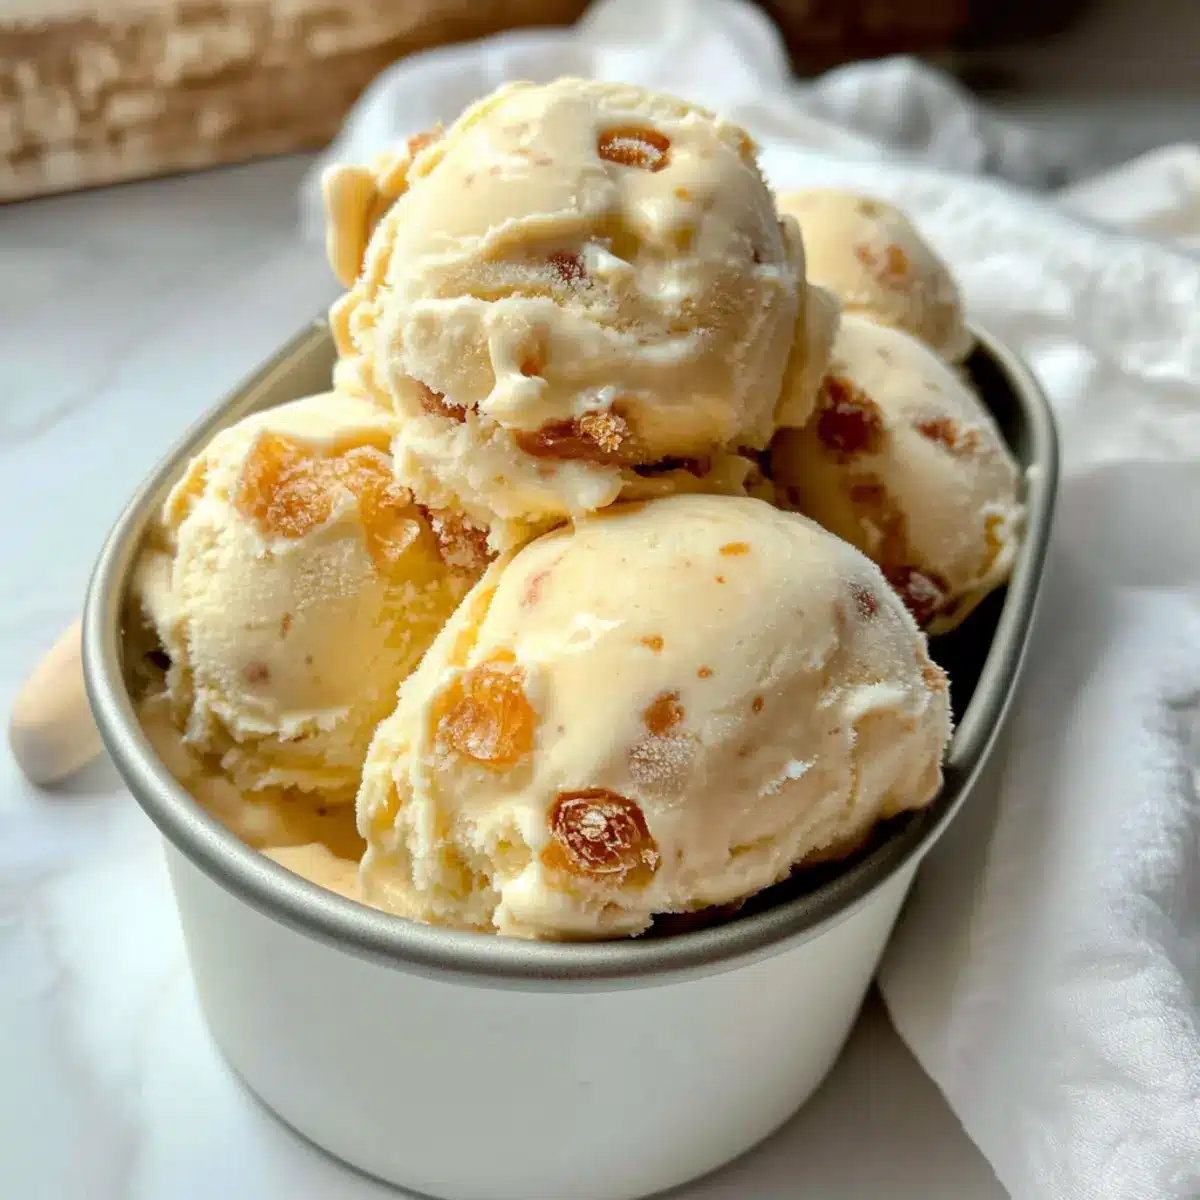
Creamy Honeycomb Ice Cream That's Easy to Make at Home
Ingredients
Equipment
Method
- Gently heat golden syrup in a large saucepan until runny and bubbling.
- Add caster sugar and boil vigorously for 3 minutes.
- Remove from heat and stir in bicarbonate of soda.
- Pour honeycomb mixture into a lined baking tin and let it cool for at least an hour.
- Chop the cooled honeycomb into small pieces.
- Whip double cream in a mixing bowl until soft peaks form.
- Gently fold in the condensed milk until smooth.
- Incorporate chopped honeycomb pieces into the creamy mixture.
- Pour the ice cream mixture into a lined loaf tin and freeze for at least 6 hours.
- Remove from freezer 5 minutes before serving for easy scooping.