

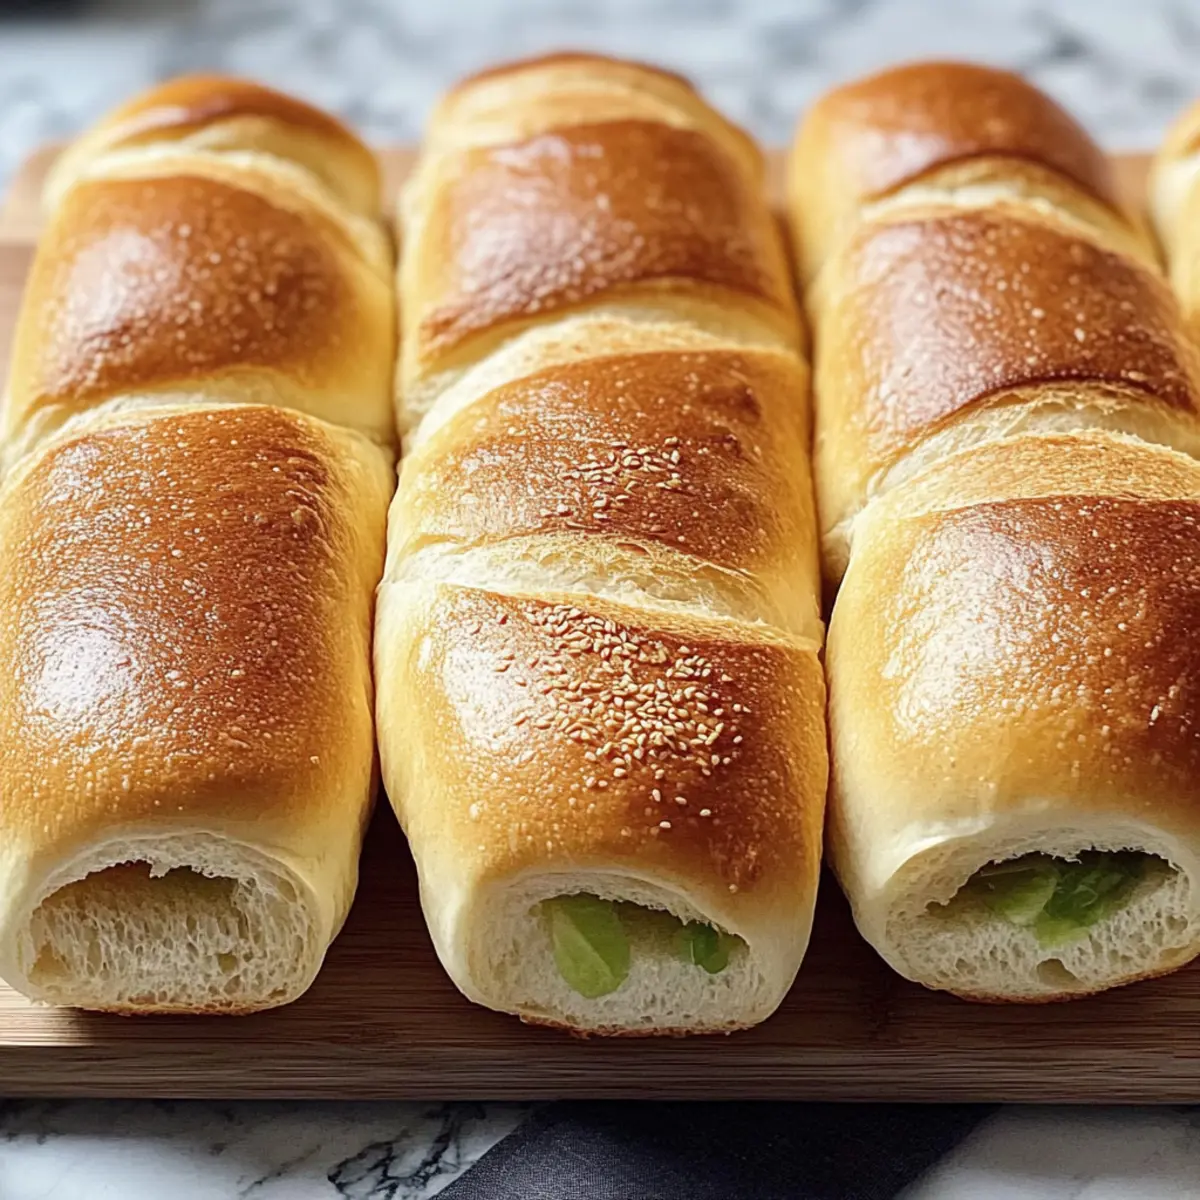
As I reached for the warm, fragrant sub roll fresh from the oven, a smile spread across my face. There’s something incredibly satisfying about making Bakery-Quality Homemade Sub Rolls in your own kitchen. These rolls boast a perfectly crusty exterior while remaining tender and airy on the inside, making them a joyful canvas for any sandwich creation. Unlike the store-bought versions, these artisan-style rolls are not only easy to prepare but also allow you to add delightful flavor enhancements like Italian seasoning or Parmesan cheese. Imagine savoring your favorite Italian sub or cheesesteak inside a roll that you made with your own hands! So, are you ready to elevate your sandwich game with these irresistible rolls?
Why are homemade sub rolls better?
Deliciously Fresh: There’s nothing quite like the aroma of warm rolls wafting through your kitchen, setting the stage for an unforgettable meal.
Customizable Flavors: Infuse your sub rolls with optional Italian seasoning or garlic for a personalized touch that commercial rolls simply can’t match.
Artisan Quality: These homemade sub rolls rival those from your favorite bakery, making every sandwich feel gourmet.
Easy to Make: With simple ingredients and straightforward steps, you’ll impress family and friends without spending hours in the kitchen. Plus, if you’re interested in more bread recipes, don’t miss our guide on Baking With Bread Flour.
Versatile Use: Perfect for everything from hearty sandwiches to mini hot dog buns, these rolls adapt to any filling you desire!
Homemade Sub Rolls Ingredients
• Create your own delightful versions!
For the Dough
- Bread Flour – 4 cups/480g; ideal for gluten development, though all-purpose flour can be used with a different texture.
- Warm Water – 1 1/2 cups/355ml; at an optimal temperature (105–110°F) to activate the yeast.
- Active Dry Yeast – 2 1/4 tsp/1 packet; essential for leavening; make sure to proof it before mixing.
- Granulated Sugar – 2 tbsp; feeds the yeast for a good rise, also contributes to a lovely crust color.
- Olive Oil – 2 tbsp (extra virgin preferred); adds richness and helps prevent sogginess from fillings.
- Salt – 2 tsp; enhances the flavor of the rolls and regulates yeast activity during the rise.
For Optional Flavor Enhancements
- Garlic Powder – 1 tsp; offers a savory boost; feel free to omit for plain rolls.
- Italian Seasoning, Onion Powder, Parmesan Cheese, Dried Rosemary – various optional spices; incorporate for a gourmet twist that makes your homemade sub rolls stand out.
For Toppings and Finish
- Cornmeal – 2 tbsp (for dusting); prevents sticking to the baking surface and adds a delightful texture.
- Egg – 1, beaten; for an egg wash that gives a beautiful, shiny crust.
- Sesame Seeds – 2 tbsp (optional); sprinkle on top for added flavor and visual appeal; can also swap for poppy seeds.
- Coarse Sea Salt – 1 tsp (for sprinkling); optional yet enhances the taste of the finished rolls.
Step‑by‑Step Instructions for Homemade Sub Rolls
Step 1: Activate Yeast
In a small bowl, combine 1 ½ cups of warm water (105–110°F) and 2 tablespoons of granulated sugar. Sprinkle 2 ¼ teaspoons of active dry yeast over the water mixture and stir gently. Let it sit for 5 to 10 minutes until it becomes foamy, indicating the yeast is activated and ready to work its magic in your homemade sub rolls.
Step 2: Mix Dough
In a large mixing bowl, pour the foamy yeast mixture and add 2 tablespoons of olive oil. In a separate bowl, whisk together 4 cups of bread flour, 2 teaspoons of salt, and optional 1 teaspoon of garlic powder. Gradually combine the dry ingredients with the wet ingredients until you achieve a shaggy dough, ensuring everything is well incorporated to create the foundation of your sub rolls.
Step 3: Knead Dough
Transfer the shaggy dough onto a clean, floured surface. Begin kneading the dough by hand for about 8 to 10 minutes, or use a stand mixer on low speed for 6 to 8 minutes until the dough is smooth and elastic. The dough should be slightly tacky but pull away from your hands effortlessly. This kneading process develops the gluten, essential for the structure of your homemade sub rolls.
Step 4: First Rise
Shape the kneaded dough into a ball and place it in a lightly oiled bowl, rolling it around to coat in oil. Cover the bowl with a clean kitchen towel and let it rise in a warm area for 1 to 1 ½ hours, or until it has doubled in size. When ready, the dough should feel puffy and airy, indicating the yeast has done its job.
Step 5: Shape Rolls
After the dough has risen, gently punch it down to release the air. Divide the dough into 8 equal pieces of roughly the same size and shape each piece into an oval, about 6 to 7 inches long. This shaping creates the perfect size and texture for each homemade sub roll, ready to become a delicious vehicle for your favorite fillings.
Step 6: Second Rise
Place the shaped rolls on a baking sheet lined with parchment paper, ensuring they have space to expand. Cover the rolls with a towel and let them rise again for 45 to 60 minutes, until they appear puffy and slightly increased in size. This second rise is crucial for achieving that light and airy interior characteristic of perfect homemade sub rolls.
Step 7: Prepare to Bake
While the rolls are rising, preheat your oven to 425°F. Place a shallow pan filled with hot water on the bottom rack to create steam, enhancing the crust’s texture. Once the rolls have puffed up, use a sharp knife to make slight slashes on top of each roll, allowing steam to escape while they bake.
Step 8: Egg Wash & Bake
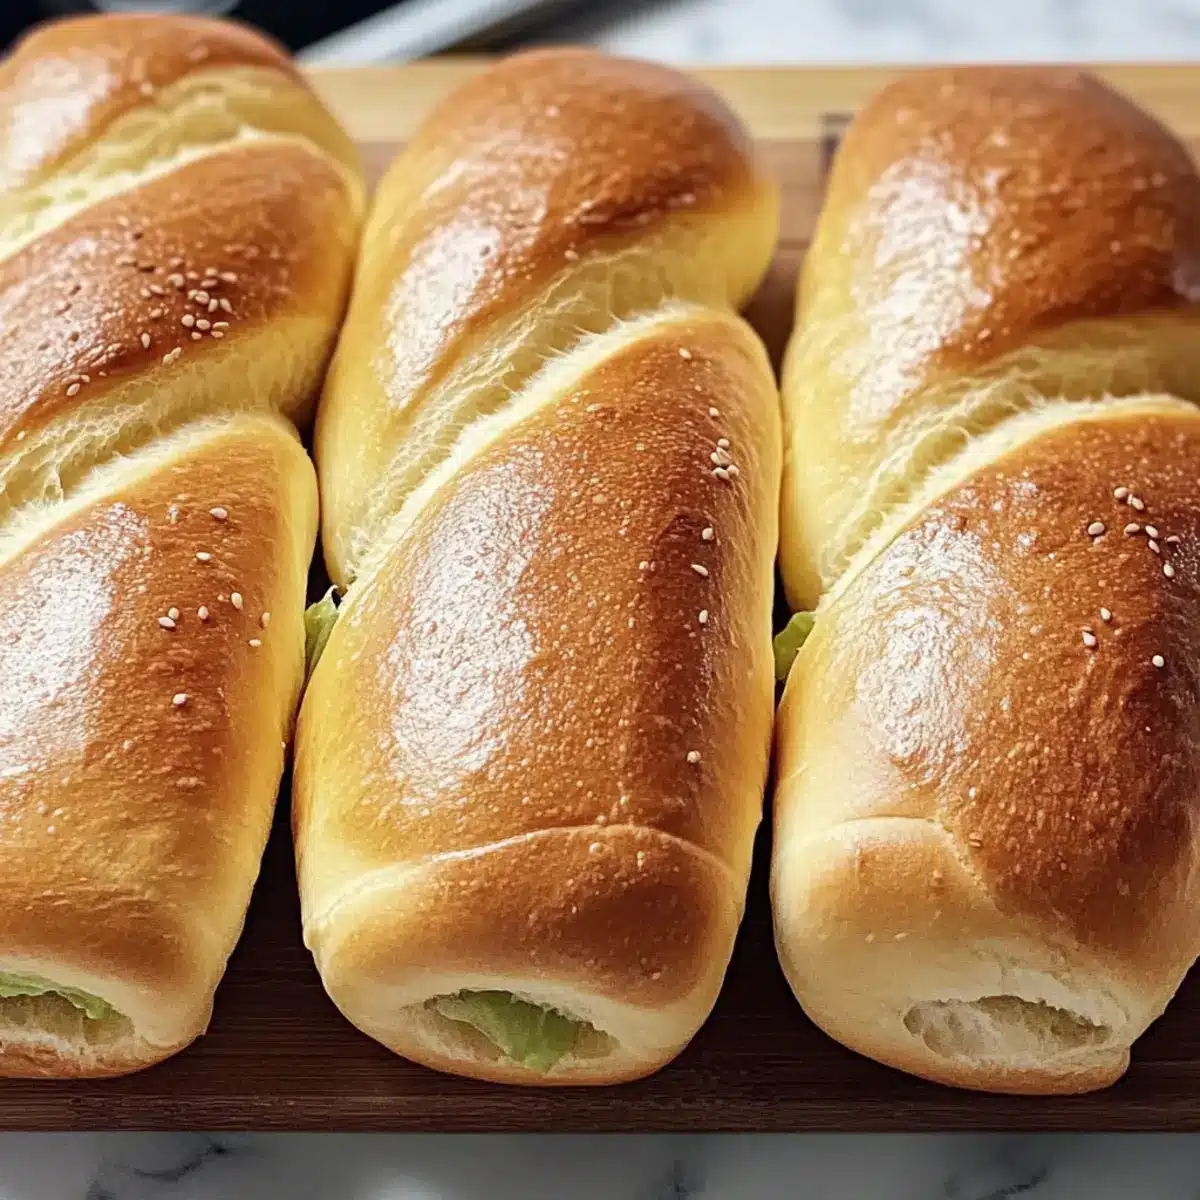
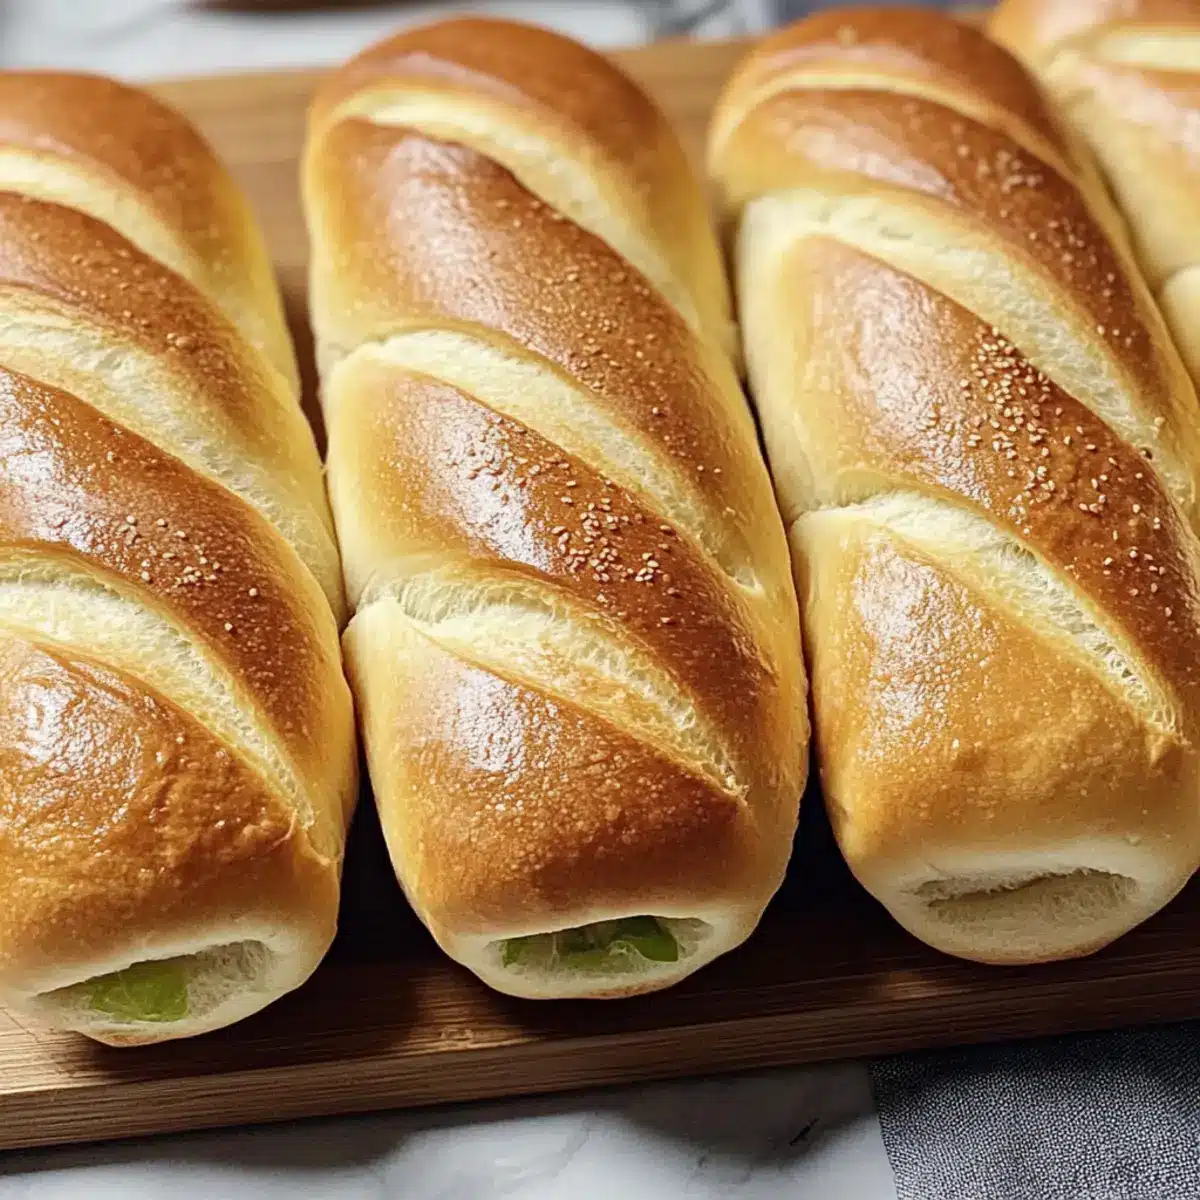
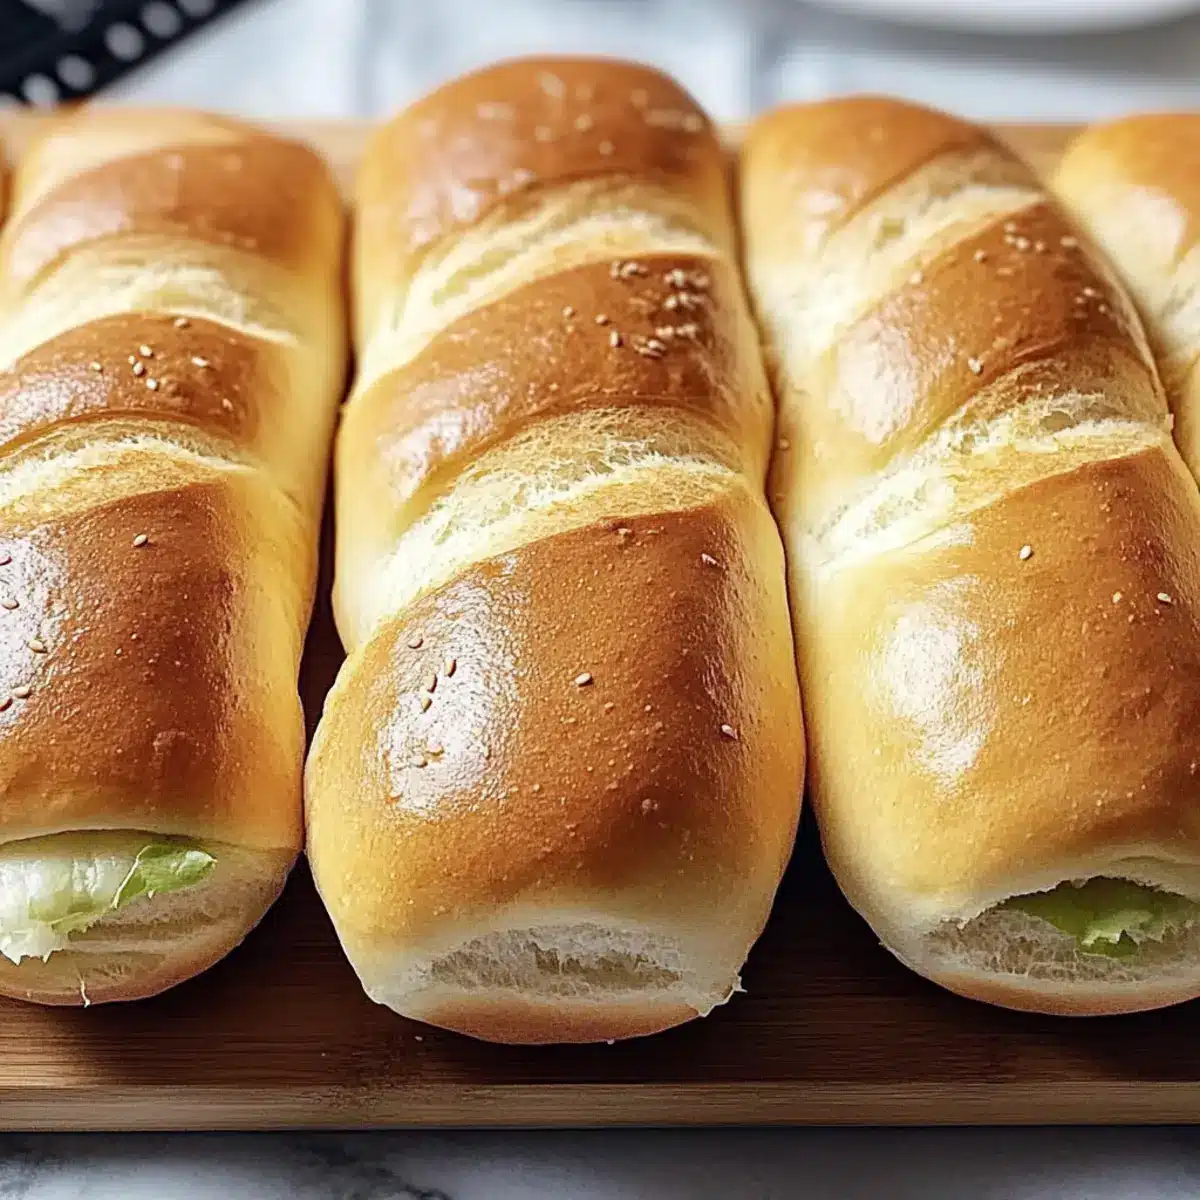
Gently brush the tops of each roll with the beaten egg for a golden-brown crust. If desired, sprinkle with sesame seeds or coarse sea salt for added flavor. Bake the rolls in the preheated oven for 18 to 20 minutes, or until they are golden and sound hollow when tapped on the bottom. Once baked, transfer them to a wire rack to cool and develop their perfect artisan texture.
What to Serve with Homemade Sub Rolls?
There’s nothing like a homemade sub roll to transform your meal into a delightful experience, perfect for satisfying those sandwich cravings.
- Savory Meatball Sub: Juicy meatballs simmered in marinara sauce create a comforting filling, perfectly contained in the tender, crusty rolls. Imagine the rich flavors blending seamlessly!
- Fresh Caprese Salad: The brightness of tomatoes, mozzarella, and basil offers a refreshing crunch that balances the softness of your sub roll, making every bite delightful.
- Classic Potato Chips: Crunchy and salty, the bright contrast adds an enjoyable texture to your sandwich experience—ideal for a picnic vibe!
- Creamy Coleslaw: A tangy, crunchy side that adds freshness, perfectly complementing rich, hearty flavors of a stuffed sub.
- Zesty Pickles: Their sharp acidity cuts through meaty fillings, offering a delightful contrast that brightens every mouthful.
- Bold Red Wine: A glass of full-bodied red wine enhances savory flavors, perfect for an elegant dinner with your homemade sub rolls.
- Decadent Chocolate Chip Cookies: Pair the warm bread with a sweet treat; the charming nostalgia of cookies rounds out your meal beautifully.
- Grilled Veggie Platter: Colorful veggies drizzled with olive oil and balsamic create a vibrant, healthy side that adds depth to your sandwich affair.
Homemade Sub Rolls: Flavorful Variations
Feel free to get creative and personalize these rolls to tantalize your taste buds!
-
Herb-Infused:
Add a tablespoon of Italian seasoning directly into the flour mix for an aromatic boost. Versatile and flavorful, this makes the rolls perfect for sandwich enthusiasts. -
Whole Wheat Twist:
Replace half of the bread flour with whole wheat for a heartier, nutritious option. The nutty flavor adds depth, ensuring every bite is a wholesome delight. -
Cheesy Enhancements:
Mix in ½ cup of grated Parmesan cheese into the dough for rich, savory undertones. The crispy bits of cheese will create a delightful surprise in every roll. -
Spicy Kick:
Incorporate a teaspoon of red pepper flakes into the dough for a zesty twist. This simple addition transforms your rolls into a flavorful companion for spicy sandwiches. -
Eggless Alternative:
Swap the egg wash with almond milk for a vegan-friendly version that still gives some shine. You won’t sacrifice taste or texture but embrace a plant-based diet. -
Dried Fruit Delight:
Fold in ½ cup of chopped dried figs or cranberries to the dough for a sweet-savory flavor. Perfect for sandwiches with cream cheese or turkey! -
Garlic Lovers:
Substitute the olive oil with garlic-infused oil for extra flavor. The subtle essence of garlic will permeate the rolls, making them outstanding with any filling. -
Cooling Method:
For a slow fermentation, chill the dough for up to 24 hours. This gives the rolls a more developed flavor profile that any bread lover will appreciate. Don’t forget to check out our guide on Baking with Yeast for more tips on mastering the art of bread-making!
Make Ahead Options
These Homemade Sub Rolls are perfect for meal prep enthusiasts! You can prepare the dough up to 24 hours in advance by completing all steps until shaping the rolls. After shaping, cover them with plastic wrap and refrigerate; this slow fermentation enhances flavor. When you’re ready to bake, simply remove them from the fridge, let them rise for about 45-60 minutes until puffy, and then proceed with the egg wash and baking instructions. For optimal quality, ensure to store any uneaten baked rolls in a paper bag at room temperature for 2-3 days, or freeze them for up to 3 months. With these make-ahead tips, you’ll achieve bakery-quality results with minimal effort on busy weeknights!
How to Store and Freeze Homemade Sub Rolls
Room Temperature: Keep your homemade sub rolls in a paper bag at room temperature for up to 2-3 days for the best crustiness.
Fridge: If you need them to last a bit longer, store in an airtight container in the fridge for up to 5 days, though this may soften the crust.
Freezer: Wrap rolls tightly in plastic wrap and then foil, or place in a freezer-safe bag, to freeze for up to 3 months. They maintain their flavor and texture beautifully.
Reheating: Reheat frozen rolls directly from the freezer in a preheated oven at 350°F for about 10-15 minutes, restoring their fresh-baked goodness!
Expert Tips for Homemade Sub Rolls
- Yeast Check: Ensure the yeast is fresh by looking for foam within 10 minutes of activation. If it doesn’t foam, start over; stale yeast results in flat rolls.
- Knead Well: Don’t rush the kneading process; aim for a smooth, elastic dough. Under-kneading can lead to denser homemade sub rolls.
- Humidity Matters: Adjust flour based on humidity levels; a drier climate may need less flour, while humidity may require a bit more for the right texture.
- Cool to Store: Let rolls cool completely on a wire rack before storing to prevent them from becoming soggy. Use a paper bag for crusty rolls.
- Flavor Boost: Experiment with the optional flavor enhancements like Italian seasoning; they elevate these rolls and bring a gourmet touch to your sandwiches!
Homemade Sub Rolls Recipe FAQs
How do I know if my yeast is fresh?
Absolutely! To check if your yeast is still good, simply mix it with warm water and sugar as instructed in the recipe. After 5-10 minutes, if the mixture becomes foamy, your yeast is active and ready to use. If there’s no foam, it’s best to toss it and start with a new packet!
What’s the best way to store homemade sub rolls?
Very! For optimal freshness, store your homemade sub rolls in a paper bag at room temperature for up to 2-3 days to keep their crusty exterior. If you prefer them to last longer, you can place them in an airtight container in the fridge for up to 5 days, but this might soften the crust. Always let them cool completely before storing!
Can I freeze homemade sub rolls, and how?
Absolutely! Freezing is an excellent way to preserve your homemade sub rolls. Wrap them tightly in plastic wrap and then in aluminum foil or place them in a freezer-safe bag. They can be frozen for up to 3 months. When you’re ready to enjoy, you can reheat them directly from the freezer by placing them in a preheated oven at 350°F for about 10-15 minutes to restore their freshly baked texture.
What do I do if my dough isn’t rising?
Oh no, that can happen! If your dough isn’t rising, it could be due to inactive yeast. First, ensure your yeast was freshly activated. If your dough is too cold, try placing it in a warm spot, such as near a preheating oven, or cover it with a warm towel. If it still doesn’t rise, it’s best to start over to ensure light and airy homemade sub rolls!
Are there any dietary considerations for this recipe?
Very! This recipe can be easily adapted to accommodate various dietary needs. If you have gluten sensitivities, consider substituting part of the bread flour with gluten-free flour blends. For those with egg allergies, you can skip the egg wash or use a dairy-free alternative like almond or soy milk for a similar finish. As always, check ingredient labels for allergens!
Can I add different flavors to my homemade sub rolls?
Oh yes! Feel free to get creative by incorporating Italian seasoning, garlic powder, or even cheese into the dough before shaping the rolls. This not only adds flavor but also elevates your sandwiches to gourmet levels. You might even experiment with toppings like sesame or poppy seeds; the more, the merrier!
Irresistibly Fluffy Homemade Sub Rolls You’ll Love to Make
Ingredients
Equipment
Method
- Combine warm water and sugar in a bowl. Sprinkle yeast over mixture and let sit until foamy (5–10 mins).
- In a large bowl, mix foamy yeast with olive oil. Whisk flour, salt, and optional garlic powder in a separate bowl, then combine.
- Knead dough by hand for 8-10 mins or with a mixer for 6-8 mins until smooth and elastic.
- Shape dough into a ball, oil the bowl, cover, and let rise in a warm place for 1 to 1 1/2 hours until doubled.
- Punch down dough and divide into 8 pieces, shaping each into an oval about 6-7 inches long.
- Place rolls on a parchment-lined baking sheet, cover, and let rise for 45-60 mins until puffy.
- Preheat oven to 425°F with a pan of water on the bottom rack. Slash tops of rolls and bake for 18-20 minutes until golden.
- Brush with beaten egg, sprinkle with toppings if desired, and cool on a wire rack.