

As I dug through my pantry one rainy afternoon, the familiar crunch of Cheez-Its called to me like a long-lost friend. But instead of reaching for a box, I decided it was time to bring that cheesy, crispy joy to life with my own hands. Enter my Homemade Cheez-Its: a delightful 5-ingredient snack that’s not only easy to whip up, but also allows you to ditch the preservatives found in store-bought versions. These golden bites are perfect for meal prep, ensuring you always have a satisfying snack on hand. Plus, with just a handful of ingredients, this recipe makes it simple to indulge your cravings without the guilt. Curious how to recreate this much-loved classic in your kitchen? Let’s dive in!
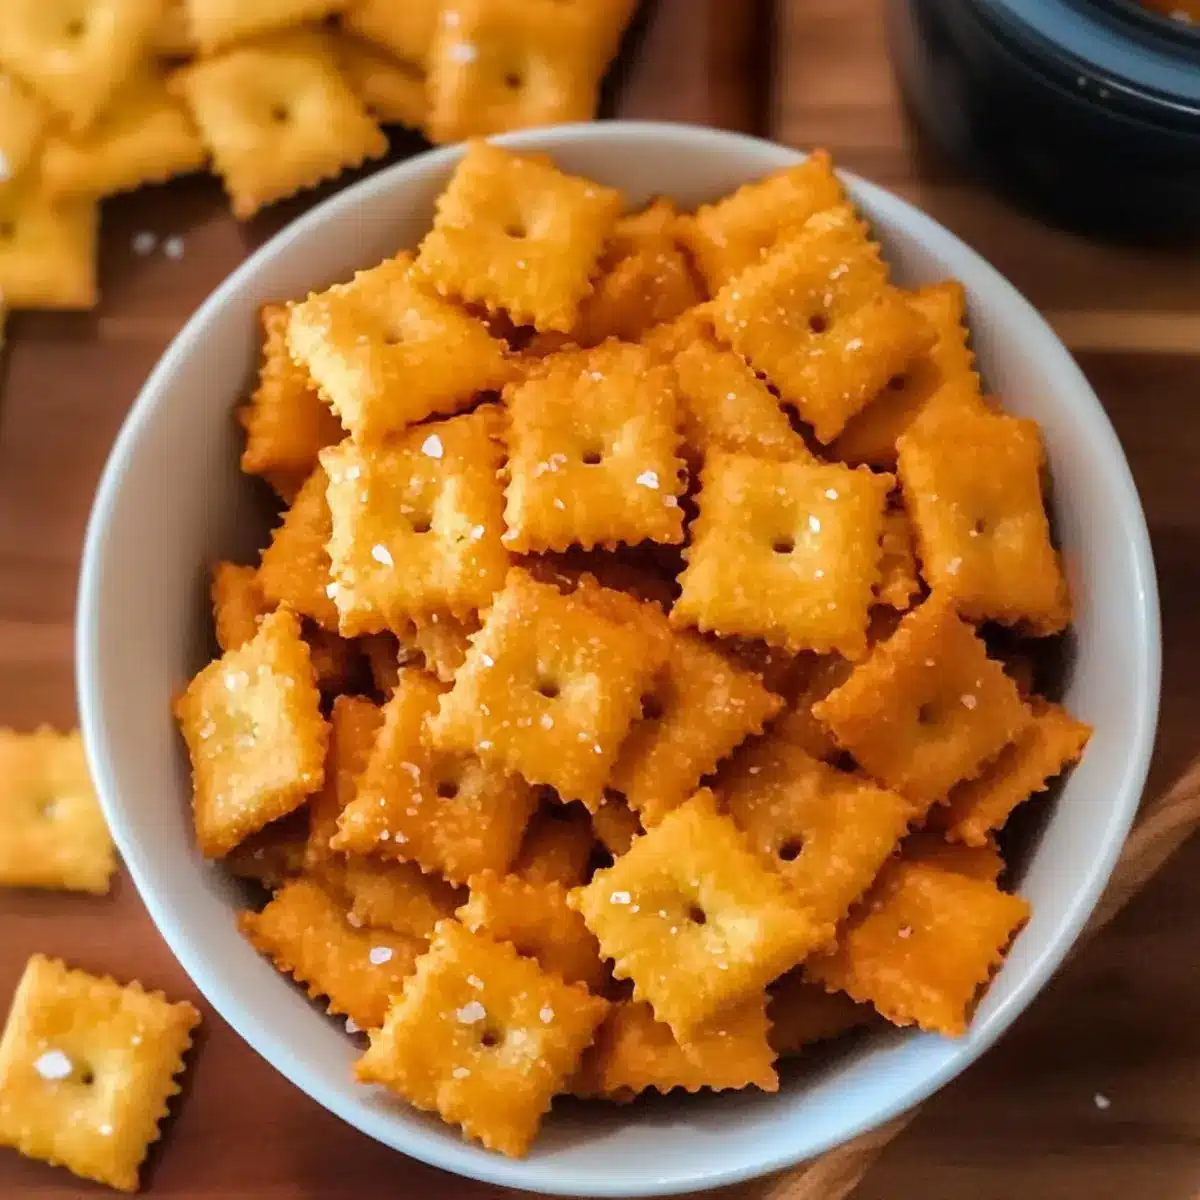
Why Make Homemade Cheez-Its?
Deliciously Cheesy: The sharp cheddar cheese provides that unforgettable flavor, making these snacks the ultimate cheesy treat!
Simple Ingredients: With just five pantry staples, you’ll be amazed at how quickly you can whip up these homemade delights.
Better for You: Ditch the preservatives! These homemade Cheez-Its are a healthier alternative to store-bought snacks, perfect for satisfying cravings without the guilt.
Crowd-Pleaser: Kids and adults alike will be coming back for more; perfect for parties, lunch boxes, and after-school snacks!
Customizable Fun: Feel free to experiment with flavors; add spices or switch up the cheese for a personalized touch. Whether you like it classic or adventurous, these Cheez-Its will have you covered!
Homemade Cheez-Its Ingredients
• For the Dough
- Sharp Cheddar Cheese – Provides the cheesy flavor and essential fat content. Substitution Note: Use block cheese and shred it yourself for optimal texture; avoid pre-shredded cheese due to anti-caking agents.
- All-Purpose Flour – Serves as the base for structure and crispness. Gluten-free alternative: Use a gluten-free flour blend.
- Unsalted Butter – Contributes richness and aids in achieving a flaky texture. Can substitute with vegan butter for a dairy-free version.
• For Flavor and Binding
- Salt – Enhances the overall flavor. Also used for sprinkling on top for added texture and taste.
- Cold Water & Milk – Help bind the dough together. For a richer taste, consider using whole milk instead of water.
Step‑by‑Step Instructions for Homemade Cheez-Its
Step 1: Prepare the Dough
Start by grating the sharp cheddar cheese, using a box grater for maximum freshness. In a food processor, combine the grated cheese with all-purpose flour and salt. Add the unsalted butter, cut into small cubes, and pulse the mixture until it resembles coarse crumbs, about 10-15 seconds. This dough preparation sets the foundation for your delicious homemade Cheez-Its.
Step 2: Add Liquids
With the processor running, gradually pour in the cold water and milk until a cohesive dough forms. This stage is crucial for creating the perfect texture, so be careful not to overmix. The dough should come together smoothly and be slightly sticky but manageable. If needed, scrape down the sides of the processor to ensure all ingredients are incorporated.
Step 3: Roll Out the Dough
Lightly flour your work surface, then transfer the Cheez-It dough onto it. Using a rolling pin, roll the dough out to about 1/8 inch thickness. Take your time to achieve an even thickness—this will ensure that the baked Cheez-Its are uniformly crispy. You’ll see the golden hue of the cheddar starting to appear, hinting at the delicious bites to come.
Step 4: Cut and Poke
Using a sharp knife or a pizza cutter, cut the rolled dough into square shapes, about 1 inch in size. For that classic Cheez-It appearance, poke a small hole in the center of each square with a toothpick or fork. This step is not only decorative but helps with even baking, ensuring your homemade Cheez-Its turn out perfectly crunchy.
Step 5: Sprinkle Salt
Once the squares are cut and poked, generously sprinkle sea salt over the top of the shapes. This step elevates the flavor of your homemade Cheez-Its, enhancing their savory profile. Don’t be shy—this salty goodness is crucial to achieving that irresistible snack taste. The visual appeal of the little salt flecks will make your treats even more enticing.
Step 6: Bake
Preheat your oven to 350°F (175°C). Line a baking sheet with parchment paper for easy cleanup, then transfer the seasoned Cheez-It squares onto the sheet, ensuring they’re spaced evenly apart. Bake in the oven for about 15 minutes, or until they turn a beautiful golden brown and become crispy. Pay attention to the aroma filling your kitchen; it signals that your homemade snack is nearly ready.
Step 7: Cool
Once baked to perfection, remove the Cheez-Its from the oven and allow them to cool on the baking sheet for a few minutes. Then, transfer them to a wire rack to cool completely. This cooling process is essential for achieving the ultimate crunch. Enjoy the delightful flavors of your freshly made homemade Cheez-Its and get ready to store or savor them!
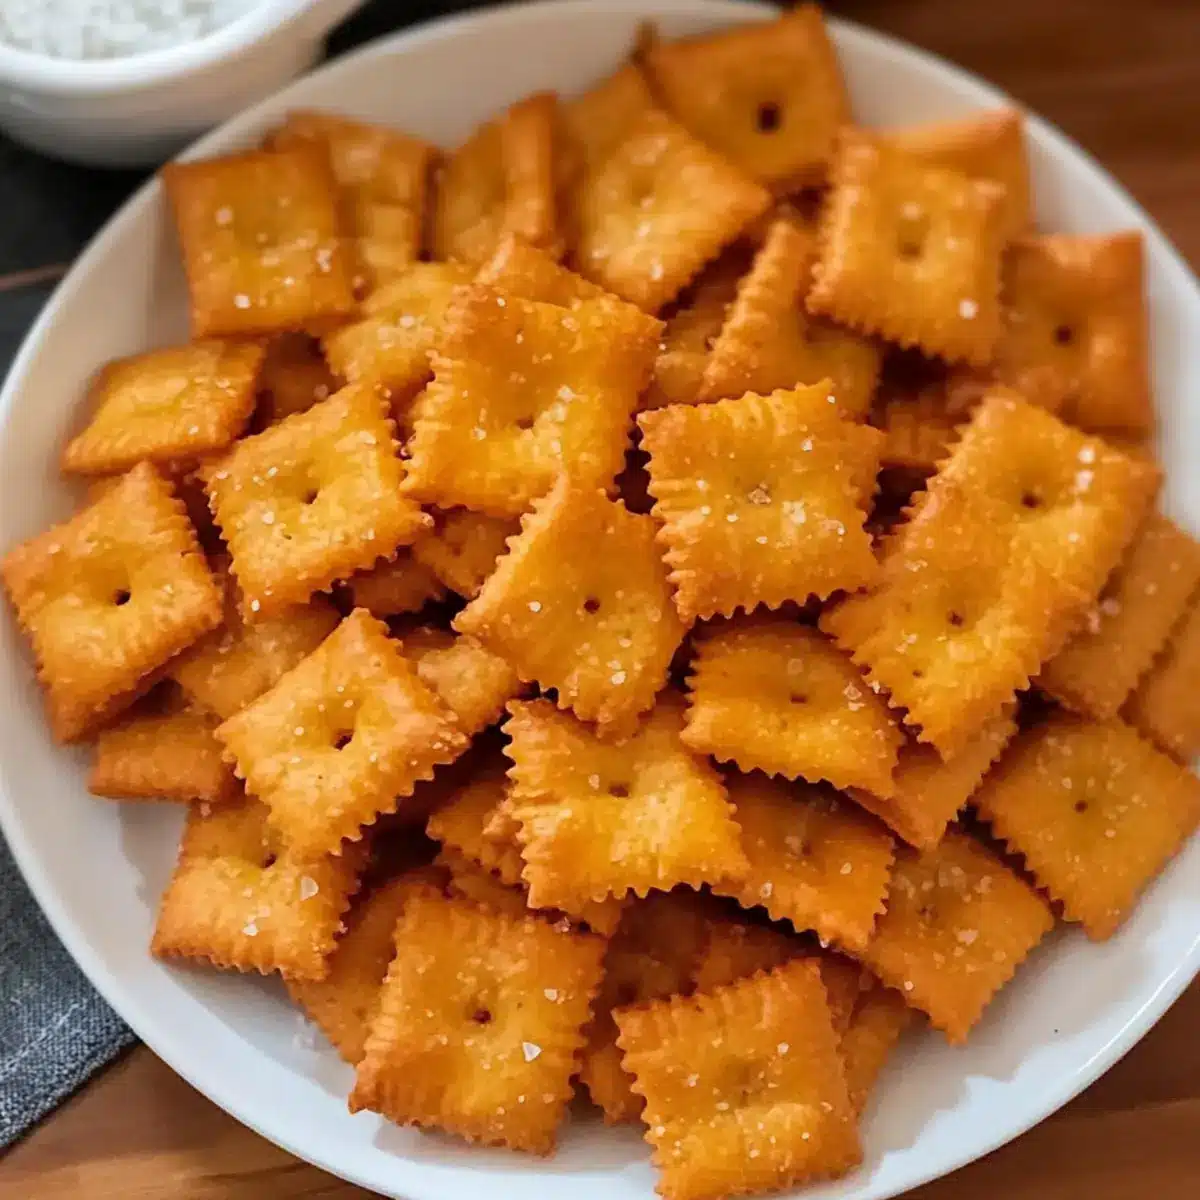
Tips for the Best Homemade Cheez-Its
• Freshly Grated Cheese: Use freshly grated sharp cheddar for optimal melt and flavor; pre-shredded options can hinder your homemade Cheez-Its’ quality.
• Even Dough Thickness: Roll out the dough to a consistent 1/8 inch thickness; this helps achieve crispiness and prevents uneven baking.
• Proper Cooling: Allow Cheez-Its to cool completely on a wire rack for the best texture. This step ensures they’re fully crispy and not chewy.
• Storage Solution: Store in an airtight container at room temperature to keep humidity at bay; this maintains the perfect crunch for days.
• Batch It Up: Consider making a double batch; these homemade Cheez-Its tend to vanish quickly, and you’ll want extras for later!
How to Store and Freeze Homemade Cheez-Its
Room Temperature: Keep your homemade Cheez-Its in an airtight container at room temperature for up to one week to maintain their crunchiness.
Fridge: If you prefer extra freshness, store them in the fridge for up to two weeks; just remember they might lose some crispness.
Freezer: For longer storage, freeze the Cheez-Its in a single layer on a baking sheet, then transfer to a freezer bag for up to three months.
Reheating: To revive the crunch, reheat in the oven at 350°F (175°C) for about 5–7 minutes after thawing; enjoy freshly baked homemade Cheez-Its!
Make Ahead Options
These Homemade Cheez-Its are a fantastic option for meal prep, saving you time on busy days! You can prepare the dough up to 24 hours in advance, wrapping it tightly in plastic wrap and refrigerating it until you’re ready to bake. By doing this, the flavors meld beautifully, enhancing the overall taste. If you’re looking to bake them later, simply roll out the chilled dough, cut into squares, poke holes, and sprinkle with salt before baking. They’ll be just as delicious and crispy as freshly made! This make-ahead strategy means you can enjoy that cheesy crunch whenever the craving strikes, all while minimizing kitchen time during the week.
What to Serve with Homemade Cheez-Its?
Imagine the delightful crunch of homemade Cheez-Its, perfectly paired with delicious sides that elevate your snacking experience to new heights.
-
Creamy Hummus: The smooth, rich texture of hummus complements the crunchy Cheez-Its, creating a satisfying contrast. Dip in and enjoy a flavorful blend with each bite.
-
Spicy Salsa: A zesty salsa adds a vibrant kick that balances the rich cheesiness. The freshness of diced tomatoes and jalapeños will invigorate your taste buds!
-
Guacamole: The creamy avocado dip offers a mild flavor that harmonizes beautifully with your cheesy snacks. Plus, the allure of guacamole can’t be underestimated!
-
Charcuterie Board: Pair your Cheez-Its with an assortment of cured meats, cheeses, and fresh fruits. The variety of textures and flavors will make your snack spread truly exciting.
-
Crisp Veggies: Fresh cucumber, bell pepper strips, or baby carrots are not only crunchy but offer a refreshing bite that enhances the enjoyment of your savory Cheez-Its.
-
Sparkling Lemonade: Sip on some refreshing sparkling lemonade for a delightful contrast to the savory cheese flavor. This fizzy drink will brighten up your snacking occasion!
-
Sweet Fruit Dip: A light, sweet yogurt-based fruit dip can provide a unique flavor twist. Dip your Cheez-Its for an unexpectedly delightful combination of savory and sweet.
Let your creativity flow and discover the endless possibilities to make snack time even more memorable!
Homemade Cheez-Its Variations & Substitutions
Feel free to explore and customize your Homemade Cheez-Its to suit your taste preferences and dietary needs!
- Spicy Twist: Add pepper jack cheese for a zesty kick that elevates the classic Cheez-It flavor.
- Garlic Flavor: Incorporate garlic powder into the dough for a savory twist that’s utterly addictive.
- Herbed Delight: Mix in dried herbs like rosemary or thyme for an aromatic touch that enhances the overall taste.
- Nutty Crunch: Replace some of the all-purpose flour with almond flour for a lovely nuttiness; just adjust the liquid slightly for texture.
- Dairy-Free: Opt for vegan cheese and vegan butter to create a delicious dairy-free version that’s still rich in flavor.
- Extra Crunch: For an added layer of texture, sprinkle sesame seeds on top before baking for a nutty crunch.
- Sweet & Savory: Try adding a pinch of brown sugar to the dough for an intriguing sweet-savory contrast.
- Boosted Heat Level: Dust with cayenne pepper for those who love a strong kick—this little tweak makes a world of difference!
With these variations, you’ll never get bored and can try something new with every batch. Plus, don’t forget to check out my guide on snack ideas for kids or to discover how to meal prep snacks that everyone will love!
Homemade Cheez-Its Recipe FAQs
How do I select the best sharp cheddar cheese for my homemade Cheez-Its?
Absolutely! Look for block cheese instead of pre-shredded options, as pre-shredded cheese often contains anti-caking agents that can affect texture. Choose a sharp cheddar for a more pronounced cheesy flavor. Ideally, the cheese should be fresh, firm to the touch, and free of any dark spots that may indicate spoilage.
What is the best way to store homemade Cheez-Its?
For optimal freshness, store your homemade Cheez-Its in an airtight container at room temperature for up to one week. If you’d like to keep them fresh for a longer period, consider placing them in the refrigerator, though they might lose some of their crispness in the process. Just make sure they are completely cool before sealing them up!
Can I freeze homemade Cheez-Its?
Absolutely! To freeze your Cheez-Its, lay them out in a single layer on a baking sheet and freeze until solid. Then, transfer them to a freezer bag or airtight container. They’ll keep well for up to three months. When you’re ready to enjoy, just thaw and reheat in the oven at 350°F (175°C) for about 5–7 minutes to bring back that crunchy texture.
What should I do if my dough is too crumbly or sticky?
Very! If your dough appears too crumbly, it might benefit from a splash more cold water or milk—add a tablespoon at a time until the dough holds together better. Conversely, if it’s too sticky, try adding a small amount of flour to help balance it out. The key is achieving a smooth, slightly tacky consistency that allows you to roll out the dough without a mess.
Can I make these Cheez-Its gluten-free?
Absolutely! You can substitute all-purpose flour with a gluten-free flour blend to make a gluten-free version of these delightful homemade Cheez-Its. Just check that the blend you’re using is suitable for baking to maintain the texture you’re aiming for.
Are homemade Cheez-Its safe for pets or anyone with allergies?
While homemade Cheez-Its are a delectable snack for humans, be cautious with sharing them with pets, especially if they have dairy allergies. The ingredients like cheese and butter may not sit well with their digestive systems. For those with allergies, always double-check for individual ingredient sensitivities—consider using vegan butter and dairy-free cheese alternatives for a compatible recipe!

Homemade Cheez-Its: Crispy, Cheesy Bliss in Every Bite
Ingredients
Equipment
Method
- Start by grating the sharp cheddar cheese using a box grater. In a food processor, combine the grated cheese with all-purpose flour and salt. Add the unsalted butter and pulse until it resembles coarse crumbs.
- With the processor running, gradually pour in the cold water and milk until a cohesive dough forms. Be careful not to overmix.
- Lightly flour your work surface, then transfer the dough and roll it out to about 1/8 inch thickness.
- Using a sharp knife or pizza cutter, cut the dough into 1-inch squares and poke a hole in the center of each square.
- Generously sprinkle sea salt over the top of the shapes.
- Preheat your oven to 350°F (175°C). Line a baking sheet with parchment paper and bake for about 15 minutes, or until golden brown.
- Let them cool on the baking sheet for a few minutes, then transfer to a wire rack to cool completely.