

Stepping into the world of Japanese sweets, I discovered a delightful gem: Hanami Dango. These charming, tri-colored rice cakes aren’t just a feast for the eyes—they’re a testament to simplicity in dessert making. Crafted with only three ingredients, this gluten-free treat is not only quick to whip up but also filled with nostalgia, perfect for spring celebrations. The chewy texture, enhanced by earthy matcha and sweet strawberry flavors, transports me to cherry blossom festivals as I savor each bite. Whether for a cozy family gathering or a delightful treat just for you, these adorable dango will surely earn a place in your heart (and on your table). Ready to bring a taste of Japan into your home? Let’s dive into this enchanting recipe!
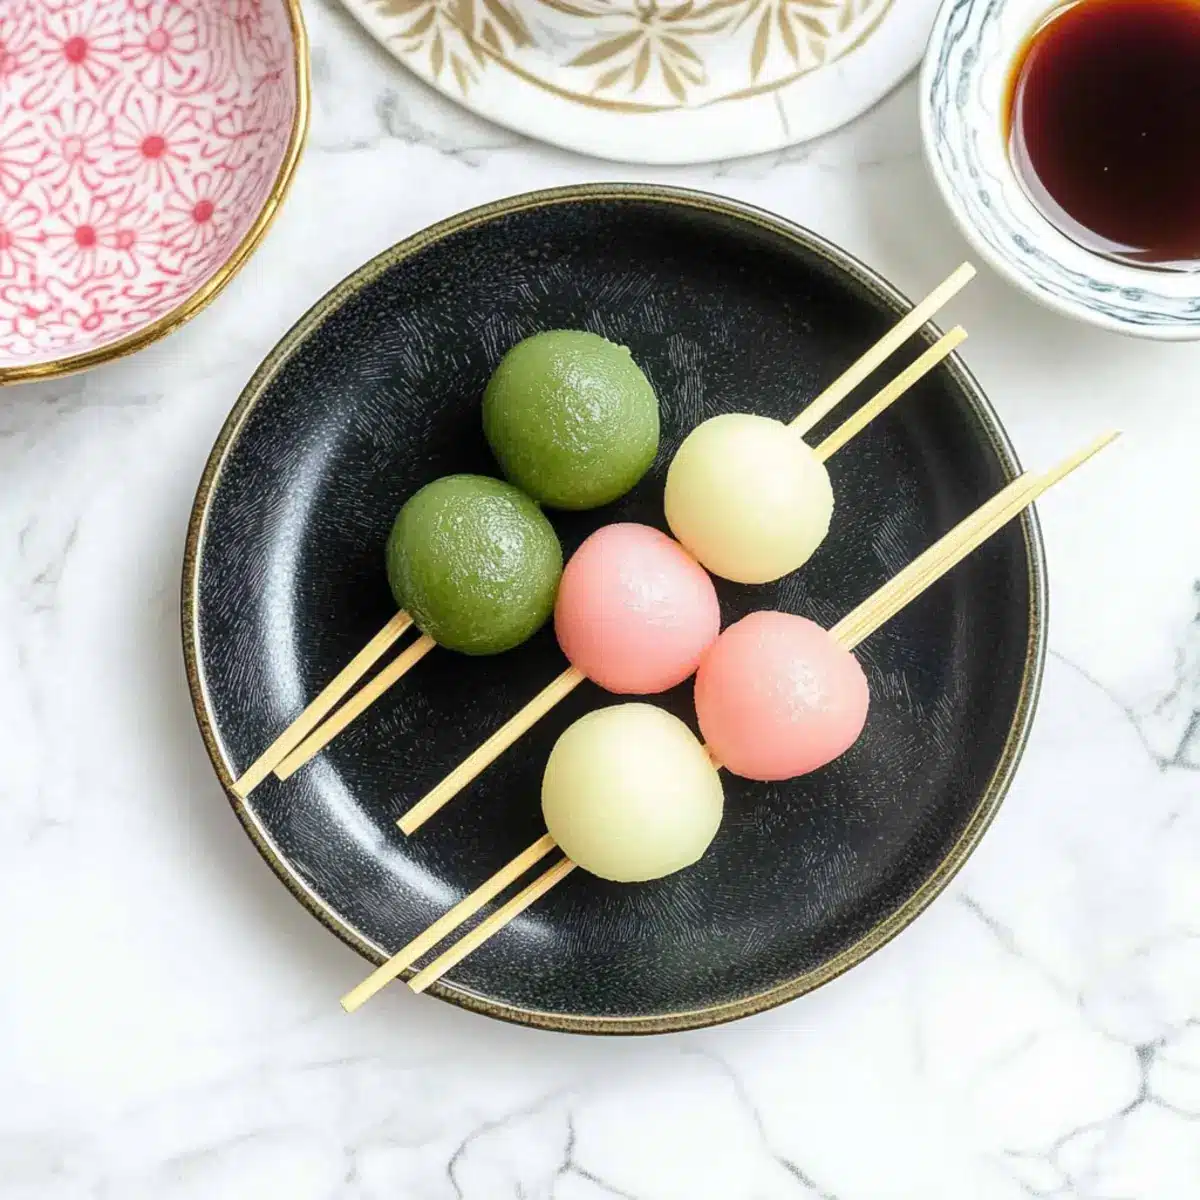
Why is Hanami Dango so special?
Simplicity: This delightful treat requires just three ingredients, making it an easy and fun recipe for beginners and experienced cooks alike.
Visual Appeal: The beautiful, tri-colored presentation of the dango not only attracts the eye but makes for a stunning centerpiece at any gathering.
Flavorful Variations: With its unique flavors from green matcha and sweet strawberry, you can easily customize your dango to suit your taste or occasion.
Cultural Connection: Enjoying Hanami Dango allows you to embrace Japanese tradition, bringing a slice of cherry blossom viewing magic right into your kitchen.
Healthy Indulgence: Being gluten-free and made from wholesome ingredients, you can relish these chewy bites without guilt. Add this recipe to your dessert repertoire and delight in the joy it brings! For more simple and delicious gluten-free treats, check out our other easy dessert recipes.
Hanami Dango Ingredients
Craft your delightful Hanami Dango with these simple ingredients!
For the Dough
- Silken Tofu – Provides tenderness and chewiness; only silken tofu ensures the right texture without graininess.
- Glutinous Rice Flour (Shiratamako/Mochiko) – This is the main ingredient that gives dango its signature chewy texture.
- White Sugar – Adds just the right touch of sweetness; natural sweeteners can be used as substitutes if preferred.
For the Color Variations
- Matcha Powder (for green dango) – Provides an earthy flavor and vibrant green color; you can also use green food coloring if you prefer.
- Strawberry Powder (for pink dango) – Adds sweetness and a lovely pink hue; consider substituting with strawberry jam, adjusting the dough accordingly.
Gather these ingredients, and you’re ready to create your own batch of delightful Hanami Dango!
Step‑by‑Step Instructions for Hanami Dango
Step 1: Prepare the Dough
In a large mixing bowl, combine 200g of silken tofu, 200g of glutinous rice flour, and 50g of white sugar. Use your hands to knead the mixture until it forms a smooth, pliable dough. This should take about 5-7 minutes. Ensure the dough is uniform in consistency, reflecting the chewy texture characteristic of Hanami Dango.
Step 2: Divide & Color the Dough
Once the dough is ready, divide it into three equal portions. Add 1 tablespoon of matcha powder to one portion and knead until fully incorporated, achieving a vibrant green color. In the second portion, mix in 1 tablespoon of strawberry powder for a lovely pink hue. The third portion remains white. Ensure each dough piece is smooth and evenly colored.
Step 3: Shape Dango Balls
Take each colored dough portion and roll it into small balls, aiming for around 14-15 grams each, yielding 5 pieces per portion. Roll the pieces gently between your palms to achieve a smooth finish. Each ball should be roughly the size of a marble, ensuring they will cook evenly in the next steps.
Step 4: Cook the Dango
Bring a pot of water to a rolling boil over medium-high heat. Carefully drop in the dango balls and cook them for about 5-8 minutes or until they start to float to the surface, indicating they are cooked through. Use a strainer ladle to gently remove the dango from the boiling water, allowing excess water to drain off.
Step 5: Cool in Ice Water
Prepare a bowl filled with ice water while the dango are cooking. Once you’ve removed the dango from the pot, immediately immerse them in the ice water to halt the cooking process. Keep them in the ice bath for about 5 minutes, allowing them to firm up and maintain their chewy texture.
Step 6: Assemble on Skewers
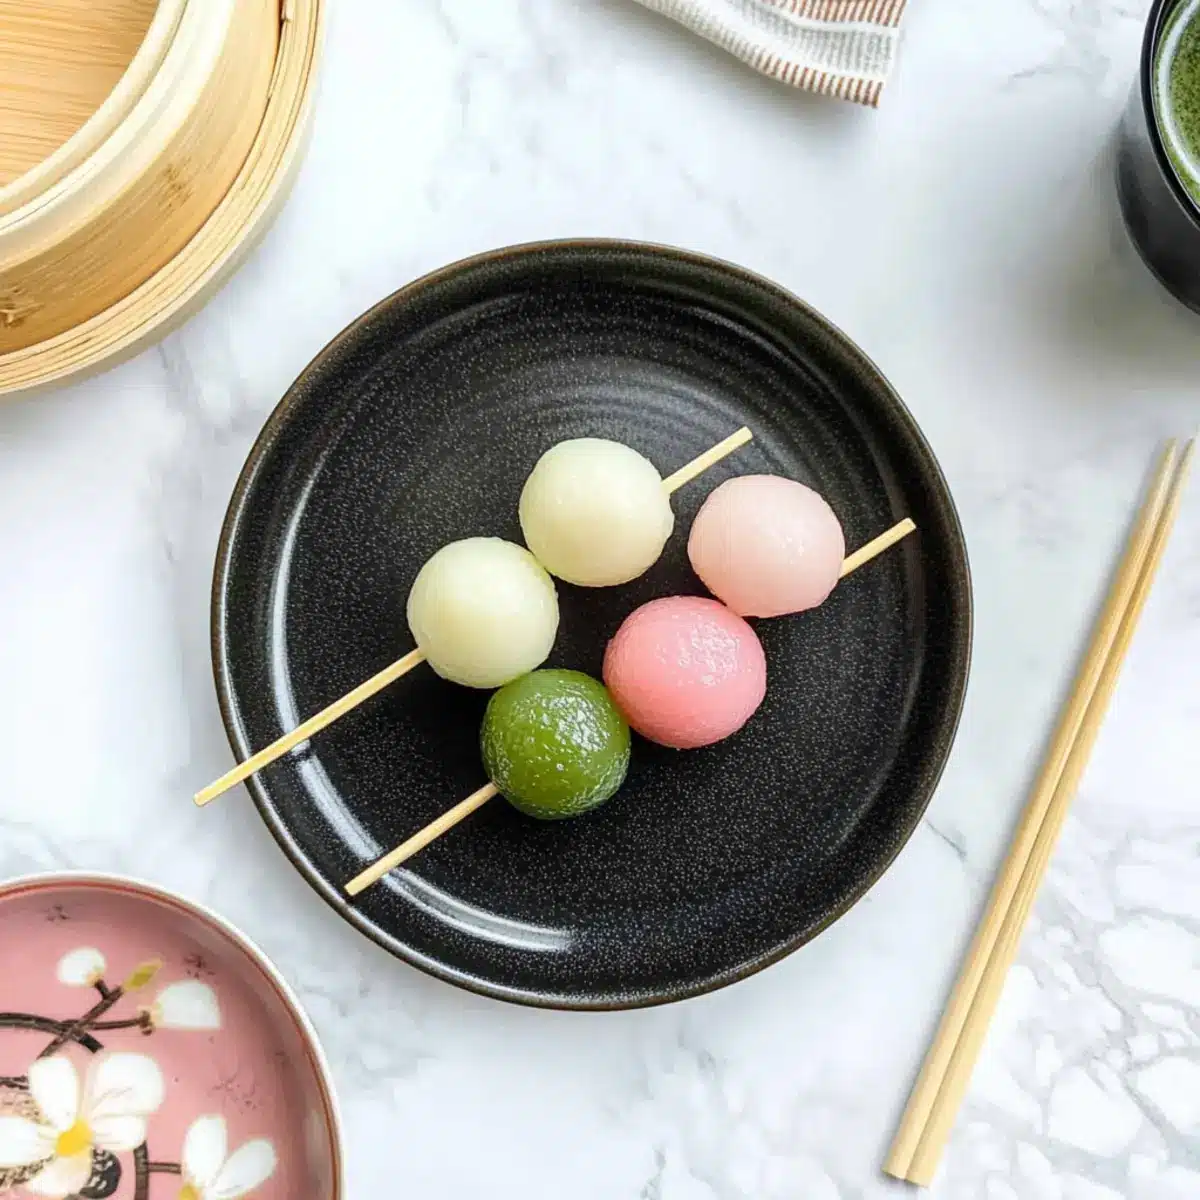
After cooling, remove the dango from the ice water and pat them dry gently. Slide three dango balls onto a bamboo skewer, arranging them in the order of green, white, and pink. This beautiful presentation will enhance your Hanami Dango and make them perfect for serving at spring celebrations or enjoying as a delightful treat!
What to Serve with Hanami Dango
Elevate your Hanami Dango experience by pairing it with delightful accompaniments that enhance flavors and add to the festive atmosphere.
- Green Tea: This soothing beverage complements the earthy matcha flavor and balances the sweetness of the dango, perfect for a traditional experience.
- Fruity Sorbet: A refreshing scoop of sorbet adds a cold, fruity layer to your dessert tray, contrasting beautifully with the chewy texture of dango.
Consider a delightful mix of textures here. The creamy sorbet together with the chewy dango provides a delightful mouthfeel for each bite.
- Yuzu Citrus Salad: Bright and tangy, this salad made with yuzu dressing harmonizes well, adding refreshing flavors to your dessert table.
- Sweet Red Bean Paste: This classic pairing introduces rich, sweet notes, providing a delicious contrast to the delicate flavors of Hanami Dango.
Red bean paste’s richness offers a comforting touch alongside the chewy dango, uniting traditional flavors that speak to the heart.
- Matcha Latte: Creamy and indulgent, a matcha latte creates a harmonious theme, enhancing the matcha flavor while providing a comforting warmth.
- Chilled Mochi Ice Cream: These bite-sized treats provide a similar chewy texture, with exciting flavors that will delight and surprise your taste buds.
Finish off your dango feast with refreshing drinks or desserts to create a well-rounded experience, giving your taste buds an enticing adventure!
How to Store and Freeze Hanami Dango
- Room Temperature: Keep your Hanami Dango at room temperature for the best texture. They can last up to 1 day, but are best enjoyed fresh.
- Fridge: If needed, store in an airtight container for up to 3 days; however, refrigeration may change the texture and make them firmer.
- Freezer: For longer storage, freeze the cooked dango in a single layer on a baking sheet, then transfer to a freezer bag for up to 1 month.
- Reheating: When ready to enjoy, thaw the frozen Hanami Dango in the fridge overnight and steam or microwave them briefly to bring back their delightful chewiness.
Expert Tips for Hanami Dango
- Dough Consistency: Ensure the right balance of silken tofu and rice flour; too much tofu will create a sticky mess instead of the desired chewy texture.
- Avoiding Sticking: Dust your hands with glutinous rice flour while shaping the dango balls to prevent them from sticking to your fingers.
- Cook Time Awareness: Monitor the boiling time closely; overcooking can lead to mushy dango, compromising that perfect chewy finish.
- Quick Cooling: Don’t skip the ice water step; it’s essential for setting the texture and ensuring your Hanami Dango remain delightfully chewy.
- Serving Fresh: For the best experience, enjoy your Hanami Dango on the same day they are made; if stored, keep them at room temperature to avoid hardening.
Make Ahead Options
These delightful Hanami Dango are perfect for making ahead, saving you precious time during busy spring celebrations! You can prepare the dough up to 24 hours in advance by combining the silken tofu, glutinous rice flour, and sugar, then refrigerate it in an airtight container to maintain its quality. Additionally, you can color and shape the dango balls and store them in a single layer in the fridge for up to 3 days. When ready to serve, simply cook the dango as directed, using the boiling method, and cool them in ice water to preserve their chewy texture. This way, you can enjoy fresh, homemade Hanami Dango that taste just as delicious with minimal effort!
Hanami Dango Variations & Substitutions
Feel free to play around with this recipe and let your creativity shine through with these delightful twists!
-
Chocolate Version: Substitute cocoa powder for one of the flavorings to create a rich, chocolatey treat. Your taste buds will thank you!
-
Fruit Flavors: Instead of matcha and strawberry, try using flavors like mango or blueberry powder to give your dango a fruity flair. The vibrant colors will brighten your dessert table.
-
Nutty Twist: Incorporate almond or coconut flour for added texture and flavor; it creates a nutty flavor profile that complements the sweetness beautifully.
-
Spicy Kick: If you’re adventurous, add a pinch of cinnamon or ginger to the dough for an unexpected, warm spice element in each chewy bite.
-
Savory Option: Switch up the sugar to a pinch of salt and use vegetable powders like spinach or beet for a savory dango experience—a unique twist worth exploring!
-
Dye Alternatives: Use natural food coloring made from beet juice or spirulina instead of powders for a vibrant color without added flavors. It’s a fun way to experiment with your dango while keeping things clean!
For those looking for more mouthwatering desserts, check out our collection of easy dessert recipes to keep the inspiration flowing. Indulge in the magic of homemade treats!
Hanami Dango Recipe FAQs
What is the best way to select ripe ingredients for Hanami Dango?
Absolutely! For the best Hanami Dango, ensure you use silken tofu that is firm yet creamy, as it provides the ideal texture. Avoid packages that have any liquid pooling around them and look for tofu that is well within its expiration date. Regarding the glutinous rice flour, it should be fine and powdery, while the sugar must be fresh without any clumps.
How should I store Hanami Dango?
It’s best to keep your Hanami Dango at room temperature to preserve that delightful chewy texture. They typically last for about 1 day, but if you have leftovers, you can store them in an airtight container for up to 3 days. Just remember that refrigerating can lead to a firmer texture, which might not be desirable!
Can Hanami Dango be frozen?
Yes, indeed! To freeze your Hanami Dango, start by placing them on a baking sheet in a single layer, and then freeze them until solid—about 1 to 2 hours. Once fully frozen, transfer the dango to a freezer bag or airtight container, where they can last for up to 1 month. When you’re ready to enjoy them, simply thaw overnight in the fridge and then revive their chewiness by steaming or microwaving them briefly.
What if my dango dough is too sticky or too dry?
Don’t worry; it happens to the best of us! If your dough is too sticky, you can gradually add more glutinous rice flour, one tablespoon at a time, kneading until you get the right consistency. Conversely, if it’s too dry, mix in a small amount of silken tofu, kneading again until you achieve a smooth, pliable dough. The goal is to get a dough that’s not overly sticky yet still retains its elasticity for shaping.
Are there any dietary considerations for making Hanami Dango?
Very much so! Hanami Dango is naturally gluten-free due to the use of glutinous rice flour. However, if you’re replacing the white sugar with alternatives, like agave or maple syrup, you may need to adjust the liquid content of the dough. Moreover, always double-check the specific brand of matcha or strawberry powder you’re using, as some may contain additives that could trigger allergies.
Can I use different colors or flavors for my Hanami Dango?
The more the merrier! Feel free to experiment with various flavors and colors for a unique twist on your Hanami Dango. You can use fruit powder like blueberry or even cocoa powder for chocolate dango. Just remember to adjust the amount of glutinous rice flour based on the moisture content of the substitutes!
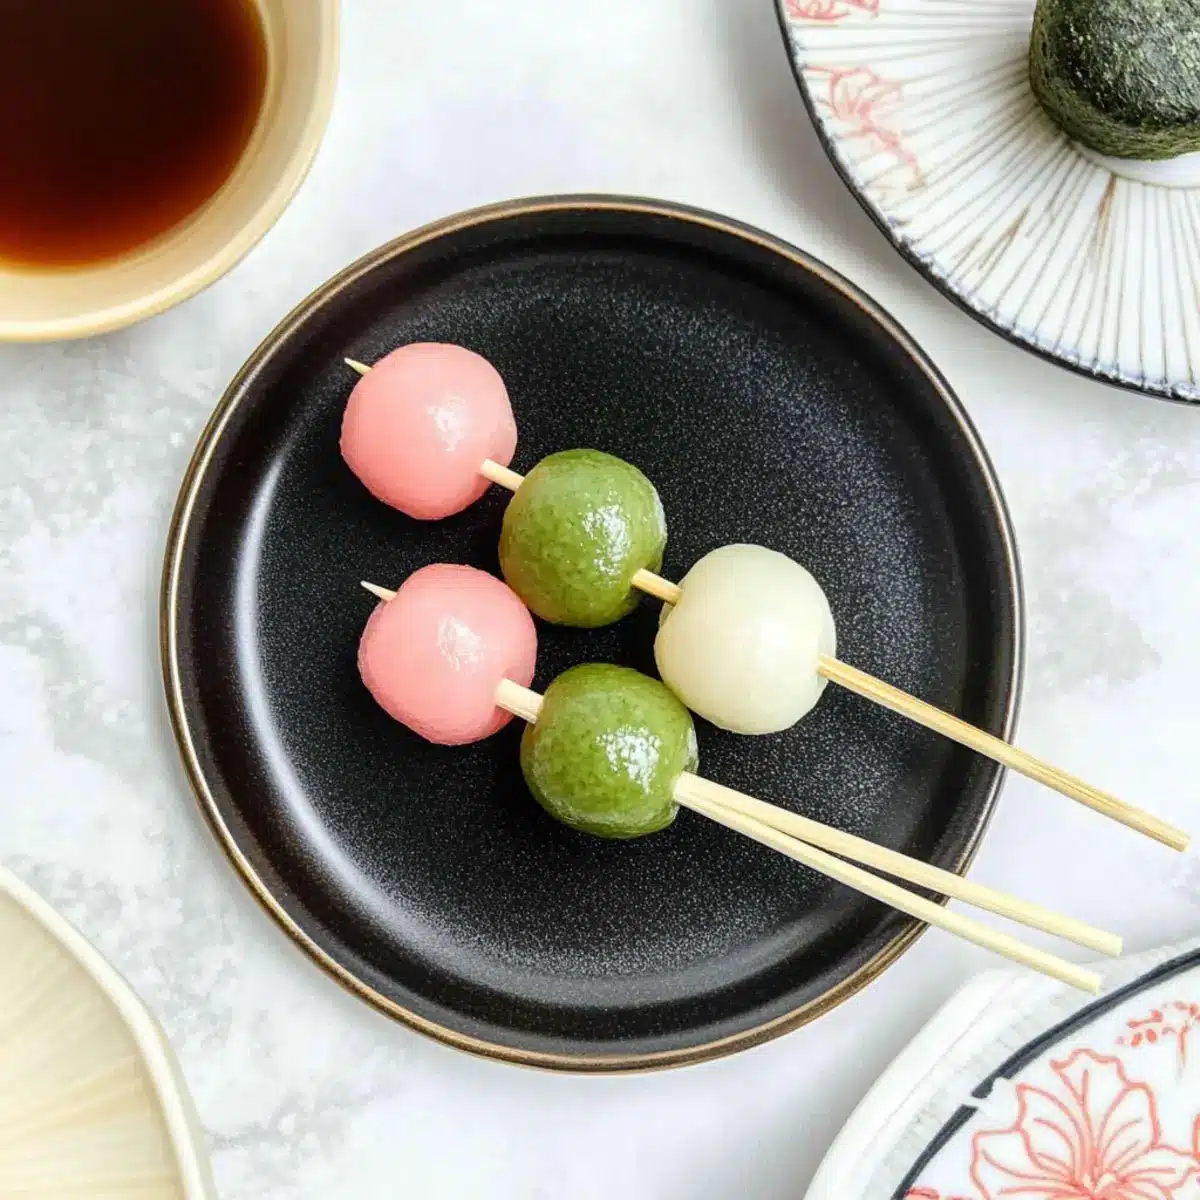
Delightful Hanami Dango: Easy, Chewy Treats for Spring Fun
Ingredients
Equipment
Method
- In a large mixing bowl, combine 200g of silken tofu, 200g of glutinous rice flour, and 50g of white sugar. Knead until smooth.
- Divide the dough into three portions. Add matcha powder to one and strawberry powder to another, kneading until colors are fully incorporated.
- Roll colored dough portions into small balls, around 14-15 grams each, yielding 5 pieces per portion.
- Bring a pot of water to a boil. Cook dango balls for 5-8 minutes until they float. Remove with a strainer ladle.
- Prepare a bowl of ice water. Transfer cooked dango into the ice water for about 5 minutes.
- Pat dango dry and slide three balls onto a skewer in the order of green, white, and pink.