

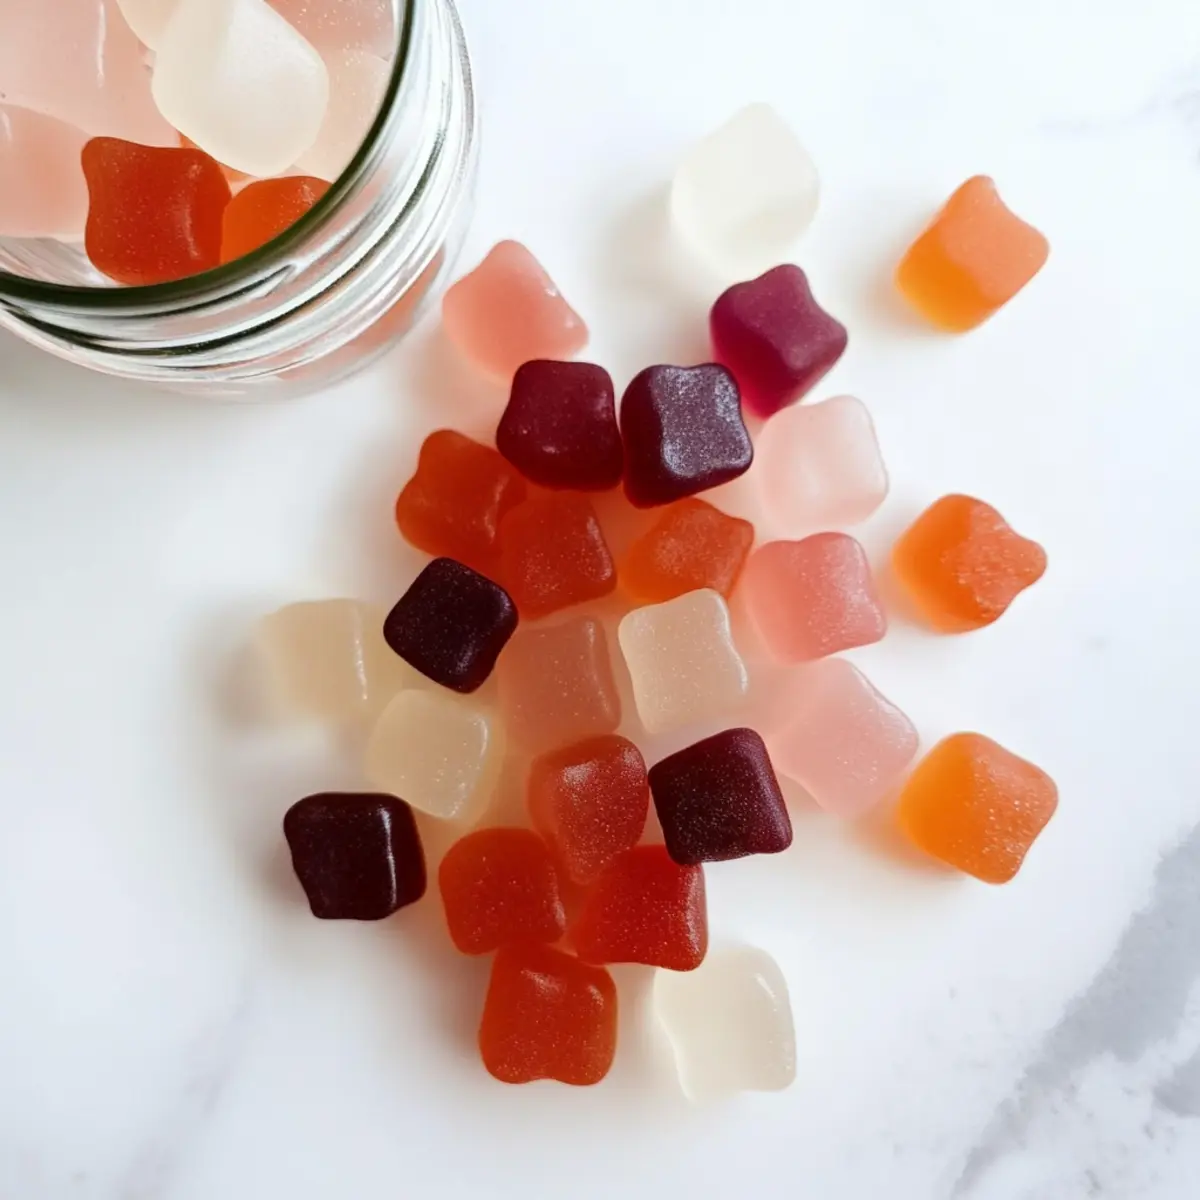
The first time I made my own gummies, I couldn’t believe how simple—and delicious—they turned out! Today, I’m excited to share my recipe for Gut Healing Gummies, an enjoyable way to nurture your gut health while satisfying your sweet tooth. These little bites of joy are not only gluten-free and dairy-free, but they’re also super easy to whip up, making them a perfect snack for both kids and adults alike. With just a few fresh ingredients, you can create a treat that’s not only fun to eat but also packed with beneficial properties to support your digestive health. What fruit juice will you choose for your own batch? Let’s find out!
Why Are Gut Healing Gummies So Special?
Simple to make: You’ll love how easy it is to whip these up with just a few ingredients like juice and gelatin. Versatile flavors: Experiment with various juices for unique tastes—try mango or peach for a tropical twist! Health benefits: Packed with gut-healing properties, these gummies help nourish your digestive system while satisfying your sweet cravings. Family-friendly fun: Kids will adore these chewy treats, perfect for any healthy snack time. Less mess, more joy: With minimal cleanup and a fun preparation process, this recipe makes healthy eating exciting! For more creative ideas, check out our guide on Healthy Snacks for Kids.
Gut Healing Gummies Ingredients
For the Gummies
- Coconut Oil – Grease your pan for easy removal; any neutral oil works if you don’t have coconut oil on hand.
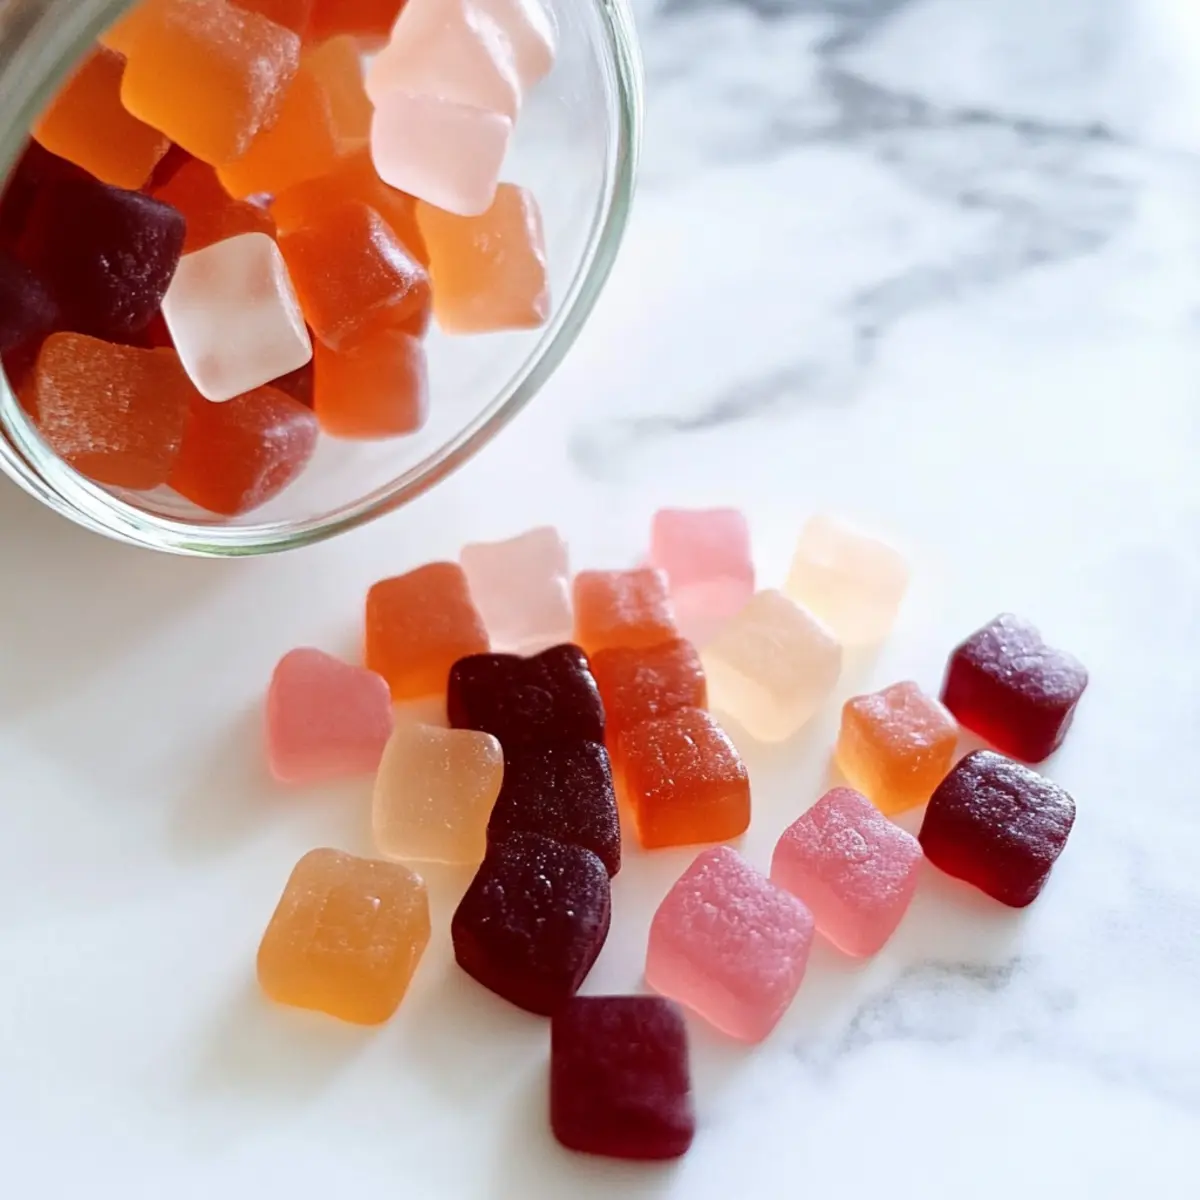
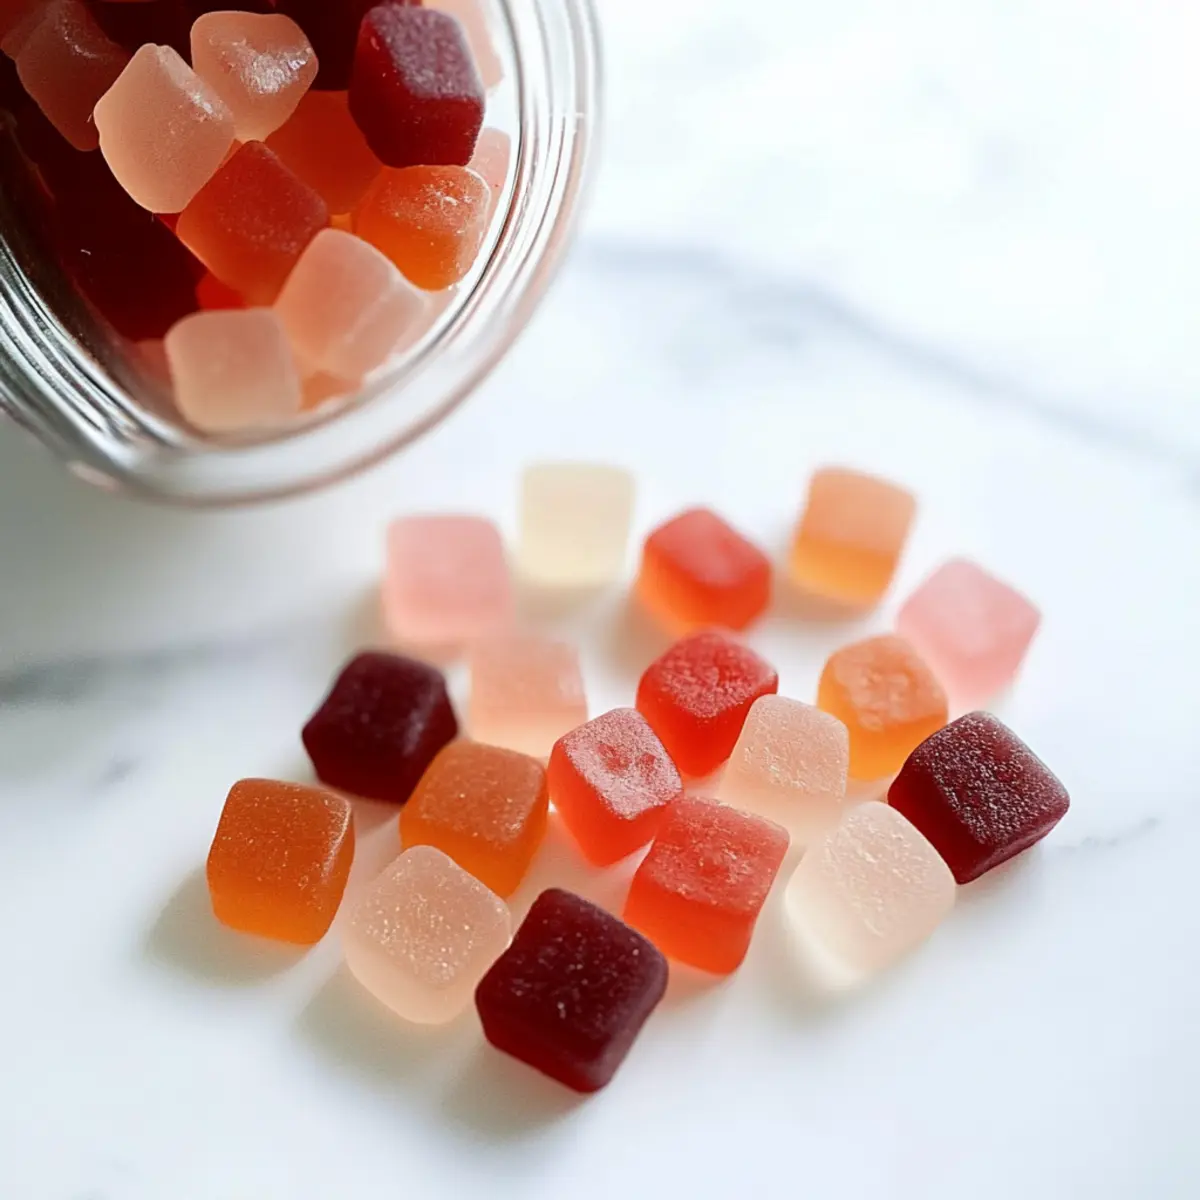
- Juice (4 cups total) – This is the star for flavor and sweetness; remember to avoid pineapple juice as it won’t allow the gelatin to set—cranberry, watermelon, or guava juice are great alternatives.
- Gelatin (8 tablespoons) – The essential ingredient providing structure and health benefits; I recommend Vital Proteins for quality, but note that substitutes like agar agar may not deliver the same health advantages.
For Creative Shapes
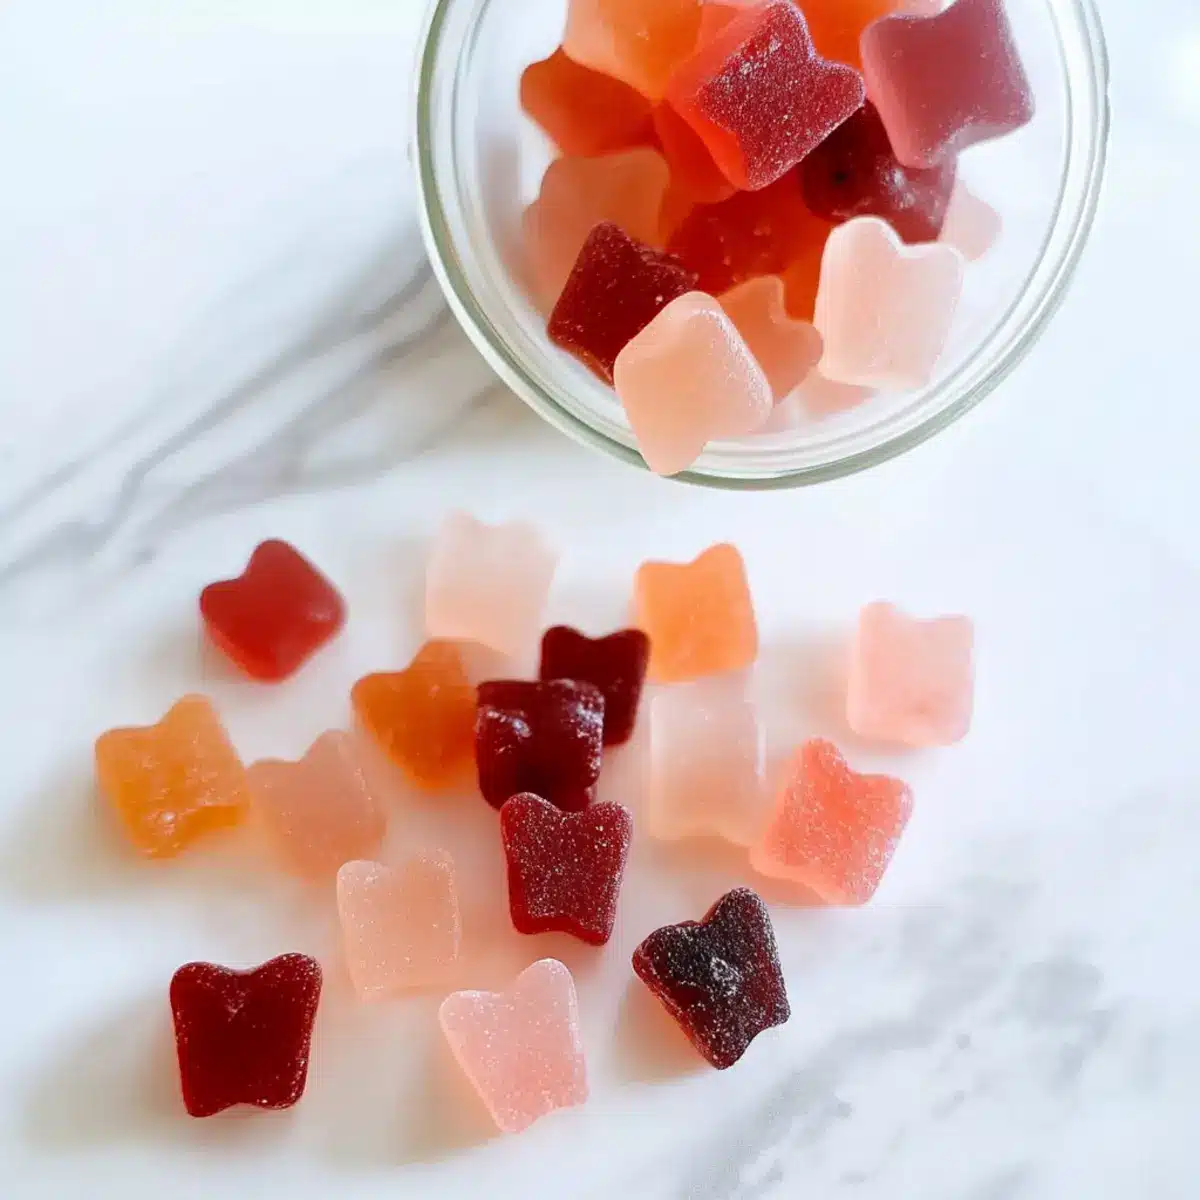
- Silicone Molds – They allow you to get creative with shapes, making the gummies more fun and appealing for both kids and adults!
These delightful Gut Healing Gummies are a fantastic way to satisfy your sweet cravings while giving your gut some extra love!
Step‑by‑Step Instructions for Gut Healing Gummies
Step 1: Grease the Pan
Begin by lightly greasing an 8”x8” square pan with coconut oil to ensure easy removal of your Gut Healing Gummies later. Use a paper towel or your fingers to spread the oil evenly across the bottom and sides. This crucial step prevents sticking and ensures your gummies come out beautifully once set.
Step 2: Prepare the Gelatin Mixture
In a medium-sized bowl, sprinkle 8 tablespoons of gelatin over 3 cups of your chosen juice. Allow it to sit undisturbed for 3 to 5 minutes; during this time, you’ll notice the gelatin absorbing the juice and thickening into a jelly-like consistency. This blooming process is essential for achieving the perfect texture in your gummies.
Step 3: Heat Additional Juice
Meanwhile, pour 1 cup of juice into a saucepan and heat it over medium-low heat. Stir occasionally, ensuring the juice is warmed through but not boiling. This step typically takes about 5 minutes. Heating the juice enhances the flavor and helps the gelatin dissolve more effectively when combined.
Step 4: Combine and Dissolve
Once your juice is heated, carefully add the bloomed gelatin mixture to the saucepan. Stir continuously for about 2-3 minutes until the gelatin has fully dissolved and the mixture is smooth without any lumps. This will create the liquid gold that will turn into your delicious Gut Healing Gummies.
Step 5: Pour into the Pan
After the mixture is fully combined, pour it into the greased pan. Spread it evenly and gently tap the pan on the counter to eliminate any air bubbles. This ensures a uniform set and that every bite of your gummies is delightful.
Step 6: Chill and Set
Transfer the pan to the refrigerator and allow the mixture to chill for 4 to 5 hours, or until firm. Check for doneness by gently poking the top; it should feel firmly set but slightly bouncy. This cooling time is essential for achieving those perfect chewy Gut Healing Gummies that everyone will love.
Step 7: Cut into Shapes
Once set, remove the pan from the refrigerator and, using a sharp knife or cookie cutters, cut the gummies into your desired shapes or squares. The gummies should pop out easily. Each piece will be a tasty, nutritious treat, ready to enjoy or share with family and friends.
Step 8: Store and Enjoy
Finally, transfer your freshly cut Gut Healing Gummies into an airtight container. Store them in the refrigerator, where they will keep for up to one week. Enjoy these healthy bites as a quick snack, or share them with loved ones to spread the joy of gut health!
What to Serve with Gut Healing Gummies?
Transform snacking into a delightful experience by pairing your homemade gummies with complementary flavors and textures!
- Fresh Fruit Salad: A vibrant medley of seasonal fruits adds a refreshing contrast, enhancing the fruity flavor of the gummies.
- Yogurt Parfait: Creamy yogurt layered with granola and fresh berries offers a satisfying crunch while supporting your gut health.
- Nuts and Seeds Mix: A handful of almonds, cashews, or pumpkin seeds provides a delightful crunch and healthy fats, balancing the sweetness of the gummies.
- Herbal Tea: The warmth of chamomile or peppermint tea offers a soothing element, perfect for winding down after enjoying your gummies.
- Smoothie Bowl: Top a smoothie bowl with your favorite fruits and granola, creating a vibrant and nutritious breakfast that includes gut-healing elements.
- Dark Chocolate: A piece of high-quality dark chocolate can complement the gummies with its rich flavor, making for an indulgent, yet healthy treat.
- Cheese Plate: Pairing your gummies with a soft cheese like brie can create an interesting taste experience, contrasting sweet and savory flavors.
- Energy Balls: These packed little snacks provide a satisfying bite and are a great option if you’re looking for an energy boost along with your gummies.
- Sparkling Water: A refreshing beverage can cleanse the palate, making every bite of your gummies even more enjoyable!
Helpful Tricks for Gut Healing Gummies
- Use Quality Gelatin: Opt for high-quality gelatin like Vital Proteins to ensure optimal texture and gut health benefits. Cheap substitutes may not yield the same results.
- Blooming is Key: Always let the gelatin bloom in juice for at least 3-5 minutes; skipping this step can lead to lumpy gummies.
- Temperature Matters: Avoid boiling the juice when heating it; bringing it to a warm temperature helps dissolve the gelatin smoothly without compromising flavor.
- Juice Choices: Stick to juices that set well, avoiding pineapple juice; instead, opt for cranberry or watermelon for delightful flavors and compliance in your Gut Healing Gummies.
- Fun Shapes: Make the experience more exciting by using silicone molds or cookie cutters; creative shapes can turn healthy snacks into enjoyable treats!
How to Store and Freeze Gut Healing Gummies
Fridge: Store gummies in an airtight container in the refrigerator for up to one week to maintain their fresh flavor and chewy texture.
Freezer: For long-term storage, freeze the gummies in single layers on a baking sheet, then transfer to a container. They can be stored for up to 3 months.
Reheating: To enjoy frozen Gut Healing Gummies, simply thaw them in the refrigerator overnight or leave them at room temperature for about 30 minutes before eating.
Avoid Moisture: To preserve their quality, make sure the container is sealed tightly to keep moisture out, as this can affect the texture and flavor.
Make Ahead Options
These Gut Healing Gummies are a perfect option for meal prep enthusiasts! You can bloom the gelatin and combine it with your juice up to 24 hours in advance, allowing the mixture to sit in the refrigerator until ready to pour into the greased pan. Just remember to keep it covered to prevent any odors from affecting the delicate flavor of the gummies. When you’re ready to finish, pour the mixture into the pan and chill for 4 to 5 hours until set. This way, you can enjoy delicious and healthy treats without the rush, making your busy weeknights just a little easier!
Gut Healing Gummies Variations & Substitutions
Feel free to make these gummies your own with these delightful and simple modifications!
-
Juice Swaps: Try using mango or peach juice for a tropical flair that enriches flavors.
These sweet alternatives will bring a refreshing twist to your gummies that your taste buds will adore! -
Creative Shapes: Use silicone molds or cookie cutters to create fun designs, making healthy snacking exciting for kids and adults alike.
Imagine heart-shaped gummies for Valentine’s Day or stars for a summer picnic—endless creativity awaits! -
Vegan Option: Swap traditional gelatin for agar-agar for a plant-based alternative.
Keep in mind that while it’s a great vegan option, it may yield a slightly different texture compared to gelatin. -
Herbal Boost: Infuse your gummies with lemon balm or ginger for added health benefits.
Not only will this enhance the flavor, but it’ll also give your gut an extra supportive nudge! -
Sweetness Adjustments: Feel free to add honey or maple syrup to your juice mixture for extra sweetness.
Adjust to your personal preference, and let those taste buds dance with joy! -
Add Some Heat: Spice things up by incorporating a dash of cayenne or ginger powder for an unexpected kick.
This twist not only adds flavor but can also help stimulate digestion! -
Snack Combinations: Pair these gummies with some nut butter or yogurt as a dip for an amusing snack variety.
This presentation creates a fun and interactive experience that everyone will enjoy! -
Berry Blast: Blend in some pureed berries into your juice mix for a burst of color and antioxidants.
The vibrant hues not only look appetizing but also elevate the health factor of your gummies!
Don’t hesitate to play around with these variations and substitutions to craft your perfect batch of Gut Healing Gummies!
Gut Healing Gummies Recipe FAQs
How do I choose the right fruit juice for my gummies?
Absolutely! When selecting juice for your Gut Healing Gummies, ensure it’s fresh and free from additives for the best flavor. Avoid pineapple juice, as it contains enzymes that prevent gelatin from setting. Opt for juices like cranberry, watermelon, or guava which set well and impart delicious fruit flavors. Feel free to experiment with your favorites!
How should I store my Gut Healing Gummies, and how long will they last?
Very important! Store your gummies in an airtight container in the refrigerator, where they will stay fresh for about a week. Make sure the container is tightly sealed to prevent moisture from affecting their chewy texture. If you want to keep them longer, you can freeze them!
Can I freeze Gut Healing Gummies? If so, how?
You can absolutely freeze your gummies! To do this, lay them out in a single layer on a baking sheet and place them in the freezer until frozen solid. Then, transfer the gummies to an airtight container or freezer bag. They can last up to 3 months in the freezer. Simply thaw them overnight in the refrigerator before enjoying!
What if my gummies turn out too soft or too hard?
No worries, it happens! If your Gut Healing Gummies are too soft, it could mean that the gelatin didn’t bloom properly or you didn’t use enough gelatin. If they’re too hard, try reducing the amount of gelatin in your next batch or adjust the juice ratio. It may take a few tries to perfect the consistency, but I believe in you!
Are Gut Healing Gummies safe for kids and people with dietary restrictions?
Absolutely! These gummies are gluten-free, dairy-free, nut-free, and egg-free, making them a great treat for many dietary restrictions. For little ones, just ensure they’re old enough to chew gummies safely. If allergies are a concern, double-check the labels of your juice and gelatin to avoid any issues. Enjoy the health benefits while satisfying those sweet cravings!
Gut Healing Gummies: Deliciously Boost Your Gut Health Today
Ingredients
Equipment
Method
- Grease the pan with coconut oil.
- Sprinkle gelatin over 3 cups of chosen juice and let it sit for 3-5 minutes.
- Heat 1 cup of juice in a saucepan over medium-low heat for about 5 minutes.
- Add the bloomed gelatin mixture to the heated juice and stir for 2-3 minutes until smooth.
- Pour the mixture into the greased pan and tap to remove air bubbles.
- Refrigerate for 4-5 hours until firm.
- Cut into desired shapes or squares once set.
- Store in an airtight container in the refrigerator.