

Summer evenings in my kitchen are filled with the sizzling sound of something truly special—grilled quesadillas. These delightful creations aren’t just about the crispy tortillas and gooey cheese; they’re a canvas for your culinary imagination! What I love most about my customizable grilled quesadillas is how quick they come together—in just 15 minutes, you can transform leftover ingredients into a fabulous meal that everyone in the family will adore. From kid-friendly options loaded with cheese to vibrant vegetable-packed varieties, there’s something for every palate. Plus, they’re perfect for casual gatherings or a cozy night in. Are you ready to discover how to make your own delicious, melty quesadillas that steal the show? Let’s dive in!
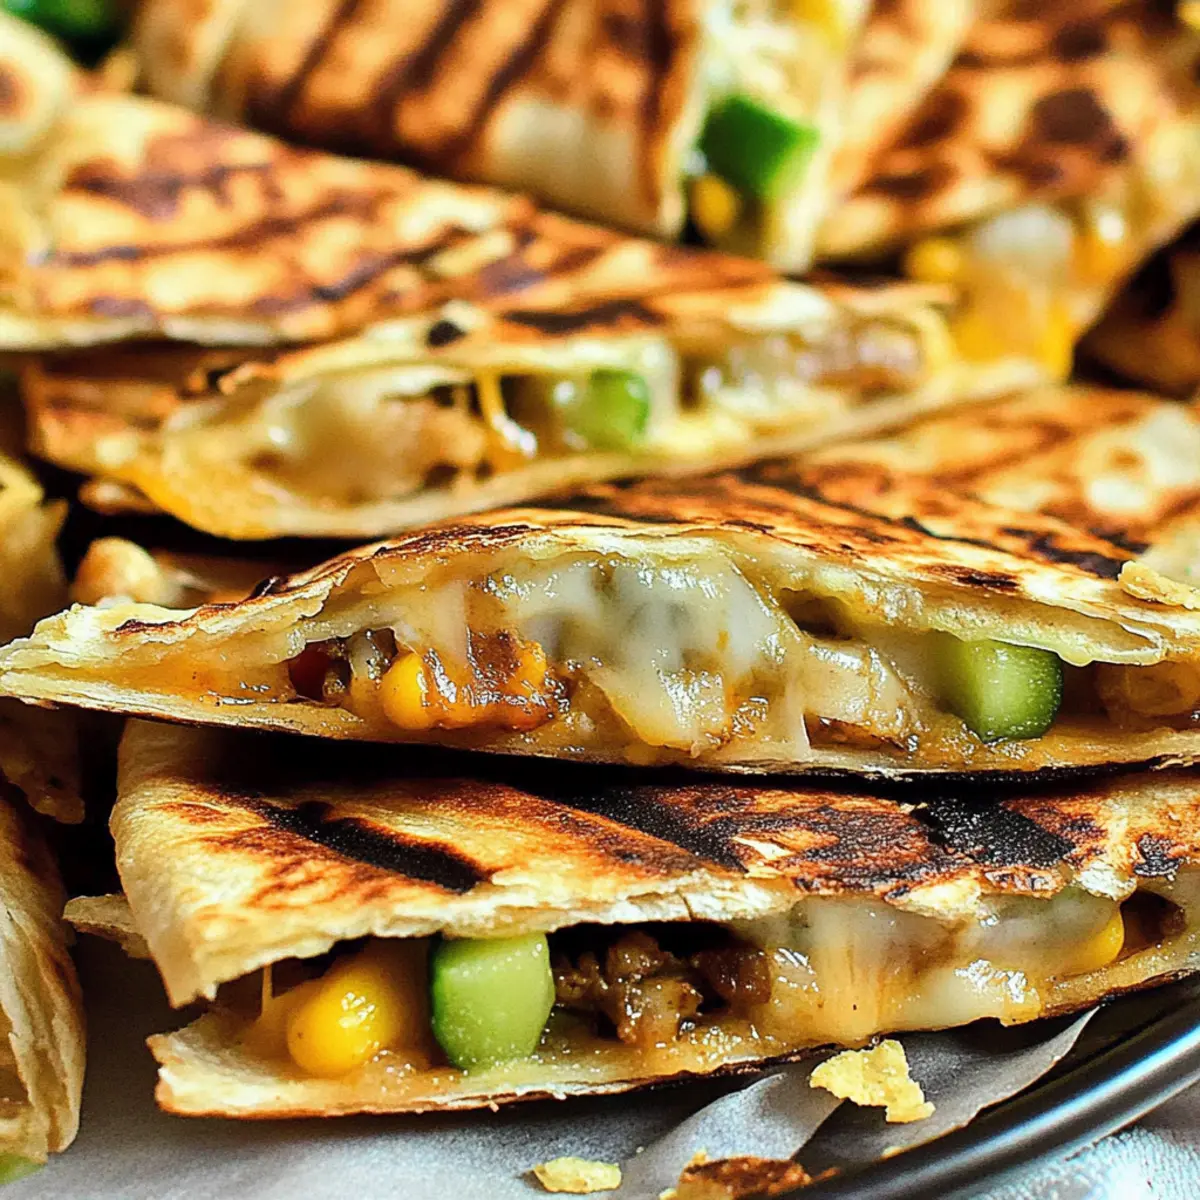
Why Are Grilled Quesadillas a Must-Try?
Customizable Goodness: The beauty of grilled quesadillas lies in their endless possibilities. From savory meat to fresh veggies, you can personalize them to please every taste bud in your family.
Quick Prep Time: In just 15 minutes, you can whip up a delicious meal, making them a perfect choice for those busy weeknights.
Kid-Friendly Fun: Kids love the interactive element of choosing their own fillings, making mealtime fun and engaging.
Crispy and Cheesy: With a delightful crunch on the outside and melty cheese on the inside, these quesadillas provide a satisfying texture everyone craves.
Perfect for Gatherings: Whether a summer cookout or a cozy family dinner, these quesadillas are always a hit—just serve with some guacamole for a crowd-pleasing treat.
For tips on how to maximize your flavor, check out my guide on customizing quesadilla fillings!
Grilled Quesadillas Ingredients
For the Tortillas
- Flour or Corn Tortillas – The essential base for the grilled quesadillas; choose different sizes to cater to your crowd.
- Butter – This adds a golden crispiness; use 1-2 teaspoons per tortilla for the best results.
- Coarse Salt – A sprinkle enhances the flavor beautifully; be sure to apply it lightly before grilling.
For the Filling
- Salsa or Pesto – A layer of moisture and flavor; around 1-2 tablespoons per tortilla works wonders—don’t overdo it to prevent sogginess.
- Veggies – Choose your favorites! Fresh or roasted veggies like peppers add great taste and texture.
- Chilies – Roasted poblanos, jalapeños, or pickled varieties add the perfect kick; adjust based on your heat preference.
- Fruits – Sweet options like mango or peaches can bring a gourmet flair to your quesadillas.
- Meat – Leftover chicken, chorizo, or even shredded beef can make your quesadilla heartier and protein-packed.
- Cheese – A must-have for melty goodness; about ¼ to ⅓ cup per quesadilla can include cheddar, jalapeño, or goat cheese for that gooey texture.
- Crushed Tortilla Chips – For an exciting crunch; add about 1 tablespoon per tortilla, giving a delightful twist.
For Serving
- Guacamole or Extra Salsa – A must-have for dipping, enhancing the experience of your grilled quesadillas!
Craft these grilled quesadillas however you like—just remember, the keyword is grilled quesadillas for an easy reference! Enjoy exploring the delicious options.
Step‑by‑Step Instructions for Grilled Quesadillas
Step 1: Preheat the Grill
Start by preheating your grill to medium-high heat, around 400°F (205°C). This is crucial for achieving that perfect crispy exterior on the grilled quesadillas. Preheating the grill ensures even cooking and helps the cheese melt beautifully, creating a delightful ooze when you bite into them.
Step 2: Prepare the Tortillas
Take your tortillas and lightly butter one side with about 1-2 teaspoons of butter. This will give your quesadillas that crispy, golden touch. Next, sprinkle a pinch of coarse salt over the buttered side. This simple preparation ensures the tortillas are flavorful and adds to the overall crunchiness once grilled.
Step 3: Spread the Base
On the unbuttered side of each tortilla, spread a thin layer of salsa or pesto, about 1-2 tablespoons, to infuse flavors without making them soggy. Remember to leave the edges clear, as this will help seal the quesadillas when you fold them over. Proper layering is key to creating delicious grilled quesadillas.
Step 4: Layer Fillings
Now it’s time to get creative! On one half of each tortilla, layer your choice of chopped veggies, chilies, sweet fruits, and protein. Sprinkle in about ¼ to ⅓ cup of melty cheese on top, ensuring an even distribution for that gooey goodness. Crushed tortilla chips can also be added for extra crunch, enhancing the texture of your grilled quesadillas.
Step 5: Grill the Tortillas
Carefully place the prepared tortillas on the preheated grill, close the lid, and let them cook for about 1 minute. Keep an eye on them—when you see the cheese beginning to melt and the tortilla’s undersides are golden brown, it’s time to move on to the next step in crafting your grilled quesadillas.
Step 6: Fold & Cook
Gently fold the tortillas in half to cover the fillings and press down slightly. Cook for another 2-3 minutes, checking the golden-brown color of the bottom side. Once they are beautifully crispy, flip them over to grill the other side for an additional 2-3 minutes until everything is melted and perfectly golden.
Step 7: Serve
Once your delicious grilled quesadillas are ready, carefully remove them from the grill. Let them cool for just a minute before slicing them into wedges for easy serving. Pair with fresh guacamole or extra salsa for dipping, and watch everyone delight in the warm, cheesy goodness of your grilled quesadillas.
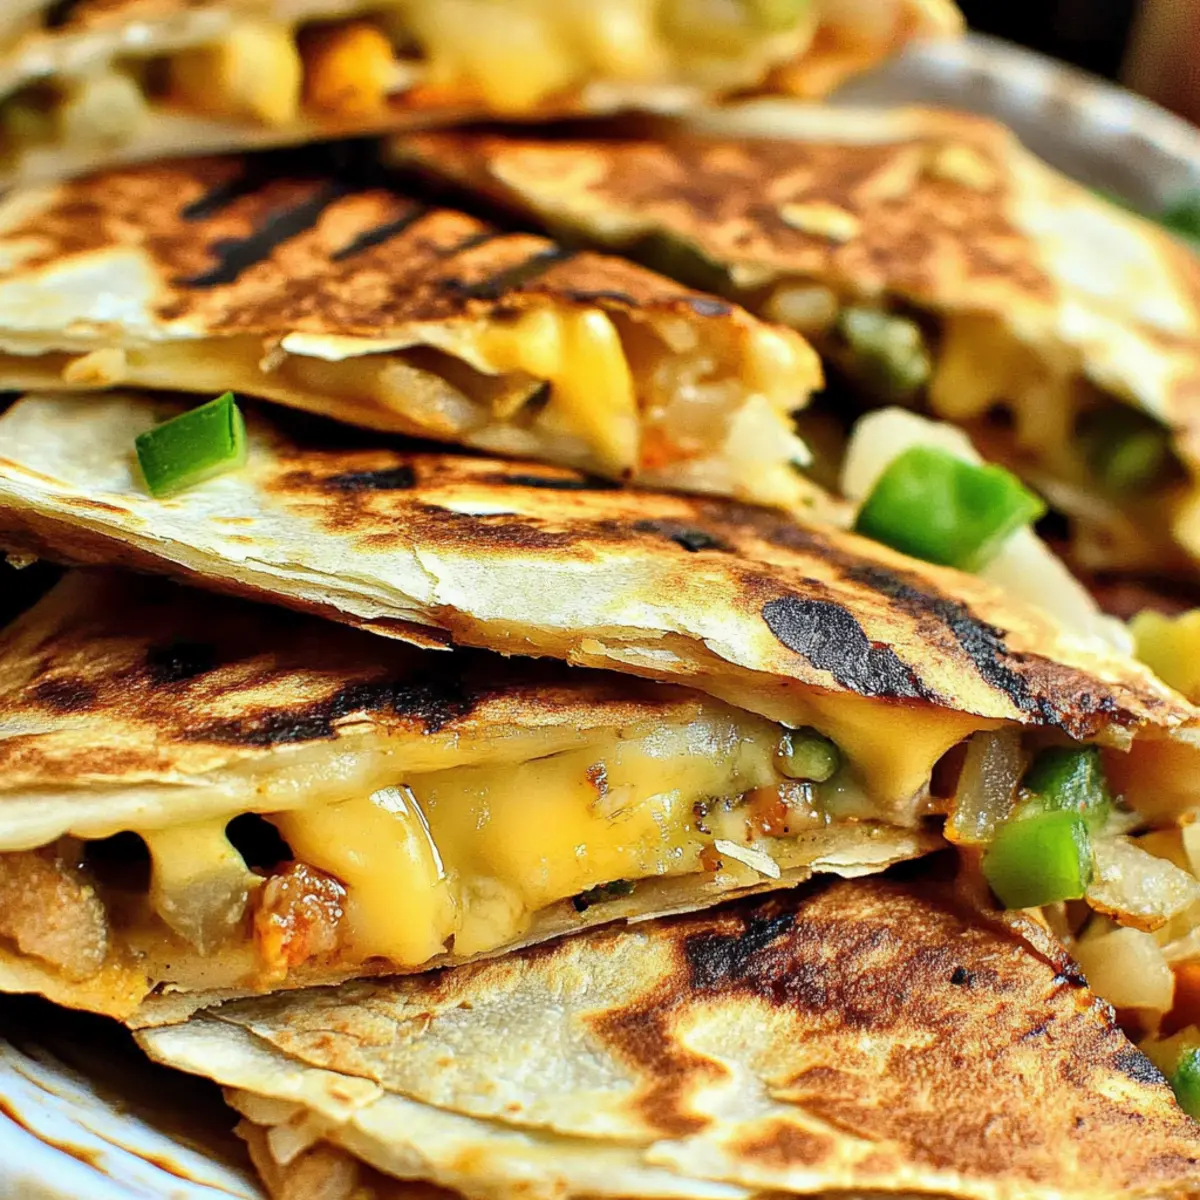
Grilled Quesadillas: Endless Customization Options
Feel free to get creative with your grilled quesadillas—the possibilities are as wide as your imagination, and the flavors will tantalize your taste buds!
- Dairy-Free: Swap regular cheese for vegan cheese or nutritional yeast for a delightful dairy-free twist that everyone can enjoy.
- Spicy Kick: Add sliced jalapeños or drizzle with hot salsa for those who crave a spicy adventure in every bite.
- Vegetarian Delight: Replace meat with black beans or quinoa for a hearty vegetarian option packed with protein and flavor.
- Hearty Proteins: Use pulled pork, ground beef, or shrimp to give your quesadillas a robust, savory boost that will impress dinner guests.
- Flavor Infusion: Add fresh herbs like cilantro or basil to your filling for a burst of bright flavors that brighten up each bite.
- Sweet Touch: Include fruits like caramelized onions or grilled peaches to add a surprisingly delightful sweetness alongside your savory fillings.
- Crunch Factor: Mix in crushed tortilla chips or even croutons for an unexpected, satisfying crunch that enhances the texture of your quesadillas.
- Herbaceous Twist: Experiment with a blend of spices or sprinkle some taco seasoning for extra flavor that beckons for encore servings.
For further inspiration on how to boost flavor, don’t miss my article on customizing quesadilla fillings and make the most of your creative cooking journey!
Expert Tips for Grilled Quesadillas
• Butter Wisely: Always butter one side of the tortilla well for optimal crispness. Too little butter may result in a dry quesadilla.
• Mind the Heat: Keep your grill at medium-high and avoid charring. Watch closely; some small scorch marks are fine, but full burning ruins the flavor.
• Interactive Meal: Make it a quesadilla bar! Set out various fillings and let family or guests customize their own, adding a fun twist to mealtime.
• Avoid Sogginess: Use a light hand with salsa or pesto. Too much moisture can lead to soggy quesadillas.
• Crunchy Additions: Incorporate crushed tortilla chips into your fillings for an exciting crunch. They add texture that elevates the grilled quesadillas!
Feel confident as you enjoy creating your delicious grilled quesadillas!
What to Serve with Grilled Quesadillas?
Summer evenings are the ideal backdrop for creating a vibrant and satisfying meal around grilled quesadillas, perfectly complemented with delightful sides.
-
Creamy Guacamole: This rich and creamy dip adds a refreshing contrast to the cheesy quesadillas, enhancing each bite with smooth avocado goodness.
-
Pico de Gallo: Fresh and zesty, this tomato-based salsa brings a burst of flavor and bright color to your plate, balancing the savory quesadillas nicely.
-
Crisp Green Salad: A mix of crisp lettuce, cucumbers, and tomatoes with a light vinaigrette provides a refreshing crunch, uplifting the meal’s overall texture.
-
Refried Beans: This classic side adds creaminess and protein, harmonizing the dish while giving you that hearty satisfaction on a summer night.
-
Spanish Rice: The fluffy, seasoned rice boasts a mild flavor that perfectly complements the bold fillings of the quesadillas, making it an excellent side dish.
-
Chilled Sparkling Water: Served with a squeeze of lime, this bubbly drink refreshes palate between each delicious bite, enhancing your dining experience.
-
Corn on the Cob: Grilled or boiled, sweet corn with a hint of butter adds a touch of nostalgic summer vibes that pairs enriching flavors beautifully.
-
Fruit Salad: A mix of fruits like mango, pineapple, and berries not only adds sweetness but also a refreshing element that lightens the meal beautifully.
-
Homemade Tortilla Chips: Crunchy chips paired with salsa are perfect for snacking before diving into those heavenly grilled quesadillas, setting a delightful tone.
Make Ahead Options
Grilled quesadillas are perfect for meal prep enthusiasts looking to save time on busy weeknights! You can prepare the fillings—chopped veggies, meats, and cheeses—up to 3 days in advance; just store them in airtight containers in the refrigerator to keep them fresh. To take it a step further, you could even assemble the quesadillas and refrigerate them for up to 24 hours before grilling, ensuring a quick meal is always at your fingertips. When you’re ready to enjoy them, simply grill the assembled quesadillas straight from the fridge to get that crispy exterior and melty cheese just like freshly made. Enjoy the convenience without sacrificing flavor!
How to Store and Freeze Grilled Quesadillas
Fridge: Store leftover grilled quesadillas in an airtight container for up to 2 days. This helps retain their crispy texture while keeping them fresh for snacking or quick meals.
Freezer: For longer storage, freeze ungrilled quesadillas wrapped individually in plastic wrap or aluminum foil. They can last up to 3 months in the freezer.
Reheating: To reheat, place frozen quesadillas directly on a preheated grill or skillet over medium heat, cooking until warmed through and crispy—about 4-5 minutes on each side.
Serving Tips: Reheat leftovers in the oven for optimal crispiness, or microwave for a quick option if you prefer a softer texture. Enjoy your grilled quesadillas anytime!
Grilled Quesadillas Recipe FAQs
How do I choose the right tortillas for grilled quesadillas?
Absolutely! Flour tortillas offer a soft, chewy texture, perfect for folding, while corn tortillas provide a more robust flavor. Opt for larger tortillas if you’re planning to fill them generously; smaller ones are great for snacks or kids!
What is the best way to store leftover grilled quesadillas?
Very important! To keep your grilled quesadillas fresh, store them in an airtight container in the refrigerator for up to 2 days. For a longer-lasting preservation, wrap individual quesadillas in plastic wrap or foil and freeze them. This way, they can stay in the freezer for up to 3 months!
Can I freeze grilled quesadillas, and how should I reheat them?
Yes, you can! Here’s how: wrap your ungrilled quesadillas tightly in plastic wrap and store them in a freezer-safe bag. When you’re ready to enjoy them, simply place frozen quesadillas directly on a preheated grill or skillet over medium heat. Grill for about 4-5 minutes on each side until they’re warmed through and crispy.
What if my quesadillas turn out soggy?
It’s essential to manage moisture! To avoid soggy quesadillas, use a light hand when spreading salsa or pesto—about 1-2 tablespoons per tortilla should suffice. Also, ensure you’re using enough cheese to help bind the fillings together, and stick to drier veggies. If you’ve overstuffed them, consider scaling back on fillings next time for the perfect crunch.
Are grilled quesadillas safe for kids with allergies, and what alternatives can I use?
Certainly! Grilled quesadillas are highly customizable, making them suitable for a range of dietary needs. For dairy allergies, swap out traditional cheese for a dairy-free option. Use gluten-free tortillas if gluten is an issue! Always double-check ingredient labels to avoid allergens, particularly in salsas and processed fillings.
How can I ensure my grilled quesadillas come out crispy?
For that irresistible crunch, buttery both sides of the tortilla is crucial. Grill them over a medium-high heat and don’t overcrowd your grill—this allows the heat to circulate properly. Lastly, flip them once the first side reaches a golden brown to avoid burning while achieving that perfect, crispy texture!
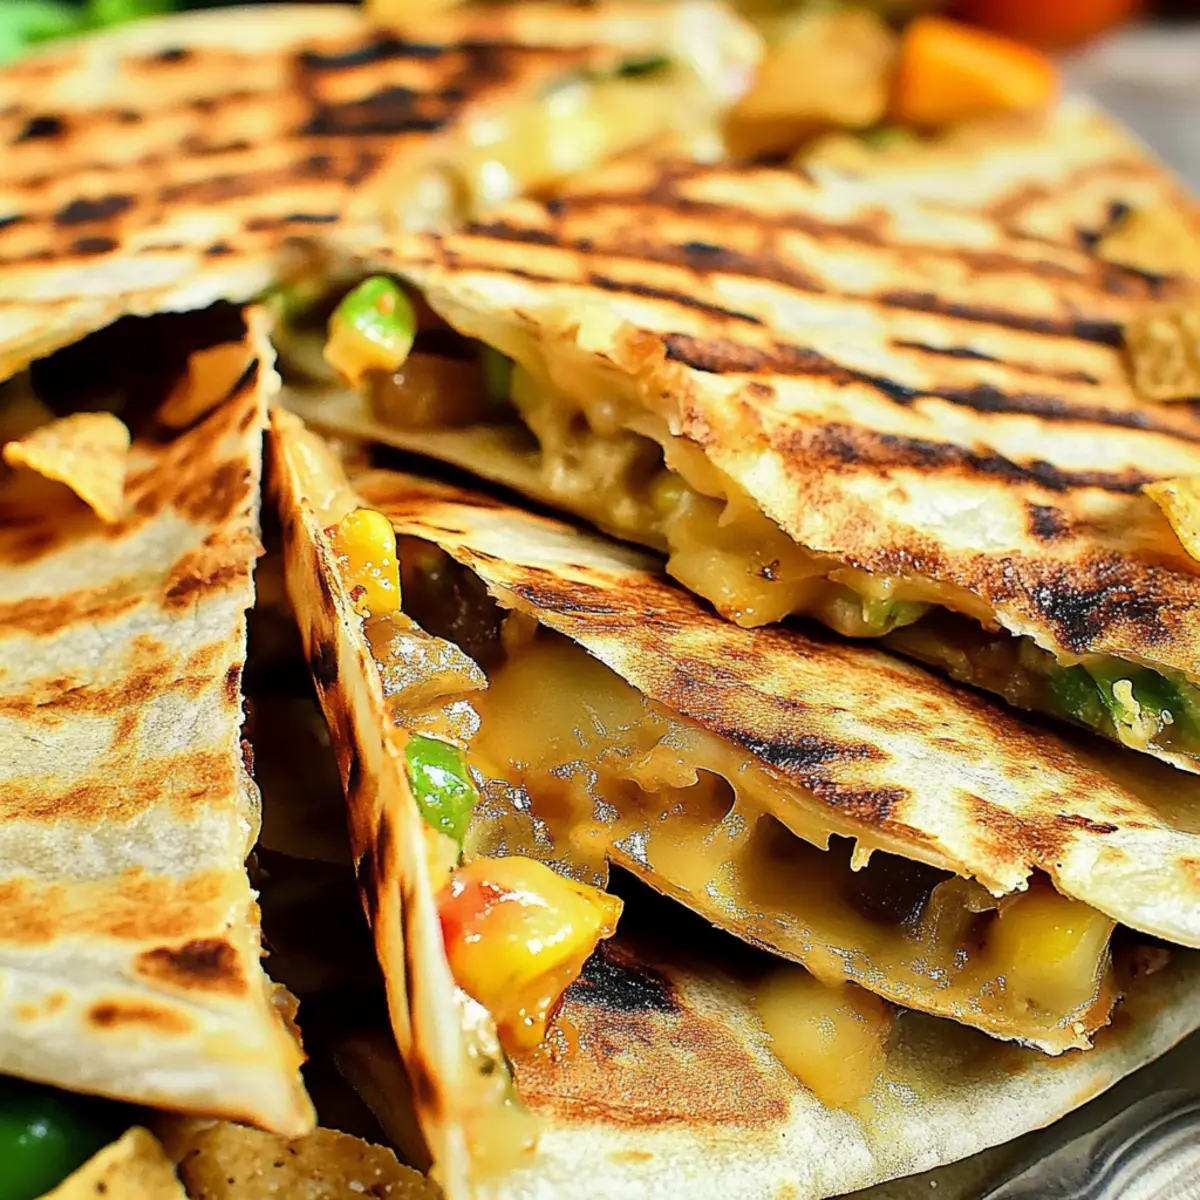
Grilled Quesadillas: Quick, Customizable Family Favorites
Ingredients
Equipment
Method
- Start by preheating your grill to medium-high heat, around 400°F (205°C).
- Take your tortillas and lightly butter one side with about 1-2 teaspoons of butter.
- On the unbuttered side of each tortilla, spread a thin layer of salsa or pesto.
- On one half of each tortilla, layer your choice of chopped veggies, chilies, sweet fruits, and protein.
- Carefully place the prepared tortillas on the preheated grill, close the lid, and let them cook for about 1 minute.
- Gently fold the tortillas in half to cover the fillings and press down slightly.
- Once fully cooked, carefully remove them from the grill, let cool, and slice into wedges.