

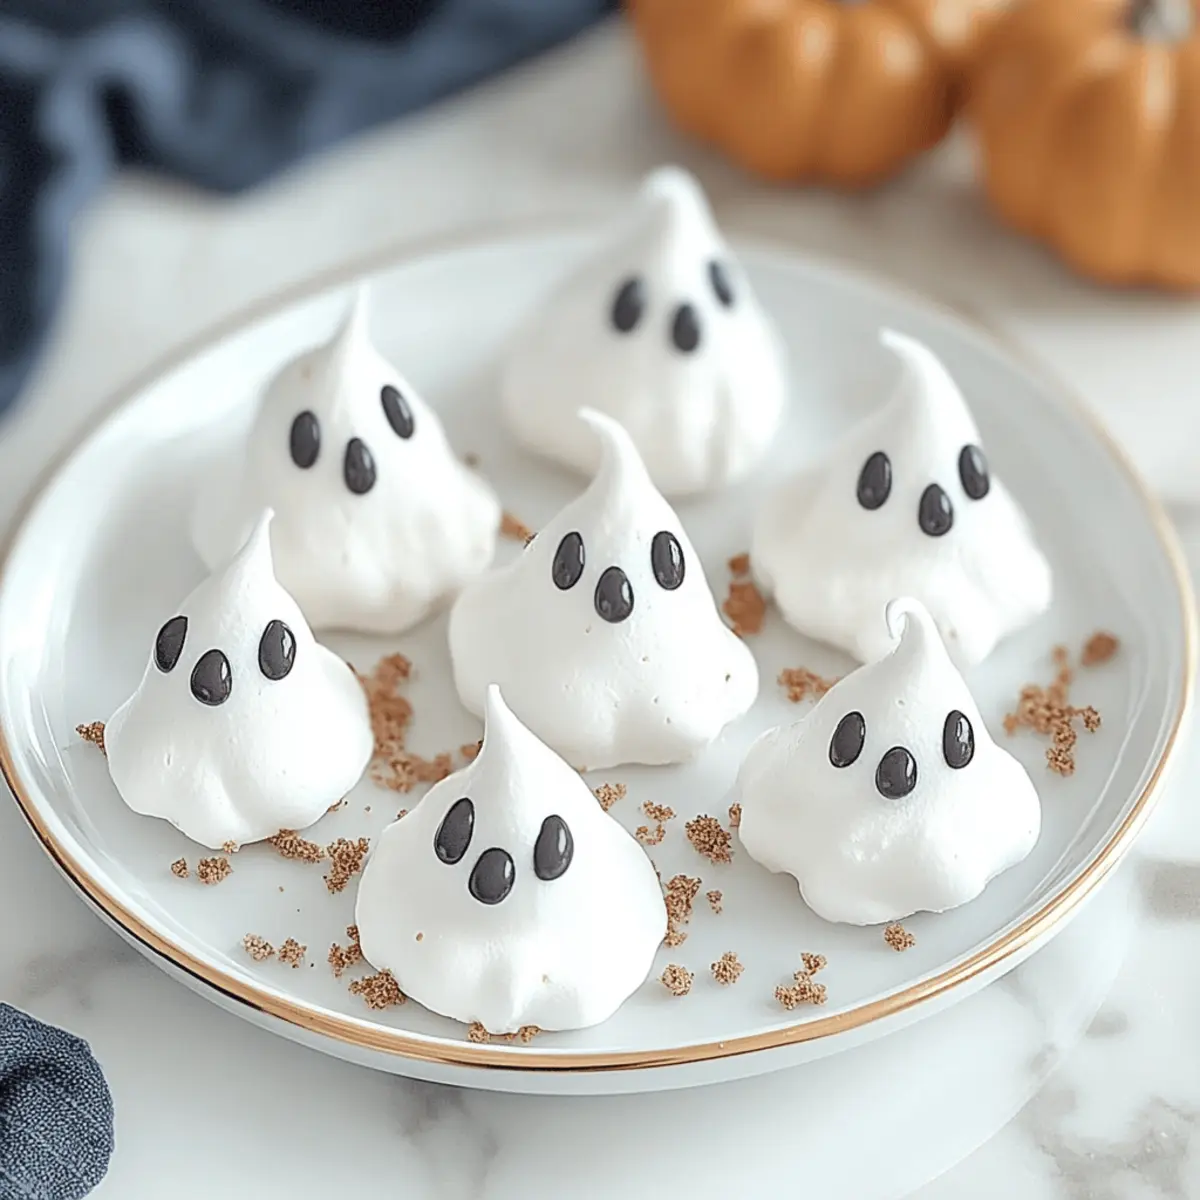
The air is filled with the scent of vanilla and sugar as I prepare my kitchen for a little Halloween magic. These Ghost Meringues are not only a delightful addition to any spooky gathering but also a treat that’s incredibly easy to whip up, even for those new to baking. With just four simple ingredients, you’ll conjure up adorable, airy ghosts that are sure to enchant both kids and adults alike. Plus, they’re a low-stress dessert option that can be made ahead and stored for days, saving you time during the busy season. So, are you ready to bring some whimsy to your dessert table? Let’s dive into crafting these charming little treats together!
Why Make Ghost Meringues This Halloween?
Irresistibly Adorable: These Ghost Meringues are not just spooky; they’re absolutely cute, making them a conversation starter at any Halloween gathering.
Effortless Treat: With just four simple ingredients, even novice bakers can create these ethereal delights without stress.
Kid-Friendly: Perfect for little hands to help decorate and enjoy, these treats are sure to get the kiddos excited about baking.
Make Ahead: These meringues can be prepared in advance and stored for up to three days, giving you more time to enjoy the festivities.
Versatile Flavors: Feel free to mix in fun variations like Peppermint Twist or Cinnamon Spice for a unique twist on a classic treat.
Each bite offers a delightful sweetness that melts in your mouth, making these a perfect companion to your favorite autumn beverages or an exciting surprise at a Halloween party!
Ghost Meringues Ingredients
• You’ll need just a few staples to whip up these delightful treats!
For the Meringue
- 4 large egg whites – Essential for structure and lightness; use room temperature eggs for better volume.
- 1 cup granulated sugar – Adds sweetness and creates that glossy meringue texture; fine sugar works best for smooth results.
- 1/4 tsp cream of tartar – Helps stabilize the egg whites, ensuring you achieve those perfect peaks.
- 1/2 tsp vanilla extract – Enhances the flavor and adds a sweet, aromatic note that balances the meringue.
For Decorating
- Melted chocolate – Perfect for creating playful ghost faces; choose dark or milk chocolate based on your personal preference.
- Icing writing pen – Ideal for adding little expressions to your meringues, making them extra charming!
Get ready to create some spooky sweetness with these Ghost Meringues that everyone will love!
Step‑by‑Step Instructions for Ghost Meringues
Step 1: Preheat the Oven
Begin by preheating your oven to a gentle 200°F (93°C). This low temperature is crucial for making perfect Ghost Meringues, as it allows them to dry out and achieve that delightful crispy texture. Make sure to have a baking sheet lined with parchment paper ready for the meringue spoons you’ll create in the next steps.
Step 2: Beat the Egg Whites
In a large mixing bowl, combine the room-temperature egg whites and start beating them with an electric mixer on medium speed. As the egg whites become foamy, this should take about 2 minutes. Keep an eye out for those little bubbles—they’re a sign you’re on the right path to creating airy Ghost Meringues!
Step 3: Add Cream of Tartar
Once your egg whites are foamy, add the cream of tartar. Increase the mixer speed to high and continue beating until soft peaks form, which will take about 1-2 minutes. These soft peaks should hold their shape but still fall over slightly when you lift the beater. This stage is critical for creating stable meringues.
Step 4: Incorporate Sugar Gradually
Now it’s time to sweeten things up! Gradually sprinkle in the granulated sugar while continuing to beat the egg whites on high speed. This should take about 4-5 minutes. You’ll know it’s ready when the mixture transforms into stiff peaks—glossy, firm peaks that hold their shape, giving you that perfect meringue base for your Ghost Meringues.
Step 5: Add Vanilla Extract
Once you achieve those stiff peaks, gently mix in the vanilla extract with a spatula. Be careful not to deflate your mixture; folding it in slowly ensures that your Ghost Meringues maintain their airy structure. The vanilla enhances the sweet flavor that makes your spooky treats so delightful.
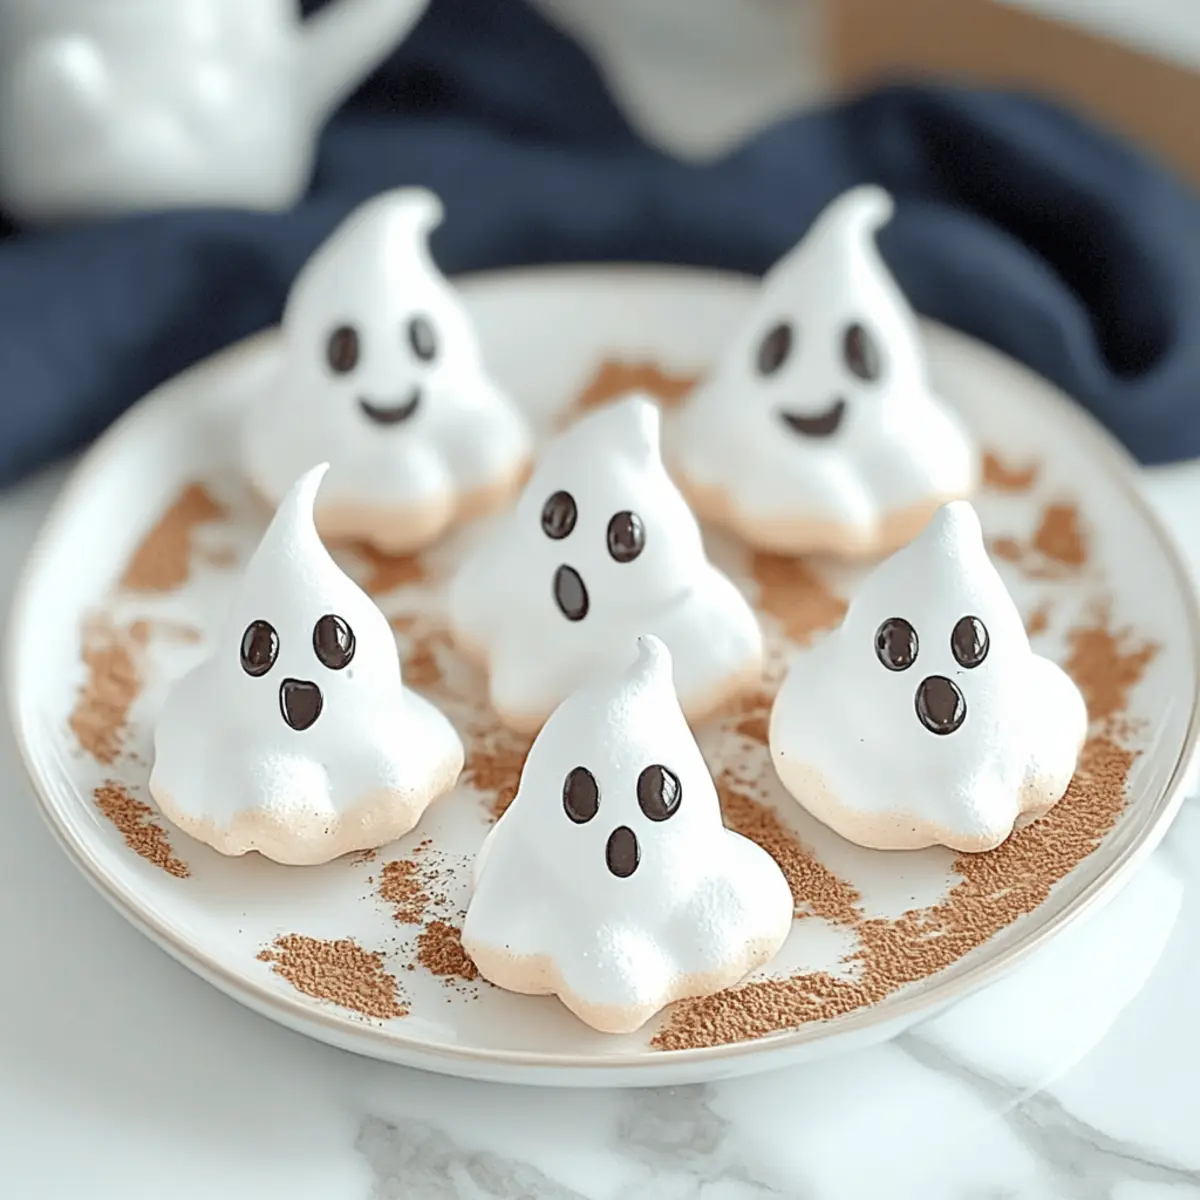
Step 6: Shape the Meringue
Using a spoon or a piping bag, drop dollops of the meringue mixture onto the prepared parchment-lined baking sheet. Shape them into whimsical ghost forms, about 2 inches apart to allow for any spreading. This step is where the fun begins—let your creativity flow as you create those charming ghost shapes!
Step 7: Bake the Meringues
Slide the baking sheet into your preheated oven and let the Ghost Meringues bake for 1.5 to 2 hours. They should become completely dry and crisp to the touch. Resist the urge to open the oven door while baking, as it can interrupt the drying process and affect your treats’ final texture.
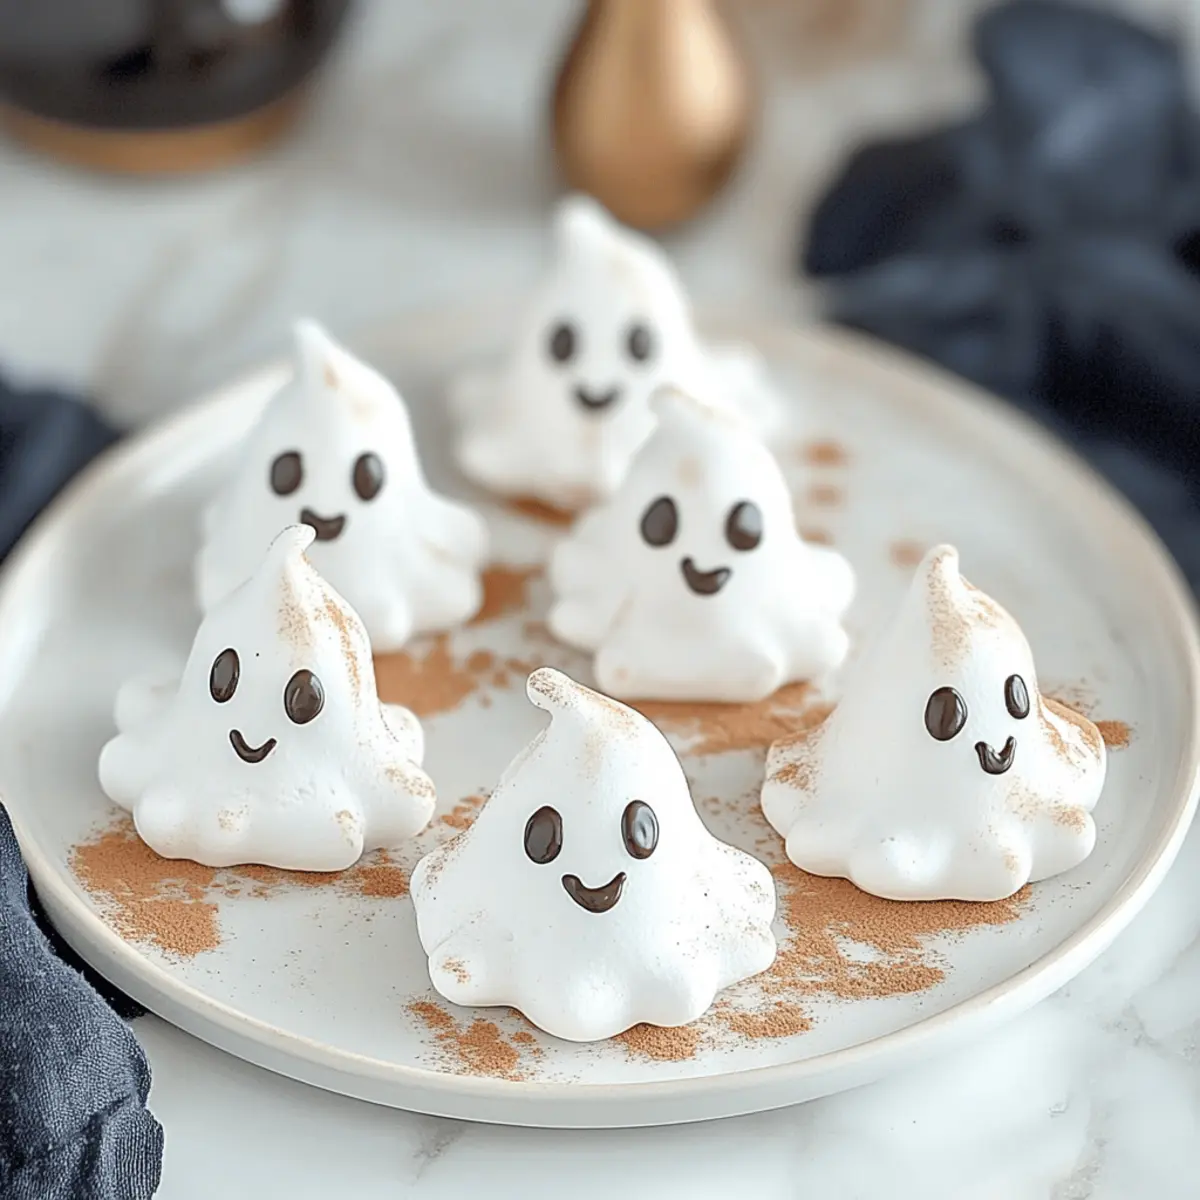
Step 8: Cool and Decorate
Once your baking time is complete, turn off the oven and let the Ghost Meringues cool completely inside with the door slightly ajar. This cooling period prevents them from cracking. After they are fully cooled, it’s time to get creative! Decorate your adorable ghosts with melted chocolate and use the icing pen to add playful expressions.
What to Serve with Ghost Meringues
These delightful sweets can easily become the star of your dessert table when paired with other delicious options and whimsical touches.
-
Hot Chocolate: The rich, creamy texture of hot chocolate complements the airy meringues beautifully, creating a cozy Halloween vibe.
-
Spiced Pumpkin Cookies: These cookies offer a warm, nutty flavor that pairs perfectly with the light sweetness of Ghost Meringues, enhancing the festive autumn atmosphere.
-
Crisp Apple Slices: Fresh, crunchy apple slices bring a refreshing contrast to the melt-in-your-mouth meringues, adding a healthy twist to your dessert spread.
-
Vanilla Ice Cream: A scoop of smooth vanilla ice cream alongside the Ghost Meringues creates a delightful contrast in temperature and texture, adding an indulgent finish to your meal.
-
Caramel Sauce Drizzle: A warm drizzle of caramel sauce over the meringues introduces a sticky sweetness that balances their light, airy nature, making each bite even more delightful.
-
Spiced Cider: A warm glass of spiced apple cider provides a festive and fragrant drink option that enhances the flavors of the Ghost Meringues while evoking feelings of fall.
How to Store and Freeze Ghost Meringues
- Room Temperature: Keep your Ghost Meringues in an airtight container at room temperature for up to 3 days to maintain their crispness and delicate texture.
- Avoid Refrigeration: It’s best to avoid placing them in the fridge, as moisture can compromise their delightful crunch.
- Freezer: You can freeze the meringues in a single layer for up to 1 month; just make sure to package them in an airtight container.
- Thawing: Allow the frozen Ghost Meringues to thaw at room temperature for the best texture before serving.
Variations & Substitutions for Ghost Meringues
Customize your Ghost Meringues and surprise your family with delightful new flavors and textures that’ll have everyone asking for more!
- Peppermint Twist: Add 1/2 teaspoon of peppermint extract to the egg whites for a refreshing holiday flavor that pairs beautifully with hot cocoa.
- Chocolate Swirl: Mix in 2 tablespoons of unsweetened cocoa powder for a deliciously rich variation that takes your meringues to the next level of decadence.
- Nutty Flavor: Fold in 1/4 cup of finely ground nuts like almonds or hazelnuts for a delightful crunch. This adds a toasty flavor that complements the sweet meringue perfectly!
- Food Coloring Fun: Brighten your ghosts with food coloring for a whimsical touch. Choose pastels or vibrant hues to create a rainbow of spooky treats!
- Cinnamon Spice: Spice things up by adding 1/4 teaspoon of ground cinnamon to the meringue mixture. This warm flavor is perfect for fall gatherings and adds an inviting aroma.
- Fruit Flavored: Swap out the vanilla extract for a fruit extract like lemon or orange for a citrusy twist that will add a pop of brightness to your sweets.
- S’mores Style: After baking, decorate the meringues with melted chocolate, graham cracker crumbs, and mini marshmallows for a nostalgic treat that captures the essence of summer nights.
- Spicy Ghosts: For a little kick, add a pinch of cayenne pepper to the meringue mix—it’s an unexpected heat that contrasts beautifully with the sweetness.
Whether you enhance them with a dash of spice or a touch of chocolate, your Ghost Meringues will always be a hit! And don’t forget to pair them with hot chocolate or serve alongside some spiced pumpkin cookies for a festive dessert table that’s sure to impress!
Make Ahead Options
These delightful Ghost Meringues are perfect for meal prep enthusiasts! You can prepare the meringue mixture and pipe the ghost shapes up to 24 hours in advance, storing them in an airtight container at room temperature. This keeps their airy texture intact. When you’re ready to bake, simply pop them in the preheated oven and let them dry out for 1.5 to 2 hours as per the recipe. After baking, allow the meringues to cool completely before decorating with melted chocolate and icing; they’ll be just as delicious and whimsical as if you had made them fresh that day!
Expert Tips for Ghost Meringues
• Egg Whites Matter: Ensure your egg whites are completely free of yolk, as even a hint can prevent them from whipping properly into the airy meringue needed for Ghost Meringues.
• Slow Sugar Addition: Gradually sprinkle in the sugar while beating to avoid a grainy texture; this helps achieve that beautiful glossy finish.
• Do Not Open Oven: Resist the temptation to open the oven door during baking! This can cause changes in temperature, leading to cracked or soggy meringues.
• Full Cooling Required: Allow the meringues to cool completely before decorating to avoid any sogginess and to ensure the decorations adhere nicely.
• Personalize with Flair: Feel free to get creative by adding edible glitter or colored chocolate for extra fun and festive flair on your Ghost Meringues.
Ghost Meringues Recipe FAQs
How do I select the best egg whites for meringues?
Absolutely! For the best Ghost Meringues, use fresh, large egg whites at room temperature. Room temperature egg whites whip better, achieving more volume. Look for eggs that have clean, uncracked shells—this ensures that no yolk seeps in, which can hinder your meringue from reaching its full airy potential.
What’s the best way to store Ghost Meringues?
You’ll want to store your Ghost Meringues in an airtight container at room temperature for up to 3 days. Keeping them in a cool, dry place will help maintain their delightful crispness. Avoid refrigeration as it can create moisture, making your meringues soft and less enjoyable.
Can I freeze Ghost Meringues, and how do I do it?
Definitely! To freeze your Ghost Meringues, arrange them in a single layer on a baking sheet and place them in the freezer until firm. Once frozen, transfer them to an airtight container or freezer bag. They can be stored for up to 1 month. Just remember to thaw them at room temperature before serving to restore their delightful texture.
Why did my meringues turn out chewy instead of crispy?
Very good question! If your meringues are chewy, it’s likely they weren’t baked long enough, or the oven temperature was too high. Meringues need to dry out slowly—1.5 to 2 hours at 200°F (93°C) is ideal. If they feel soft to the touch when you check them, they need more time. Patience is key!
Can I make these meringues if someone has an egg allergy?
While Ghost Meringues traditionally use egg whites, those with egg allergies may want to try aquafaba, the liquid from canned chickpeas, as a substitute. You can use about 3 tablespoons of aquafaba to replace each egg white. Whip it until it reaches stiff peaks, just as you would egg whites, for a similar airy texture in your meringues.
What decoration ideas work best for my meringues?
Get creative! While melted chocolate is a classic choice for adding ghost faces, you can also use colored icing or edible glitter for extra flair. Consider using sprinkles for a festive touch, or pipe different colored icing to create a variety of spooky expressions. Enjoy the decorating process; the more, the merrier!
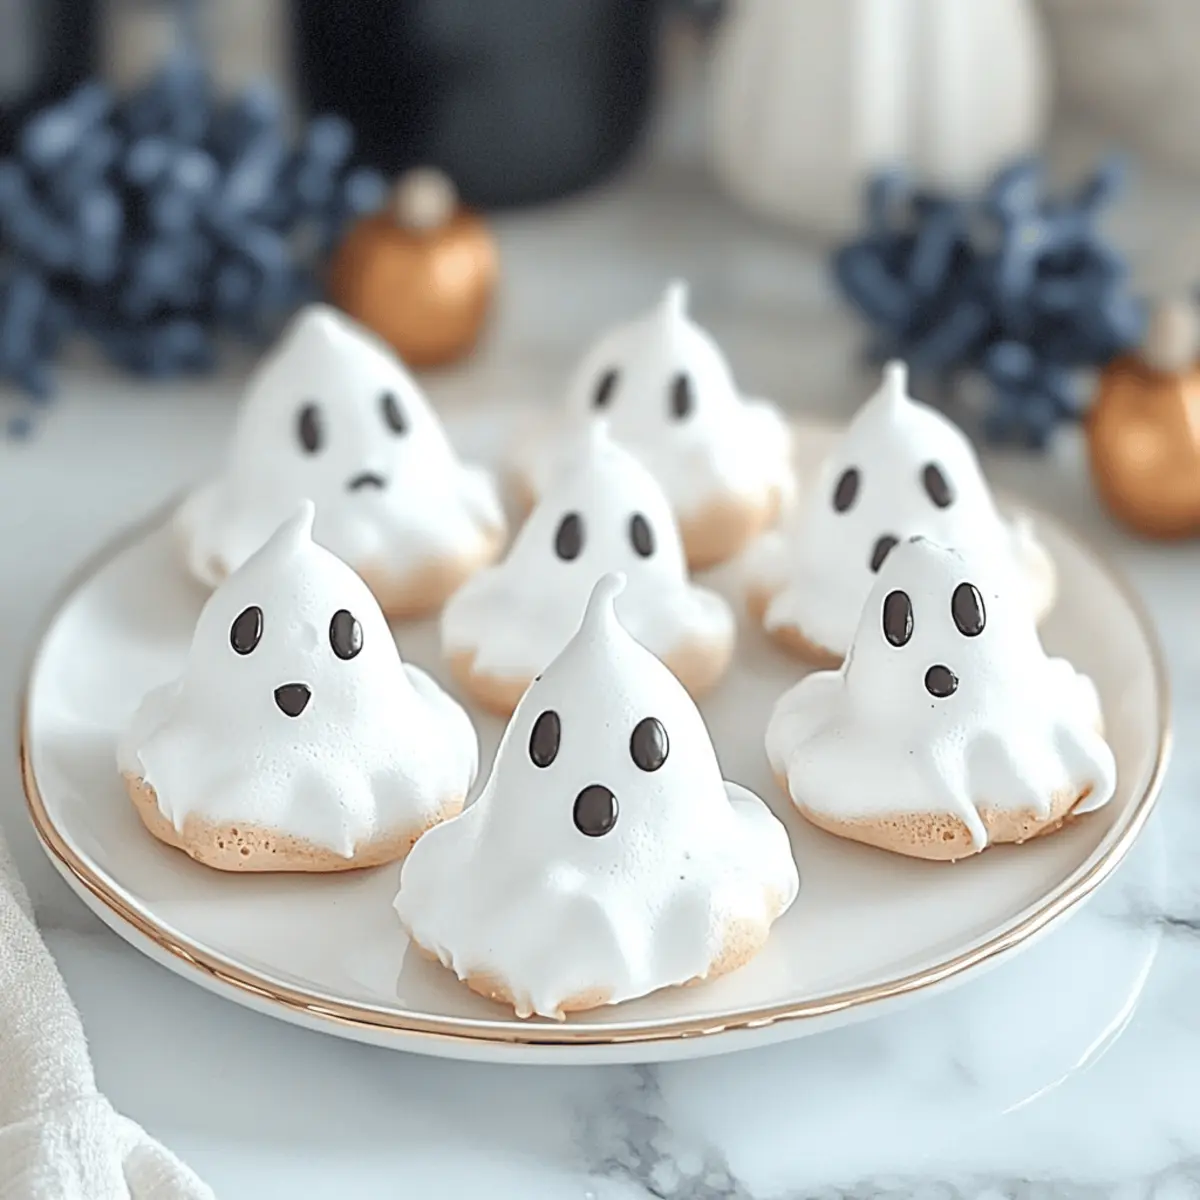
Deliciously Spooky Ghost Meringues for Your Halloween Bash
Ingredients
Equipment
Method
- Preheat your oven to a gentle 200°F (93°C) and line a baking sheet with parchment paper.
- In a large mixing bowl, beat the egg whites on medium speed until foamy (about 2 minutes).
- Add cream of tartar, increase the speed to high, and beat until soft peaks form (about 1-2 minutes).
- Gradually sprinkle in the granulated sugar on high speed until stiff peaks form (about 4-5 minutes).
- Gently fold in the vanilla extract.
- Drop dollops of the meringue onto the baking sheet, shaping them into ghost forms.
- Bake for 1.5 to 2 hours until dry and crisp. Do not open the oven door during baking.
- Turn off the oven and let the meringues cool completely in the oven with the door slightly ajar.
- Decorate the cooled meringues with melted chocolate and use icing pens for expressions.