

The aroma of melting cheese wafts through my kitchen, heralding the arrival of my latest obsession: Easy Cheesy Cauliflower Rice. This dish is my secret to a quick and delightful meal that doesn’t compromise on taste, even while keeping things low-carb and keto-friendly. With just a few simple ingredients like frozen cauliflower rice, rich cheeses, and any seasonings you love, you can whip up a satisfying side dish that pleases everyone at the table. Not only is it a breeze to prepare, but it also transforms your plate into a comforting haven with every bite. Ready to ditch the starchy sides and embrace this creamy alternative? Let’s dive into the cheesy goodness that’ll make your next meal a hit!
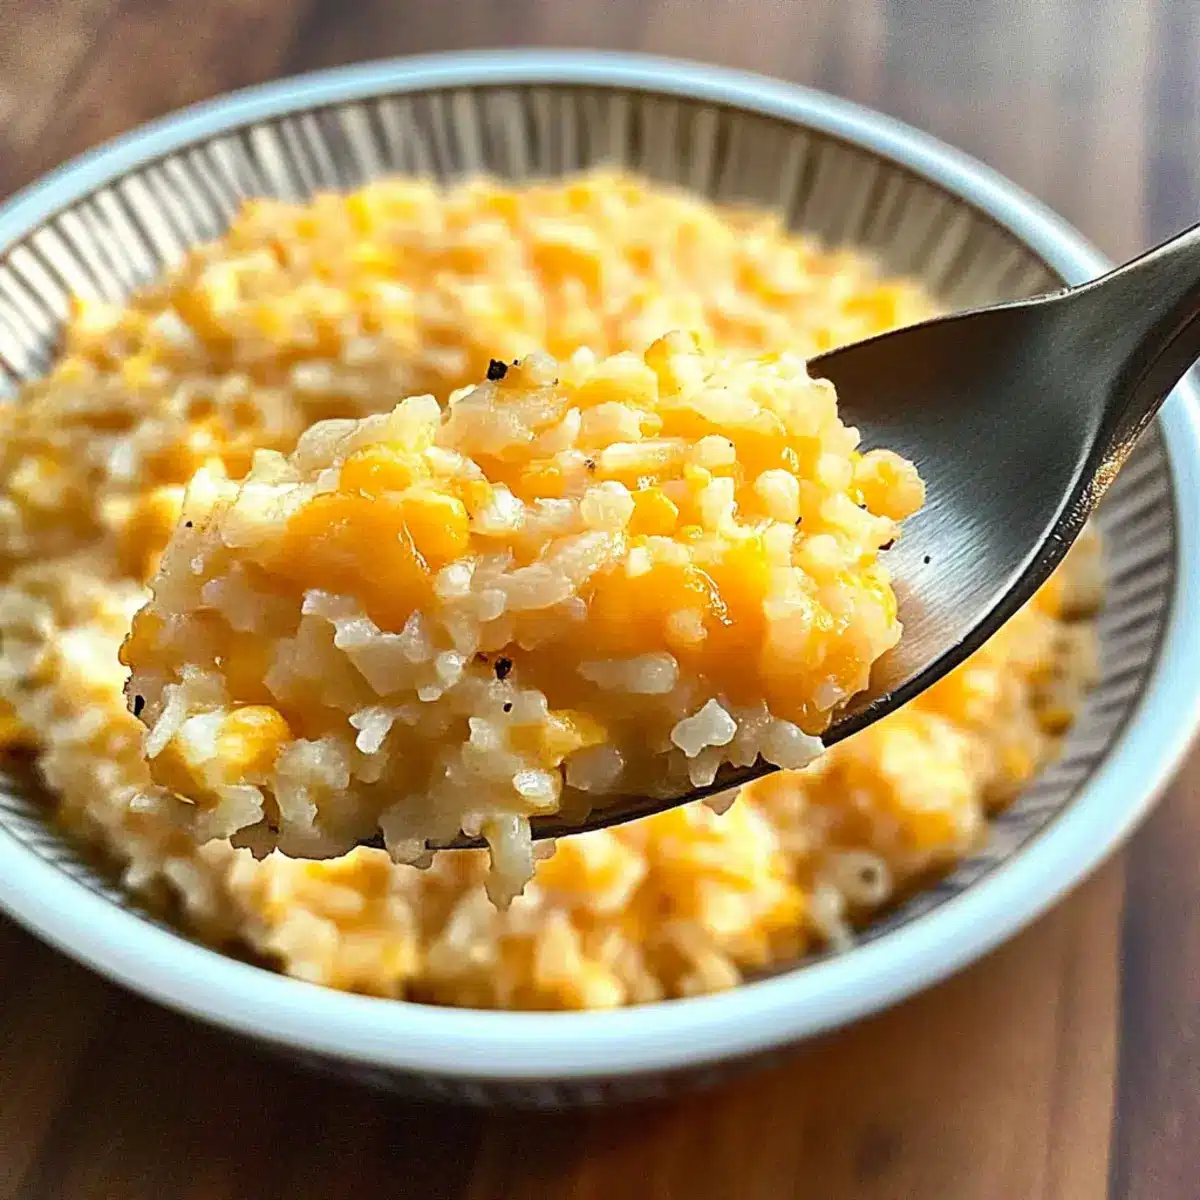
Why is Cauliflower Rice So Amazing?
Low-Carb Delight: Embrace the benefits of a low-carb diet without sacrificing flavor! This Easy Cheesy Cauliflower Rice is the perfect side to satisfy those cravings we all have for cheesy comforts.
Quick and Easy: In just minutes, you’ll have a delicious complement to your meal, ideal for busy weeknights. Simply toss in frozen cauliflower rice and melt your favorite cheeses for joy in a bowl!
Family-Friendly: This dish appeals to everyone! Even picky eaters will forget they’re enjoying a nutritious alternative to traditional rice.
Versatile Pairing: Enjoy it with grilled chicken, steak, or as a hearty base for stir-fries. Try it alongside other favorites like Cheesy Beef Burritos or Baked Chicken Thighs for a balanced plate.
Satisfying Comfort: Each bite wraps you in creamy goodness that’s reminiscent of mac n’ cheese, making it a comforting choice for any meal!
Easy Cheesy Cauliflower Rice Ingredients
• A tasty journey starts with these simple ingredients.
For the Cauliflower Rice
- Frozen Cauliflower Rice – A nutritious, low-carb base; look for a 20 oz bag (about 4-5 cups).
For the Creamy Mixture
- Butter – Adds richness; substitute with olive oil or ghee if preferred.
- Milk – Introduces creaminess; swap for unsweetened almond or coconut milk for a dairy-free option.
- Cream Cheese – Ensures a luscious creamy texture; vegan cream cheese is an excellent alternative.
For the Cheesy Goodness
- Shredded Cheddar Cheese – Delivers sharp, cheesy flavor; feel free to use mozzarella or pepper jack as substitutes.
For Seasoning
- Salt – Enhances overall flavor; adjust to taste.
- Pepper – Adds a nice kick; the more, the merrier!
- Garlic Powder – Infuses your dish with savory goodness; adjust according to your preference.
With these ingredients at hand, you’re well on your way to creating a delightful Easy Cheesy Cauliflower Rice that your family will absolutely love!
Step‑by‑Step Instructions for Easy Cheesy Cauliflower Rice
Step 1: Prepare the Cauliflower Rice
Start by microwaving the frozen cauliflower rice according to the package instructions, but reduce the cook time by about one minute since it will be cooked further. Aim for a tender yet firm texture; you want it softened, but not mushy. Once done, set the cauliflower rice aside while you gather the rest of your ingredients.
Step 2: Melt the Butter
In a large non-stick sauté pan, melt 1 tablespoon of butter over medium heat. Allow it to bubble and foam, indicating it’s ready for the next step. This butter will add richness and flavor to your Easy Cheesy Cauliflower Rice, so keep an eye on it to avoid burning.
Step 3: Add the Cauliflower Rice
Once the butter is melted, add the prepared cauliflower rice to the pan. Stir it continuously for about 2-3 minutes, ensuring the rice is evenly coated in melted butter. You’ll notice a slight browning and a slightly nutty aroma, signifying that it’s coming together beautifully.
Step 4: Season the Mixture
Sprinkle salt, pepper, and garlic powder over the sautéed cauliflower rice according to your taste preferences. Continue stirring for about 1 minute, allowing the seasonings to infuse evenly with the rice. This step elevates the flavor, ensuring your Easy Cheesy Cauliflower Rice is bursting with deliciousness.
Step 5: Incorporate the Creaminess
Lower the heat to medium-low, and mix in the milk, shredded cheddar cheese, and cream cheese. Stir continuously for around 3-5 minutes until the cheeses melt completely into a creamy sauce. You’ll know it’s ready when the mixture is thick and smoothly envelops the cauliflower rice, giving it that rich, cheesy texture.
Step 6: Final Touch and Serve
Remove the pan from heat once everything is melted and well combined. Take a moment to appreciate the creamy, cheesy goodness of your Easy Cheesy Cauliflower Rice before serving it hot. This dish pairs wonderfully with your favorite proteins or as a satisfying stand-alone side!

What to Serve with Easy Cheesy Cauliflower Rice?
Create a mouthwatering meal by pairing this cheesy delight with complementary dishes that enhance its rich flavors.
-
Grilled Chicken: The smoky char and juicy texture of grilled chicken perfectly balance the creamy cauliflower rice, making it a satisfying combo.
-
Herb-Crusted Salmon: Tender, flaky salmon with herbs adds a refreshing contrast, while its subtle buttery flavor harmonizes beautifully with the cheesy richness.
-
Garlic Roasted Broccoli: The crispy, savory notes of garlic-roasted broccoli provide a crunchy texture that complements the creamy dish, ensuring a delightful crunch in every bite.
-
Stuffed Bell Peppers: These vibrant veggies filled with a medley of meats, grains, or beans create a colorful dinner plate and introduce layers of flavor and texture.
-
Quinoa Salad: A light, zesty quinoa salad with fresh veggies offers a nutritious contrast, making your plate feel light and bright alongside the hearty cauliflower rice.
-
Sparkling Water with Lime: A refreshing drink that cleanses the palate between bites, enhancing your dining experience with its crisp and citrusy notes.
Embrace these pairings to craft a delicious, well-rounded meal that tantalizes the taste buds and keeps everyone coming back for more!
Make Ahead Options
These Easy Cheesy Cauliflower Rice is a fantastic dish for meal prep enthusiasts! You can prepare the cauliflower rice and sauté it with butter and seasonings up to 24 hours in advance. Simply refrigerate it in an airtight container, ensuring it’s cooled completely to avoid excess moisture, which helps maintain its texture. When you’re ready to enjoy, just reheat the mixture in a pan over medium heat, then stir in the milk, cheddar cheese, and cream cheese, melting them together for about 3-5 minutes. This way, you’ll have a delicious, cheesy side dish ready in minutes, perfect for those busy weeknights!
Expert Tips for Easy Cheesy Cauliflower Rice
-
Watch the Cook Time: Don’t overcook the cauliflower rice in the microwave! Aim for just softened, as it will continue cooking in the pan for the perfect texture.
-
Cheese Variations: Feel free to mix and match your cheeses! Adding different types can create unique flavors while keeping your Easy Cheesy Cauliflower Rice creamy.
-
Non-Stick Pan is Key: Use a non-stick pan to prevent the cheesy goodness from sticking. This will not only make cooking easier but also ensure a hassle-free cleanup!
-
Season to Taste: Adjust your salt, pepper, and garlic powder according to your family’s preference. A little tweak can elevate the flavor and make it perfectly suited to your taste.
-
Add Veggies for Nutrients: Incorporate sautéed bell peppers or spinach for an extra health boost while enhancing the flavor profile of your Easy Cheesy Cauliflower Rice!
-
Store Properly: Keep leftovers in an airtight container in the fridge and enjoy within 3 days. Reheat gently to maintain that creamy texture.
Easy Cheesy Cauliflower Rice Variations
Feel free to dive into creative twists on this delicious dish that will delight your taste buds!
-
Veggie Boost: Add sautéed bell peppers, onions, or spinach for an extra layer of flavor and nutrients. This not only enhances the taste but also brings a pop of color to your plate!
-
Different Cheese Blends: Experiment with mozzarella or pepper jack for a unique melty experience. Each cheese brings its own character, allowing you to discover your favorite combination.
-
Protein-Packed Addition: Incorporate shredded chicken, sausage, or even crumbled bacon to turn your Easy Cheesy Cauliflower Rice into a hearty main dish. Adding protein elevates the meal while keeping it comforting.
-
Spicy Twist: Add a pinch of red pepper flakes or a dash of hot sauce if you crave a little heat. This brings excitement to the flavor profile, perfect for adventurous eaters!
-
Creamy Herb Spin: Stir in fresh herbs like parsley or basil right before serving for a fresh taste. A sprinkle of these herbs lifts the dish and adds brightness to the creamy texture.
-
Savory Seasoning Remix: Swap out the garlic powder for onion powder or Italian seasoning for a different flavor depth. This simple change can make the dish feel entirely new without much effort.
-
Healthy Dairy Swap: Use unsweetened almond or coconut milk instead of regular milk for a dairy-free alternative that still delivers creaminess. Enjoy deliciously without compromising on dietary needs.
-
Crispy Topping: Top the finished dish with some toasted breadcrumbs or crushed nuts for added texture. This creates a delightful contrast to the creamy goodness of the cauliflower rice.
With these variations, you can tailor your Easy Cheesy Cauliflower Rice for any occasion, pleasing both picky eaters and gourmet enthusiasts alike! Want to savor an equally comforting meal? Check out Cheesy Bacon Breakfast or indulge in some Cheesy Hamburger Potato for more family-loved recipes!
How to Store and Freeze Easy Cheesy Cauliflower Rice
Fridge: Store leftovers in an airtight container for up to 3 days. Ensure the dish is completely cooled before sealing to maintain freshness.
Freezer: To freeze, portion the Easy Cheesy Cauliflower Rice into freezer-safe bags or containers. It can last in the freezer for up to 2 months.
Reheating: When ready to enjoy, thaw overnight in the fridge or use the microwave. Reheat on low power, stirring occasionally, until heated through for optimal creaminess.
Tip: Avoid freezing if you plan to add fresh veggies later, as they may not freeze well and could affect the dish’s texture.

Easy Cheesy Cauliflower Rice Recipe FAQs
How do I choose the best frozen cauliflower rice?
Absolutely! When selecting frozen cauliflower rice, look for a brand that offers riced cauliflower without added ingredients or sauces. A 20 oz bag typically translates to about 4-5 cups of cauliflower rice. You want the rice to have a uniform texture and avoid products with dark spots, indicating freezer burn.
What’s the best way to store leftover Easy Cheesy Cauliflower Rice?
To store your Easy Cheesy Cauliflower Rice, place it in an airtight container in the refrigerator. It will stay fresh for up to 3 days. Be sure to let it cool completely before sealing to help maintain its creamy texture.
Can I freeze Easy Cheesy Cauliflower Rice? How?
Very! Freezing is a great option. To freeze, first let the dish cool entirely, then divide it into portion-sized amounts. Use freezer-safe bags or containers, ensuring you remove as much air as possible before sealing. Easy Cheesy Cauliflower Rice can be kept in the freezer for up to 2 months. When you’re ready to enjoy it, thaw overnight in the refrigerator or reheat from frozen in the microwave on low power.
How can I prevent my cauliflower rice from being mushy?
The key is to avoid overcooking! When microwaving the frozen cauliflower rice, reduce the cook time by a minute or two, aiming for it to be tender but still firm. This way, when you sauté it, you’ll achieve that perfect texture. Stir it in the pan gently and monitor it to keep it from turning mushy.
Are there any dietary considerations I should be aware of?
Definitely! This recipe is low-carb and keto-friendly, but if you’re cooking for those with dietary restrictions, you can substitute dairy ingredients like milk and cream cheese with unsweetened almond milk or vegan cream cheese for a dairy-free version. Additionally, always double-check your ingredient labels for allergens if cooking for someone with known allergies.
How long does Easy Cheesy Cauliflower Rice last in the fridge?
It lasts about 3 days when kept in an airtight container in the fridge. To maintain optimal flavor and texture, reheat gently on the stovetop or microwave for the best experience!
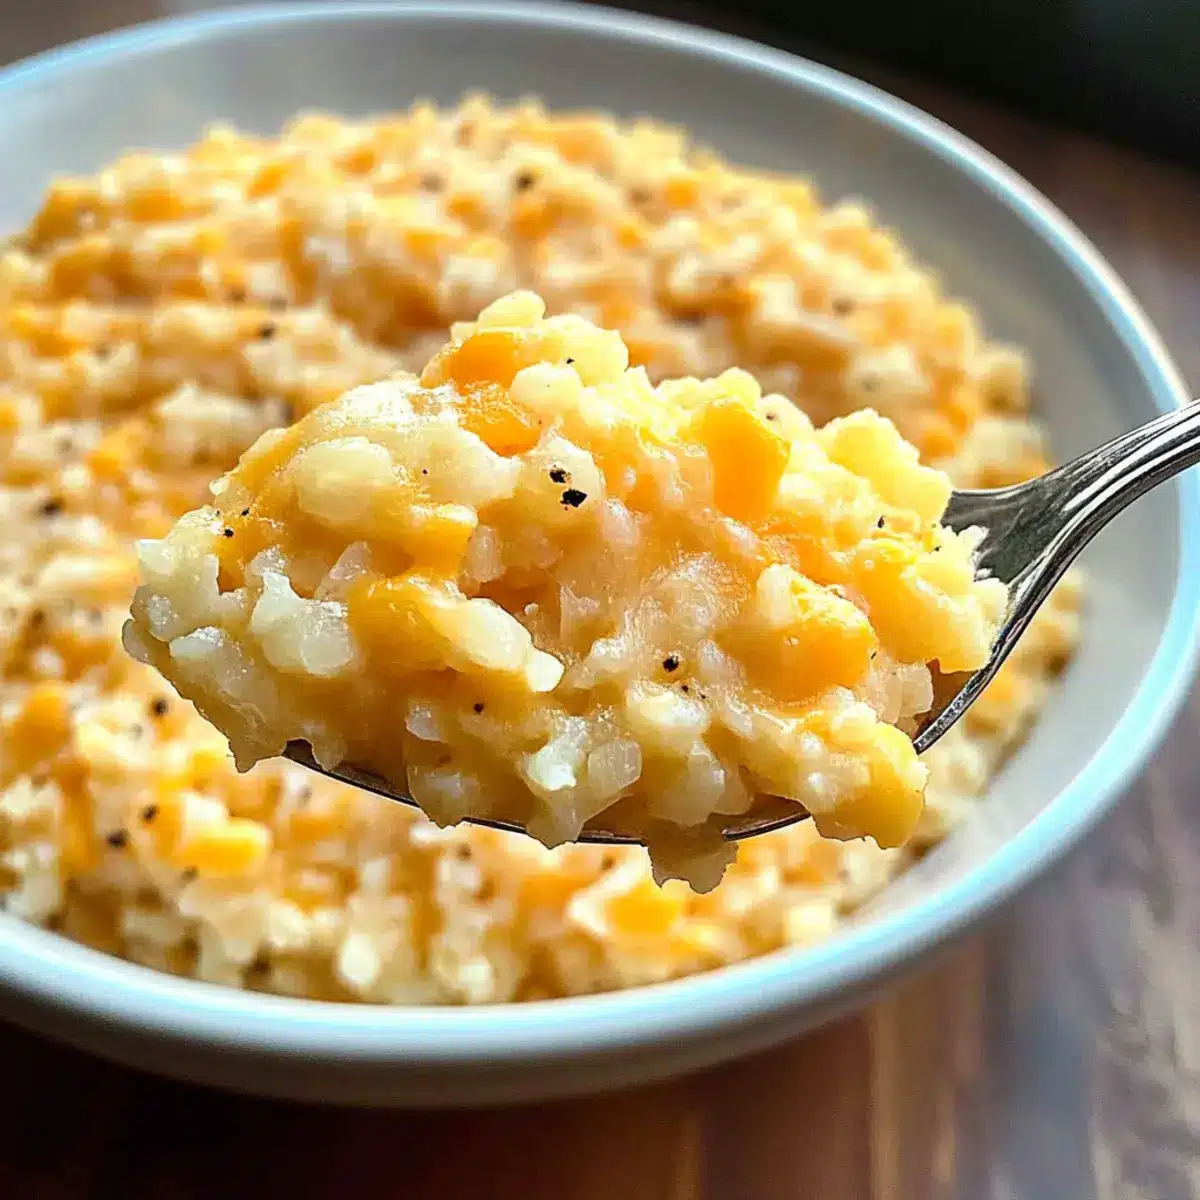
Easy Cheesy Cauliflower Rice That Will Wow Your Family
Ingredients
Equipment
Method
- Microwave the frozen cauliflower rice according to the package instructions, reducing cook time by about one minute. Aim for tender yet firm texture.
- In a large non-stick sauté pan, melt 1 tablespoon of butter over medium heat until it bubbles and foams.
- Add the prepared cauliflower rice to the pan and stir continuously for about 2-3 minutes.
- Sprinkle salt, pepper, and garlic powder over the rice and stir for about 1 minute to combine.
- Lower the heat to medium-low, add milk, shredded cheddar cheese, and cream cheese. Stir continuously for around 3-5 minutes until fully melted.
- Remove from heat once well combined, serve hot.