

As I stood in my kitchen, the scent of toasting panko breadcrumbs danced through the air, instantly sparking joy in my heart. Crunchy Oven-Baked Chicken Tenders are not just dinner; they’re a reason to gather the family around the table. With their effortless oven-baked method, these crunchy chicken tenders deliver a satisfying crunch without any frying mess. They’re quick to whip up, making them a perfect weeknight meal, and let’s face it—who wouldn’t want a healthier alternative to fast food that delights both kids and adults alike? Plus, you can easily customize the flavors or swap ingredients to suit your family’s taste. So, what will you dip these delicious tenders into—the classic ranch or something adventurous?

Why Are Crunchy Chicken Tenders a Must-Try?
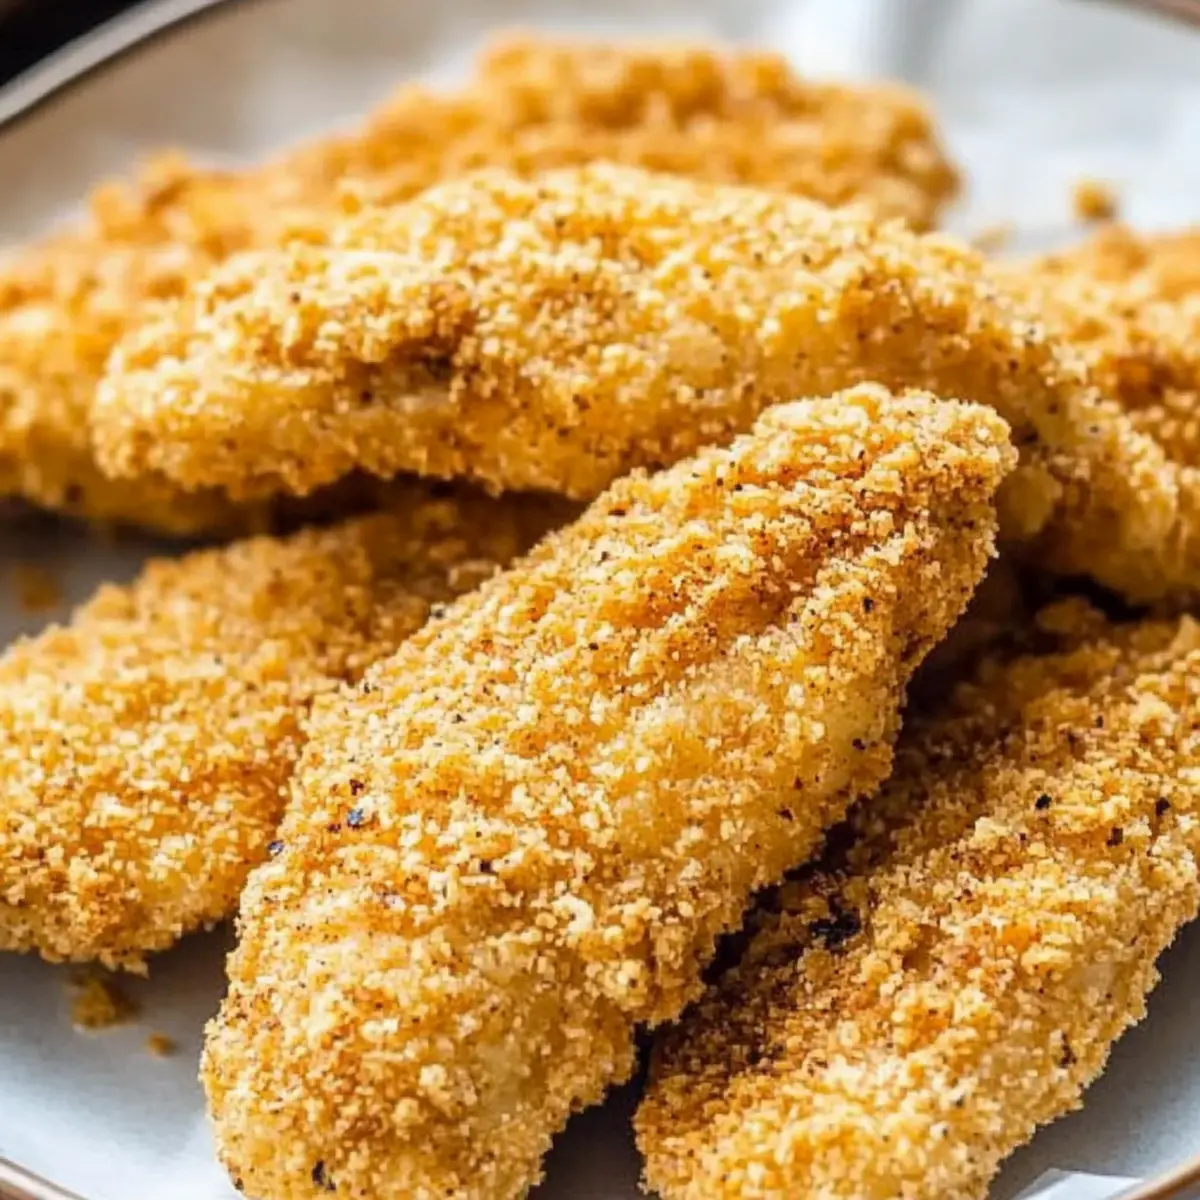
Crispy Perfection: These oven-baked chicken tenders deliver an unbeatable crunch that rivals fried versions without the guilt.
Quick & Easy: With minimal prep and cooking time, you can whip up a delicious meal in just minutes!
Kid-Friendly: Perfect for even the pickiest eaters, they’re a surefire way to please everyone at the dinner table.
Flavor Versatility: Easily customize the recipe by adding spices or swapping ingredients—try them with BBQ sauce or for a change, use options like in BBQ Chicken Twice-Baked Sweet Potatoes.
Batch Cooking: Make extra and freeze for quick meals later—these tenders are perfect for busy weeknights!
Crunchy Chicken Tenders Ingredients
• Get ready to create the ultimate crispy delight!
For the Chicken
- Chicken Tenderloins – Your main protein source; use fresh or thawed frozen for best results.
- Salt – Enhances flavor; adjust according to preference, keeping in mind that if dry brined, you may need less.
For the Coating
- Panko Breadcrumbs – Provides irresistible crunch and texture; can substitute regular breadcrumbs for a softer coating.
- Oil (40ml) – Helps toast breadcrumbs and retains moisture; swap in melted butter for a richer flavor profile.
- Eggs – Binds the coating to the chicken; if you need a substitute, there are good egg replacements available.
For the Batter
- Plain Flour (All-Purpose) – Essential for creating the batter; consider gluten-free flour as a substitution if needed.
- Water (40ml) – Thins out the batter perfectly; try coconut milk for an unexpected flavor twist!
- Onion Powder – Offers savory depth; you can use garlic powder as an alternative for added zest.
- Garlic Powder – Enhances overall taste; fresh garlic can be used but may alter the flavor somewhat.
These crunchy chicken tenders are not only fun to make but are also a delicious way to bring the family together for a home-cooked meal!
Step‑by‑Step Instructions for Crunchy Chicken Tenders
Step 1: Brine Chicken (Optional)
To enhance flavor and tenderness, mix your chicken tenderloins with salt in a bowl. Allow them to brine in the refrigerator for 30 to 40 minutes. Once brined, be sure to rinse the chicken under cold water to remove excess salt before drying them with a paper towel. This step helps prepare your crunchy chicken tenders for an even juicier bite!
Step 2: Toast Breadcrumbs
Preheat your oven to 180°C (350°F). In a baking dish, combine the panko breadcrumbs with oil, tossing until well coated. Spread them out evenly, and bake for about 8 to 10 minutes, stirring halfway through, until they turn golden brown and crunchy. This critical step adds that irresistible texture to your crunchy chicken tenders—don’t skip it!
Step 3: Prepare Batter
While the breadcrumbs are toasting, whisk together the eggs, water, plain flour, onion powder, and garlic powder in a medium bowl until smooth. The batter should be well combined without lumps, forming a nice coating for the chicken tenderloins. If you brined the chicken, remember to adjust the salt content in your batter as needed.
Step 4: Coat Tenderloins
Take the brined chicken tenderloins and dip each piece into the prepared batter, ensuring they’re well coated. Then, roll the battered chicken in the toasted panko breadcrumbs, pressing firmly to help them adhere. This step is key to achieving that satisfying crunch in your crunchy chicken tenders.
Step 5: Bake
Line a baking sheet with parchment paper and place your coated chicken tenders on it, making sure they have space between them. Preheat your oven to 200°C (400°F) and bake for 10 to 12 minutes. They’re done when the chicken is cooked through, and the coating is a beautiful golden brown—just perfect for that crunch!
Step 6: Serve
Once out of the oven, let the crunchy chicken tenders cool for a few minutes. Serve them warm with your favorite dipping sauces, such as ranch or sweet chili, and enjoy the delightful crunch. These tenders make for a fun meal that the entire family will love!

Tips for the Best Crunchy Chicken Tenders
- Brining Matters: Ensuring the chicken sits in salt not only boosts flavor but keeps every bite juicy. Avoid brining too long to prevent oversalting.
- Breadcrumb Toasting: Don’t skip toasting the panko! This crucial step guarantees an irresistible crunch, essential for perfect crunchy chicken tenders.
- Coating Technique: Make sure to press the breadcrumbs onto the chicken firmly to create a robust coating that holds up while baking.
- Spacing on the Sheet: Place your tenders with adequate space on the baking sheet to allow even cooking and achieve that golden, crunchy exterior.
- Watch Cooking Time: Every oven is different; keep an eye on your tenders and pull them once they’re golden and cooked through.
Storage Tips for Crunchy Chicken Tenders
Fridge: Store baked crunchy chicken tenders in an airtight container for up to 3-4 days. Be sure to cool them completely before sealing to maintain crispness.
Freezer: For longer storage, freeze uncooked, crumbed chicken tenders for up to 3 months. Place them in a single layer on a baking sheet to freeze solid before transferring to a freezer bag.
Reheating: Reheat baked tenders in the oven at 180°C (350°F) for about 10 minutes, or until heated through and crispy again. Avoid microwaving, as this can make them soggy.
Raw Storage: Keep raw, crumbed crunchy chicken tenders in the fridge for 2-3 days if not baking immediately. Ensure they are tightly wrapped to prevent any cross-contamination.
Make Ahead Options
These Crunchy Chicken Tenders are a fantastic choice for meal prep enthusiasts! You can brine the chicken and coat it in breadcrumbs up to 24 hours in advance, storing them in the refrigerator. Just make sure to layer parchment paper between the coated tenders to prevent sticking, which helps maintain that delightful crunch! When you’re ready to enjoy, preheat your oven to 200°C (400°F) and bake for 10-12 minutes until golden and cooked through. You can also freeze uncooked, coated tenders for up to 3 months; simply bake straight from the freezer, adding a couple of extra minutes to the cooking time for easy, quick meals on busy nights.
Crunchy Chicken Tenders Variations
Feel free to get creative and customize your crunchy chicken tenders, turning them into a meal just right for your taste buds!
- Spicy Twist: Add cayenne pepper to the panko breadcrumbs for a fiery kick that spice lovers will crave. The heat contrasts beautifully with the crispy coating!
- Meat Swap: Use chicken breasts or even turkey tenderloins for a different texture, keeping the moisture intact while still achieving that crunch.
- Herb-Infused: Mix in fresh or dried herbs like thyme, oregano, or parsley into the breadcrumb mix for an aromatic flavor boost. It’s an easy way to elevate everyday tenders!
- BBQ Flare: Toss in some BBQ seasoning to the batter for a smoky flavor. These chicken tenders are perfect for serving with a side of tangy BBQ sauce!
- Dairy-Free: Substitute the egg with a flaxseed or chia egg for a vegan alternative, allowing all enjoy these tenders guilt-free. Perfect for plant-based eaters!
- Buttery Richness: Replace oil with melted butter in the breadcrumb mix to achieve a buttery flavor that makes these tenders utterly irresistible.
- Coconut Milk: Use coconut milk instead of water in the batter for a creamy twist—sweet and savory flavors marry beautifully here. You can even dip these in your favorite sweet chili sauce!
- Crunchy Toppings: Add crushed nuts like almonds or pecans to the breadcrumb mix for an extra crunch. These delightful nibbles will make each bite even tastier and give a unique texture.
Now that you’ve got a list of delicious options, why not use these variations to make your chicken tenders a new family favorite? And if you’re in the mood for more chicken perfection, check out my delightful recipe for Chicken Tenders Comfort.
What to Serve with Crunchy Chicken Tenders
Elevate your family meal with delightful side dishes that perfectly complement these golden, oven-baked wonders.
- Creamy Mashed Potatoes: Rich and buttery, these mashed potatoes provide a cozy contrast to the crispy coating—perfect for dipping!
- Fresh Garden Salad: Crisp greens and vibrant veggies add a refreshing crunch and lightness, balancing out the meal beautifully.
- Sweet Potato Fries: The natural sweetness of roasted sweet potato fries pairs wonderfully with the savory chicken tenders, creating a harmonious dish.
- Coleslaw: Creamy or vinegar-based, coleslaw introduces a zesty crunch and is the ideal accompaniment to bite into alongside your tenders.
- Macaroni and Cheese: Who can resist this classic comfort food? Its creamy, cheesy goodness is a hit with kids and adults, making it the ultimate pairing.
- BBQ Sauce for Dipping: Spice up your tenders with a tangy BBQ sauce for a smoky twist that adds depth to every bite.
- Homemade Ranch Dressing: This creamy dressing is a classic dip that enhances the flavors without overpowering the crispiness of the chicken.
- Pineapple Salsa: A fruity twist with sweet and tangy flavors that serves as a refreshing contrast to the crunchy texture; it’s a real crowd-pleaser!
Crunchy Chicken Tenders Recipe FAQs
How do I choose the best chicken tenderloins?
Absolutely! Look for chicken tenderloins that are fresh and have a slight pink color without any dark spots or unpleasant odor. If you’re using frozen ones, ensure they are completely thawed and have an even texture. The quality of your chicken will impact the final taste, so source chicken from a trusted source if possible.
How should I store leftover crunchy chicken tenders?
Very! After allowing the baked crunchy chicken tenders to cool completely, place them in an airtight container. They can be stored in the refrigerator for 3 to 4 days. For best results, reheat them in the oven at 180°C (350°F) for about 10 minutes to regain that delightful crunch!
Can I freeze crunchy chicken tenders?
Definitely! For those busy nights, you can prepare the raw, crumbed crunchy chicken tenders and freeze them for up to 3 months. To do this, lay them in a single layer on a baking sheet and freeze until solid. Once frozen, transfer them to a freezer bag or airtight container. When ready to cook, bake straight from the freezer, increasing the cooking time slightly until they are golden and cooked through.
What should I do if my coating isn’t sticking?
If the breadcrumbs aren’t adhering well, it might be due to excess moisture on the chicken or not enough pressing during the coating process. Make sure to pat the tenderloins dry with a paper towel before dipping them in the batter. Also, when rolling in the breadcrumbs, firmly press them onto the chicken to create a strong bond. A well-coated tenderloins is crucial for that irresistible crunch!
Are there any dietary considerations for crunchy chicken tenders?
Of course! This recipe is versatile—use gluten-free flour and breadcrumbs to cater to gluten sensitivities. If you have allergies, such as egg allergies, you can substitute eggs with mashed banana, applesauce, or commercial egg replacers. Just be sure to monitor any other added ingredients for allergens, especially if you’re serving little ones or guests with dietary restrictions.

Crunchy Chicken Tenders Baked to Perfection in Minutes
Ingredients
Equipment
Method
- Brine chicken tenderloins with salt in the refrigerator for 30 to 40 minutes, then rinse and dry.
- Preheat the oven to 180°C (350°F). Combine panko breadcrumbs with oil and bake for 8 to 10 minutes.
- Whisk together eggs, water, plain flour, onion powder, and garlic powder until smooth.
- Dip brined chicken in batter, then roll in toasted panko breadcrumbs.
- Place coated chicken on a parchment-lined baking sheet and bake at 200°C (400°F) for 10 to 12 minutes.
- Let cool for a few minutes and serve warm with dipping sauces.