

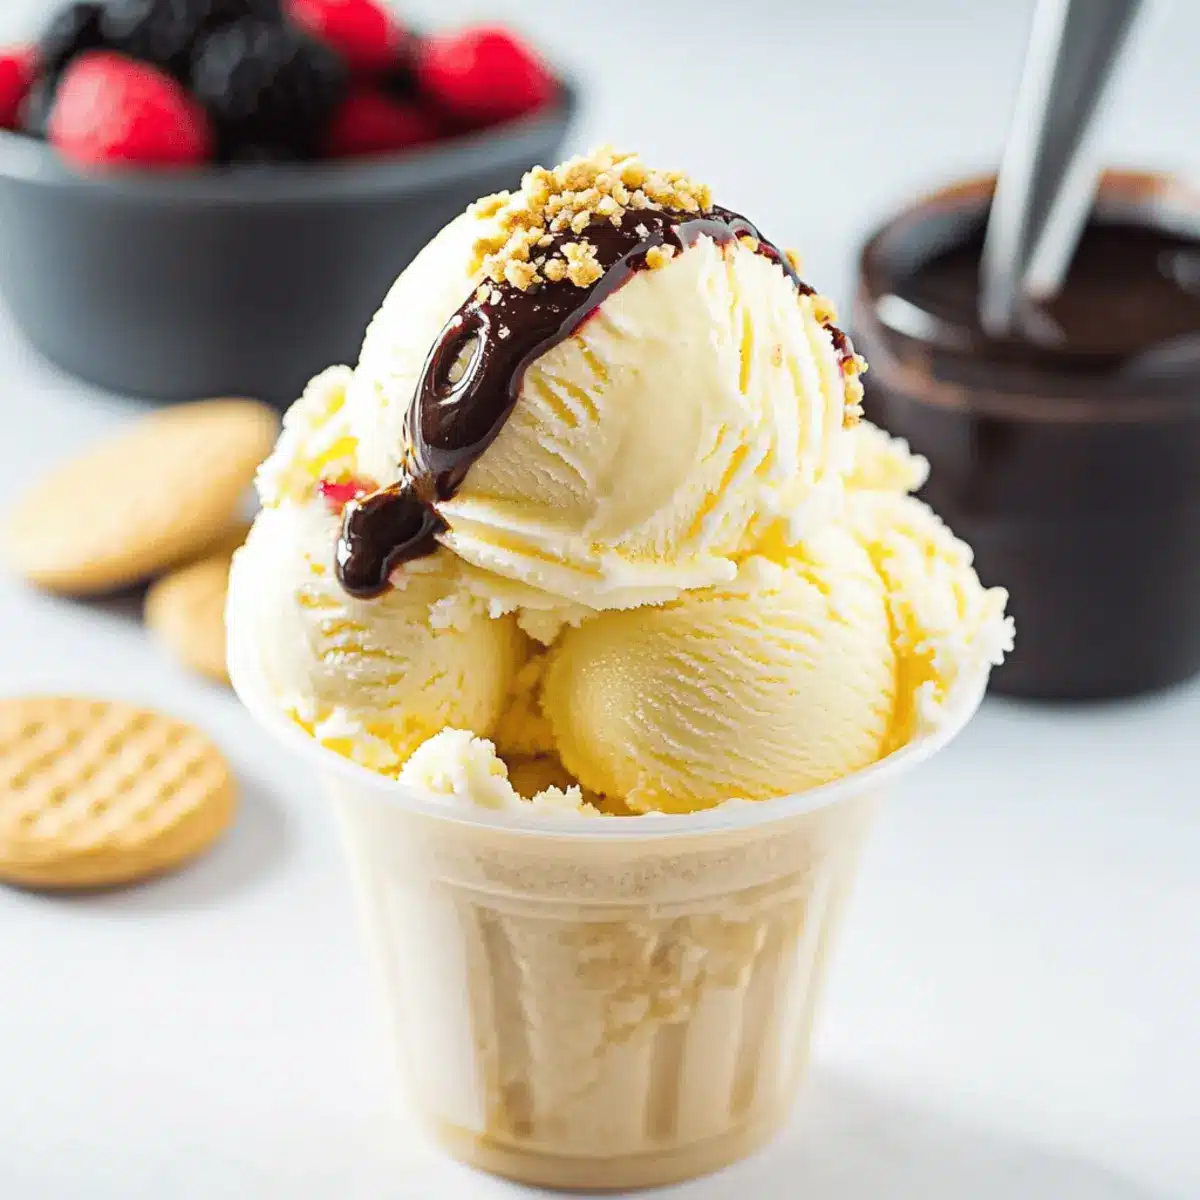
Summer days often call for a delightful scoop of something sweet, and what’s more nostalgic than the creamy perfection of Classic Vanilla Ice Cream? This egg-free recipe not only brings back memories of childhood treats, but it also offers the joys of homemade elegance right in your kitchen. Whipping up this treat is a breeze—you can craft it in under an hour, making it an ideal companion for everything from backyard barbecues to cozy evenings. Plus, it’s completely customizable! Whether you fancy adding a chocolate twist, infusing it with fresh fruits, or even trying a vegan version, the possibilities are endless. Are you ready to dive into this creamy bliss and discover your favorite variation?
Why is homemade ice cream special?
Simplicity in Preparation: Making this Creamy Old-Fashioned Vanilla Ice Cream is as easy as mixing ingredients and churning—no complex steps!
Customizable Flavors: From chocolate delights to fruit-infused blends, you can personalize each scoop to suit your cravings!
Perfect for Any Occasion: Whether it’s a sunny summer day or a cozy evening in, this ice cream fits right in, bringing joy to all gatherings.
Crowd-Pleasing Treat: Everyone loves ice cream, and this classic version is sure to impress guests—perfect alongside a slice of warm pie or drizzled with caramel.
Healthy Twist: With the option for dairy-free ingredients, you’ll appeal to a range of dietary preferences while still enjoying the same great taste.
Indulge in this homemade treasure and elevate your dessert game! Plus, if you’re in the mood for something equally comforting, check out our Chicken Wild Rice or a hearty Tortellini Soup Cozy.
Creamy Old-Fashioned Vanilla Ice Cream Ingredients
• Dive into the delicious details of making your own ice cream!
For the Base
- Heavy Whipping Cream – This ingredient provides a rich and smooth texture; substitute with coconut cream for a dairy-free delight.
- Sugar – Acts as a sweetener to balance the flavors in your creamy old-fashioned vanilla ice cream.
- Vanilla Bean – Offers authentic depth with specks of real vanilla; select plump, shiny pods for optimum flavor.
- Pure Vanilla Extract – Enhances the vanilla flavor even further; aim for high-quality for the best results.
For Optional Chocolatey Twist
- Cocoa Powder or Melted Chocolate – Incorporating this adds a luscious chocolate flavor that transforms your basic recipe for chocolate lovers.
For Custom Mix-Ins
- Crushed Cookies, Fresh Fruit, or Nuts – Personalize your ice cream with these fun ingredients to add delightful textures.
For Dairy-Free Option
- Coconut Cream – Perfect for vegan versions, it ensures a creamy consistency without dairy, allowing everyone to enjoy dessert.
Now that you have your ingredients ready, let’s get churning and create a batch of creamy old-fashioned vanilla ice cream that will delight everyone at your table!
Step‑by‑Step Instructions for Creamy Old-Fashioned Vanilla Ice Cream
Step 1: Combine the Base
In a large mixing bowl, whisk together 2 cups of heavy whipping cream and 3/4 cup of sugar until the sugar is fully dissolved and the mixture is smooth, about 2-3 minutes. You’ll know it’s ready when you don’t see any granules of sugar left. This step is crucial for achieving a creamy old-fashioned vanilla ice cream.
Step 2: Add Vanilla Flavors
Next, carefully stir in 1 tablespoon of pure vanilla extract, mixing gently to combine. For an extra depth of flavor, slice open a vanilla bean to scrape out the seeds and add these to the mixture. Include the empty pod as well, which will infuse more vanilla notes as it refrigerates.
Step 3: Refrigerate the Mixture
Cover the bowl with plastic wrap and refrigerate the mixture for at least 1 hour, though letting it sit overnight is ideal for intensifying the flavors. Keeping it chilled is essential for ensuring your creamy old-fashioned vanilla ice cream churns to perfection and achieves that luscious texture.
Step 4: Churn the Ice Cream
Once chilled, remove the vanilla pod and pour the mixture into your ice cream maker. Follow your manufacturer’s instructions, typically churning for about 20-25 minutes. Keep an eye out for the transition from liquid to a thick, creamy texture that resembles soft serve; this is the sweet spot for homemade ice cream.
Step 5: Freeze for Firmness
Transfer the churned ice cream into a freezer-safe container, using a spatula to press it down and eliminate air pockets. Cover it tightly with a lid or plastic wrap, then place it in the freezer for a minimum of 4 hours, allowing it to firm up. This step is vital for achieving that scoopable texture you’re craving with your creamy old-fashioned vanilla ice cream.
Step 6: Serve and Enjoy
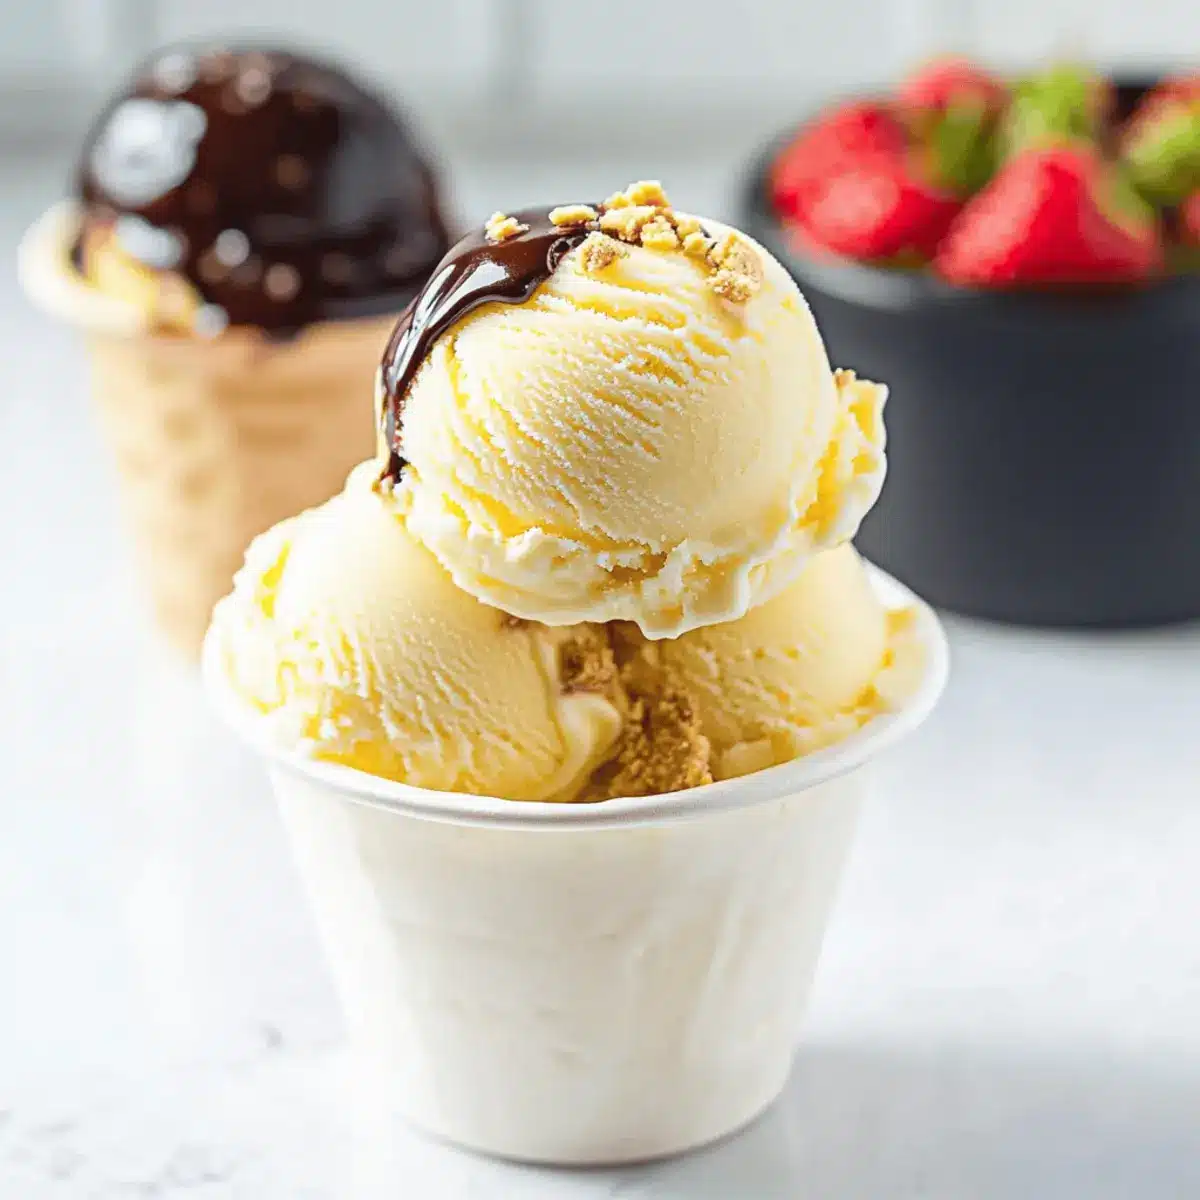
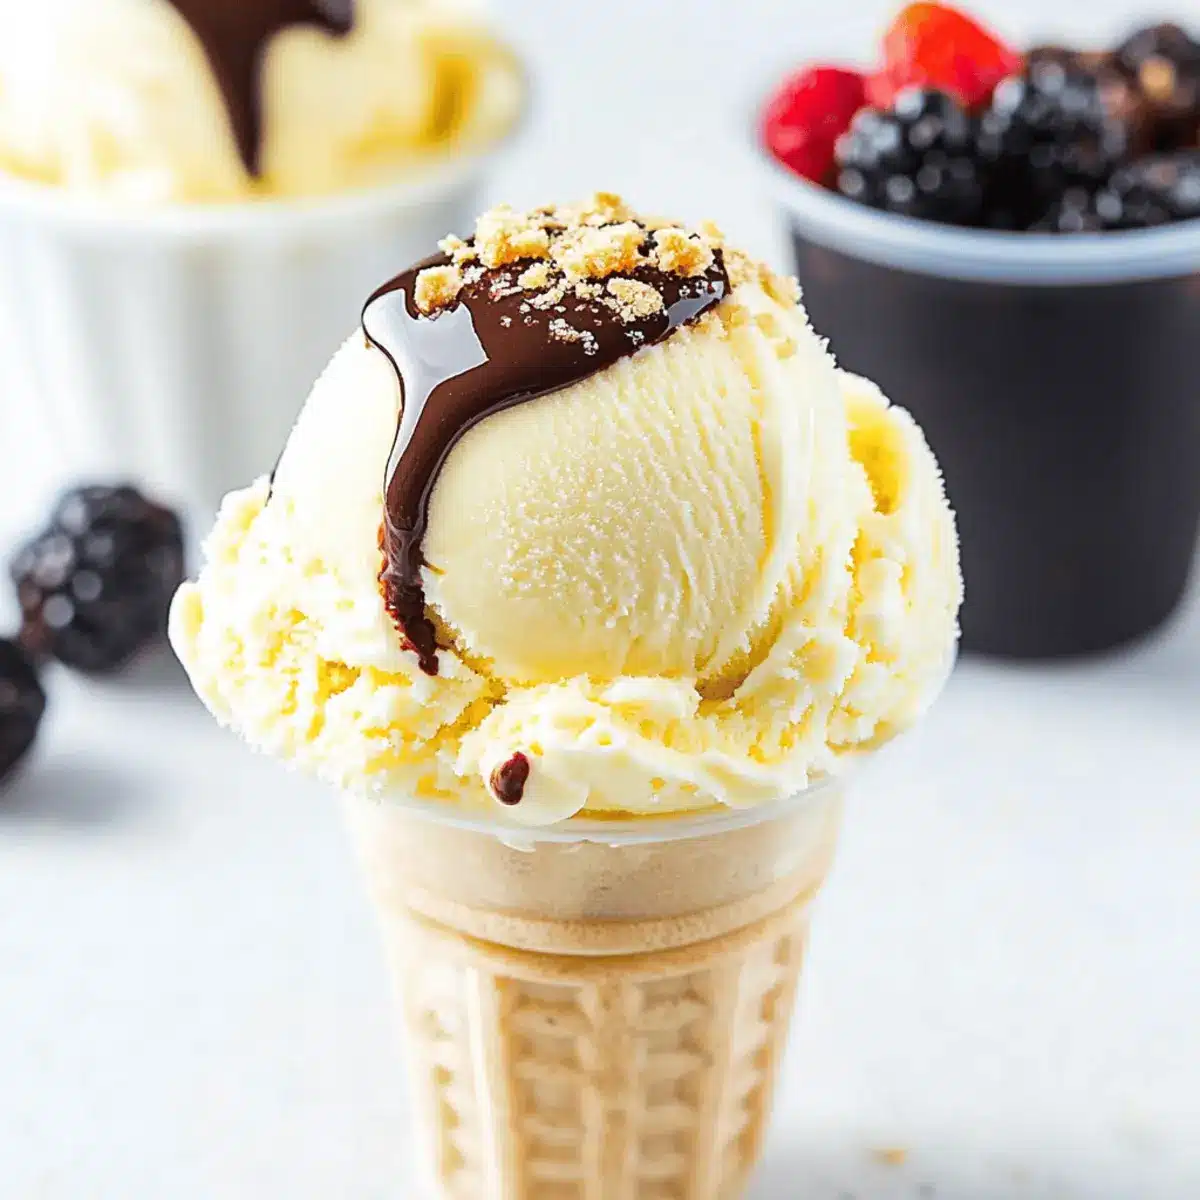
When ready to serve, let the ice cream sit at room temperature for about 5 minutes to soften slightly, making scooping easier. Use an ice cream scoop to serve generous portions into bowls or cones. Top with your favorite sauces or mix-ins, and enjoy this delightful homemade treat with family or friends!
Creamy Old-Fashioned Vanilla Ice Cream Variations
Feel free to explore the endless possibilities and customize your homemade ice cream to suit your cravings!
-
Chocolate Delight: Add 1/2 cup of cocoa powder or melted chocolate for a luxurious chocolate version. Each bite takes you on a rich, decadent journey.
-
Fruit Fusion: Incorporate fresh berries or pureed fruits like strawberries and peaches to brighten the flavor. The burst of fresh fruit creates a refreshing and vibrant scoop!
-
Nutty Addition: Mix in chopped nuts such as almonds or pecans for a satisfying crunch. This texture twist adds character and a delightful surprise in every spoonful.
-
Caramel Swirl: Drizzle in caramel sauce just before freezing for a sweet, gooey flavor explosion. This simple addition brings a beautiful contrast to the vanilla base.
-
Spicy Twist: Add a pinch of cinnamon or nutmeg for a warm, cozy flavor profile. This unexpected kick will have your taste buds dancing!
-
Herbal Infusion: Infuse your cream with fresh herbs like mint or basil for a refreshing, aromatic experience. The herbal notes elevate your classic vanilla to culinary bliss.
-
Cookie Crumble: Fold in crushed cookies, like Oreo or chocolate chip, in the last few minutes of churning for a satisfying crunch. Each scoop will remind you of delicious childhood treats.
For even more ideas, consider pairing your ice cream with our delightful Chicken Alfredo Bake or enjoying a warm slice of Butternut Squash Apple for a comforting experience!
Expert Tips for Creamy Old-Fashioned Vanilla Ice Cream
-
Chill Your Ingredients: Ensure your cream and other ingredients are cold before mixing; this helps achieve a smoother texture and speeds up the churning process.
-
Dissolve the Sugar: Take time to fully dissolve the sugar in the cream mixture to avoid any gritty texture in your creamy old-fashioned vanilla ice cream.
-
Use Quality Vanilla: Opt for the best quality vanilla bean and extract; this elevates the flavor of your ice cream and makes a noticeable difference.
-
Avoid Ice Crystals: Seal your container tightly and place plastic wrap directly on the ice cream surface before covering to help prevent ice crystals from forming.
-
Experiment with Variations: Don’t hesitate to try different mix-ins or flavors; this keeps your creamy old-fashioned vanilla ice cream exciting and allows for endless creativity!
What to Serve with Classic Vanilla Ice Cream
Indulging in creamy old-fashioned vanilla ice cream opens up a palette of delightful pairings that will elevate your dessert experience.
-
Warm Brownies: Rich and fudgy brownies create a delicious contrast with the smooth ice cream, making for a classic combo.
The warm chocolate melts into the cold ice cream, creating a dreamy, gooey delight that’s hard to resist! -
Fresh Berries: Juicy strawberries, raspberries, or blueberries add a refreshing burst of flavor and a pop of color.
Their natural sweetness balances the creaminess, offering a light and fruity note that complements the classic vanilla perfectly. -
Homemade Waffles: Crisp and fluffy waffles provide a delightful texture, perfect for spooning ice cream on top.
Top it off with powdered sugar or maple syrup for an elevated brunch or dessert experience! -
Chocolate Sauce: Drizzling warm chocolate sauce over your ice cream brings an indulgent touch that chocolate lovers will adore.
It transforms a simple dish into a decadent treat with every bite, harmonizing beautifully with the vanilla flavor. -
Caramel Sauce: Sweet, buttery caramel adds richness and depth, enhancing the overall dessert experience.
A drizzle of caramel not only brings a beautiful sheen but also layers in a delicious flavor contrast. -
Pecan Pie: Slices of this traditional dessert offer caramelized flavors and nutty crunch that pair wonderfully with ice cream.
The warm filling combined with the creamy ice cream is truly a match made in dessert heaven! -
Mint Leaves: A sprig of fresh mint adds a refreshing touch that brightens the dessert table and enhances flavors.
The coolness of mint pairs beautifully with the rich vanilla, offering an aromatic finish to every scoop.
Make Ahead Options
These Creamy Old-Fashioned Vanilla Ice Cream preparations are perfect for busy home cooks who want to save time and enjoy homemade goodness! You can prepare the base mixture up to 24 hours in advance by whisking together the cream, sugar, vanilla extract, and seeds, then refrigerating it to let the flavors meld. For best results, cover the bowl tightly to prevent any off-flavors from the fridge. When you’re ready to churn, simply follow the remaining steps to achieve that delightful texture. Freezing the churned ice cream for at least 4 hours will ensure it’s firm enough for serving, so you can have a delicious treat ready whenever the craving strikes!
How to Store and Freeze Creamy Old-Fashioned Vanilla Ice Cream
-
Freezer: Transfer your creamy old-fashioned vanilla ice cream to an airtight container. It keeps well in the freezer for up to 4 weeks, ensuring long-lasting enjoyment.
-
Reheating: When ready to serve, let the ice cream sit at room temperature for about 5 minutes. This will make it easier to scoop and serve delicious, perfect portions.
-
Avoid Freezer Burn: To maintain the best quality, press plastic wrap directly onto the surface of the ice cream before sealing the container. This helps prevent ice crystals or freezer burn.
-
Refreezing: If you find you have some leftover (unlikely, but possible), you can refreeze it. Just be sure to seal it properly and consume within another 2 weeks for the best texture and flavor.

Creamy Old-Fashioned Vanilla Ice Cream Recipe FAQs
What type of vanilla bean should I use?
Absolutely! When choosing a vanilla bean for your creamy old-fashioned vanilla ice cream, look for plump, shiny pods. The more aroma you smell, the better! These beans will yield rich, flavorful seeds that will truly elevate your ice cream experience. If you can’t find vanilla beans, high-quality pure vanilla extract can work in a pinch, but I highly recommend the real thing!
How long can I store my homemade ice cream?
Very! You can keep your creamy old-fashioned vanilla ice cream in an airtight container in the freezer for up to 4 weeks. This way, you can indulge in a scoop or two whenever the mood strikes. To serve later, just let it sit at room temperature for about 5 minutes before scooping to make it easier to dish out those delicious portions.
Can I freeze custom mix-ins like fruit or nuts?
Of course! If you’re adding mix-ins like fresh fruits, it’s best to fold them in during the last few minutes of churning. However, if you want to use larger pieces, like nuts, consider lightly toasting them first. You can mix in just about anything your heart desires, but be aware that some fruits might release moisture as they thaw, which could affect texture. To avoid ice crystals, ensure the fruit is as dry as possible!
What should I do if my ice cream is too icy?
Absolutely, let’s troubleshoot! If your creamy old-fashioned vanilla ice cream ends up too icy, it might be due to sugar not dissolving completely. Next time, ensure you spend those extra 2-3 minutes whisking until all sugar granules are gone. If it’s already made, you could try mixing in a little more heavy cream or stirring in a splash of milk to soften the texture before refreezing it.
Are there dairy-free options for this ice cream?
Yes! For a delightful dairy-free variation of your creamy old-fashioned vanilla ice cream, you can substitute heavy cream with coconut cream. It will still provide that luscious, creamy texture while being plant-based. You can add sugar to taste and follow the same steps in the recipe—it’s perfect for those who prefer vegan desserts or have lactose sensitivities!
Can I make this ice cream without an ice cream maker?
Sure thing! If you don’t have an ice cream maker, you can still enjoy creamy ice cream at home. Simply pour your mixture into a shallow freezer-safe dish after mixing. Every 30 minutes, take a fork and mix it up vigorously to incorporate air—repeat this process for about 3-4 hours, and you’ll have a creamy consistency without a machine!
Creamy Old-Fashioned Vanilla Ice Cream You’ll Love Making
Ingredients
Equipment
Method
- In a large mixing bowl, whisk together 2 cups of heavy whipping cream and 3/4 cup of sugar until the sugar dissolves and the mixture is smooth, about 2-3 minutes.
- Stir in 1 tablespoon of pure vanilla extract and the seeds from the vanilla bean.
- Cover the bowl with plastic wrap and refrigerate the mixture for at least 1 hour.
- Remove the vanilla pod and pour the mixture into your ice cream maker, churning for 20-25 minutes.
- Transfer the churned ice cream into a freezer-safe container and cover tightly.
- Freeze for a minimum of 4 hours before serving.
- Let the ice cream sit at room temperature for 5 minutes before serving.