

As I stood in the kitchen, the delightful aroma of baked goodness enveloped me like a warm hug. There’s something magical about crafting Mom’s Famous Cream Puffs, those delightful little bites of happiness filled with rich, creamy vanilla filling. This cherished family recipe has been passed down the generations, and every time I make them, it feels like I’m bringing a piece of our history back to life. What I love most about these cream puffs is how quickly they come together and how they’re guaranteed to impress anyone who tries them. Perfect for both casual family gatherings and special celebrations, they always seem to disappear in a flash! Curious about how to create this light and airy dessert? Let’s get those ovens preheated and dive into the joy of making these irresistible treats!
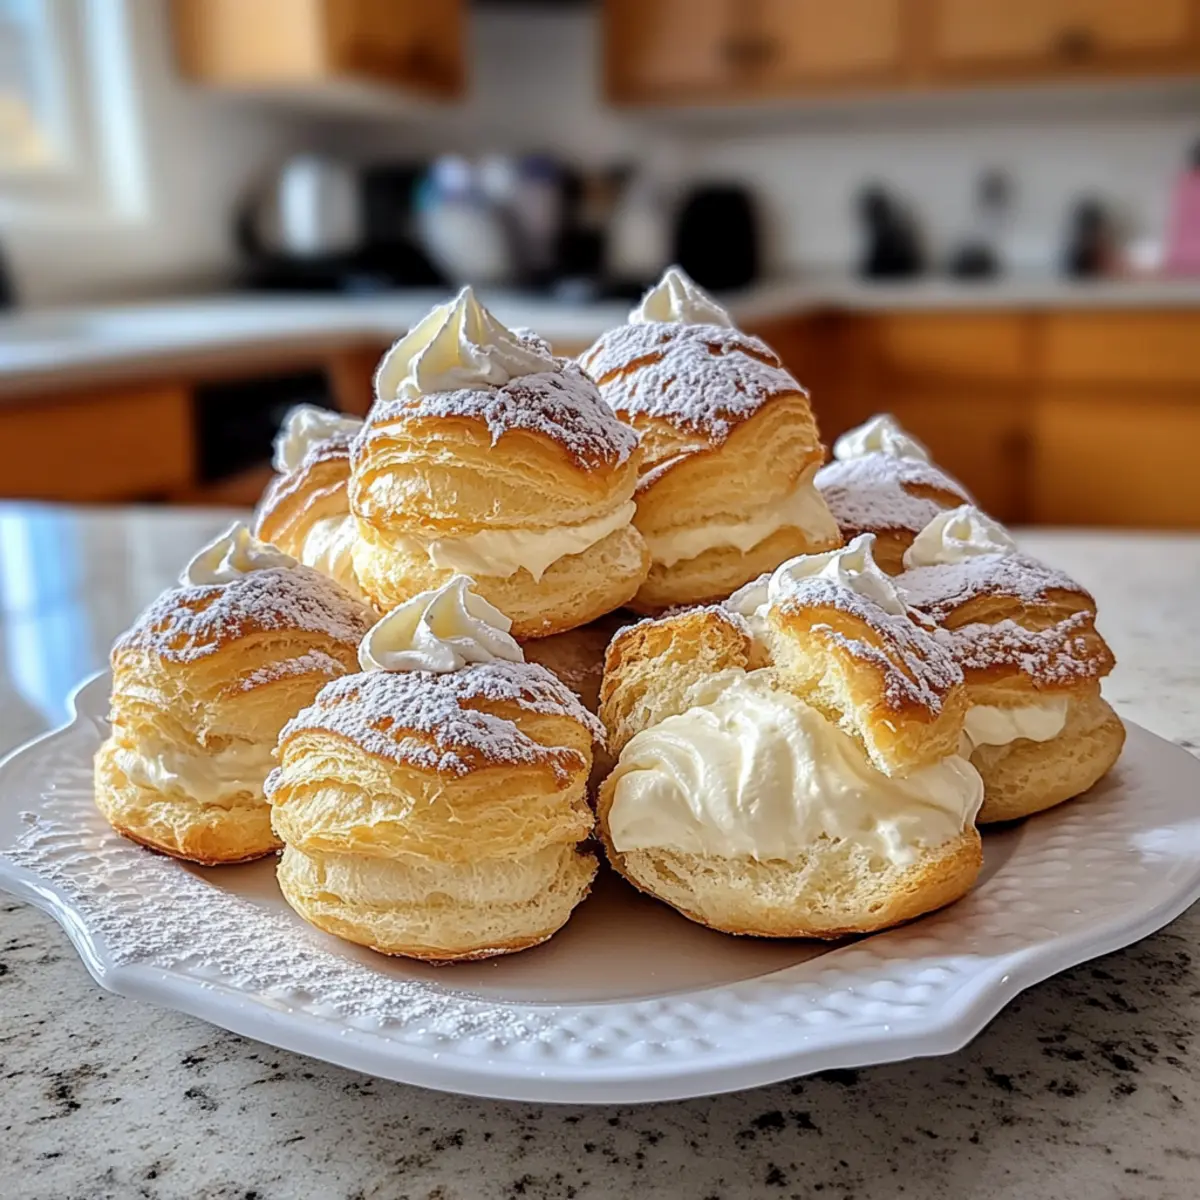
Why Are Cream Puffs So Irresistible?
Light, Fluffy Texture: Enjoy the perfect balance of crispiness and softness that melts in your mouth.
Quick to Prepare: This recipe is easy enough for beginners, making baking enjoyable for everyone.
Impressive Presentation: Serve these cream puffs topped with powdered sugar or a drizzle of chocolate for a stunning dessert.
Versatile Flavor Options: Get creative by experimenting with different fillings like chocolate or coffee cream for a tasty twist.
Crowd-Pleasing Treat: Whether it’s a birthday party or a cozy family dinner, these delightful bites are guaranteed to be enjoyed by all.
Make-Ahead Friendly: Prepare the shells in advance and fill them just before serving for a stress-free dessert experience.
Cream Puffs Ingredients
• Now that you’re excited to make these treats, let’s gather our ingredients!
For the Cream Puff Dough
- All-purpose flour – Provides structure to the cream puff; gluten-free flour can be substituted for a gluten-free option.
- Water – Hydrates the flour and helps create steam for puffing; using unsalted butter enhances the flavor.
- Butter – Adds richness and flavor, assisting in achieving that desired puff texture; margarine can be used if needed.
- Eggs – Essential for leavening and creating the airy puff; make sure they are at room temperature for best incorporation.
For the Cream Filling
- Sugar – Sweetens the filling for that creamy delight; powdered sugar can provide a smoother texture.
- Vanilla extract – Infuses delightful flavor into the cream; almond extract can be swapped for a unique twist.
With these ingredients ready, you’re moments away from creating mouthwatering cream puffs that will charm everyone at your table!
Step‑by‑Step Instructions for Mom’s Famous Cream Puffs
Step 1: Preheat the Oven
Begin by preheating your oven to 400°F (200°C). While the oven warms up, prepare a baking sheet by lining it with parchment paper. This will ensure that your cream puffs don’t stick and maintain their perfect shape while baking. A correctly preheated oven is essential for achieving that beautifully puffed texture in your beloved cream puffs.
Step 2: Boil Water and Butter
In a medium saucepan, combine 1 cup of water and 1/2 cup of butter over medium heat. Stir the mixture occasionally until it comes to a full boil, at which point the butter should be completely melted. The bubbling water will create steam that is crucial for puffing the dough later on, so keep an eye on this step as it sets the stage for your delightful cream puffs.
Step 3: Add the Flour
Once your mixture is boiling, add in 1 cup of all-purpose flour all at once while stirring vigorously with a wooden spoon. Continue to mix for about 1 to 2 minutes until a smooth dough forms that pulls away cleanly from the sides of the saucepan. You’ll know it’s ready when it starts forming a ball and becomes somewhat glossy, indicating that the flour has fully absorbed the liquid.
Step 4: Incorporate the Eggs
Transfer the warm dough to a mixing bowl and let it cool for a few minutes. Once it’s slightly cooler, add 4 room-temperature eggs one at a time, mixing well after each addition with a hand mixer or strong spoon. The dough should become shiny and smooth, with a thick consistency ideal for piping. This step is essential to achieve the airy texture of your cream puffs.
Step 5: Pipe the Dough
Using a piping bag fitted with a large round tip, pipe small mounds of dough (about 1 to 1.5 inches in diameter) onto the prepared baking sheet. Space them about 2 inches apart to allow room for expansion. The mounds should be smooth on top and resemble a dome shape. This technique will help ensure that each cream puff rises evenly during baking.
Step 6: Bake the Cream Puffs
Place the baking sheet in the preheated oven and bake for 20-25 minutes, or until the cream puffs are puffed up to about double their size and have turned a lovely golden brown. Avoid opening the oven door during baking, as this can cause the puffs to collapse. You’ll know they’re done when they look light and airy, ready to be filled.
Step 7: Cool the Puffs
Once baked, remove the cream puffs from the oven and let them cool on a wire rack. This allows air to circulate around them, preventing excess moisture from making the shells soggy. They should also cool completely before filling, so your delicious vanilla cream will stay intact and not melt.
Step 8: Make the Vanilla Cream Filling
While the puffs are cooling, prepare the filling by whipping 1 cup of heavy cream in a mixing bowl. Gradually add 1/4 cup of sugar and 1 teaspoon of vanilla extract while continuing to whip until soft peaks form. The cream should become light and fluffy, creating the perfect filling for channeling your nostalgia in these cream puffs.
Step 9: Fill the Cream Puffs
Once the cream puffs are fully cooled, carefully cut them in half horizontally. Use a piping bag or a spoon to fill each puff generously with the creamy vanilla filling. The moments when you see the filling peeking out from these delightful pastries will surely evoke feelings of joy and satisfaction as you prepare to serve your homemade cream puffs.
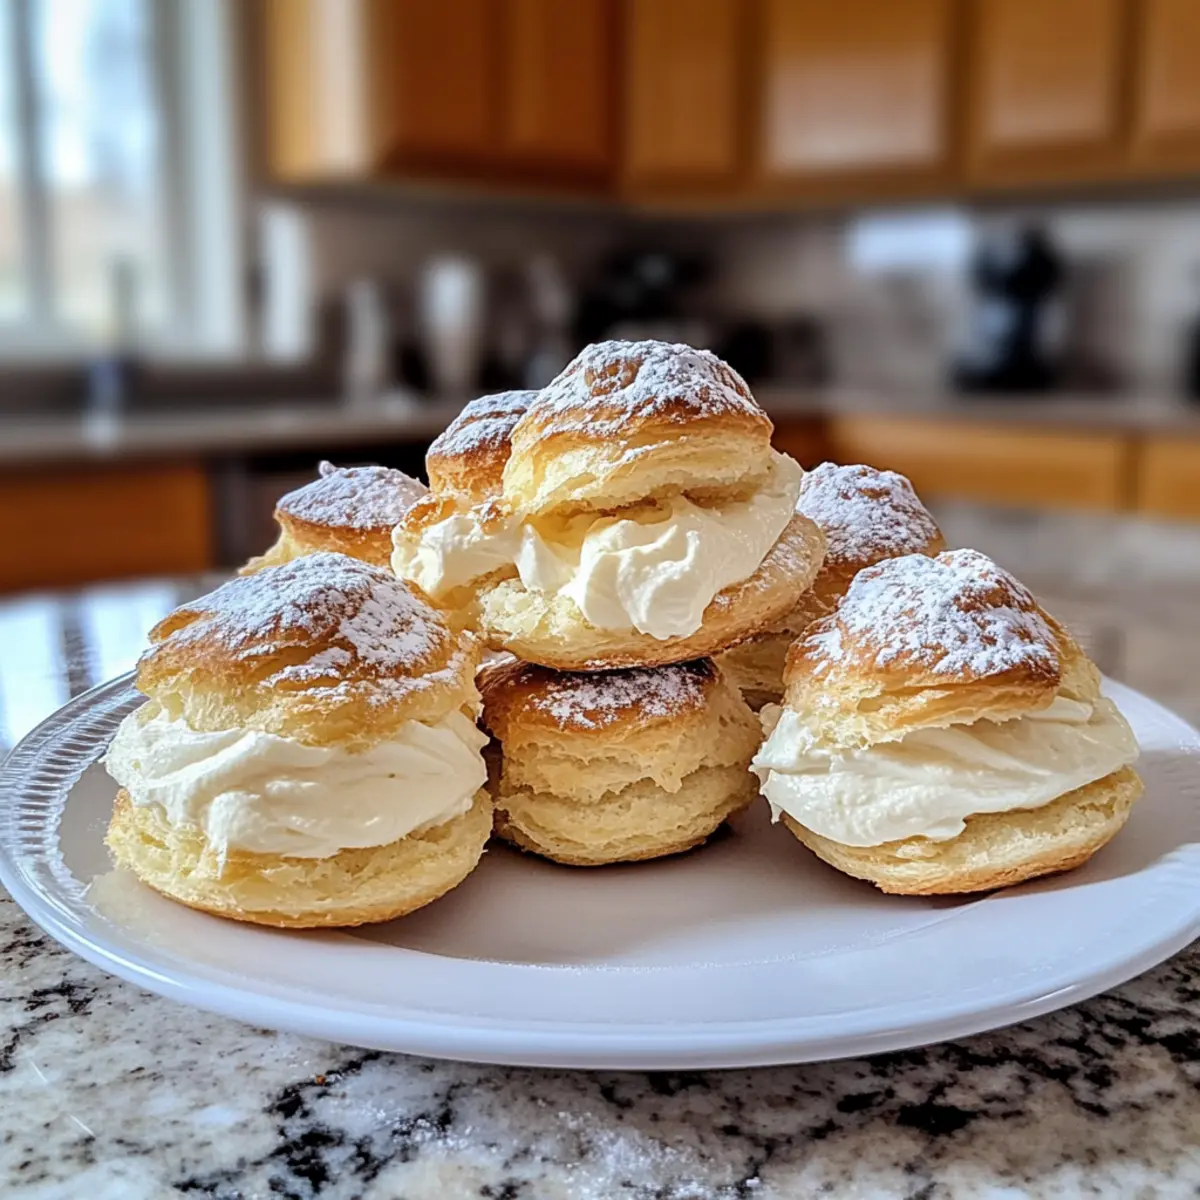
Expert Tips for Perfect Cream Puffs
-
Mix Well: Ensure the dough is thoroughly mixed before piping; this helps avoid inconsistencies that could lead to flat cream puffs.
-
Watch the Bake: Always bake until they are fully puffed and golden brown. Underbaking can result in flat and soggy treats that don’t impress.
-
Room Temperature Eggs: Use eggs at room temperature for better incorporation into the dough, crucial for achieving the airy texture of cream puffs.
-
Cool Down Properly: Allow the baked puffs to cool completely on a wire rack before filling; this ensures the cream stays fluffy and doesn’t melt into the shells.
-
Fill Just Before Serving: For the best texture, fill the cream puffs just before serving. This keeps the airy shells crisp and delightful.
How to Store and Freeze Cream Puffs
-
Room Temperature: Enjoy cream puffs fresh within 1 day for the best texture and flavor. Keep in a cool, dry place, covered with a clean kitchen towel to prevent drying out.
-
Fridge: If you have leftover cream puffs, they can be stored in the refrigerator for up to 2 days. Place them in an airtight container to maintain freshness and avoid sogginess from the filling.
-
Freezer: To freeze cream puffs, store the unfilled baked shells in an airtight container for up to 1 month. Thaw at room temperature and fill with cream just before serving.
-
Reheating: If you want warm cream puffs, reheat the unfilled shells in a 350°F (175°C) oven for about 5-7 minutes until crispy. This way, you’ll find the perfect balance of crispness and delightful creaminess in your homemade treats!
Make Ahead Options
Mom’s Famous Cream Puffs are fantastic for busy home cooks looking to simplify dessert prep. You can prepare the cream puff shells up to 24 hours in advance; simply bake and let them cool completely before storing them in an airtight container at room temperature to maintain their crispiness. The creamy vanilla filling can also be made up to 3 days ahead—just refrigerate it in a tightly sealed container to keep it fresh. When you’re ready to serve, fill the puffs with the cream and enjoy them right away for a delightful treat that’s just as delicious as when fresh-baked. A little planning saves time and ensures you can impress guests without the last-minute rush!
Cream Puffs: Delicious Customization Ideas
Feel free to let your creativity shine by personalizing these delightful cream puffs to suit your taste buds!
-
Gluten-Free: Substitute all-purpose flour with gluten-free flour for a tasty alternative that everyone can enjoy.
-
Dairy-Free: Use coconut oil and non-dairy milk in the dough, and replace the cream with whipped coconut cream for a delicious dairy-free option.
-
Flavored Creams: Infuse your filling with flavor by adding cocoa powder for chocolate cream puffs or espresso for a coffee kick. Each twist enhances the pleasurable experience.
-
Citrus Zing: Add a tablespoon of lemon or orange zest to the cream filling for a burst of fresh, invigorating flavor that brings new life to every bite.
-
Savory Surprise: Turn these sweet treats into a savory delight by filling them with herbed cream cheese or a creamy spinach mixture, perfect for parties!
-
Spicy Kick: If you’re feeling adventurous, mix in a pinch of cayenne or chili powder into the filling for a surprising kick that will leave your guests buzzing.
-
Chocolate Drizzle: Top your cooled cream puffs with a decadent drizzle of melted chocolate for an elegant and eye-catching touch that will impress at any gathering.
-
Fruit Medley: Incorporate fresh fruits like diced strawberries or pureed raspberries into the cream filling for a delightful fruity explosion that complements the lightness of the puffs.
Whether you’re drawn to the classic vanilla or eager to explore something adventurous, these variations will help you create unforgettable cream puffs. And if you love homemade treats, don’t miss out on trying the Pistachio Cream Chocolate or perhaps some irresistible Cookies Cream Cookies for dessert. Let the baking begin!
What to Serve with Mom’s Famous Cream Puffs
Delightful cream puffs are the perfect centerpiece for any dessert table, inviting rich pairings to enhance their lightness.
- Fresh Berries: Juicy strawberries or raspberries add a touch of tartness, balancing sweetness and creating a vibrant plate.
- Chocolate Sauce: Drizzling warm chocolate sauce brings a decadent element that beautifully contrasts with the airy cream puffs.
- Whipped Cream: A dollop of fluffy whipped cream elevates the experience, offering extra texture and indulgence on each bite.
- Coffee or Tea: A fragrant cup of coffee or tea enhances the flavor, making your cream puffs an ideal afternoon dessert treat.
- Fruit Salad: A refreshing fruit salad brings bright flavors and a cooling contrast, complementing the rich cream filling wonderfully.
- Ice Cream: Pair these with a scoop of vanilla or chocolate ice cream for a delightful treat that combines textures and flavors beautifully.
No matter how you choose to indulge, these pairings will surely make your mom’s famous cream puffs even more memorable!
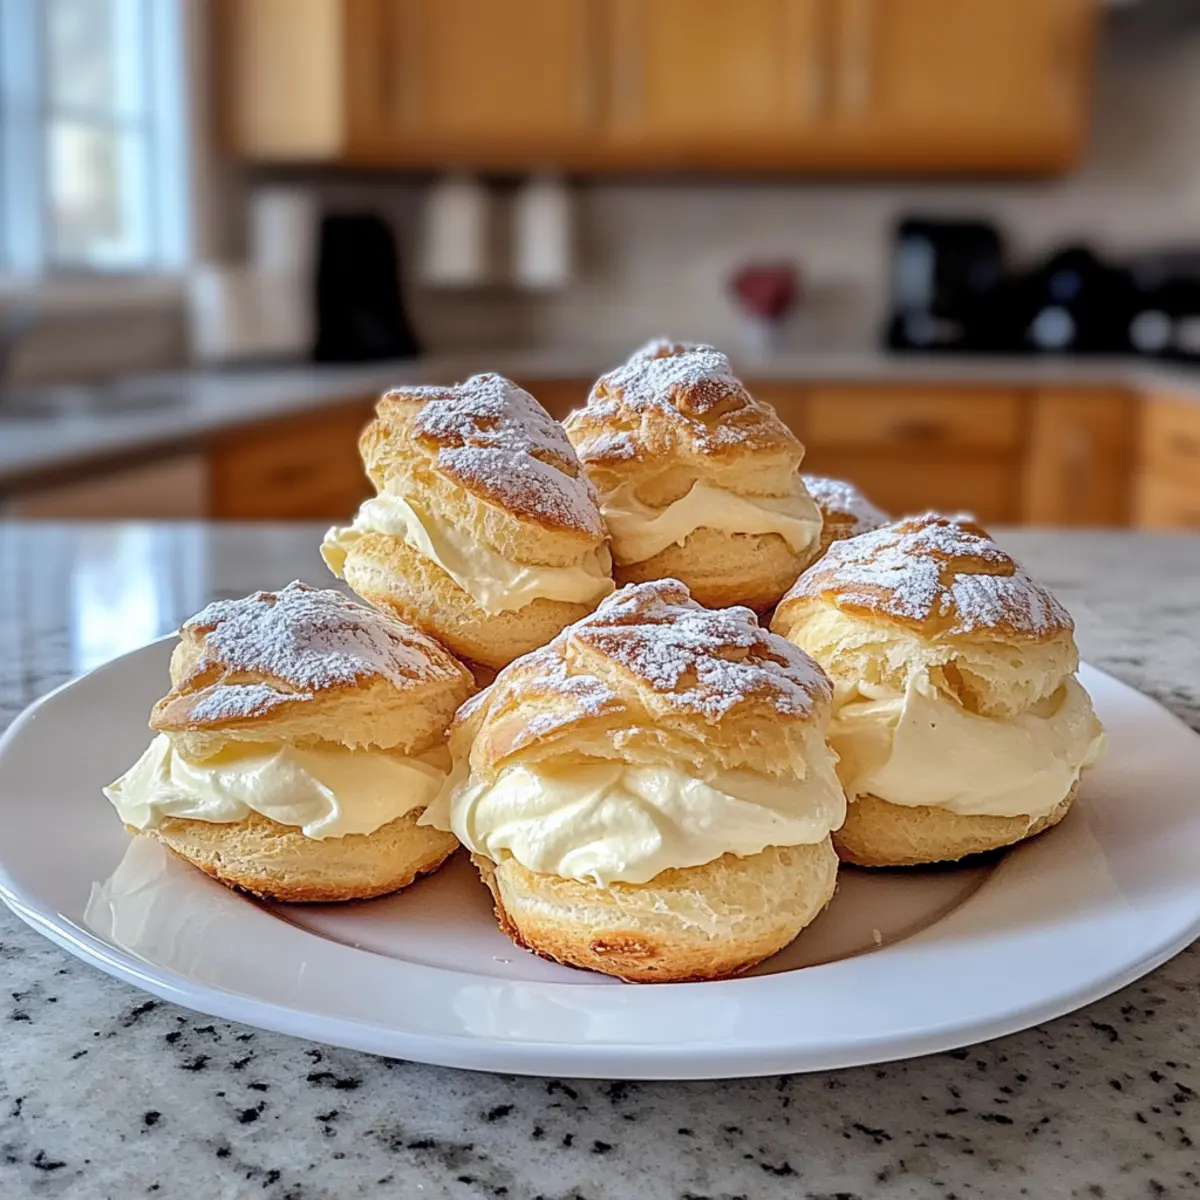
Mom’s Famous Cream Puffs Recipe FAQs
How do I choose the best ingredients for my Cream Puffs?
Absolutely! When selecting flour, go for all-purpose for the best texture, but if gluten-free is your preference, there are great alternatives available. Make sure to use unsalted butter for a rich flavor, and for the eggs, choose those that are at room temperature; this helps them incorporate more easily into the dough.
How should I store leftover cream puffs?
Very! If you have some cream puffs left, store them in an airtight container in the refrigerator for up to 2 days. This will keep the filling from making the shells soggy. For optimal enjoyment, I recommend consuming them fresh within the first day. To avoid drying out, you can cover them with a clean kitchen towel.
Can I freeze cream puffs?
Yes, you can! To freeze your cream puffs, place the unfilled baked shells in an airtight container, ensuring they are completely cooled first. They can be stored for up to 1 month. When you’re ready to enjoy them, simply thaw them at room temperature and fill them with the cream right before serving for the best taste.
What should I do if my cream puffs don’t rise?
If your cream puffs didn’t rise as expected, it’s likely due to two things: either the dough was not mixed enough before piping or the oven temperature wasn’t hot enough. Ensure that you mix the dough until it pulls away from the sides properly. Also, be cautious not to open the oven door while baking; this can let out the steam that’s crucial for forming those beautiful puffs.
Can my pets enjoy the cream filling?
No, it’s best not to share the cream filling with your pets. Ingredients like sugar and dairy can upset their stomachs. Always check for pet-friendly alternatives if you want to involve your furry friends in your meal prep, but keep those delicious cream puffs for the humans in your life!
How can I make these cream puffs even more special?
Absolutely! If you want to elevate your cream puffs, consider adding flavored extracts or zests to the filling, like lemon or almond for a twist. You could also dip the tops in melted chocolate or sprinkle with powdered sugar for an elegant finish that’s sure to impress!
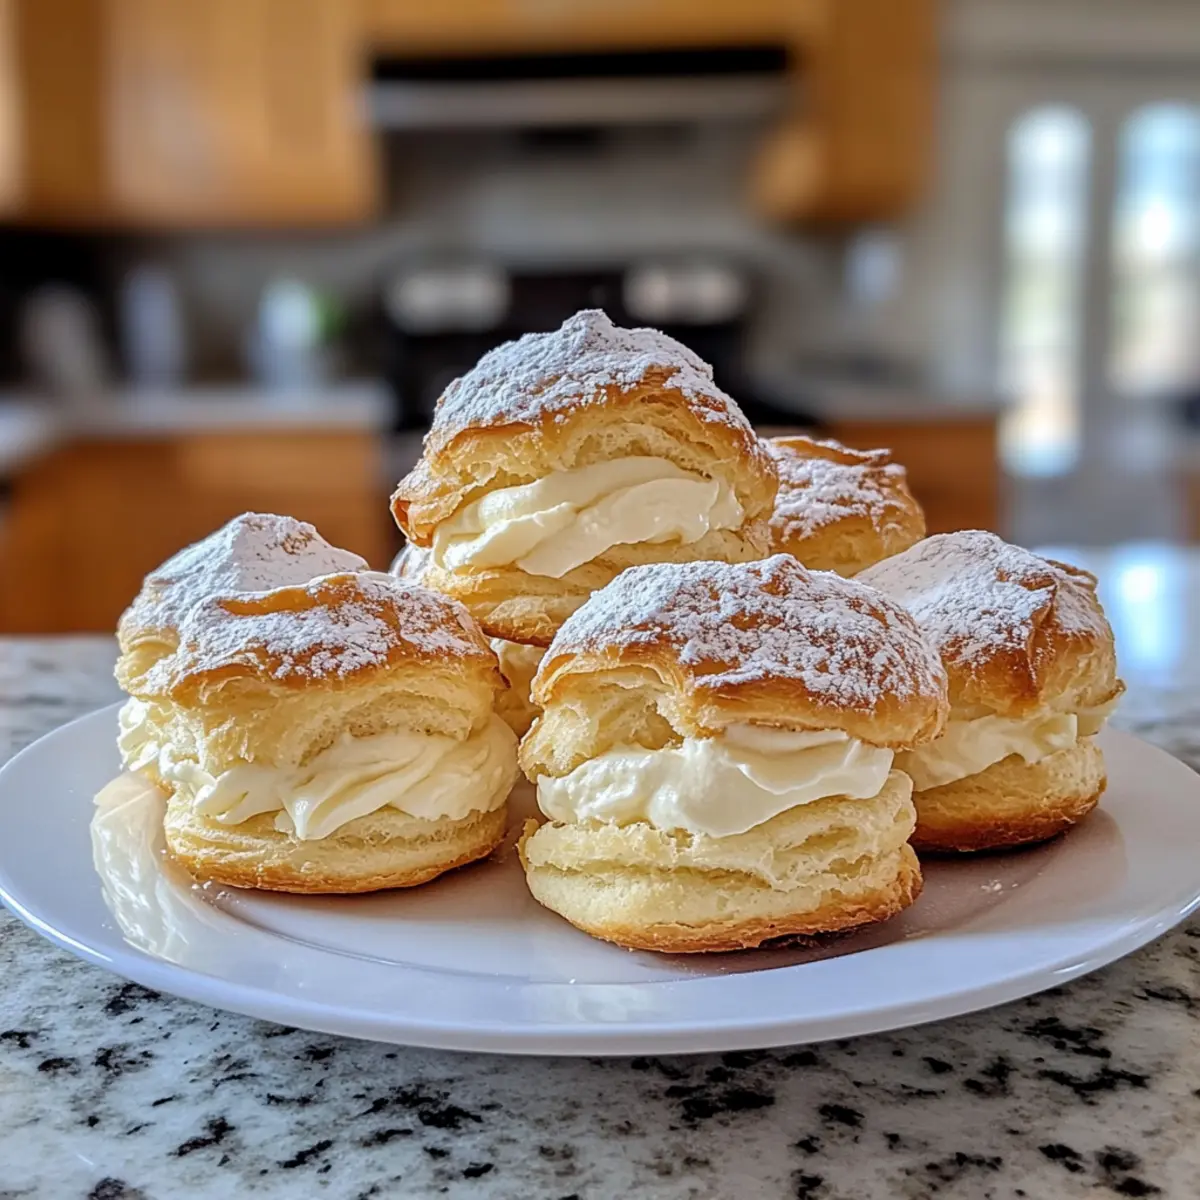
Cream Puffs: Irresistibly Light Treats from Mom's Kitchen
Ingredients
Equipment
Method
- Preheat your oven to 400°F (200°C) and line a baking sheet with parchment paper.
- In a medium saucepan, combine 1 cup of water and 1/2 cup of butter over medium heat until it comes to a full boil.
- Add in 1 cup of all-purpose flour all at once while stirring vigorously until a smooth dough forms.
- Transfer the warm dough to a mixing bowl and let it cool, then incorporate 4 room-temperature eggs one at a time.
- Using a piping bag, pipe small mounds (1 to 1.5 inches in diameter) onto the prepared baking sheet.
- Bake the cream puffs for 20-25 minutes until puffed and golden brown.
- Remove from the oven and cool the cream puffs on a wire rack.
- In a mixing bowl, whip 1 cup of heavy cream, gradually adding 1/4 cup of sugar and 1 teaspoon of vanilla extract until soft peaks form.
- Once cool, cut the puffs in half and fill them with the creamy vanilla filling.