

Amid the hustle and bustle of daily life, it’s easy to fall into the routine of takeout and fast food—until a craving for something healthier strikes. That’s when I discovered the joys of Cottage Cheese Wraps, a delightful way to satisfy both taste buds and nutritional needs. With just two main ingredients, you can whip up these versatile wraps that are not only high-protein and low-carb but also gluten-free. Whether you’re packing them with fresh veggies for lunch or spreading a sweet filling for breakfast, these wraps make healthy eating quick and satisfying. Plus, they’re customizable, allowing you to become your own chef artist with every creation. Ready to transform your mealtime routine? Let’s dive into this easy recipe that’s brimming with possibilities!
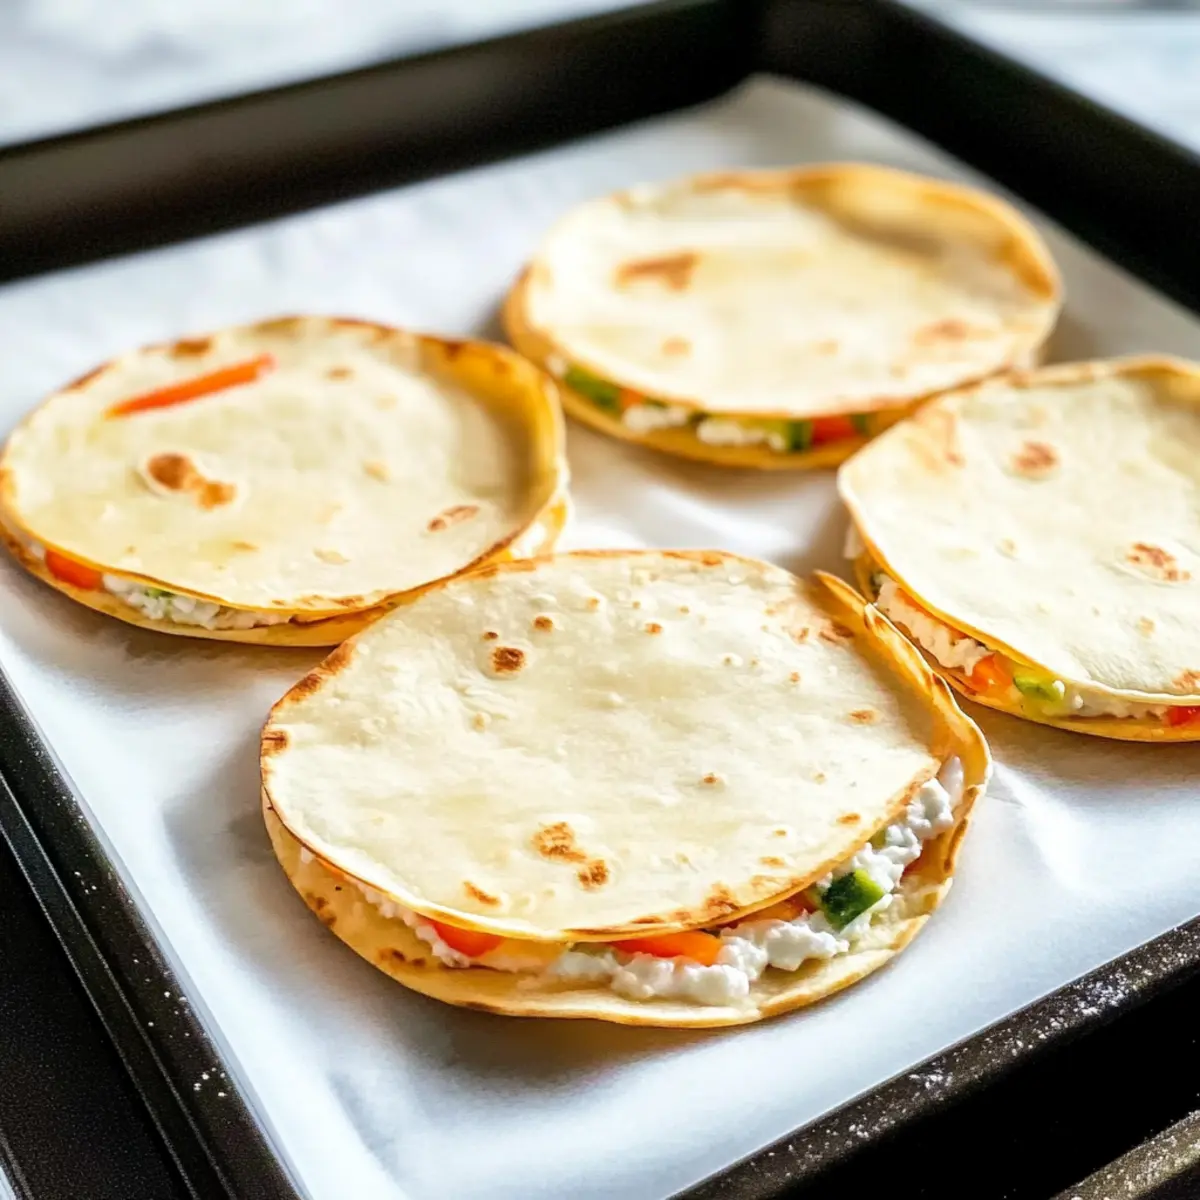
Why Choose Cottage Cheese Wraps?
Easy Preparation: Making Cottage Cheese Wraps is a breeze, requiring just a blender and a skillet. You can whip them up in minutes, perfect for busy weeknights!
Versatile Fillings: From savory options like grilled veggies to sweet banana and nut butter, these wraps allow your culinary creativity to shine. Check out delicious Lettuce Wraps Chicken for more inspiration!
Health-Conscious: With low-carb, high-protein, and gluten-free credentials, these wraps are a fantastic choice for anyone looking to eat healthier without sacrificing flavor.
Crowd-Pleaser: Whether you’re serving a family or hosting guests, everyone loves the light, satisfying texture, making them a guaranteed hit at your dinner table.
Make-Ahead Friendly: Prep them in advance and store in the fridge or freezer. They stay fresh, so you can always have a nutritious option ready to go!
Cottage Cheese Wraps Ingredients
For the Wraps
• Cottage Cheese – Opt for full-fat for the best flavor and protein content in your Cottage Cheese Wraps.
• Eggs – Whole eggs are recommended for binding, but egg whites can lighten the calorie load.
• Garlic Powder – A teaspoon adds a delightful savory note to the wraps.
• Italian Seasoning – Enhances flavor; feel free to substitute with your favorite dried herbs.
• Salt & Pepper – Crucial for seasoning; adjust to suit your taste preferences.
• Nutritional Yeast – Imparts a cheesy flavor without added dairy; one tablespoon does the trick for a rich twist.
Optional Variations
• Fresh Herbs – Chopped basil or cilantro can be folded into the batter for a burst of freshness.
• Spices – Add a pinch of cayenne for a spicy kick, perfect for those who love heat.
• Veggies – Stir in shredded spinach or zucchini for an extra nutritional boost.
• Sweet Additions – Mix in cinnamon and vanilla for a delightful breakfast treat.
Step‑by‑Step Instructions for Cottage Cheese Wraps
Step 1: Blend the Base
In a high-speed blender, combine 1 cup of cottage cheese and 2 large eggs, blending on high for 20-30 seconds until the mixture is completely smooth. This creamy base will form the foundation of your Cottage Cheese Wraps. Make sure to scrape down the sides as needed to ensure everything is well mixed.
Step 2: Prepare the Skillet
While blending, place a nonstick skillet on the stovetop over low to medium-low heat, allowing it to warm for about 2 minutes. Lightly grease the skillet with cooking spray or a drop of olive oil to prevent the wraps from sticking. A properly heated skillet is crucial for achieving a perfect golden color.
Step 3: Pour and Shape
Once the skillet is prepped, pour approximately 1/3 cup of the batter into the skillet. Tilt the skillet gently, allowing the batter to spread into an even, thin layer. This will help create a uniform shape for your Cottage Cheese Wraps, emphasizing their delicate texture and making them easier to fill once cooked.
Step 4: Cook the Wraps
Cook the wrap undisturbed for 3-5 minutes. Watch closely for the edges to start lifting slightly and the center to appear set. Once these indicators show, flip the wrap carefully using a spatula, and continue to cook for an additional 1-2 minutes until both sides are golden and the wrap feels firm yet flexible.
Step 5: Cool and Transfer
After cooking, gently transfer the wrap to a plate and allow it to cool for 2-3 minutes. This step helps the Cottage Cheese Wraps solidify and also makes them easier to handle when you’re ready to fill them. As they cool, the wraps retain their structure and become a delightful canvas for your chosen fillings.
Step 6: Repeat with Remaining Batter
Continue the process with the remaining batter, coating the skillet again if needed and ensuring that each wrap cooks to the same lovely golden hue. Stack the finished wraps on the plate, keeping them warm as you prepare your savory or sweet fillings. With each wrap, you’re one step closer to enjoying a nutritious and delicious meal!
Step 7: Oven Method (Optional)
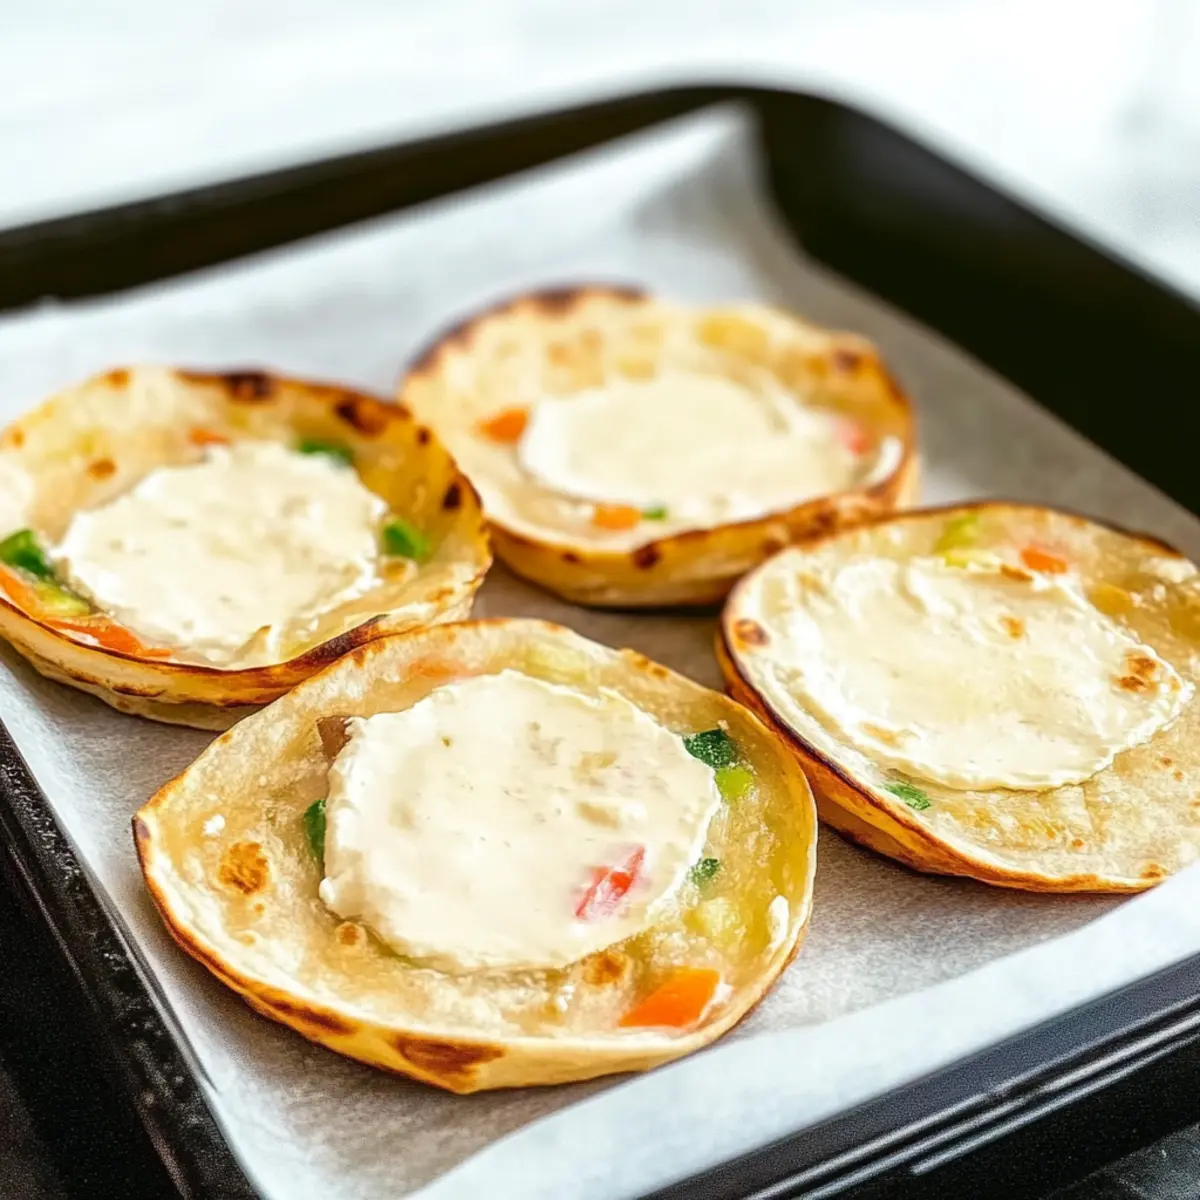
For a batch or if you prefer a different texture, spread the remaining batter evenly on a parchment-lined baking sheet. Bake in a preheated oven at 350°F (175°C) for 18-20 minutes or until the edges turn a lovely golden brown. This method provides a unique take on your Cottage Cheese Wraps, creating a thicker, crusty texture perfect for hearty fillings.
How to Store and Freeze Cottage Cheese Wraps
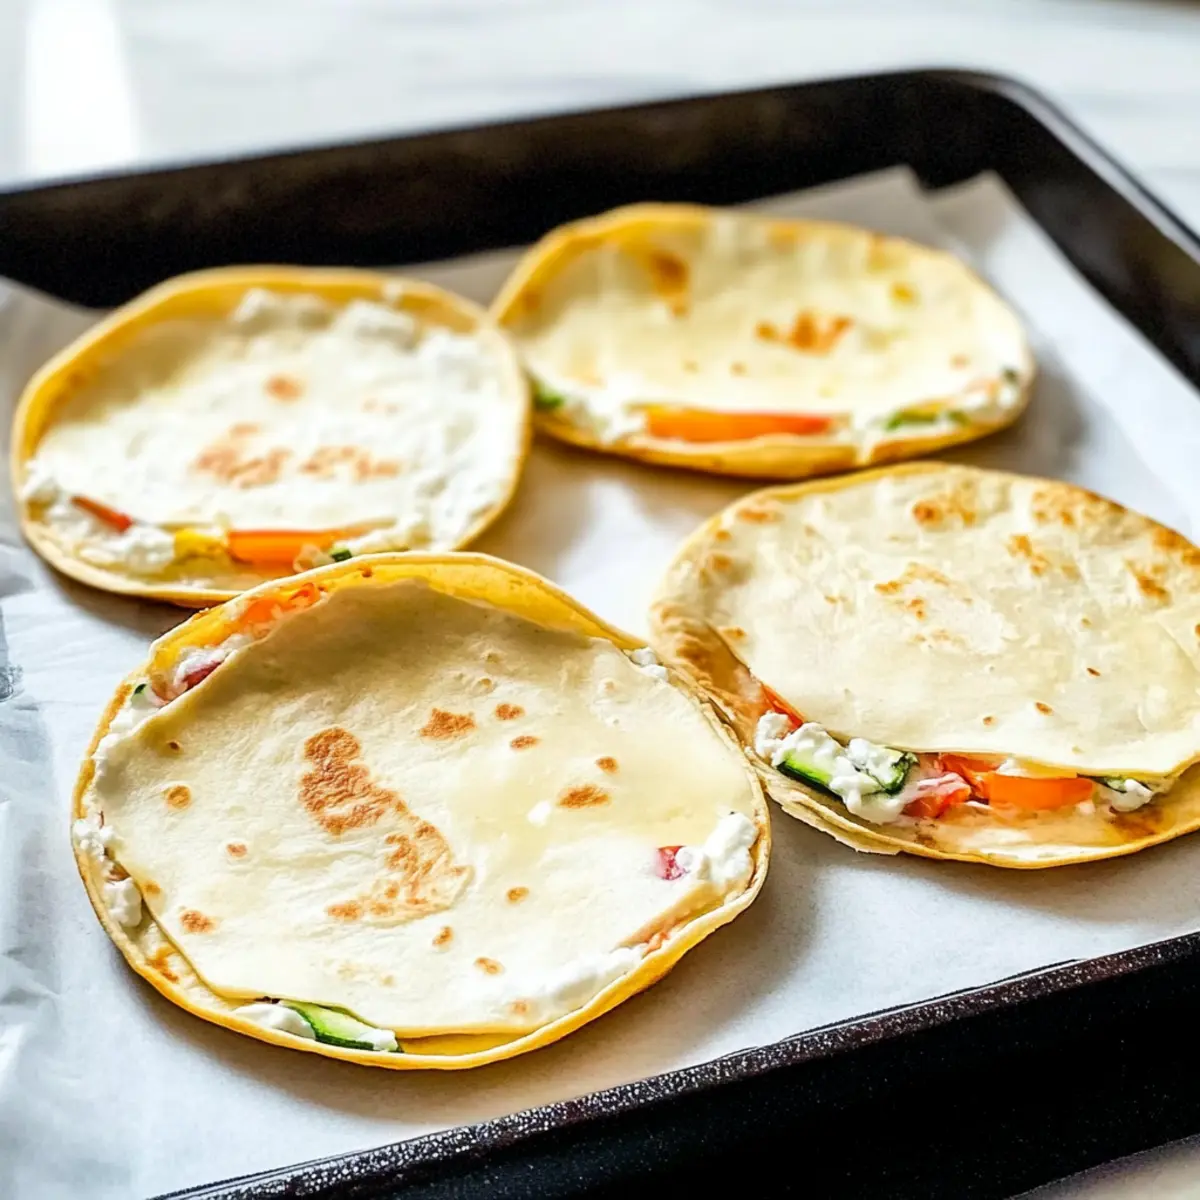
Fridge: Store cooled Cottage Cheese Wraps in an airtight container lined with parchment paper for optimal freshness. They’ll keep well in the fridge for up to 7 days.
Freezer: For longer storage, tightly wrap each cottage cheese wrap in plastic wrap and then place them in a freezer-safe bag. They can be frozen for up to 3 months.
Reheating: To reheat, thaw the wraps overnight in the fridge. Warm them in a skillet over low heat for a few minutes, or place in the microwave for about 30 seconds.
Make-Ahead: These wraps are perfect for meal prep! Make a batch ahead of time to ensure you always have a healthy, customizable meal option on hand.
Make Ahead Options
These Cottage Cheese Wraps are a fantastic meal prep solution, saving you time on busy weeknights! You can prepare the batter up to 24 hours in advance by blending the cottage cheese and eggs, and then storing it in an airtight container in the refrigerator. Additionally, you can cook the wraps ahead and refrigerate them for up to 7 days, ensuring to layer them with parchment paper to prevent sticking and maintain that perfect texture. When you’re ready to enjoy your Cottage Cheese Wraps, simply reheat them on a skillet for a few moments, or even microwave for a quick fix. Enjoy a nutritious and satisfying meal with minimal effort!
What to Serve with Cottage Cheese Wraps?
Elevate your Cottage Cheese Wraps into a full meal experience with these scrumptious accompaniments!
-
Fresh Garden Salad: A colorful mix of greens, tomatoes, and cucumbers provides a refreshing crunch that beautifully complements the softness of the wraps. Toss in a zesty vinaigrette for a delightful dressing.
-
Roasted Vegetables: Sweet caramelized veggies like bell peppers and zucchini add depth and rustic charm to your meal, enhancing the flavors of your wraps deliciously.
-
Quinoa Pilaf: This nutty, fluffy side brings a hearty texture and complements the wraps’ gentle taste, making every bite satisfying and filling.
-
Guacamole: Creamy and rich, guacamole pairs perfectly with your Cottage Cheese Wraps, offering a burst of flavor and fresh avocados that your taste buds will adore.
-
Greek Yogurt Dip: A tangy yogurt dip serves as an excellent accompaniment, adding a cooling contrast that balances the savory filling of the wraps beautifully.
-
Fruit Salsa: For a sweet twist, try a vibrant fruit salsa with diced mangoes or pineapples. The sweetness and acidity bring a lovely brightness and excitement to your meal.
-
Herbed Cream Cheese Spread: Whip up a quick herbed cream cheese spread to layer inside or alongside your wraps. The creaminess and herby notes enhance flavor while adding richness.
-
Sparkling Water with Lime: Sip on refreshing sparkling water with a splash of lime juice. The fizz and citrus elevate your meal and cleanse your palate, making it a delightful drink choice.
With these pairing options, your Cottage Cheese Wraps will always shine at the table, creating a wholesome and enjoyable dining experience!
Expert Tips for Cottage Cheese Wraps
Blender Smoothness: Ensure your batter is completely smooth by using a high-speed blender; lumps can lead to uneven textures in your Cottage Cheese Wraps.
Properly Heat Skillet: Preheat your nonstick skillet adequately. If it’s not hot enough, the wraps will stick and won’t achieve that gorgeous golden color.
Watch for Edges: Avoid flipping until the edges are visibly lifted and slightly firm. This prevents tearing and ensures a successful wrap.
Stack Wisely: If making a large batch, place parchment paper between each wrap as you stack them. This keeps them from sticking together when storing.
Experiment Freely: Don’t hesitate to try different spices and fillings! Customizing your Cottage Cheese Wraps can lead to delightful and unique meal experiences.
Cottage Cheese Wraps: Creative Twists
Now that you’ve mastered the art of making Cottage Cheese Wraps, it’s time to let your imagination run wild! Feel free to add your spin to these delightful wraps with your favorite ingredients.
-
Herb-Infused: Add chopped fresh herbs like basil or cilantro to the batter for an aromatic burst of flavor. The fresh herbs elevate the wraps, making them vibrant and delicious.
-
Spicy Kick: Incorporate a pinch of cayenne or chili powder for an exciting heat. If you love spice, this little addition can transform a simple wrap into a fiery feast!
-
Dairy-Free Delight: Substitute cottage cheese with blended silken tofu for a dairy-free version. This swap keeps your wraps creamy while catering to your dietary needs.
-
Cheesy Goodness: Mix in nutritional yeast for an extra cheesiness without the dairy. It’s an incredible way to enhance flavor while still keeping things healthy.
-
Veggie Boost: Stir in shredded spinach or zucchini for added nutrients and a pop of color. This variation promotes a healthier option while keeping your wraps tasty and satisfying.
-
Sweet Treat: Add cinnamon and vanilla to craft a delightful breakfast wrap. Top it off with berries and nut butter for a satisfying and sweet morning meal. It’s a perfect way to kickstart your day!
For more delicious ideas, consider pairing your wraps with options like roasted vegetables or a refreshing garden salad to further enhance your meal. And for tasty treat inspiration, don’t miss the amazing flavors of Bake Oreo Cheesecake or Caramel Swirl Cheesecake. Get ready to enjoy every delicious bite!

Cottage Cheese Wraps Recipe FAQs
How should I select cottage cheese for my recipe?
Absolutely! When choosing cottage cheese, opt for full-fat for the richest flavor and best texture in your Cottage Cheese Wraps. Look for smooth, lump-free varieties without excess liquid. If you’re watching your calories, low-fat versions can work too, but they might have a slightly different texture.
What is the best way to store Cottage Cheese Wraps?
To keep your Cottage Cheese Wraps fresh, store them in an airtight container lined with parchment paper in the refrigerator. They’ll remain delicious for up to 7 days. Make sure they are completely cool before storing to prevent moisture buildup!
Can I freeze Cottage Cheese Wraps, and how do I do it?
Definitely! To freeze your wraps, tightly wrap each cooled Cottage Cheese Wrap in plastic wrap. Then, place them in a freezer-safe bag to avoid freezer burn. They can be stored for up to 3 months. For the best results, thaw overnight in the fridge before reheating.
What if my wraps are sticking to the skillet?
No worries! If your Cottage Cheese Wraps are sticking, it’s often due to inadequate skillet heat or not enough grease. Ensure your skillet is preheated properly (around medium-low) and lightly greased. Using a nonstick skillet or adding a bit more cooking spray can also help!
Are there any dietary considerations for Cottage Cheese Wraps?
Absolutely! While Cottage Cheese Wraps are gluten-free and low in carbs, those with lactose intolerance may want to opt for dairy-free alternatives like blended silken tofu. Always ensure that any additional fillings are also suitable for your dietary needs, checking for allergens as needed.
How do I enhance the flavor of my Cottage Cheese Wraps?
To elevate the taste, consider mixing in herbs or spices like garlic powder, Italian seasoning, or even a pinch of cayenne for some heat. You can also add nutritional yeast for a cheesy kick! Feel free to get creative with your choices and indulge your taste buds!
Cottage Cheese Wraps: Easy, Low-Carb Delight for Any Meal
Ingredients
Equipment
Method
- In a high-speed blender, combine 1 cup of cottage cheese and 2 large eggs. Blend on high for 20-30 seconds until smooth.
- Place a nonstick skillet on the stovetop over low to medium-low heat for about 2 minutes. Grease the skillet lightly with cooking spray or olive oil.
- Pour approximately 1/3 cup of the batter into the skillet. Tilt gently to spread into an even layer.
- Cook the wrap undisturbed for 3-5 minutes until edges lift and center appears set. Flip carefully and cook for an additional 1-2 minutes.
- Transfer the wrap to a plate and cool for 2-3 minutes before filling.
- Repeat with remaining batter, coating the skillet as needed.
- For a thicker texture, spread remaining batter on a parchment-lined baking sheet and bake at 350°F for 18-20 minutes.