

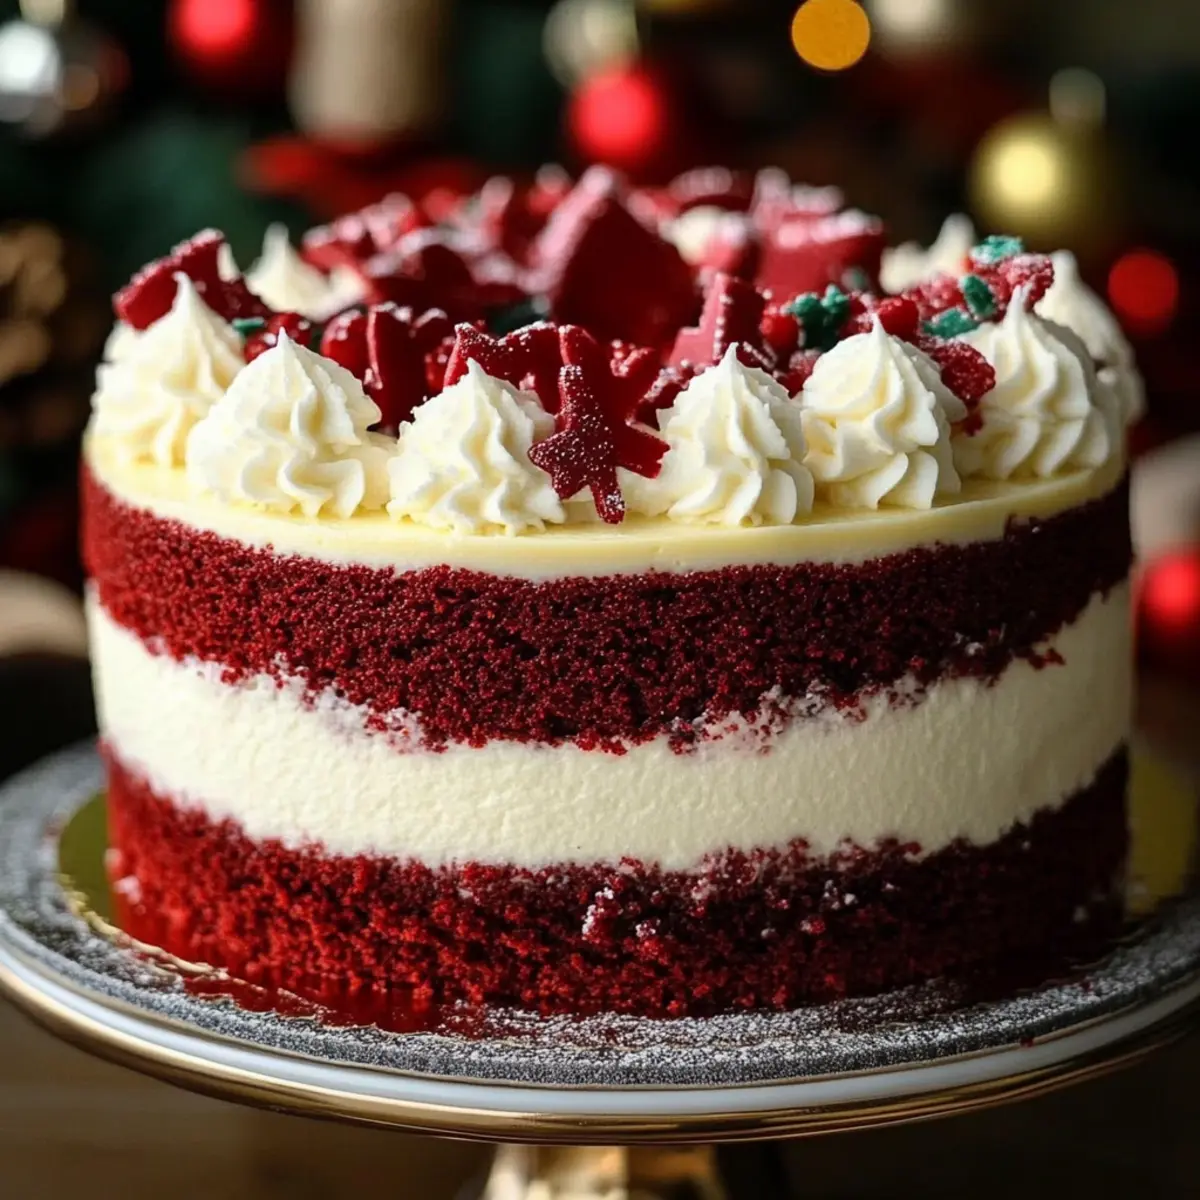
Amidst the twinkling lights and festive cheer, I stumbled upon a culinary gem that instantly brightened my holiday baking—Christmas Red Velvet Cheesecake. This stunning dessert is not just a treat for the eyes with its vibrant red layers and creamy white filling; it’s a delightful blend of rich red velvet cake and velvety cheesecake that brings an elegant touch to any holiday gathering. One of the greatest perks of this recipe is its dual indulgence, marrying two beloved desserts in one exquisite slice. Plus, it can be prepared ahead of time, saving precious moments for mingling with loved ones. So, are you ready to impress your guests while filling your home with the scent of holiday magic? Let’s dive into making this show-stopping treat!
Why Choose Christmas Red Velvet Cheesecake?
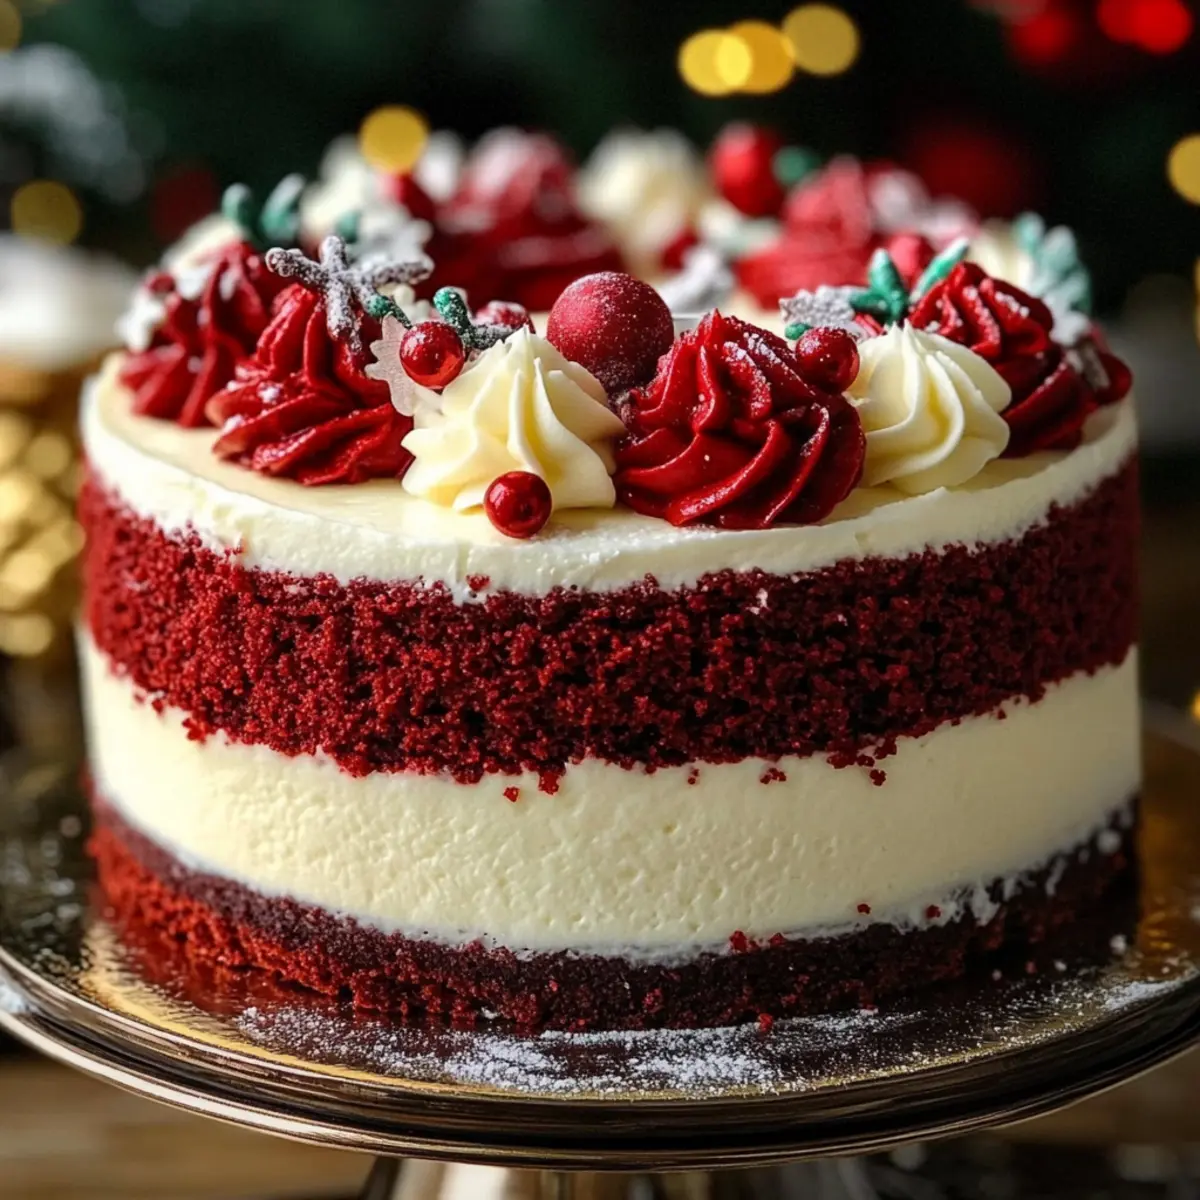
Irresistible Combination: This Christmas Red Velvet Cheesecake merges the classic flavors of rich red velvet and creamy cheesecake, making it a festive indulgence that will leave your guests swooning.
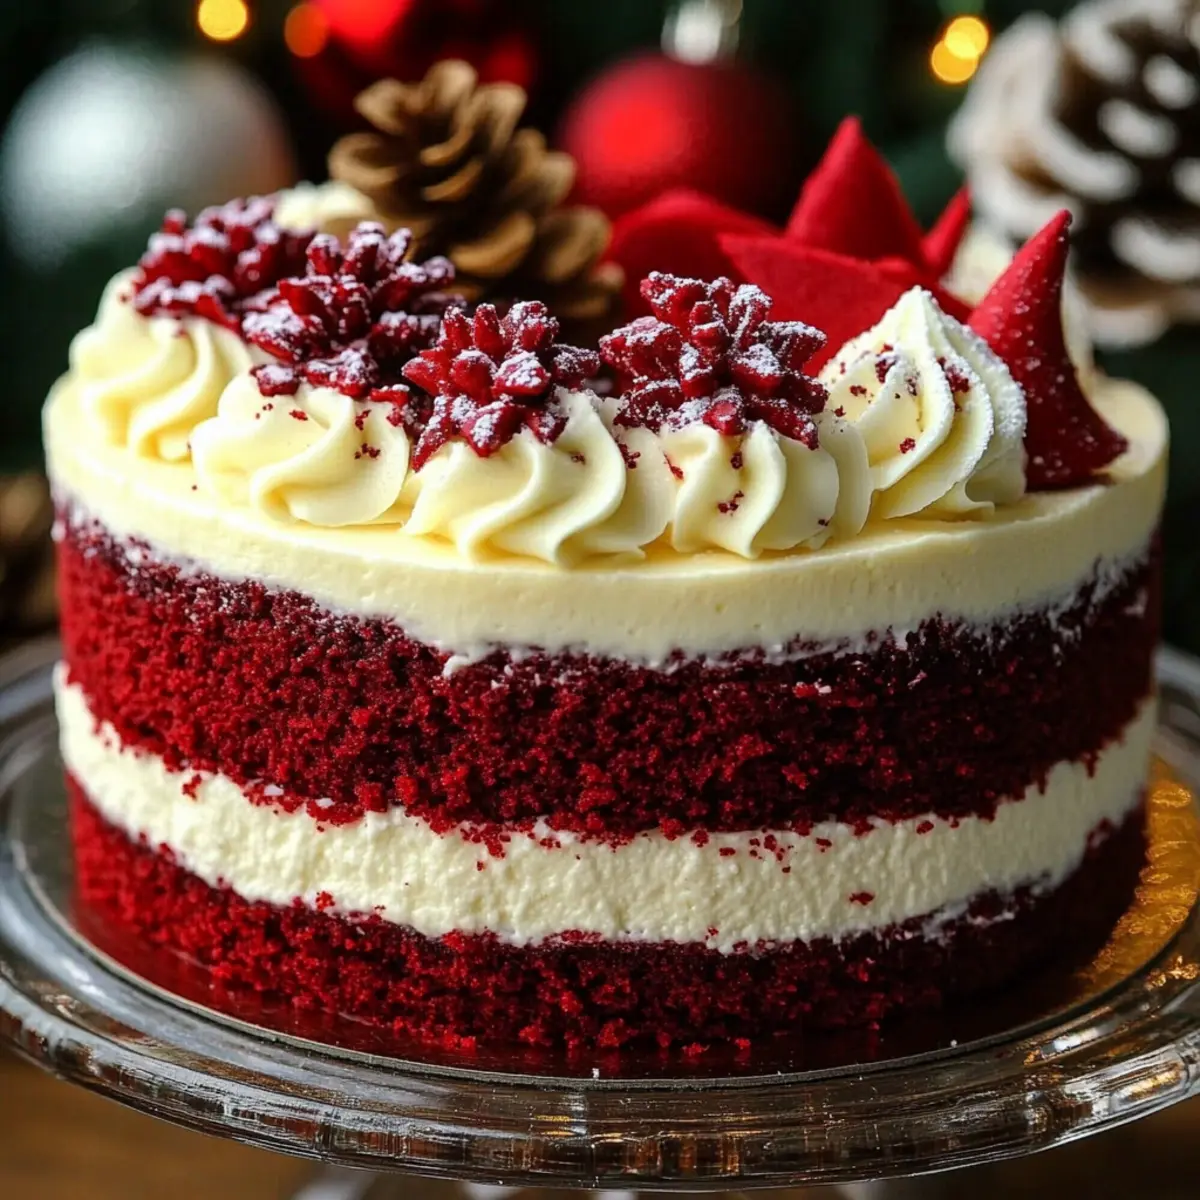
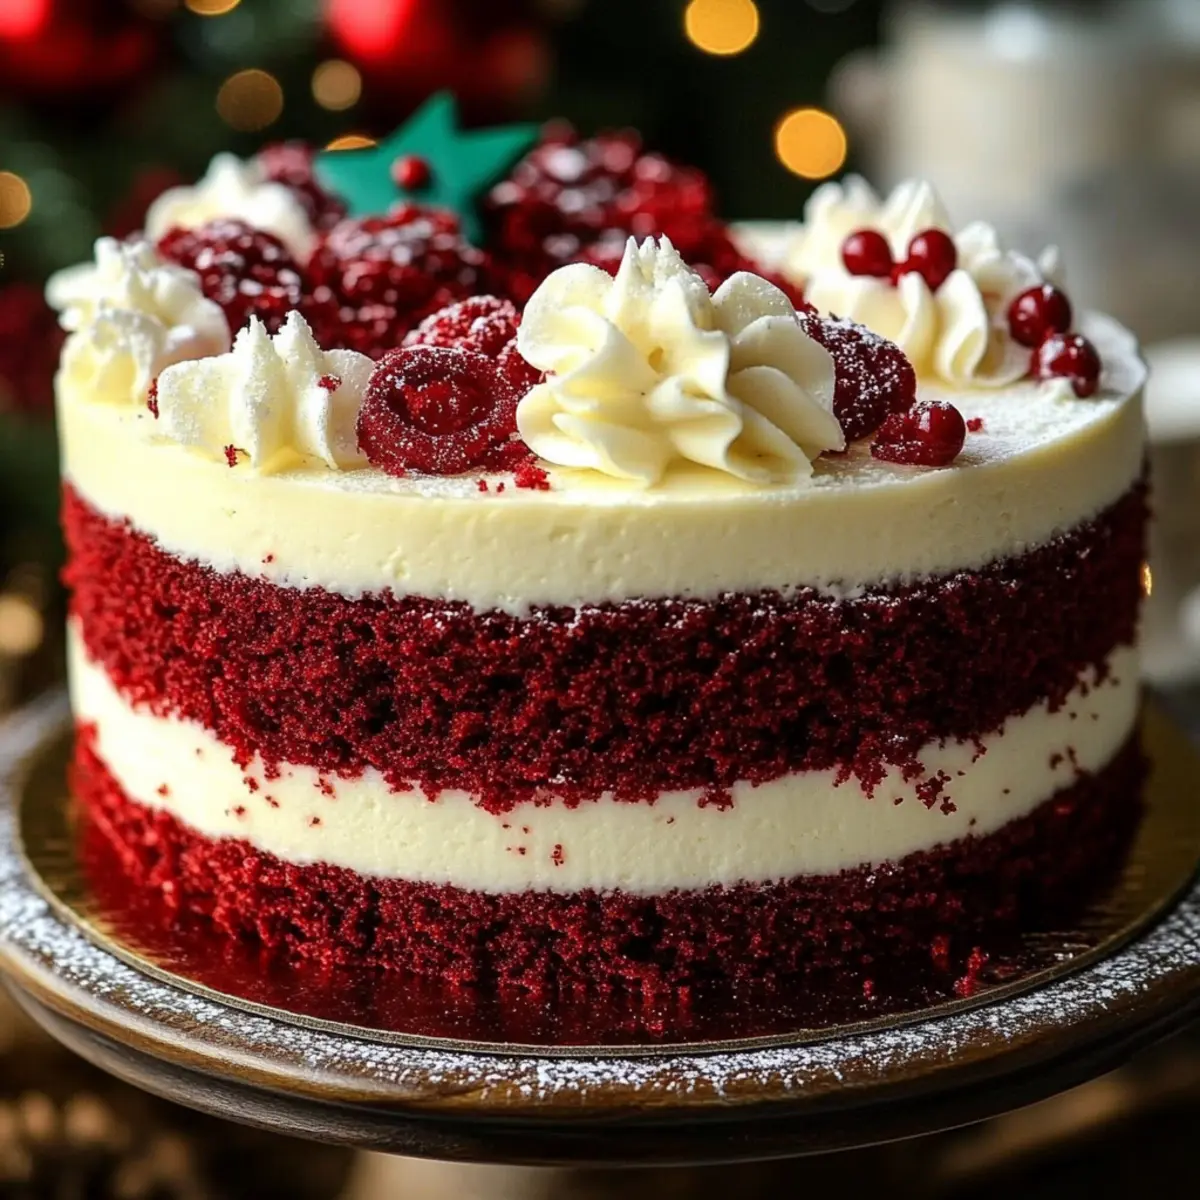
Stunning Presentation: The vibrant red and white layers create a breathtaking centerpiece for your holiday table, sure to catch everyone’s eye.
Make-Ahead Magic: Prepare this showstopper in advance, freeing up time for holiday festivities while still impressing with a dessert that tastes freshly made.
Versatile Delight: Whether you’re a fan of red velvet cupcakes or enjoy trying new variations, this cheesecake’s unique flavor profile is an exciting twist on beloved classics.
Complimentary Pairings: Serve it alongside a glass of sparkling wine or even a warm cup of cocoa for a truly delightful experience!
With all these reasons to fall in love with this recipe, your holiday gatherings will be sweeter than ever!
Christmas Red Velvet Cheesecake Ingredients
• Here’s everything you need to create this festive masterpiece!
For the Cake
- All-Purpose Flour – Provides structure to the cake and should be measured accurately for best results.
- Unsweetened Cocoa Powder – Adds rich chocolate flavor; choose high-quality cocoa for deeper taste.
- Baking Powder & Baking Soda – Essential leavening agents; check expiration dates for optimal effectiveness.
- Salt – Enhances flavors and balances sweetness beautifully.
- Granulated Sugar – Sweetens both the cake and cheesecake layers; organic sugar enhances flavor.
- Vegetable Oil – Keeps the cake moist; can be substituted with melted coconut oil for a unique taste.
- Buttermilk – Adds necessary moisture and tanginess; use milk mixed with vinegar if buttermilk is unavailable.
- Eggs – Provide structure and richness; ensure they are at room temperature for better mixing.
- Red Food Coloring – Gives the cake its signature festive hue; opt for gel food coloring for vibrant results.
- Vanilla Extract – Enhances the overall flavor of the cake, making it even more delightful.
- White Vinegar – Activates the baking soda for the perfect rise in your cake.
For the Cheesecake Layer
- Cream Cheese – The base of the cheesecake layer, offering a creamy texture; full-fat is best for flavor.
- Sour Cream – Adds moisture and tang; Greek yogurt can serve as a lighter alternative.
For the Frosting
- Unsalted Butter – Contributes richness and flavor; ensure it’s at room temperature for easy blending.
- Powdered Sugar – Sweetens and thickens the cream cheese frosting, making it a perfect complement to the cake.
With these carefully selected ingredients, you’ll be on your way to creating a Christmas Red Velvet Cheesecake that’s not just a dessert, but a holiday centerpiece! Happy baking!
Step-by-Step Instructions for Christmas Red Velvet Cheesecake
Step 1: Prepare Cake Batter
Preheat your oven to 350°F (175°C). In a large mixing bowl, whisk together the all-purpose flour, cocoa powder, baking powder, baking soda, and salt. In another bowl, mix granulated sugar, vegetable oil, buttermilk, eggs, red food coloring, vanilla extract, and white vinegar until smooth. Gradually incorporate the dry ingredients into the wet mixture, stirring until just combined. The vibrant red color will be irresistible!
Step 2: Bake
Divide the prepared batter evenly between two round cake pans that have been greased and floured. Bake in the preheated oven for 25-30 minutes, or until a toothpick inserted in the center comes out clean. Once baked, remove the pans from the oven and let them cool for about 10 minutes before transferring the cakes to a wire rack to cool completely.
Step 3: Prepare Cheesecake Layer
While the cakes cool, preheat your oven to 325°F (160°C). In a mixing bowl, beat the cream cheese until smooth and creamy. Gradually add granulated sugar, sour cream, eggs, and vanilla extract, mixing until fully combined. Pour this luscious cheesecake batter into a springform pan. For a moist result, bake your cheesecake in a water bath for about 60 minutes, or until the edges are set and the center slightly jiggles.
Step 4: Assemble
Once both the red velvet cakes and the cheesecake layer have fully cooled, it’s time to assemble your Christmas Red Velvet Cheesecake. Place one red velvet layer on a serving platter, followed by the creamy cheesecake layer, then top with the second layer of red velvet. Ensure the layers line up neatly to create a stunning visual appearance.
Step 5: Frost and Chill
Prepare your cream cheese frosting by blending softened unsalted butter with powdered sugar until light and fluffy. Frost the top and sides of your layered cake generously with the cream cheese frosting, creating a beautiful finish. refrigerate the assembled cake for at least 4 hours to allow the flavors to meld and the cheesecake layer to set properly.
Step 6: Serve
Before serving your Christmas Red Velvet Cheesecake, remove it from the refrigerator and let it sit at room temperature for about 30 minutes. This will enhance the creamy texture of the cheesecake. Slice your cake with a sharp knife, wiping the blade between cuts for neat pieces. Your festive masterpiece is now ready to wow your guests!
Christmas Red Velvet Cheesecake Variations
Feel free to get creative with this Christmas Red Velvet Cheesecake and make it your own, enhancing both flavor and festive appeal!
-
Chocolate Chip Twist:
Add ½ cup of semi-sweet chocolate chips to the batter for a delicious surprise with each bite. The chocolate balances beautifully with the rich red velvet! -
Nutty Layer:
Incorporate crushed walnuts or pecans into the cheesecake layer for an added crunch. This variation provides a lovely textural contrast against the creamy filling. -
Spicy Kick:
Stir in a teaspoon of cinnamon or a pinch of nutmeg to the cake batter for a warm, spicy note. It brings a unique holiday flavor that pairs well with the cheesecake. -
Fruit Infusion:
Top your cheesecake with fresh raspberries or strawberries for a burst of color and tang. It adds a refreshing contrast to the rich cheesecake, making it even more festive! -
Vegan Delight:
Substitute regular ingredients with plant-based options, like almond milk, flax eggs, and vegan cream cheese. This way, everyone can indulge in this holiday treat! -
Divine Swirl:
Create a marble effect by swirling the cheesecake batter into the red velvet batter before baking. This visual surprise makes the cake even more enchanting! -
Gourmet Ganache:
Swap out the cream cheese frosting for a luscious chocolate ganache for a lavish finish. Simply melt chocolate with cream for a silky topping that elevates the dessert.
For more festive inspiration, don’t miss trying out the delightful flavors in these recipes: Red Velvet Crinkle, Red Velvet Brownies, and if you’re in the mood for something different, consider the delicious Caramel Swirl Cheesecake to round out your dessert table!
What to Serve with Christmas Red Velvet Cheesecake
Imagine gathering around a festive table, where every bite of your Christmas Red Velvet Cheesecake is complemented by delicious pairings that elevate your holiday experience.
-
Fresh Berries: The tartness of raspberries or strawberries balances the sweetness of the cheesecake, offering a refreshing contrast.
-
Spiced Hot Cocoa: A mug of rich, chocolaty hot cocoa perfectly complements the flavors of the cheesecake, creating a cozy holiday vibe.
-
Creamy Vanilla Ice Cream: A scoop of vanilla ice cream adds a delightful creaminess, enhancing the cake’s flavors and creating a luscious dessert experience.
-
Chocolate Ganache: Drizzling warm chocolate ganache over each slice intensifies richness and adds a decadent touch to your festive dessert.
-
Nutty Biscotti: Crunchy almond or hazelnut biscotti provide a delightful textural contrast, making for an enjoyable nibble alongside your cheesecake.
-
Sparkling Wine: A glass of bubbly sparkling wine complements the richness of the cheesecake, adding a celebratory touch to any gathering.
-
Pineapple Upside-Down Cake: For an unexpected twist, serve a slice of light pineapple upside-down cake to balance the cheesecake’s indulgence with tropical sweetness.
With these pairings at your table, your Christmas Red Velvet Cheesecake will shine even brighter as the centerpiece of holiday joy!
How to Store and Freeze Christmas Red Velvet Cheesecake
Fridge: Keep your Christmas Red Velvet Cheesecake in an airtight container in the fridge for up to 5 days. This preserves its moist texture and flavor beautifully.
Freezer: If you want to make this indulgent dessert ahead of time, freeze it wrapped tightly in plastic wrap for up to 2 months. For best results, thaw in the refrigerator overnight before serving.
Slicing: When ready to serve, use a sharp knife dipped in hot water to get clean slices without damaging the layers. Allow it to sit at room temperature for 30 minutes to enhance the creamy cheesecake texture.
Reheating: If desired, you can gently warm individual slices in the microwave for about 10-15 seconds. Be cautious not to overheat, as it may alter the texture of the cheesecake.
Expert Tips for Christmas Red Velvet Cheesecake
-
Measure Accurately: Ensure precise ingredient measurements, especially flour, as it can affect the cake’s structure and texture.
-
Use Gel Food Coloring: Opt for gel food coloring to achieve a bright red hue without altering the cake’s consistency. Liquid coloring may make the batter too runny.
-
Cool Carefully: Allow both the cakes and cheesecake to cool completely before assembly to prevent melting the frosting and creating a mess.
-
Room Temperature Ingredients: Make sure all ingredients, especially eggs and cream cheese, are at room temperature for easier blending and a smoother batter.
-
Water Bath Technique: When baking the cheesecake layer, use a water bath to maintain moisture, resulting in a creamy texture without cracks.
With these helpful tips, your Christmas Red Velvet Cheesecake will be a guaranteed hit at your holiday gatherings!
Make Ahead Options
These festive Christmas Red Velvet Cheesecake layers are perfect for meal prep, allowing you to enjoy more time with loved ones during the holidays! You can bake the red velvet cake layers and the cheesecake component up to 24 hours in advance. Simply store the cooled layers wrapped tightly in plastic wrap or in airtight containers in the refrigerator to maintain freshness. When you’re ready to assemble, layer the cheesecake between the cakes, frost with cream cheese frosting, and refrigerate for at least 4 hours before serving. This way, you’ll have a show-stopping dessert ready to impress, just as delicious as if it were made on the day of your celebration!
Christmas Red Velvet Cheesecake Recipe FAQs
How should I select ripe ingredients for the cheesecake?
Absolutely! When choosing your ingredients, particularly the eggs and buttermilk, make sure the eggs are fresh and at room temperature. For buttermilk, check for expiration dates; fresh buttermilk ensures a light and fluffy texture. Remember that quality ingredients make all the difference, so opt for fresh cream cheese and organic sugar when possible!
What’s the best way to store leftovers of the cheesecake?
Very! To keep your Christmas Red Velvet Cheesecake fresh, store it in an airtight container in the refrigerator. It should stay yummy for up to 5 days. Just be sure to cover it well; this will preserve moisture and flavor. If you don’t finish it, freezing is also an option!
Can I freeze my Christmas Red Velvet Cheesecake? How?
Absolutely! Freezing this delightful dessert is easy. Wrap the assembled cheesecake tightly in plastic wrap and then in aluminum foil to prevent freezer burn. It can last up to 2 months in the freezer. When ready to enjoy, thaw it overnight in the refrigerator to maintain its rich texture. Just be sure to let it sit at room temperature for around 30 minutes before slicing for an even creamier experience!
What if my cheesecake cracks during baking?
That can happen, but no worries! If your cheesecake cracks, it may need a little extra care. Ensure you bake it in a water bath to maintain moisture and avoid cracking. If cracks do appear, you can cover them with cream cheese frosting after it cools – it will still taste amazing! If you’re ever unsure, just keep an eye on the baking time.
Are there any dietary considerations for my guests?
Very! If you’re hosting with a diverse crowd, have no fear. This cheesecake contains dairy and gluten. For guests with allergies, consider using gluten-free flour and dairy alternatives like plant-based cream cheese and sour cream. Just be sure to make these substitutions carefully, maintaining the ratios to ensure you get the same delicious consistency!
Indulge in Christmas Red Velvet Cheesecake Bliss
Ingredients
Equipment
Method
- Preheat your oven to 350°F (175°C). In a large mixing bowl, whisk together the all-purpose flour, cocoa powder, baking powder, baking soda, and salt.
- In another bowl, mix granulated sugar, vegetable oil, buttermilk, eggs, red food coloring, vanilla extract, and white vinegar until smooth.
- Gradually incorporate the dry ingredients into the wet mixture, stirring until just combined.
- Divide the prepared batter evenly between two round cake pans that have been greased and floured. Bake for 25-30 minutes.
- Let them cool for about 10 minutes before transferring the cakes to a wire rack to cool completely.
- Preheat your oven to 325°F (160°C). In a mixing bowl, beat the cream cheese until smooth.
- Gradually add granulated sugar, sour cream, eggs, and vanilla extract, mixing until fully combined.
- Pour the cheesecake batter into a springform pan and bake in a water bath for about 60 minutes.
- Once both the red velvet cakes and the cheesecake layer have cooled, place one red velvet layer on a platter, followed by the cheesecake layer, then top with the second red velvet layer.
- Blend softened unsalted butter with powdered sugar until light and fluffy. Frost the top and sides of the layered cake generously.
- Refrigerate the assembled cake for at least 4 hours to allow flavors to meld.
- Remove the cake from the refrigerator and let it sit at room temperature for 30 minutes before slicing.
- Slice with a sharp knife, wiping the blade between cuts for neat pieces.