

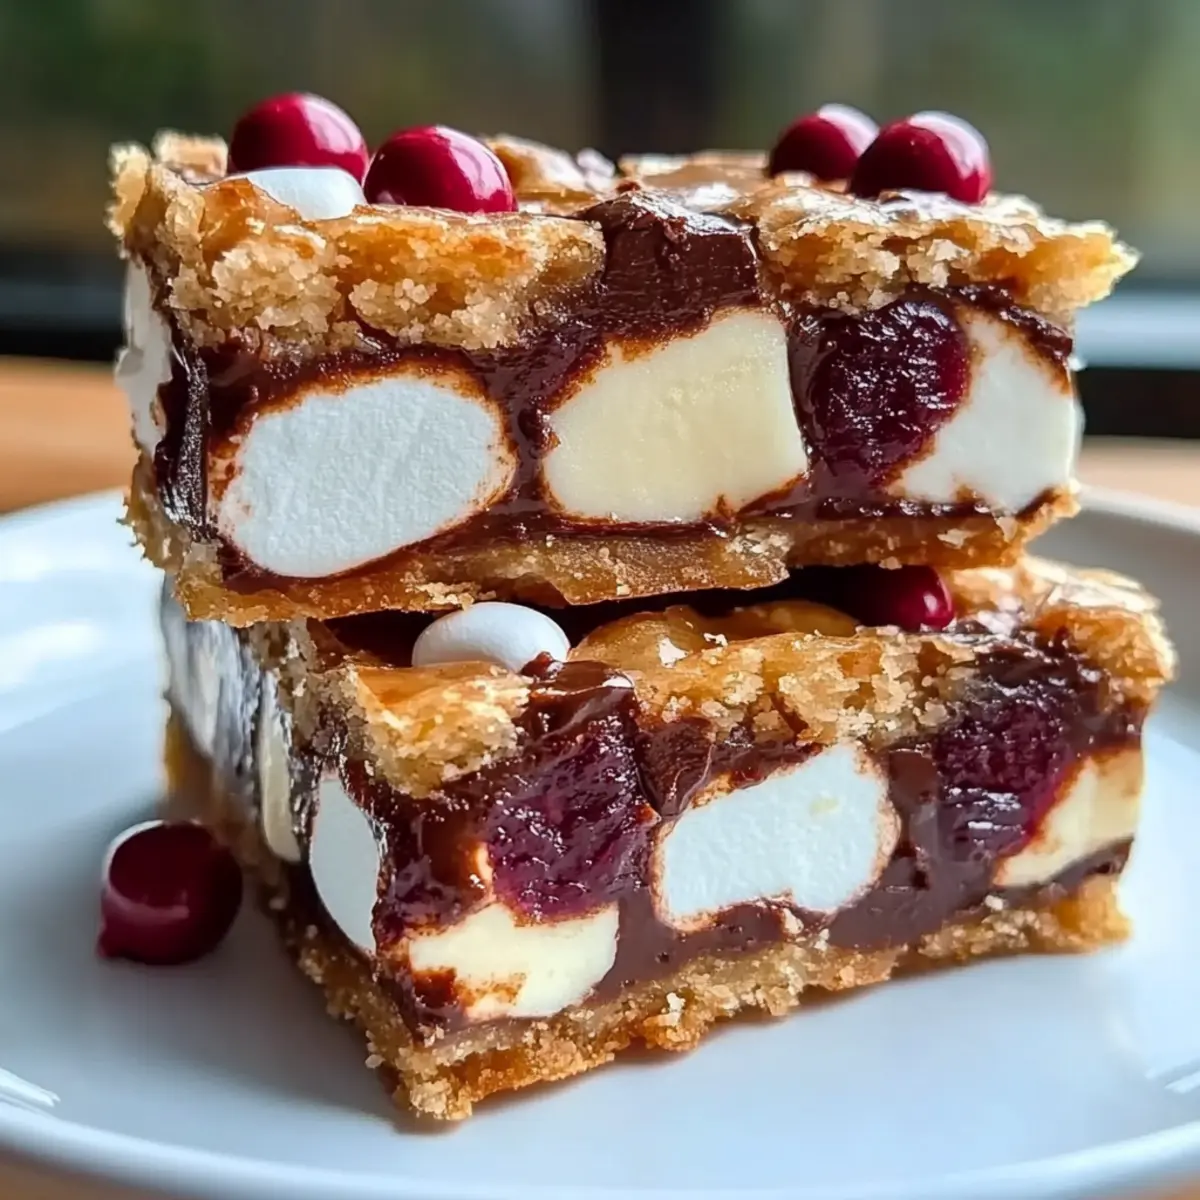
The aroma of melted chocolate mingling with sweet marshmallows can instantly transport me to a world of holiday cheer. These Chewy Chocolate Christmas Bars are not just a treat; they are a celebration of the festive spirit, ready to delight your family and friends in under 45 minutes. What sets these bars apart is their incredible versatility—you can easily whip up nut-free, gluten-free, or vegan variations to accommodate everyone’s cravings. The best part? Each chewy bite captures the warmth of the season, making them the perfect addition to any gathering. Ready to explore a recipe that’s as fun to make as it is to eat? Let’s dive into the world of Christmas Bars and discover how you can create a holiday masterpiece tailored just for you!

Why Are These Christmas Bars So Special?
Simplicity: The recipe is easy to follow, requiring only a few simple steps and minimal baking skills, perfect for both novice and seasoned bakers.
Versatile Options: Customizing these bars is a breeze! Whether you need a nut-free, gluten-free, or vegan version, you can cater to all dietary preferences without sacrificing flavor.
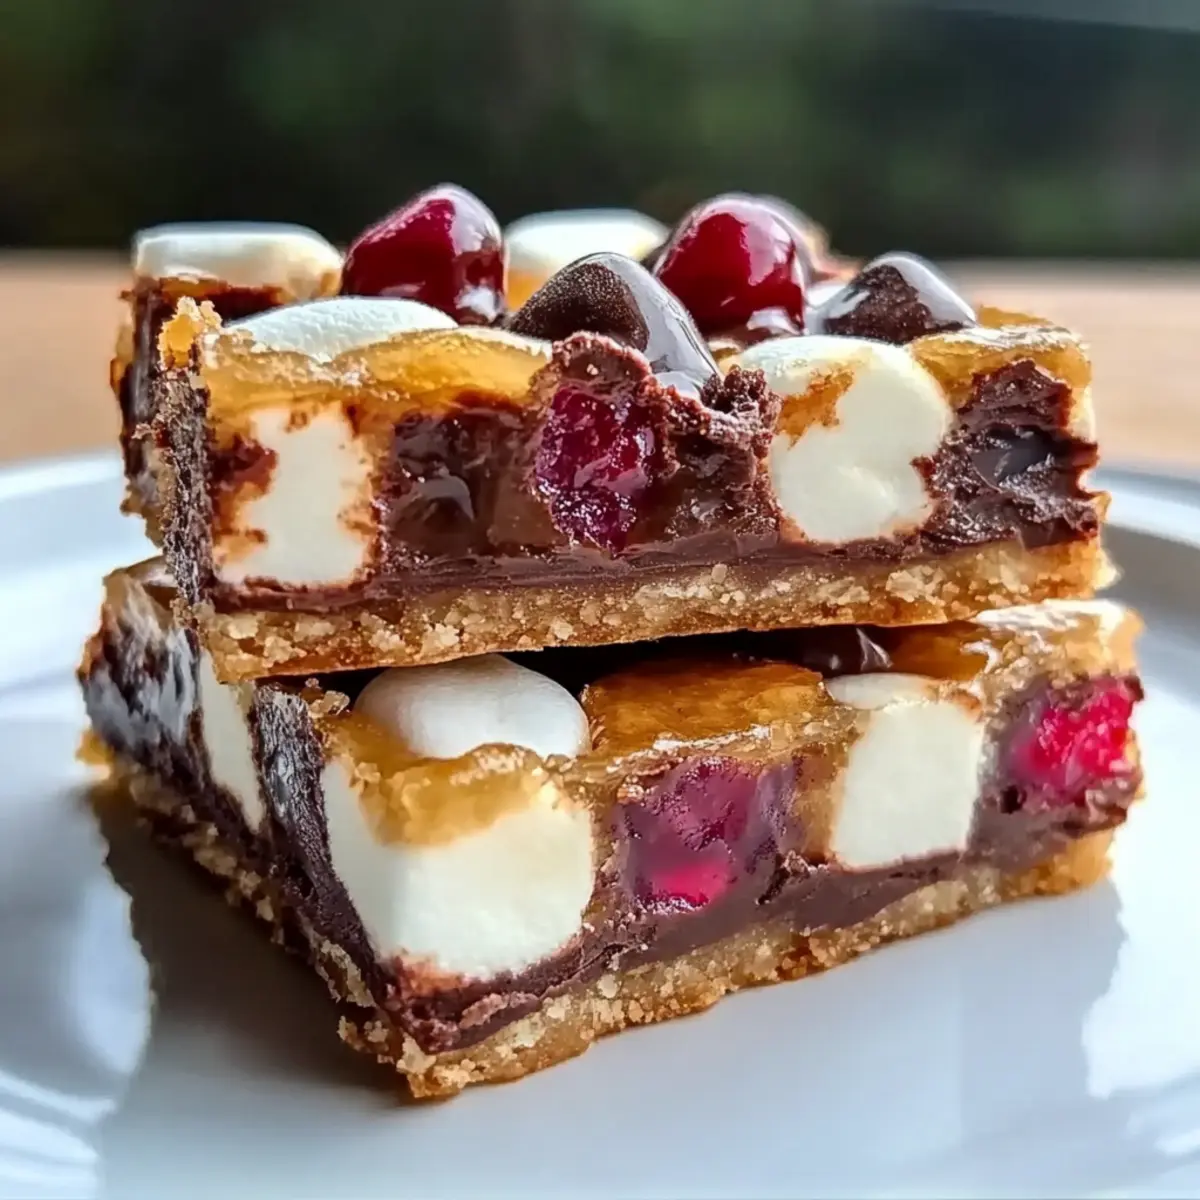
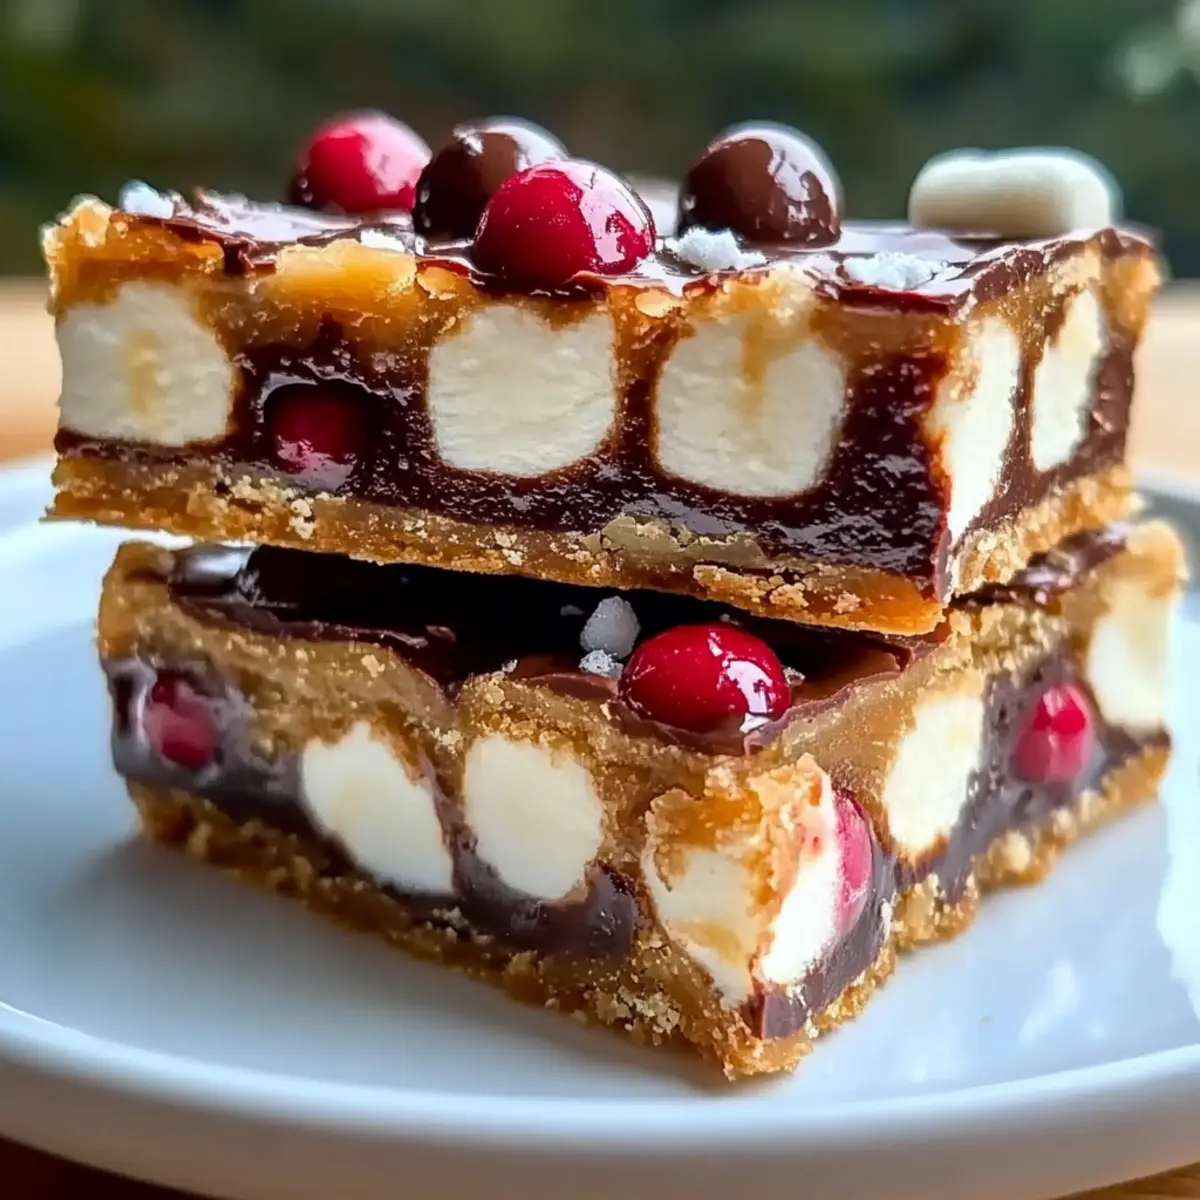
Irresistible Flavor: With a rich combination of chocolate, sweet marshmallows, and buttery graham cracker crumbs, each bite is a delightful taste of the holidays that everyone will love.
Quick Preparation: Ready in just 45 minutes, these bars are the ultimate time-saver, allowing you to whip up a festive treat quickly before your holiday gatherings.
Crowd-Pleasing: These Christmas Bars are sure to impress guests of all ages, making them a must-have for your holiday parties and events. Pair them with your favorite drink, like hot cocoa, for a truly festive experience!
Christmas Bars Ingredients
For the Base
- Graham Cracker Crumbs – Base sweetness and crunch; consider crushing whole graham crackers if you prefer a fresh option.
- Unsweetened Cocoa Powder – Adds rich chocolate flavor; using high-quality cocoa will enhance the overall taste of your Christmas Bars.
- Powdered Sugar – Sweetens and smooths texture, making it essential for achieving the perfect consistency.
- Unsalted Butter (melted) – Binds ingredients and enriches flavor; you can substitute with melted coconut oil for a dairy-free option.
For the Filling
- Sweetened Condensed Milk – Provides moisture and a wonderfully chewy texture; try a homemade vegan alternative with coconut milk and sugar for a vegan adaptation.
- Mini Marshmallows – Offer a fun, chewy element; using mini ones helps to distribute better throughout the bars.
- Chocolate Chips – Adds additional chocolate flavor; feel free to mix different types like dark, milk, or white chocolate chips.
- Chopped Nuts (optional) – Adds a delightful crunch; omit them for nut allergies and consider using seeds or extra chocolate chips instead.
Step‑by‑Step Instructions for Christmas Bars
Step 1: Preheat the Oven
Begin by preheating your oven to 350°F (175°C). This ensures a perfectly baked base for your Christmas Bars. Prepare a 9×13 inch baking pan by lightly greasing it with non-stick spray or lining it with parchment paper. This will help with easy removal once your delicious bars are baked.
Step 2: Mix the Dry Ingredients
In a large mixing bowl, whisk together 1 cup of graham cracker crumbs, ½ cup of unsweetened cocoa powder, and 1 cup of powdered sugar until well combined. The aim is to ensure an even distribution of flavors and sweetness throughout your Christmas Bars. This mixture should appear uniform and fluffy, signaling it’s ready for the next step.
Step 3: Add Wet Ingredients
Pour in ½ cup of melted unsalted butter and 1 can of sweetened condensed milk into the dry mixture. Stir well until it transforms into a thick and sticky batter. Take your time here; the moisture from the butter and milk will create a luxurious texture that binds the bars together beautifully.
Step 4: Fold in the Fun Ingredients
Gently fold in 2 cups of mini marshmallows, 1 cup of chocolate chips, and any optional chopped nuts if using. Aim for an even distribution of marshmallows and chocolate throughout the batter, ensuring every bite of your Christmas Bars is a delightful blend of flavors. The mixture should be thick and slightly gooey.
Step 5: Bake the Mixture
Transfer your mixture into the prepared baking pan, spreading it evenly and smoothing the top with a spatula. Bake in the preheated oven for 25-30 minutes. You’ll know it’s done when the edges are set and the center is slightly firm, releasing a delicious aroma that fills your kitchen with holiday cheer.
Step 6: Cool and Cut
Once baked, remove the pan from the oven and allow it to cool completely in the pan on a wire rack. This step is crucial, as cooling ensures the bars hold together nicely when cut. They should be fully set and firm to the touch before slicing them into squares to serve your delightful Christmas Bars.
Make Ahead Options
These delightful Christmas Bars are perfect for meal prep, making your holiday baking a breeze! You can prepare the dry mixture—graham cracker crumbs, cocoa powder, and powdered sugar—up to 3 days in advance; just store it in an airtight container at room temperature to maintain freshness. Additionally, you can melt the butter and combine it with the sweetened condensed milk ahead of time, refrigerating the mixture until you’re ready to bake. When it’s time to serve, simply mix everything and bake for freshly made bars that are just as delicious as if you made them on the spot. With these make-ahead options, you’ll save precious time during the busy holiday season!
What to Serve with Chewy Chocolate Christmas Bars
The magic of the holidays comes alive when you pair these delightful treats with equally festive accompaniments that complement their rich flavor.
-
Hot Cocoa: A warm cup of hot cocoa enhances the chocolatey notes of the bars, making it a classic pairing for cozy winter evenings. The creamy richness will elevate the experience to new heights.
-
Spiced Apple Cider: The warm spices in apple cider create a wonderful balance with the sweetness of the bars, bringing a burst of seasonal flavors to your dessert spread. Serve it warm for maximum comfort.
-
Vanilla Ice Cream: A scoop of vanilla ice cream adds a cool creamy contrast to the chewy texture of the bars, making each bite indulgently delightful. The combination is simply irresistible!
-
Powdered Sugar Dusting: For a touch of festive flair, sprinkle powdered sugar over the bars before serving. It not only enhances their appearance but also adds an extra hint of sweetness, perfect for holiday gatherings.
-
Fresh Berries: A medley of seasonal berries like raspberries or strawberries brings a refreshing tang that cuts through the richness of the chocolate, brightening up each bite and showcasing beautifully on your dessert table.
-
Mint Tea: The refreshing flavor of mint tea makes an elegant pairing, cleansing the palate and inviting a lightness that beautifully balances the decadent sweetness of the Christmas bars.
Let your imagination run wild as you customize your dessert experience with these delightful pairings!
Christmas Bars Variations to Customize
Feel free to let your creativity shine by tailoring these Christmas Bars to suit your taste or dietary needs!
-
Nut-Free Version: Omit nuts and add more chocolate chips for extra indulgence. This swap ensures everyone can enjoy the sweetness without worry.
-
Gluten-Free Option: Use gluten-free graham cracker crumbs or almond flour to maintain that delightful texture while keeping it gluten-free. It’s an easy way to share the festive spirit with gluten-sensitive friends!
-
Vegan Adaptation: Swap out the butter for melted coconut oil and use a vegan sweetened condensed milk. It’s remarkable how wonderfully these bars can adapt to different diets!
-
Mint Chocolate Twist: Stir in a teaspoon of peppermint extract for a refreshing holiday flavor that dances on your palate. Perfect for those who enjoy a minty kick in their treats.
-
Fruit and Nut Medley: Add dried cranberries or cherries alongside chopped nuts for a burst of color and tangy flavor. This twist embraces a fun, festive flair that’s both delicious and nutritious.
-
Spicy Kick: Sprinkle in a pinch of cayenne pepper or cinnamon for a surprising warmth that balances the sweetness. It creates a cozy feel that’s ideal for winter gatherings.
-
Caramel Drizzle: Drizzle a homemade or store-bought caramel sauce over the bars before slicing for an added layer of sweetness and elegance. This decadent option will have everyone reaching for seconds!
-
Chocolate Chip Variety: Experiment by using a mix of dark, milk, and white chocolate chips to create a mosaic of flavors and textures that’s as beautiful as it is tasty.
As you explore these variations, don’t hesitate to check out our delightful Raspberry Crumble Bars for even more festive dessert ideas that your family will adore! Enjoy the journey of creating your personal Christmas Bars!
Expert Tips for the Best Christmas Bars
-
Melted Butter: Ensure your butter is fully melted before adding it to the mixture. This step is vital for achieving the smooth, rich texture that perfectly binds your Christmas Bars.
-
Parchment Paper: For easy removal, line your baking pan with parchment paper. This helps to prevent sticking and ensures your bars come out cleanly.
-
Cool Completely: Allow your bars to cool completely in the pan before cutting. This helps them set properly and prevents crumbling during slicing.
-
Mix-Ins: Feel free to experiment! Adding different mix-ins like dried fruits or shredded coconut can make your Christmas Bars truly unique—don’t hesitate to get creative.
-
Baking Time: Keep an eye on your bars during the last few minutes of baking. Overbaking can make them dry; they should be set at the edges but slightly soft in the center.
-
Storage Advice: Store your Christmas Bars in an airtight container for up to two days, or freeze them for up to three months to enjoy later when the holiday spirit strikes!
Storage Tips for Christmas Bars
Room Temperature: Store your Christmas Bars in an airtight container at room temperature for up to 3 days, ensuring they retain their chewy texture.
Fridge: For enhanced flavor, keep the bars in the refrigerator for up to a week. Just be sure to let them come to room temperature before serving for the best taste.
Freezer: Freeze your Christmas Bars in an airtight container, separated by parchment paper, for up to 3 months. Thaw them in the fridge overnight before enjoying!
Reheating: If you prefer them warm, gently microwave individual squares for about 10-15 seconds. Enjoy that melty chocolate goodness with every bite!
Christmas Bars Recipe FAQs
What type of graham cracker crumbs should I use for my Christmas Bars?
You can use store-bought graham cracker crumbs for convenience, but crushing whole graham crackers gives a fresher taste and more texture. Just ensure they’re finely crushed to mix evenly into the batter!
How should I store my Christmas Bars, and how long will they last?
Store your Christmas Bars in an airtight container at room temperature for up to 3 days. If you want to enjoy them longer, refrigerate them for up to a week for enhanced flavor.
Can I freeze my Christmas Bars for later?
Absolutely! To freeze, wrap your Christmas Bars tightly in plastic wrap and place them in an airtight container or freezer bag. They will keep well for up to 3 months. When you’re ready to indulge, simply thaw them in the refrigerator overnight, and they’ll be as delightful as when you first made them!
What should I do if my bars crumble when I cut them?
If your Christmas Bars crumble, it’s often because they weren’t cooled completely before slicing. Allow them to cool in the pan until fully set; this usually takes at least 1 hour. For the next batch, consider baking them just a minute or two less to keep the texture a tad softer.
Are there any dietary considerations for these Christmas Bars?
Yes! You can easily adapt this recipe for various dietary needs. For a nut-free version, simply omit any nuts and add extra chocolate chips. If gluten-free is your goal, look for gluten-free graham cracker crumbs. And for a vegan adaptation, swap the butter for coconut oil and use a homemade vegan condensed milk.
What are some creative add-ins or substitutions I can try?
Mixing in different options can elevate your Christmas Bars! Try adding dried cranberries, chia seeds, or even a spoonful of peanut butter for added flavor. If you’re feeling adventurous, a dash of peppermint extract can bring in a festive twist that pairs beautifully with chocolate. The more the merrier when it comes to creativity!
Irresistible Christmas Bars – Customize Your Festive Treats
Ingredients
Equipment
Method
- Preheat your oven to 350°F (175°C) and prepare a 9x13 inch baking pan by lightly greasing it or lining with parchment paper.
- In a mixing bowl, whisk together graham cracker crumbs, cocoa powder, and powdered sugar until well combined.
- Pour in melted butter and sweetened condensed milk into the dry mixture, stirring until it forms a thick, sticky batter.
- Fold in mini marshmallows, chocolate chips, and any optional chopped nuts for an even distribution.
- Transfer the mixture into the prepared baking pan, spreading it evenly. Bake for 25-30 minutes until edges are set.
- Allow the bars to cool completely in the pan on a wire rack before slicing them into squares.