

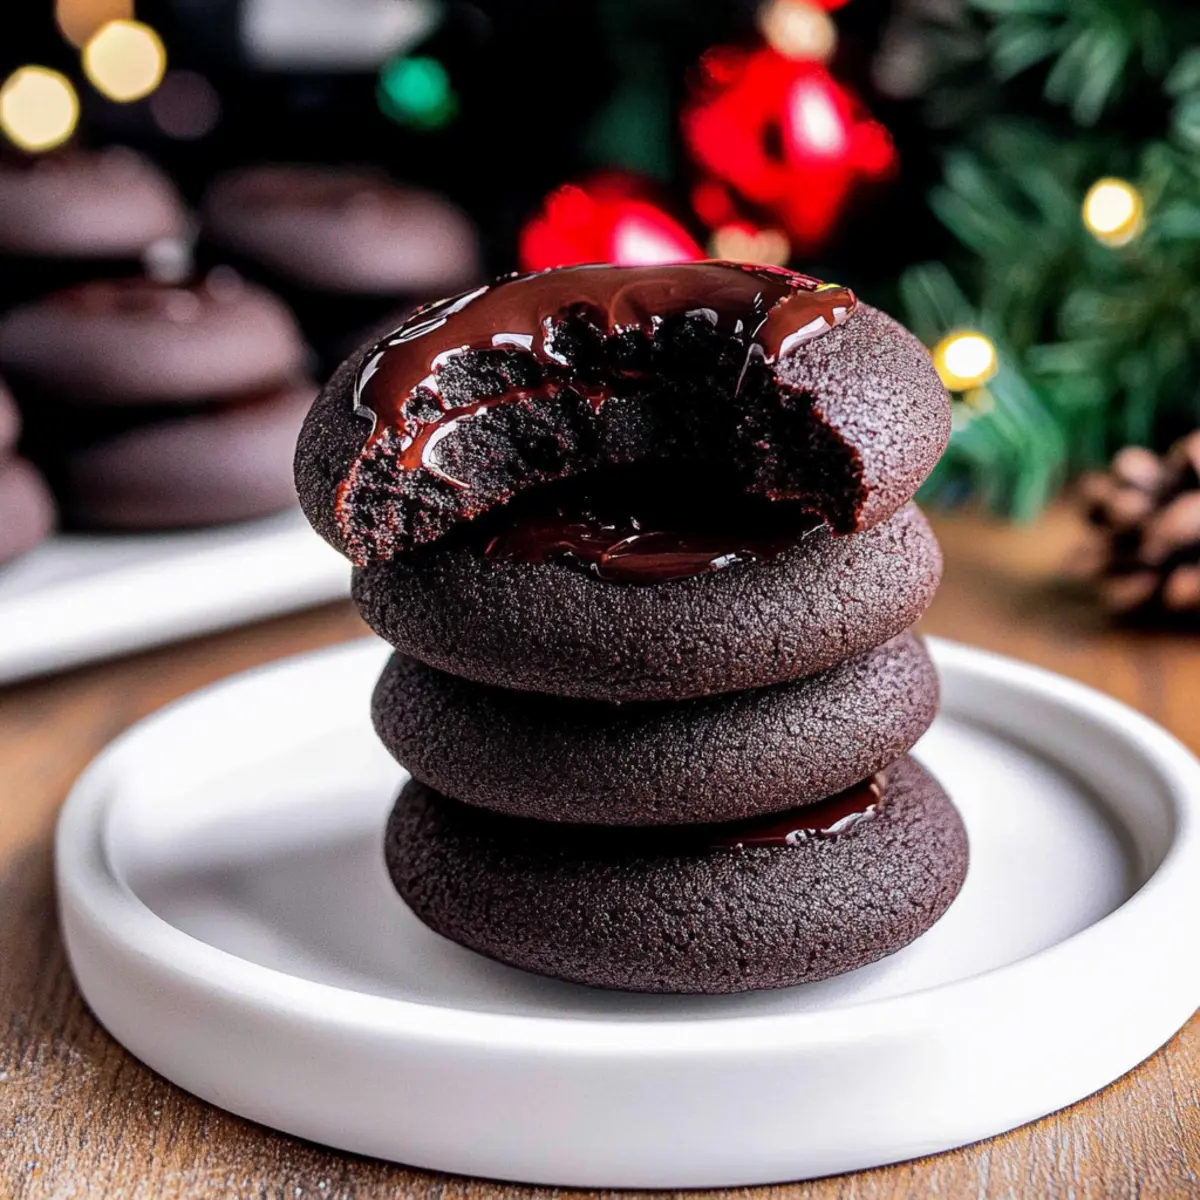
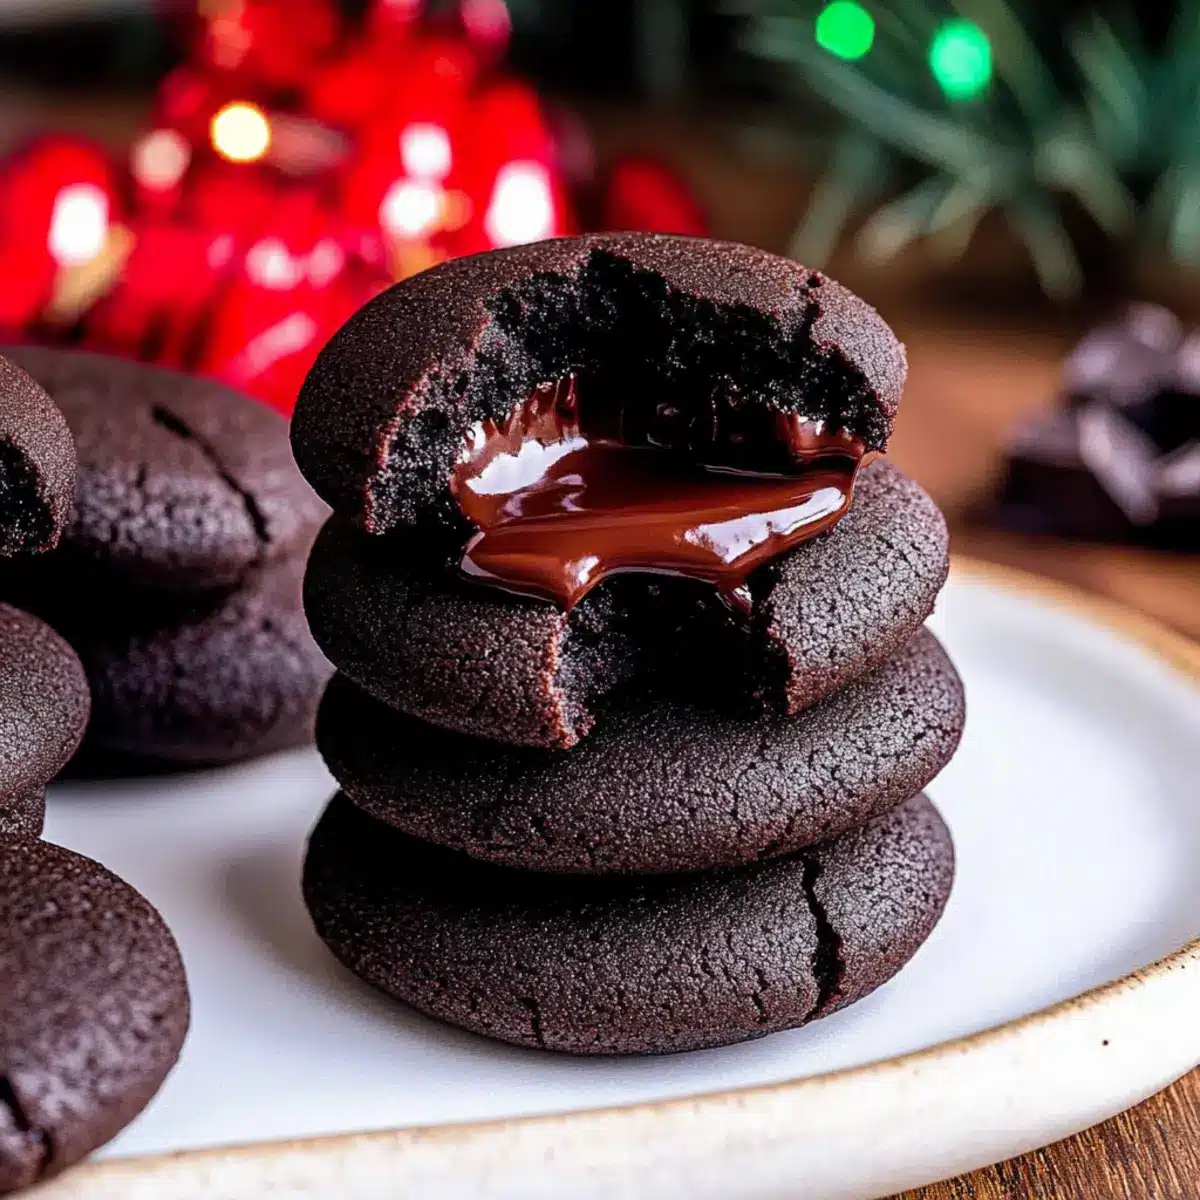
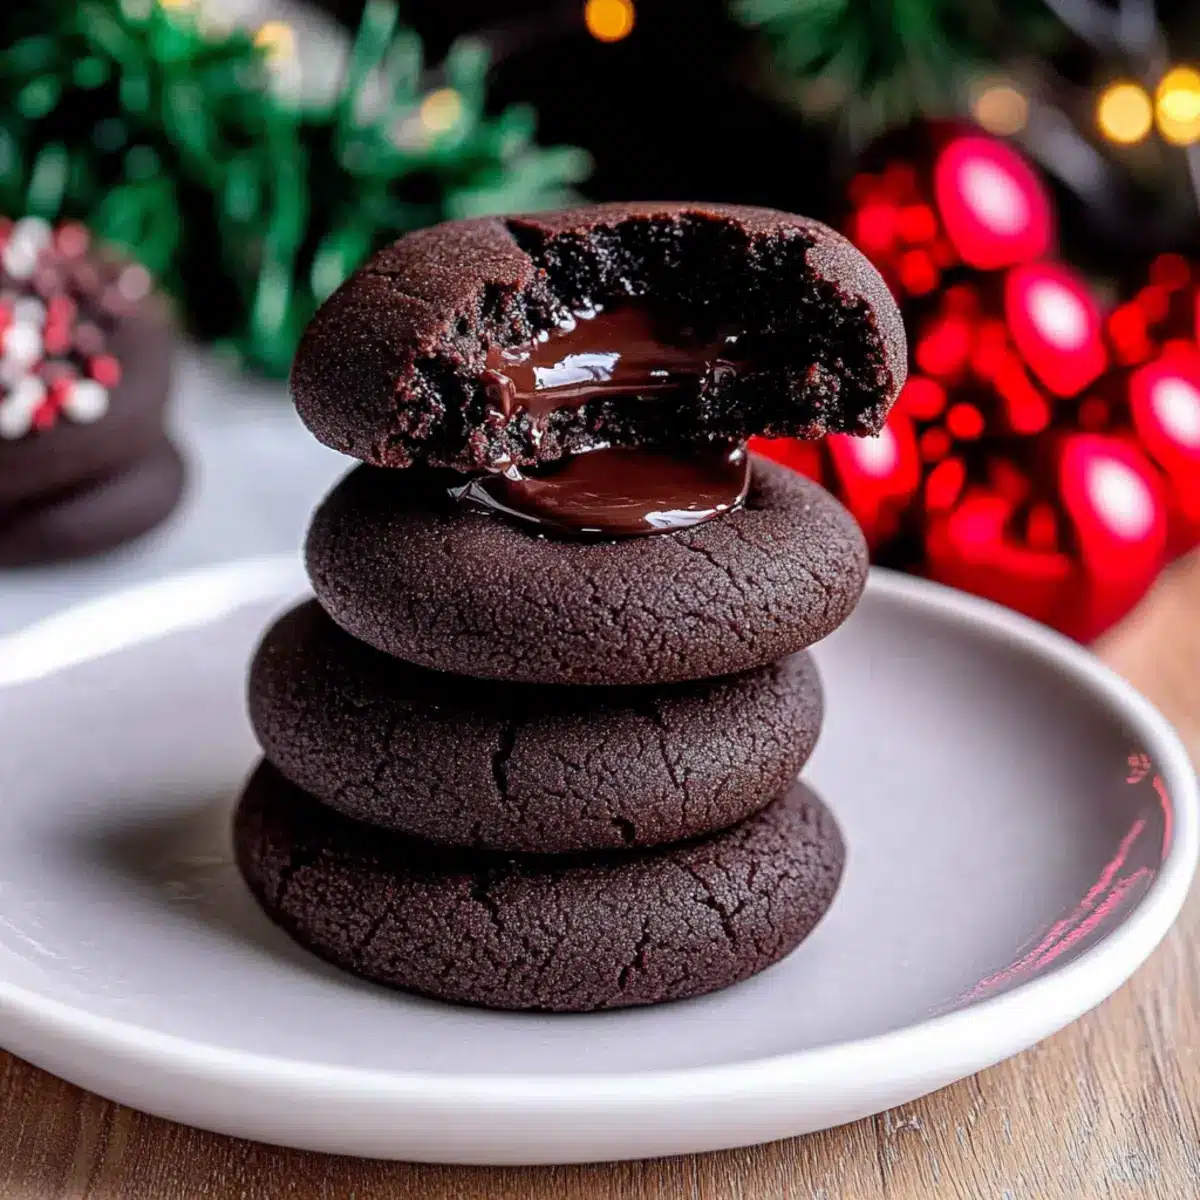
As the rich aroma of chocolate swirls through my kitchen, I can’t help but feel a wave of excitement brewing—it’s time to bake my beloved Chocolate Thumbprint Cookies. These delightful treats bring together a chewy cookie base filled with a silky chocolate ganache at the center, making them not just a dessert but a heartfelt celebration of flavors. They’re unbelievably easy to whip up, perfect for those busy days when you crave something homemade yet quick to prepare. Plus, they’re a surefire crowd-pleaser, making them an excellent choice for holiday gatherings, gift boxes, or a cozy afternoon treat. Are you ready to embark on this delicious chocolate journey with me?
Why Are Chocolate Thumbprint Cookies Irresistible?
Simplicity: These cookies come together in a snap, requiring minimal ingredients and straightforward steps—perfect for both novice and seasoned bakers.
Decadent Ganache: The silky chocolate ganache center elevates each bite, making them a luxurious treat that feels gourmet.
Timeless Appeal: Great for holidays or special occasions, these cookies enchant everyone, from kids to adults—truly a crowd-pleaser.
Customizable: Feel free to experiment with flavors—try adding crushed peppermint or an unexpected twist like matcha ganache to impress your guests.
Quick and Easy: With a prep time under 30 minutes, you can satisfy your chocolate cravings without spending hours in the kitchen.
Don’t forget to check out my Raspberry Thumbprint Cookies for a delightful variation on this classic theme!
Chocolate Thumbprint Cookies Ingredients
Get ready to create these delightful, rich treats!
For the Cookie Dough
• All-Purpose Flour – Provides structure; remember to spoon and level for accurate measurement.
• Dutch Process Cocoa Powder – Adds a deep, rich chocolate flavor; regular cocoa can be substituted but will slightly change the taste.
• Salt – Enhances the overall flavor of your cookies.
• Baking Powder – Acts as a leavening agent for that chewy texture.
• Unsalted Butter – Adds richness; use softened for better mixing.
• Light Brown Sugar – Contributes moisture and a slight caramel essence.
• Granulated White Sugar – Sweetens and helps create a tender texture.
• Egg Yolks – Binds the mixture and gives a soft consistency; room temperature works best.
• Vanilla Bean Paste/Extract – Infuses a lovely flavor into the dough.
For the Ganache Filling
• Semi-Sweet Chocolate Chips – Use high-quality for the best-tasting ganache center.
• Heavy Whipping Cream – Essential for making the luscious ganache; heat just until boiling.
Optional Topping
• Nonpareils – A charming decorative finish for your cookies.
Now that you have your ingredients ready, let’s dive into the delightful journey of baking these Chocolate Thumbprint Cookies!
Step‑by‑Step Instructions for Chocolate Thumbprint Cookies
Step 1: Prep the Dough
In a medium bowl, whisk together 1 ¾ cups of all-purpose flour, ½ cup of Dutch process cocoa powder, ½ teaspoon of salt, and ½ teaspoon of baking powder. This simple mixture lays the foundation for rich and chewy Chocolate Thumbprint Cookies. Set it aside for later as you move on to the next step.
Step 2: Cream the Butter and Sugars
In a large mixing bowl, beat together ½ cup unsalted butter, ½ cup of light brown sugar, and ¼ cup of granulated sugar using a hand mixer or stand mixer on medium speed. Continue until the mixture is light and fluffy, about 2-3 minutes. The creaminess is key to achieving a tender cookie, so take your time here.
Step 3: Incorporate the Egg Yolks and Vanilla
Add 2 egg yolks and 1 teaspoon of vanilla bean paste or extract to the creamed mixture. Beat well until fully combined and fluffy, about another minute. This will enhance the flavor and bind your cookie dough, ensuring every bite of your Chocolate Thumbprint Cookies is delightful.
Step 4: Combine the Dry Ingredients
Gradually mix the dry ingredient mixture into the wet ingredients with a spatula or wooden spoon until just combined. Be careful not to overmix; you want a soft dough that holds together without being tough. This step is essential for a chewy texture, so blend until no flour streaks remain.
Step 5: Shape the Cookies
Scoop tablespoons of dough and roll them into balls. Place each ball on a baking sheet lined with parchment paper, spacing them about 2 inches apart. Use a ¼ teaspoon measuring spoon to gently press into the center of each ball, creating an indent. Chill the baking sheet in the refrigerator for at least one hour to help maintain their shape.
Step 6: Bake the Cookies
Preheat your oven to 350°F (175°C). Once the dough is chilled, bake the cookies in the preheated oven for 9-11 minutes, or until slightly puffed and set. If needed, re-press the indents gently with the measuring spoon as soon as they come out of the oven. Keep an eye on them; they should look firm but soft.
Step 7: Cool and Prepare the Ganache
Let the cookies cool on the baking sheet for about 5 minutes, then transfer them to a wire rack to cool completely. While the cookies are cooling, prepare the ganache by heating ½ cup of heavy whipping cream in a small saucepan until it just starts to boil.
Step 8: Fill the Cookies
Remove the saucepan from heat and pour the hot cream over 1 cup of semi-sweet chocolate chips in a bowl. Allow it to sit for a minute, then stir until smooth and glossy. Once the cookies have cooled, carefully fill each indent with the luscious ganache and let them chill in the refrigerator for about 30 minutes to fully set.
Make Ahead Options
These Chocolate Thumbprint Cookies are a fantastic choice for meal prep, allowing you to enjoy homemade goodness even on the busiest days! You can prepare the cookie dough up to 24 hours in advance. Simply follow the steps to make the dough, then chill it in an airtight container. Additionally, the indented cookie balls can be shaped and chilled on a baking sheet for up to 3 days. When you’re ready to bake, just pop them in the oven as directed. For the ganache, prepare it ahead of time and refrigerate it in a sealed container for up to 3 days. The cookies will be just as delicious, delivering a heartfelt treat with minimal fuss!
Storage Tips for Chocolate Thumbprint Cookies
Room Temperature: Keep your cookies in an airtight container at room temperature for up to 3 days to maintain their chewy texture and rich flavor.
Fridge: If you’d like to extend freshness, you can store the cookies in the refrigerator for up to a week; be sure to let them come to room temperature before serving for optimal taste.
Freezer: For longer storage, freeze the chocolate thumbprint cookies in a single layer before transferring them to a freezer-safe container or bag for up to 2 weeks.
Reheating: To enjoy the cookies warm, just pop them in the microwave for about 10-15 seconds. This will revive their delightful texture and flavor.
Chocolate Thumbprint Cookies Variations
Feel free to let your creativity shine as you explore these delightful twists on the classic recipe!
-
Minty Surprise: Add a few drops of mint extract to the ganache for a refreshing twist. The combination of chocolate and mint will transport you to a chocolatey wonderland.
-
Nutty Delight: Incorporate finely chopped nuts, like pecans or walnuts, into the cookie dough for a crunchy texture. They add a lovely nutty flavor that pairs perfectly with the chocolate.
-
Spicy Kick: Include a pinch of cayenne pepper or a dash of cinnamon in the dough for a warming spice that elevates the chocolate flavor. It’s a fun way to surprise your taste buds!
-
Raspberry Burst: Create a fruity filling by using raspberry jam instead of ganache in the center. The tartness of the raspberry contrasts beautifully with the sweet chocolate cookie.
-
Gluten-Free Option: Substitute all-purpose flour with a gluten-free 1:1 baking blend to make these cookies suitable for gluten-sensitive folks. You won’t sacrifice flavor or texture!
-
Flavored Ganache: Experiment with flavored chocolate, like orange or coconut, to create an enticing ganache that stands out. Each bite will be a delicious new experience!
-
Topping Ideas: Add a sprinkle of sea salt on top of the ganache filling for a sweet and salty flavor burst. This simple twist takes your cookies to the next level.
-
Chocolate Lovers’ Dream: For an ultra-rich experience, mix chocolate chips into the cookie dough before baking. These chocolatey bites will make any chocolate lover swoon!
Explore these variations and perhaps discover a new favorite! If you’re feeling adventurous, you might also enjoy trying out my Chocolate Stuffed Cookies or Pistachio Cream Chocolate for even more inspiration in the kitchen!
What to Serve with Rich and Chewy Chocolate Thumbprint Cookies
Savoring a warm, chewy chocolate thumbprint cookie is a moment to cherish, but pairing it with the right accompaniments elevates the experience!
-
Freshly Brewed Coffee: The bold notes of coffee beautifully contrast with the rich chocolate, making it a comforting choice for any time of the day.
-
Vanilla Ice Cream: A scoop of creamy vanilla perfectly complements the cookies’ sweetness and adds a delightful contrast in temperature and texture.
-
Fruit Platter: Juicy berries or citrus slices bring a refreshing brightness that balances the deep chocolate flavor, adding bursts of freshness to each bite.
-
Chocolate Milkshake: This indulgent pairing will satisfy any sweet tooth while enhancing the chocolate experience, bringing out rich flavors that resonate together.
-
Warmed Chocolate Sauce: Drizzling warm chocolate sauce on top creates a double-chocolate delight that indulgently amplifies the lusciousness of the ganache filling.
-
Herbal Tea: A soothing cup of chamomile or peppermint tea provides a calming finish to the rich cookie, allowing you to unwind after a delightful treat.
-
Cheesecake Bites: For an extra creamy and decadent dessert option, small cheesecake bites add a delightful contrast in flavor and creamy texture.
-
Whipped Cream Topping: Light, airy whipped cream adds a fluffy element to your cookie experience, making each bite feel indulgent yet light at the same time.
These pairings transform your chocolate thumbprint cookies into a memorable treat perfect for sharing or indulging all on your own!
Expert Tips for Chocolate Thumbprint Cookies
-
Measuring Flour: Accurate measurement is crucial; spoon and level the flour to avoid dense cookies. Weighing the flour is recommended for best results.
-
Chill Time: Allowing the dough to chill for at least one hour helps maintain the shape during baking, ensuring your chocolate thumbprint cookies come out perfectly.
-
Re-Indent Cookies: If the indent disappears while baking, simply use a ¼ teaspoon to re-press it immediately after removing the cookies from the oven.
-
Quality Ingredients: Use high-quality semi-sweet chocolate chips for the ganache filling; it significantly enhances the flavor and creates a smoother texture.
-
Infusion Ideas: To customize your chocolate thumbprint cookies, consider adding mint extract or espresso powder to the ganache for an exciting flavor twist.

Chocolate Thumbprint Cookies Recipe FAQs
How do I choose the best cocoa powder?
Absolutely! For rich and deep flavor in your Chocolate Thumbprint Cookies, I highly recommend using Dutch process cocoa powder. Its alkali-treated nature results in a smoother, more velvety chocolate taste. If you can’t find Dutch process, regular cocoa will work, but expect a slightly less intense flavor.
What’s the best way to store these cookies?
Great question! To maintain the chewy texture of your cookies, store them in an airtight container at room temperature for up to 3 days. If you want to keep them longer, refrigerate them for up to a week. Just remember to let them come to room temperature before enjoying!
Can I freeze Chocolate Thumbprint Cookies?
Yes, you can! To freeze your cookies, place them in a single layer on a baking sheet and freeze until solid. Then, transfer them to a freezer-safe container or bag, where they’ll last for up to 2 weeks. For best results, freeze them before filling with ganache. If you do freeze filled cookies, make sure the ganache is set first!
What should I do if my cookies spread too much while baking?
No worries! If your cookies spread excessively, it may be due to the dough being too warm or the butter being too soft. Make sure to chill the dough for at least an hour before baking. If they still spread, chilling the formed cookies on the baking sheet before baking can help as well. Always be sure to measure your flour accurately for best results!
Are Chocolate Thumbprint Cookies safe for pets or allergies?
Very! While the cookies themselves are fine for humans, they are not safe for dogs due to the chocolate content. If you’re making them for gatherings, be mindful of guests with nut allergies—check your chocolate and ingredients to ensure they’re strictly allergen-free.
How long on average does it take to make these cookies from start to finish?
The total time is about 1 hour and 45 minutes, with around 1 hour dedicated to chilling the dough. The actual hands-on preparation only takes about 30 minutes, making these chocolate delights a quick yet rewarding treat for any occasion!
Irresistibly Rich Chocolate Thumbprint Cookies to Savor
Ingredients
Equipment
Method
- In a medium bowl, whisk together the dry ingredients: flour, cocoa powder, salt, and baking powder. Set aside.
- In a large mixing bowl, beat the butter, light brown sugar, and granulated sugar until light and fluffy, about 2-3 minutes.
- Add the egg yolks and vanilla to the creamed mixture, and beat until fully combined and fluffy, about another minute.
- Gradually mix in the dry ingredients until just combined, being careful not to overmix.
- Scoop tablespoons of dough, roll into balls, and place on a lined baking sheet, creating indents with a measuring spoon.
- Chill the baking sheet in the refrigerator for at least one hour.
- Preheat the oven to 350°F (175°C). Bake cookies for 9-11 minutes or until slightly puffed.
- Let the cookies cool for about 5 minutes, then transfer to a wire rack to cool completely.
- While cooling, make the ganache by heating the cream and pouring it over the chocolate chips, stirring until smooth.
- Fill each indent in the cooled cookies with ganache and let chill in the refrigerator for about 30 minutes.