

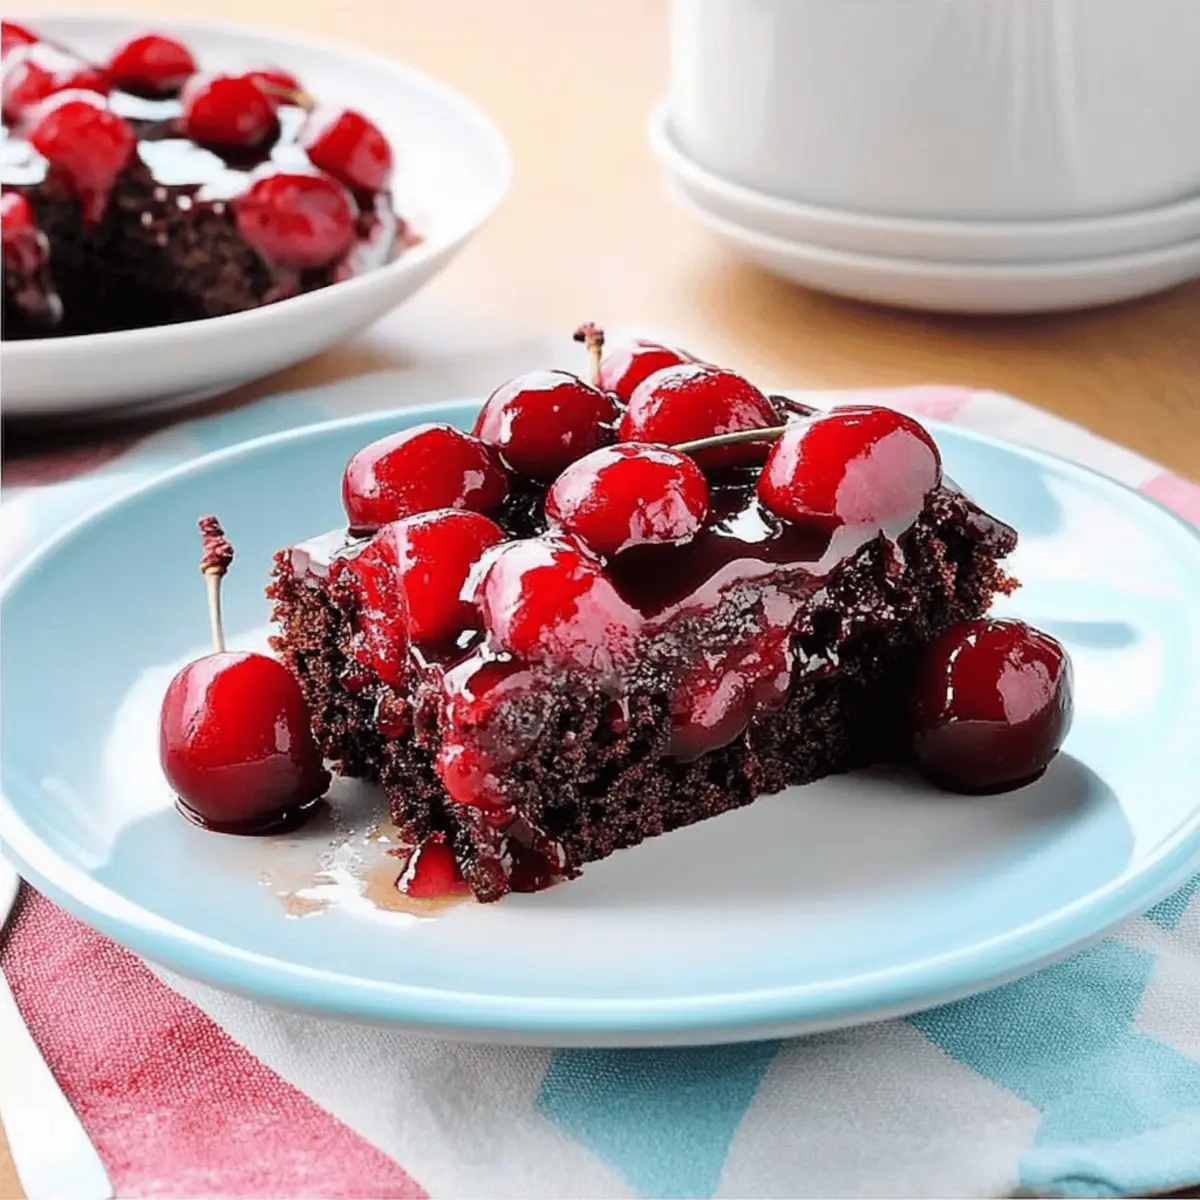
As the aroma of warm chocolate fills my kitchen, I can’t help but feel a wave of nostalgia wash over me. This Chocolate Cherry Upside-Down Cake is not just a recipe; it’s a delightful reminder of family gatherings packed with laughter and sweet treats. The beauty of this cake lies in its simplicity—it’s a no-frosting wonder that meshes the rich essence of chocolate with the joyous burst of juicy cherries. Easy to whip up, this classic dessert offers a comforting and indulgent experience without demanding all day in the kitchen. Whether you’re serving it for a special occasion or just treating yourself after a long day, this cake promises unexpected joy with every slice. Curious about how to create this delicious masterpiece? Let’s dive into the recipe!
Why is this cake a must-try?
Simplicity: With no frosting required, this Chocolate Cherry Upside-Down Cake embraces a straightforward approach, making it perfect for both novice bakers and busy individuals.
Nostalgic flavor: Each bite brings back cherished memories of family gatherings, combining the indulgence of chocolate with the sweet tang of cherries.
Versatile options: Feel free to experiment! Try using other fruits like pineapple, or add a hint of almond extract for a unique twang.
Time-saving ease: This cake can be prepped and baked in under an hour, allowing you more time to enjoy the company of loved ones.
Crowd-pleaser: Whether it’s a family dinner or a casual get-together, this delightful treat will have everyone savoring the moment.
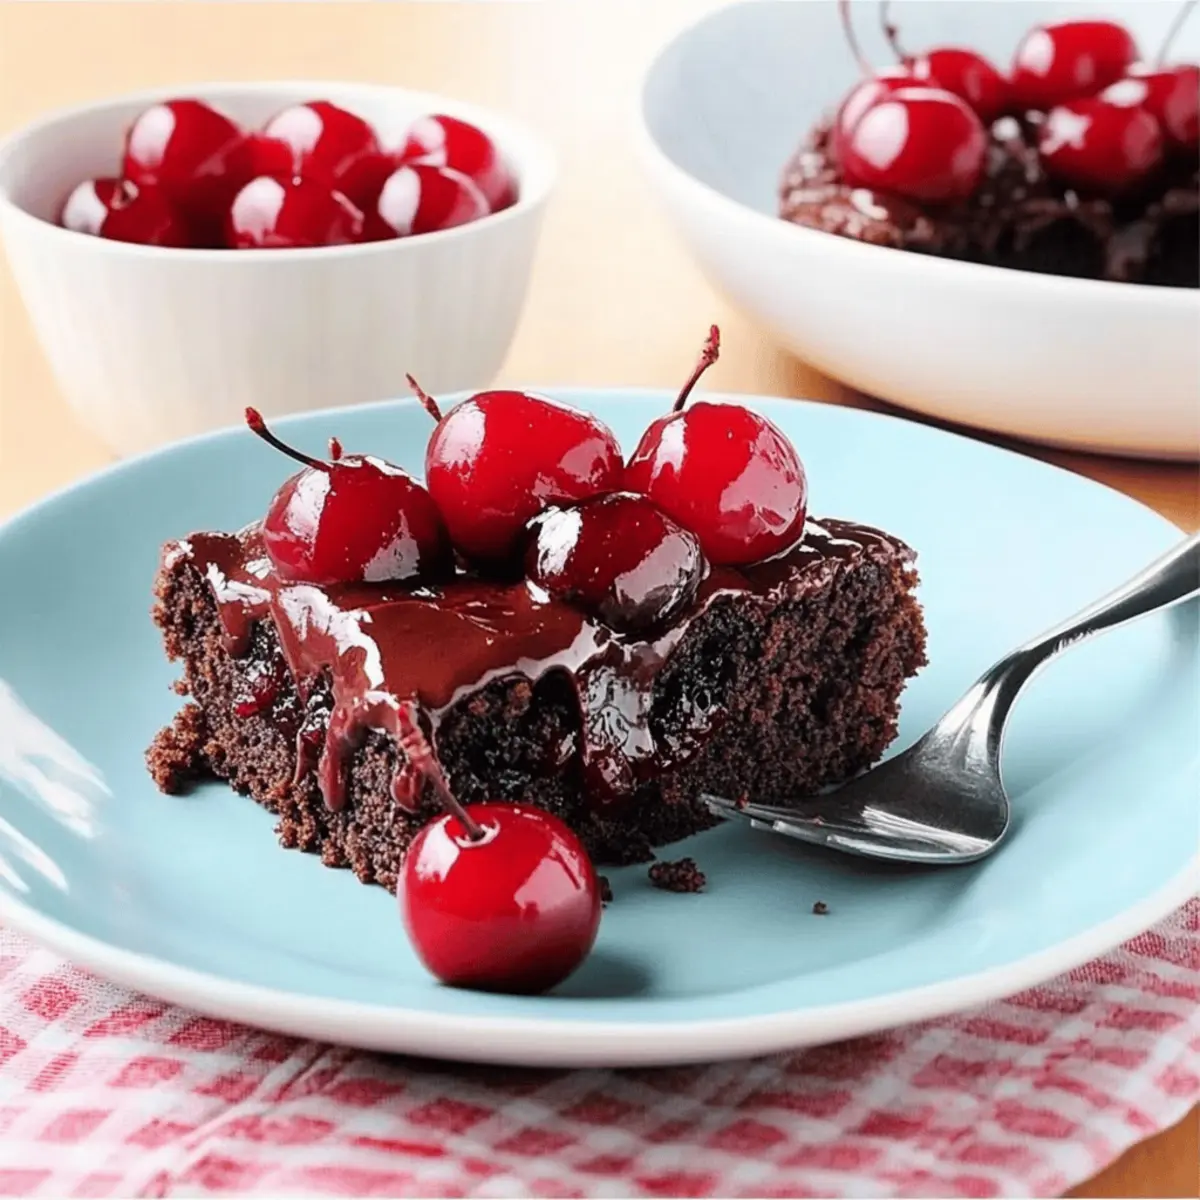
Pair it with a scoop of ice cream or a dollop of whipped cream for an elevated finish, and you’re sure to impress!
Chocolate Cherry Upside-Down Cake Ingredients
-
For the Cake
• All-Purpose Flour – Provides the cake’s structure for a delightful bite.
• Cocoa Powder – Adds rich chocolate flavor; make sure it’s unsweetened for the best taste.
• Granulated Sugar – Sweetens the cake; feel free to adjust to your personal sweet tooth.
• Baking Soda – Necessary for leavening; always check it’s fresh for the best rise.
• Salt – Enhances the overall flavor; a vital ingredient you shouldn’t skip.
• Vegetable Oil – Keeps the cake moist and tender; substitute with melted butter for extra richness.
• Water – Activates dry ingredients and helps your cake rise properly. -
For the Topping
• Cherry Pie Filling – Creates the beautiful upside-down effect and adds a burst of juicy sweetness; a 21 oz can is perfect for this recipe.
With these simple yet essential ingredients, you’ll soon be on your way to making a delectable Chocolate Cherry Upside-Down Cake that will surely become a family favorite!
Step‑by‑Step Instructions for Chocolate Cherry Upside Down Cake
Step 1: Prep the Oven
Begin by preheating your oven to 350°F (175°C). This step is crucial for ensuring your Chocolate Cherry Upside-Down Cake bakes evenly. As the oven warms up, you can gather your ingredients, creating a smooth workflow as you prepare the rest of the cake.
Step 2: Prepare Baking Pan
Grease a 9×13 inch baking pan with non-stick spray or a light coating of vegetable oil. Once greased, spread the cherry pie filling evenly across the bottom of the pan, letting the beautiful red cherries take center stage. This layer will create a stunning upside-down effect once your cake is baked.
Step 3: Mix Dry Ingredients
In a large mixing bowl, whisk together the all-purpose flour, unsweetened cocoa powder, granulated sugar, baking soda, and salt until well combined. This step ensures that the dry ingredients are evenly distributed and helps contribute to the ideal texture of your Chocolate Cherry Upside-Down Cake.
Step 4: Combine Wet Ingredients
In another bowl, mix the vegetable oil and water until well blended. Pour this mixture into the bowl of dry ingredients, stirring just until everything is combined. Be careful not to over-mix; a few lumps are perfectly fine and will help your cake remain moist and tender.
Step 5: Pour Batter
Carefully pour the chocolate batter over the cherry pie filling in the prepared pan. Use a spatula to gently spread the batter if needed, ensuring it evenly covers the cherries beneath. This layering is key to creating a flavorful burst of chocolate and cherry in every bite.
Step 6: Bake
Place the baking pan in the preheated oven and bake for 35 minutes. Check for doneness by inserting a toothpick into the center of the cake; it should come out clean or with a few moist crumbs. The edges will pull slightly away from the pan, indicating perfect baking.
Step 7: Cool & Serve
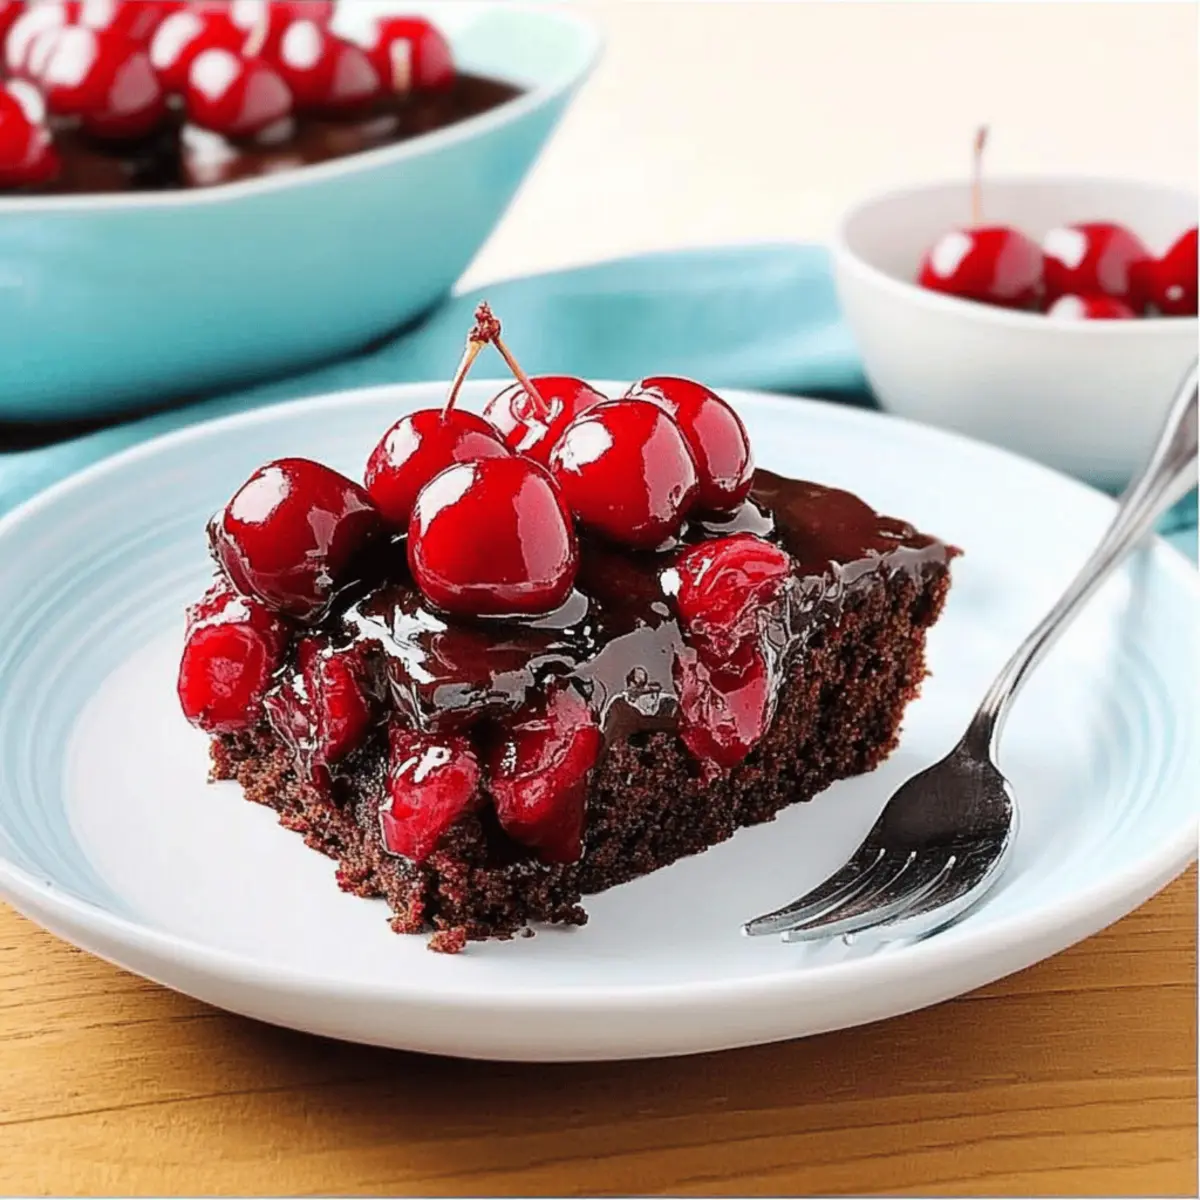
Once baked, remove the cake from the oven and allow it to cool for about 10-15 minutes in the pan. This cooling time helps the cake set up a bit, making it easier to serve. To enjoy, cut into pieces and flip them onto plates to showcase the beautiful cherry topping of your Chocolate Cherry Upside-Down Cake.
What to Serve with Chocolate Cherry Upside-Down Cake
Enhance your delightful dessert experience with these perfect pairings that elevate the chocolate and cherry flavors.
- Vanilla Ice Cream: The creamy coolness perfectly balances the warm chocolate cake, creating a heavenly combination of textures and temperatures.
- Whipped Cream: A dollop of freshly whipped cream adds lightness and a luscious touch, complementing the cake’s richness with its airy sweetness.
- Fresh Berries: Raspberries or strawberries on the side provide a tart contrast that brightens each bite while adding a pop of color to your plate.
- Nutty Cookies: Serve with a plate of almond or walnut cookies for a satisfying crunch that pairs well with the velvety cake.
- Chocolate Sauce: Drizzle a bit of warm chocolate sauce over each slice for an extra indulgent twist that chocolate lovers will adore.
- Light Dessert Wine: A glass of sweet dessert wine enhances the fruity notes of the cherries and enriches the overall flavor experience.
- Espresso or Coffee: A hot cup of coffee or a shot of espresso can cut through the cake’s sweetness, providing a perfect end to your meal.
- Cheese Platter: Include a soft, creamy cheese like brie to add a savory component that contrasts beautifully with the sweet flavors of the cake.
Each pairing offers its own unique twist, creating an unforgettable dining experience full of warmth and nostalgia. Enjoy!
Tips for the Best Chocolate Cherry Upside-Down Cake
-
Avoid Over-Mixing: Mixing the batter just until combined will keep your cake moist and tender; over-mixing can lead to a dense texture.
-
Check Your Baking Powder: Always ensure your baking soda is fresh. It’s crucial for achieving the right rise in your Chocolate Cherry Upside-Down Cake.
-
Proper Layering: When pouring the batter, gently spread it over the cherry layer to ensure an even distribution, allowing for that gorgeous upside-down effect.
-
Cooling Time: Don’t skip the cooling period of 10-15 minutes after baking; it helps the cake set for easier slicing and serving.
-
Presentation Matters: For an impressive reveal, cut one slice at a time and flip it onto the plate, showcasing the cherries on top as a delightful centerpiece.
How to Store and Freeze Chocolate Cherry Upside-Down Cake
Room Temperature: Store the cake covered at room temperature for up to 3 days. This keeps it moist and ready to serve whenever a craving strikes!
Fridge: If you plan to keep the cake longer, it can last up to a week in the refrigerator when wrapped tightly in plastic wrap or aluminum foil to prevent drying out.
Freezer: To freeze, slice the cake into portions, wrap each piece in plastic wrap, and place them in an airtight container. This way, it’ll be good for up to 3 months, perfect for a sweet surprise anytime!
Reheating: To enjoy a slice after freezing, simply thaw overnight in the fridge, then warm briefly in the microwave or in an oven at 350°F until heated through. Indulge in the nostalgia of the Chocolate Cherry Upside-Down Cake!
Chocolate Cherry Upside-Down Cake Variations
Feel free to get creative with your Chocolate Cherry Upside-Down Cake and make it your own! Here are some delightful twists to consider.
-
Fruit Swap: Replace cherry pie filling with other fruits like pineapple or peaches for a refreshing flavor twist. Each fruit adds its unique charm and sweetness, making this cake versatile and fun!
-
Nutty Addition: Sprinkle chopped nuts such as pecans or walnuts over the cherry layer before adding the batter for a delightful crunch. This addition not only enhances the texture but also brings in a nutty aroma that complements the chocolate beautifully.
-
Almond Extract: Swap vanilla extract for almond extract to infuse your cake with a rich, nutty flavor. Just a teaspoon adds a lovely depth that will surprise and please your taste buds.
-
Gluten-Free Option: Use a gluten-free baking mix in place of all-purpose flour for a delicious gluten-free Chocolate Cherry Upside-Down Cake. It’s a simple swap that ensures everyone can enjoy this treat!
-
Cocoa Swap: Experiment with dark chocolate cocoa powder for a richer flavor. This will give your cake a deeper chocolate taste that chocolate lovers will swoon over.
-
Zesty Kick: Add a teaspoon of orange or lemon zest to the batter for a burst of citrus flavor. This brightens the cake and pairs wonderfully with the cherries!
-
Chili Spice: For a spicy kick, mix in a pinch of cayenne pepper or red pepper flakes into the batter. This unexpected twist on flavor will make your cake a memorable treat!
-
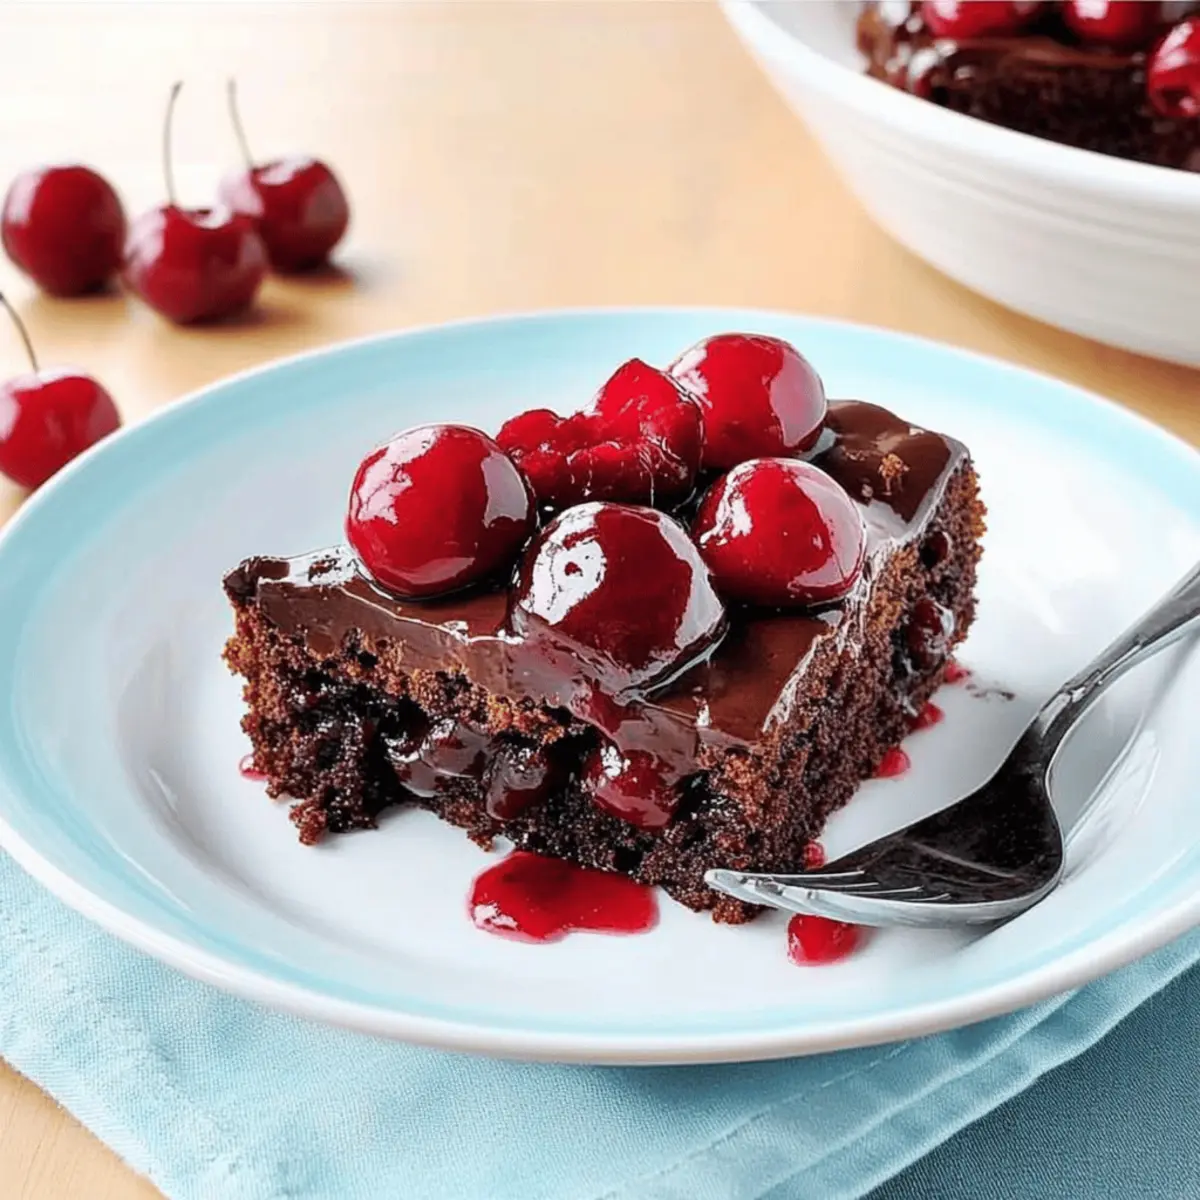
Gourmet Topping: Serve your Chocolate Cherry Upside-Down Cake with a drizzle of chocolate ganache or a scoop of homemade vanilla ice cream for an indulgent finish, reminiscent of a classic dessert café experience.
And if you’re craving more homemade delights, don’t forget to check out these awesome recipes: Chocolate Lava Cakes, White Chocolate Macadamia, and more! Enjoy experimenting!
Make Ahead Options
These Chocolate Cherry Upside-Down Cakes are perfect for busy home cooks looking to save time! You can prepare the cake batter and keep it in the refrigerator for up to 24 hours. To do this, mix the dry and wet ingredients separately, then combine them just before pouring the batter over the cherry pie filling. Additionally, you can also assemble the entire cake (without baking) and refrigerate it; just make sure to cover it tightly to maintain moisture. When you’re ready to serve, simply bake it right from the fridge, following the same baking instructions. This way, you’ll have a delicious, homemade dessert ready with minimal effort!
Chocolate Cherry Upside-Down Cake Recipe FAQs
How do I select the best cherries for my cake?
Absolutely! When choosing cherries for your Chocolate Cherry Upside-Down Cake, look for plump, vibrant cherries without dark spots or blemishes. The cherries should be firm to the touch, indicating freshness. If you’re using cherry pie filling, one 21 oz can is perfect for this recipe, but you can also opt for fresh cherries if you’d like to make your own filling!
How should I store leftovers?
Very! To keep your Chocolate Cherry Upside-Down Cake fresh, cover it with plastic wrap or aluminum foil and store it at room temperature for up to 3 days. If you want to extend its shelf life, refrigerate it where it can last up to a week. Be sure to bring it to room temperature before serving for the best flavor!
Can I freeze the cake, and how?
Of course! To freeze your Chocolate Cherry Upside-Down Cake, start by slicing it into portions. Wrap each piece tightly in plastic wrap to prevent freezer burn, then place the wrapped pieces in an airtight container. It will stay fresh for up to 3 months! When you’re ready to indulge, thaw the slices in the fridge overnight and warm them briefly in the microwave or oven at 350°F until heated through.
What should I do if my cake is too dense?
I recommend checking a few key elements if you encounter a dense texture! Make sure not to over-mix the batter; just combine the wet and dry ingredients until barely mixed—lumps are okay! Additionally, ensure your baking soda is fresh for the right rise. If your cake still turns out dense, you could gently fold in a couple of tablespoons of hot water into the batter just before baking, which should help lighten it up.
Is this cake safe for those with allergies?
Very importantly! This Chocolate Cherry Upside-Down Cake contains common allergens like wheat and eggs, which may not be suitable for those with gluten intolerance or allergies. You could substitute all-purpose flour with a gluten-free blend, and for egg replacement, consider using applesauce or flaxseed mixed with water. Always double-check ingredient labels to ensure safety!
What might I do to customize the flavors?
Absolutely! The beauty of this recipe is its versatility. You can replace cherry pie filling with other fruits like crushed pineapples or blueberries for a different twist! For added depth, consider swapping out vanilla extract for almond extract, which pairs beautifully with chocolate and adds a nutty aroma. Mix it up and let your creativity flow!
Decadent Chocolate Cherry Upside Down Cake for Sweet Memories
Ingredients
Equipment
Method
- Preheat your oven to 350°F (175°C).
- Grease a 9x13 inch baking pan and spread the cherry pie filling evenly across the bottom.
- In a large mixing bowl, whisk together flour, cocoa powder, sugar, baking soda, and salt until combined.
- In another bowl, mix the vegetable oil and water, then pour into the dry ingredients and stir until just combined.
- Pour the batter over the cherry pie filling in the prepared pan, spreading it evenly.
- Bake for 35 minutes or until a toothpick inserted comes out clean.
- Allow the cake to cool in the pan for 10-15 minutes before flipping onto a plate to serve.