

Stirring a pot of colorful fruit on the stove, the sweet aroma wafted through my kitchen, instantly transporting me to sun-soaked summer days. These Berry Yogurt Popsicles are my go-to remedy for beating the heat, offering a delightful burst of refreshing flavors that are as pleasing to the eyes as they are to the palate. With the creamy richness of Greek yogurt and the natural sweetness of berries, this treat is not only an indulgence but also a healthier, low-calorie alternative to store-bought options. Plus, they’re easy to whip up—a fantastic project to tackle with your family on a lazy weekend. Ready to dive into a fun and fruity frozen adventure? Let’s get started!
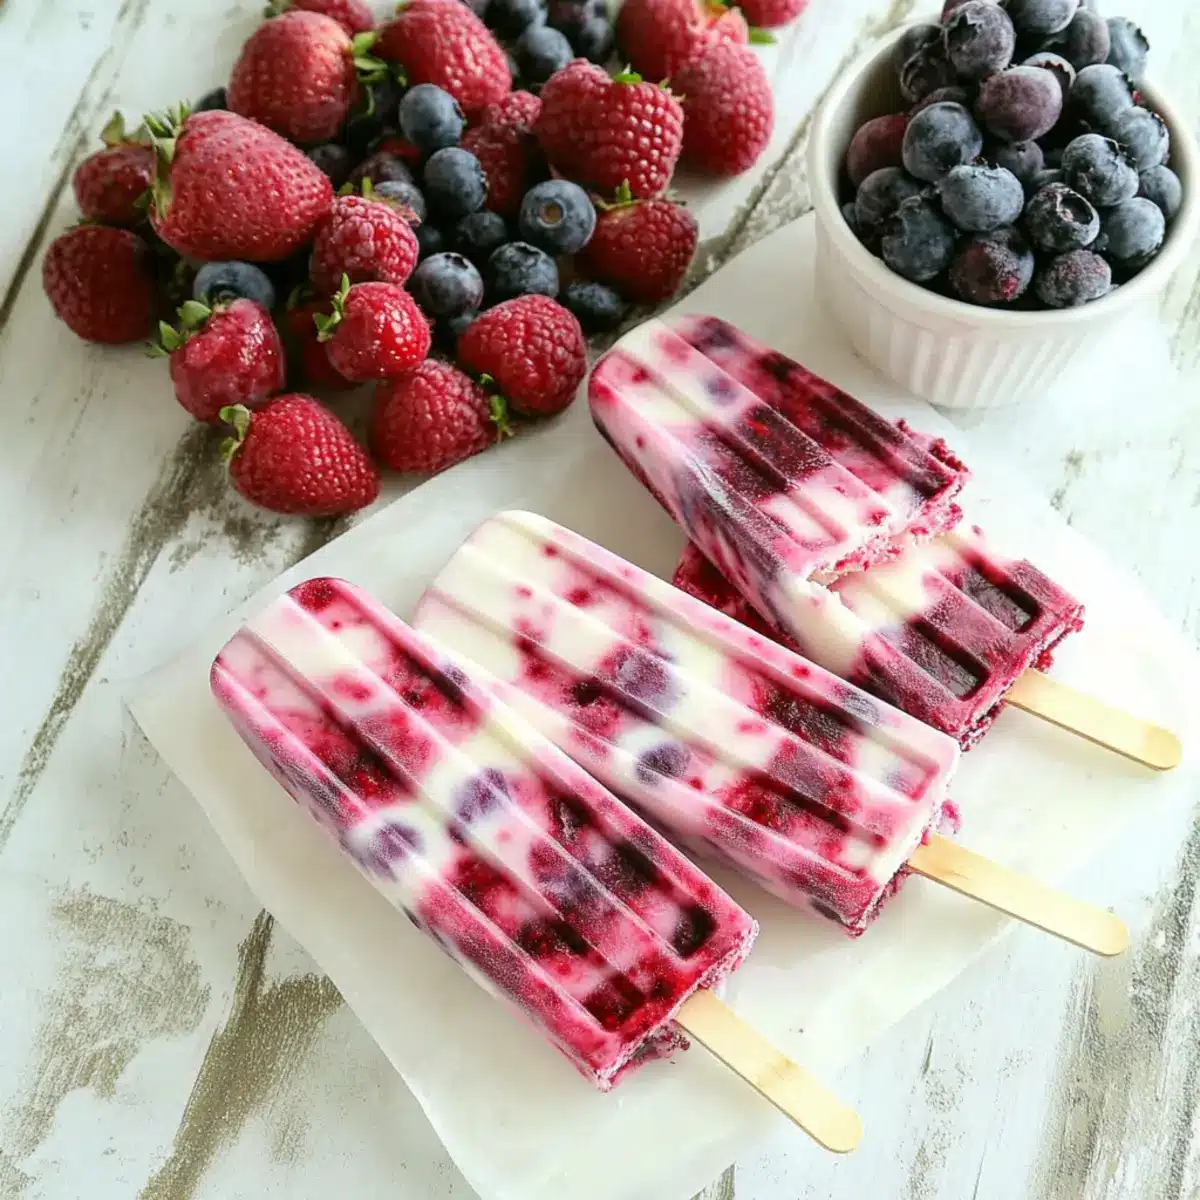
Why are Berry Yogurt Popsicles a must-try?
Fresh, Fruity Flavors: These popsicles burst with vibrant berry goodness, making every bite an explosion of summer.
Family-Friendly Fun: They’re not just delicious but also an exciting way to involve the kids in the kitchen.
Healthy Indulgence: With only about 50 calories each, enjoy without the guilt—perfect for those snack cravings!
Quick and Easy Prep: In under an hour, you can have a fabulous treat ready to freeze.
Versatile Options: Experiment with various fruits like mango or peach for a fun twist. Just like my delicious Cranberry Pecan Chicken recipe, variety keeps things exciting!
Berry Yogurt Popsicles Ingredients
For the Berry Mixture
- Fresh or Frozen Blueberries – Adds natural sweetness and vibrant color; substitute with other berries like blackberries if needed.
- Fresh or Frozen Raspberries – Provides tartness and flavor depth; can also swap with cherries for a delightful twist.
- Fresh or Frozen Strawberries – Delivers sweetness and a classic berry flavor; any berry blend works if strawberries aren’t available.
For the Yogurt Base
- Full-Fat Greek Style Yogurt – Ensures a creamy, rich texture; regular yogurt can be used for a lighter option.
- Honey – Natural sweetness enhancer; maple syrup makes a great vegan alternative.
- Lemon Juice – Brightens the flavor profile; lime juice is a nice substitute if desired.
Embrace the joy of making these Berry Yogurt Popsicles and treat your family to a wonderfully refreshing delight!
Step‑by‑Step Instructions for Berry Yogurt Popsicles
Step 1: Cook the Berries
In a medium saucepan, combine fresh or frozen blueberries, raspberries, and strawberries over medium heat. Stir gently and cook for about 15-20 minutes, or until the berries soften and release their juices. Keep an eye on them; the berries should be bubbling and fragrant, transforming into a vibrant mixture.
Step 2: Puree the Berry Mixture
Once the berries are cooked down, remove the saucepan from heat and let it cool slightly. Transfer the berry mixture to a blender and puree until smooth. Allow the puree to cool completely at room temperature; this step is crucial for achieving the perfect swirl in your Berry Yogurt Popsicles.
Step 3: Prepare the Yogurt Base
In a large measuring cup, mix together the full-fat Greek yogurt, honey, and lemon juice until well combined. Ensure there are no lumps and the mixture is creamy and smooth. This yogurt base will provide a rich texture, complementing the berry puree beautifully in your popsicle creation.
Step 4: Swirl the Berry Puree
Take the cooled berry puree and gently swirl it into the yogurt mixture using a spoon. Aim for a marbled effect, allowing some of the berry puree to remain visible within the yogurt. This delightful combination will create a visually appealing and flavorful mix in your Berry Yogurt Popsicles.
Step 5: Fill the Molds
Carefully pour the berry-yogurt mixture into ice pop molds, filling them about three-quarters full. Make sure to leave space at the top for expansion during freezing. Once filled, securely cover the molds with their lids and insert wooden sticks to hold everything together as they freeze.
Step 6: Freeze the Popsicles
Place the filled molds in the freezer and allow them to freeze for at least 4 hours or overnight until firm. This long freezing time is essential for ensuring that your Berry Yogurt Popsicles set properly and hold their delightful shape when you’re ready to enjoy them.
Step 7: Remove and Store
When you’re ready to serve, run the ice pop molds under warm water for about 10-15 seconds to loosen them. Gently pull the popsicles out of the molds. If you have any leftover popsicles, store them in freezer-safe bags to keep their freshness for up to 1-2 months, ready to enjoy on a warm summer day!
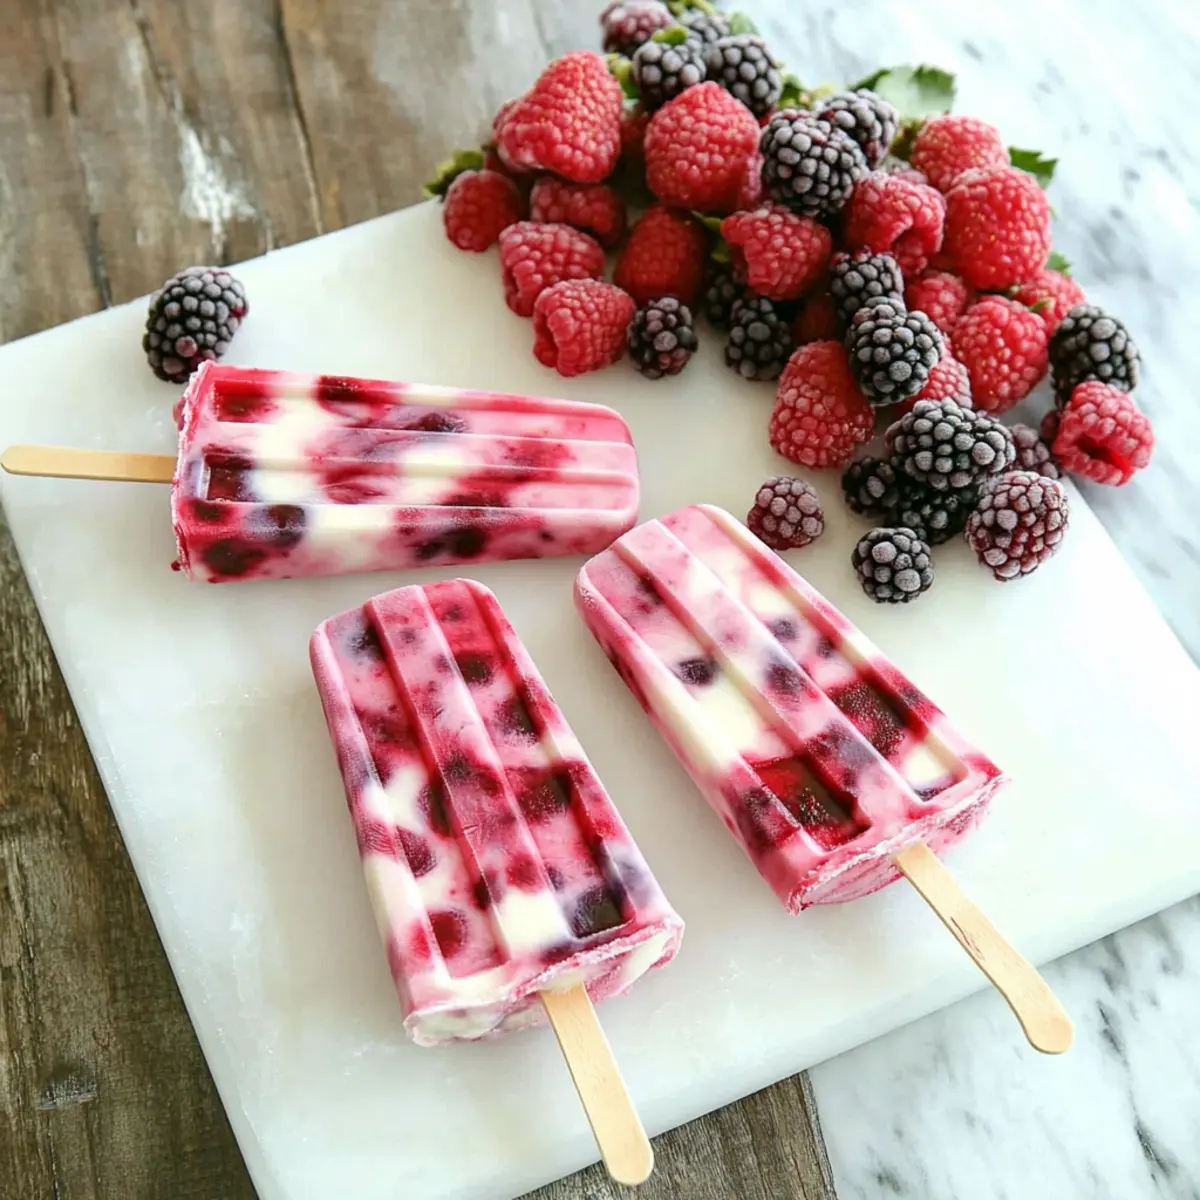
Expert Tips for Berry Yogurt Popsicles
• Choose Quality Berries: Always opt for fresh or high-quality frozen berries to enhance the flavor of your popsicles. The sweeter the berries, the better your Berry Yogurt Popsicles will taste.
• Perfect Swirls: Allow the berry mixture to cool completely before swirling into the yogurt. This step creates a beautiful marbled effect while keeping the flavors separate yet harmonious.
• Don’t Skip the Honey: Even if your berries are sweet, honey adds a nice richness. If you prefer a vegan option, maple syrup works well without compromising taste.
• Watch the Freezing Time: Ensure your popsicles freeze for at least 4 hours. A longer freezing time leads to firmer pops, and you’ll be grateful when it’s time to enjoy them!
• Store Properly: To keep your Berry Yogurt Popsicles fresh, wrap them individually in plastic wrap or place them in a freezer-safe bag. This prevents freezer burn for a delicious treat every time.
Make Ahead Options
These Berry Yogurt Popsicles are a fantastic choice for meal prep, allowing you to enjoy this delicious treat without any last-minute fuss! You can prepare the berry mixture up to 3 days in advance; simply cook the berries and store the puree in an airtight container in the refrigerator. For the yogurt base, mix the Greek yogurt, honey, and lemon juice a day ahead; just keep it covered in the fridge until you’re ready to combine. When it’s time to assemble, swirl the cooled berry puree into the yogurt mixture, fill the molds, and freeze for at least 4 hours or overnight. This way, you can easily whip out a refreshing popsicle whenever the craving strikes!
Berry Yogurt Popsicles Variations & Substitutions
Customize your Berry Yogurt Popsicles with these delightful twists that will make each batch uniquely delicious!
-
Dairy-Free: Substitute Greek yogurt with coconut yogurt for a creamy, dairy-free version that still packs a flavor punch. Coconut adds a tropical flair!
-
Flavor Fusion: Mix in some pureed mango or peach for a different fruity twist. The bright flavors will transport you to a sun-soaked beach with each bite.
-
Berry Medley: Use a combination of your favorite berries instead of sticking to one type. A blend of blueberries, raspberries, and strawberries creates depth and dimension.
-
Nutty Crunch: Add a sprinkle of chopped nuts or granola into the yogurt base before pouring into molds. This adds a satisfying crunch that complements the creaminess beautifully.
-
No Sugar Added: For a sugar-free option, use ripe bananas in place of honey in the yogurt base. Their natural sweetness will keep it healthy and delicious.
-
Zesty Twist: Substitute lemon juice with orange juice for a sweet and refreshing citrus flavor that liven ups the yogurt base.
-
Chocolate Delight: Drizzle melted dark chocolate on top of the popsicles before freezing for a decadent twist that chocolate lovers will adore.
-
Adjust the Sweetness: Divide the yogurt mixture into two bowls. Sweeten one with honey and leave the other plain for a contrast between sweet and tangy bites.
Feel free to get creative with these variations! Just like my tasty Lemon Raspberry Crumble, these popsicles offer endless possibilities to delight your taste buds. Happy popping!
What to Serve with Berry Swirl Yogurt Popsicles
Dive into a world of delightful pairings that will elevate your summer snacking experience.
-
Creamy Coconut Milk Rice: A subtly sweet and creamy side that complements the fruity pops in both flavor and texture, creating a tropical vibe.
-
Fresh Fruit Salad: A vibrant mix of seasonal fruits brings brightness to the table, enhancing the fresh berry flavors of the popsicles.
-
Honey-Drizzled Granola Parfait: Crunchy granola layered with yogurt transforms your snack into a wholesome indulgence—perfect for breakfast or dessert!
-
Zesty Lemonade: A refreshing glass of homemade lemonade adds a citrusy zing, mirroring the tangy notes of the berry popsicles for a thirst-quenching combo.
-
Mini Cheesecake Bites: These creamy treats balance the fruity pops perfectly, offering a rich, indulgent contrast that satisfies every dessert lover.
-
Mint-Infused Water: Fresh mint leaves steeped in water provide a refreshing, aromatic drink that cleanses the palate between bites of the berry treat, keeping things light and vibrant.
-
Chocolate-Dipped Pretzels: For a sweet-salty twist, these crunchy snacks elevate your snacking game while adding a bit of fun to your dessert spread.
Explore these pairings, and transform your Berry Yogurt Popsicles into a glorious feast that captures the essence of summer!
How to Store and Freeze Berry Yogurt Popsicles
Fridge: Keep any leftover popsicles in the fridge for up to 1 day, but they’re best enjoyed straight from the freezer for optimal flavor and texture.
Freezer: Store your Berry Yogurt Popsicles in freezer-safe bags or airtight containers for up to 1-2 months. This ensures they remain fresh and ready to enjoy whenever a craving strikes!
Removing from Molds: To easily remove your popsicles from the molds, run them under warm water for about 10-15 seconds before pulling them out gently. This prevents breaking and maintains their beautiful shape.
Reheating/Thawing: If you ever find yourself with a popsicle that’s too firm to bite, simply let it sit at room temperature for a few minutes to soften slightly before indulging.
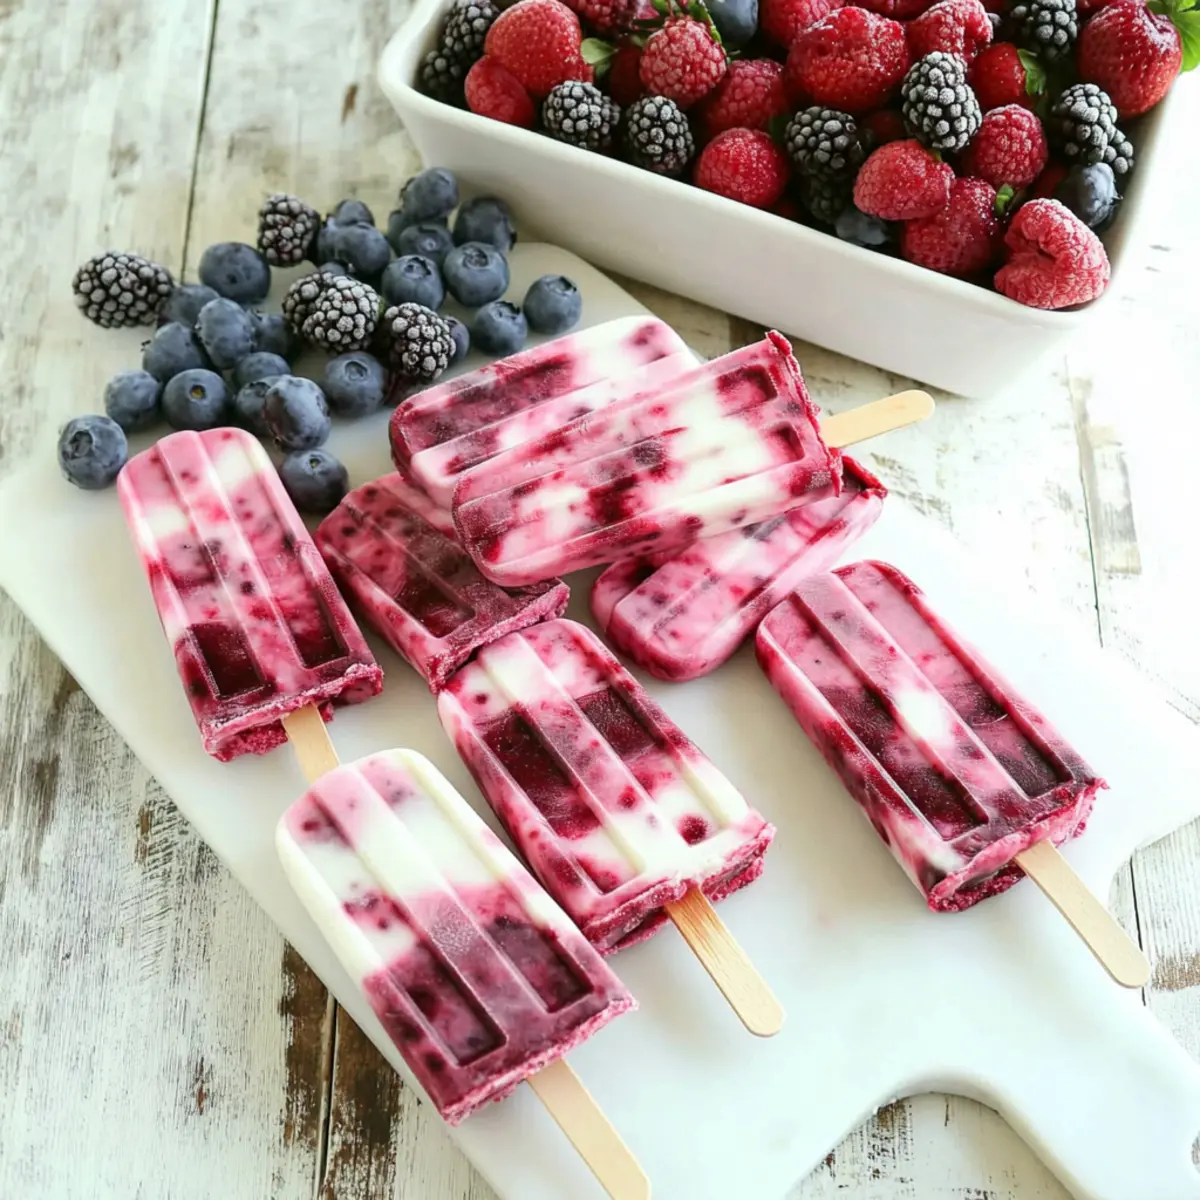
Berry Yogurt Popsicles Recipe FAQs
Which berries should I use for the best flavor?
Absolutely! Fresh berries are ideal, as they offer vibrant flavor and natural sweetness. However, you can also use high-quality frozen berries if fresh ones aren’t available. Look for berries that are plump and brightly colored; avoid those with dark spots or mushiness that indicate over-ripeness.
How do I store leftover Berry Yogurt Popsicles?
You can store your popsicles in freezer-safe bags or airtight containers for up to 1-2 months. Just make sure to wrap them individually for maximum freshness and to prevent freezer burn. I often place them in bags labeled with the date so I can easily track how long they’ve been stored.
Can I freeze these popsicles for longer than 2 months?
While you technically can freeze them longer, I recommend enjoying your Berry Yogurt Popsicles within 1-2 months for the best taste and texture. After this period, they may develop freezer burn or lose flavor. Always use airtight containers to help preserve their quality.
What should I do if my popsicles are hard to remove from the molds?
No worries! If your popsicles stick, simply run the molds under warm water for about 10-15 seconds. This gentle heat will loosen them without causing damage. If they’re still stubborn, gently twist the molds while pulling for an easier release.
Are these popsicles suitable for anyone with allergies?
Check the individual ingredients for potential allergens. For example, if you’re substituting honey with maple syrup to avoid allergies, choose a certified gluten-free yogurt if gluten is a concern. Always consult with family members about preferences or dietary restrictions to ensure everyone can enjoy these delicious Berry Yogurt Popsicles!
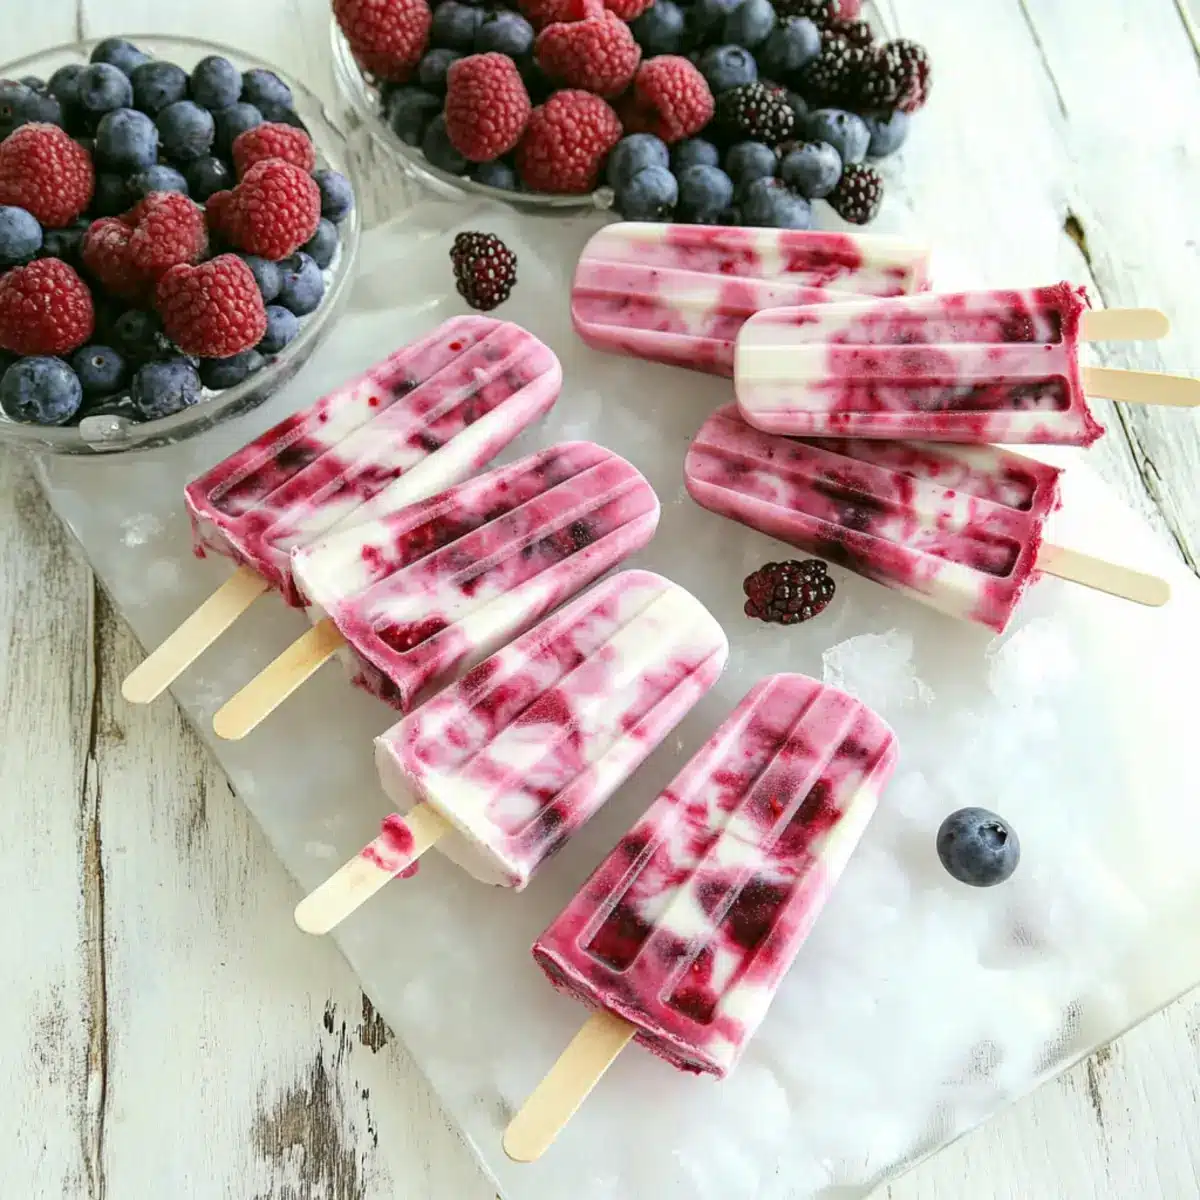
Berry Yogurt Popsicles that Bring Summer to Your Freezer
Ingredients
Equipment
Method
- In a medium saucepan, combine fresh or frozen blueberries, raspberries, and strawberries over medium heat. Stir gently and cook for about 15-20 minutes, or until the berries soften and release their juices.
- Once the berries are cooked down, remove the saucepan from heat and let it cool slightly. Transfer the berry mixture to a blender and puree until smooth.
- In a large measuring cup, mix together the full-fat Greek yogurt, honey, and lemon juice until well combined. Ensure there are no lumps.
- Take the cooled berry puree and gently swirl it into the yogurt mixture using a spoon.
- Carefully pour the berry-yogurt mixture into ice pop molds, filling them about three-quarters full.
- Place the filled molds in the freezer and allow them to freeze for at least 4 hours or overnight until firm.
- When you're ready to serve, run the ice pop molds under warm water for about 10-15 seconds to loosen them.