

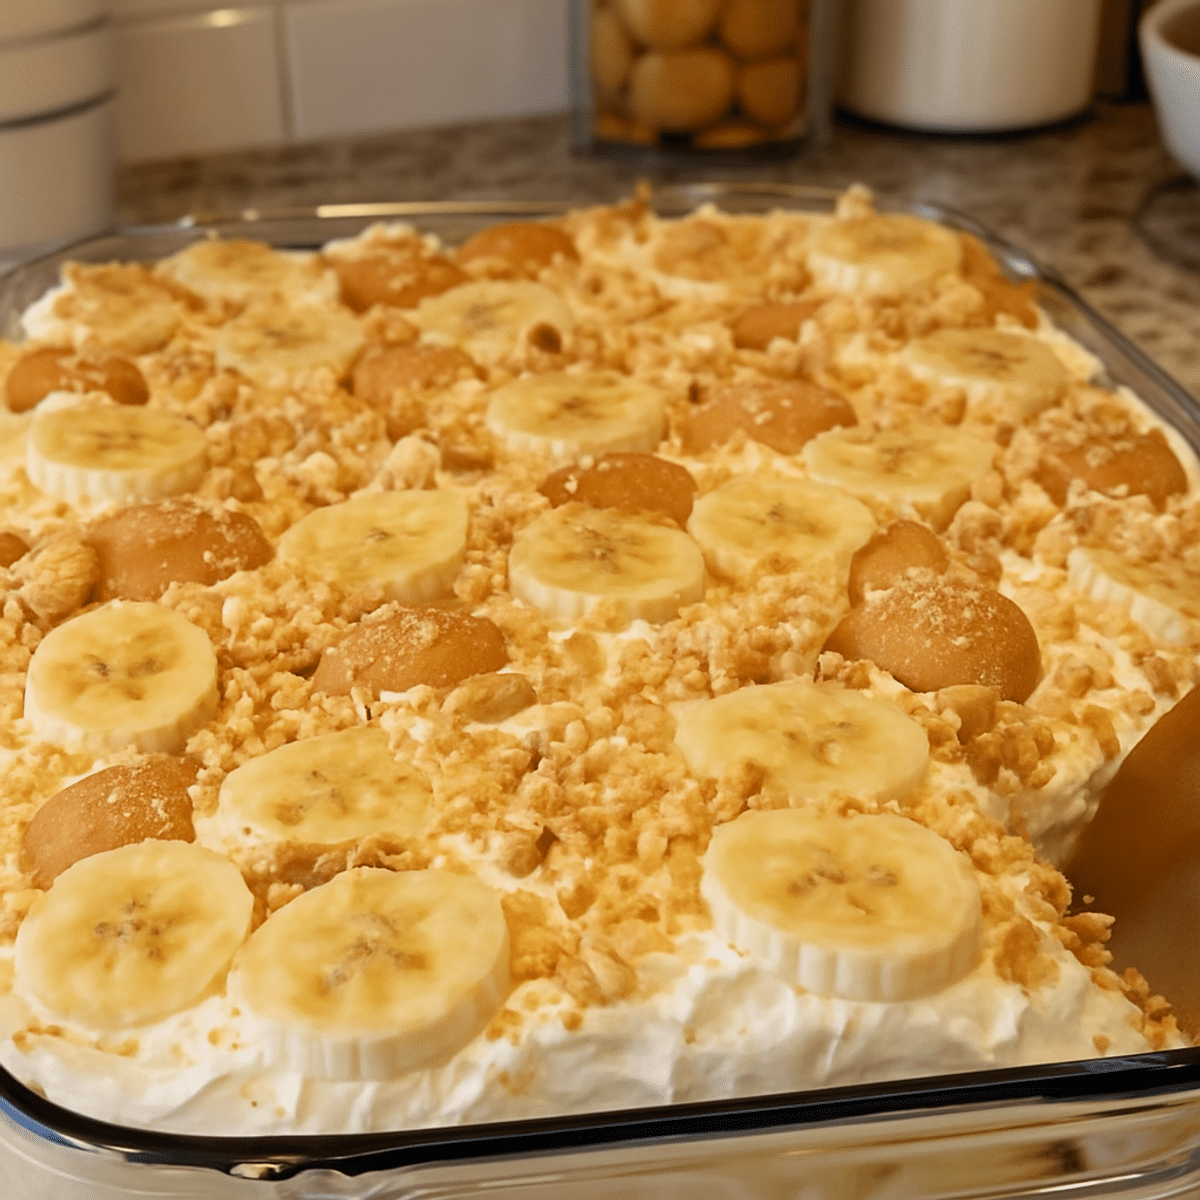
There’s something incredibly comforting about a dessert that combines the rich, creamy allure of cheesecake with the nostalgic flavors of banana pudding. These Banana Pudding Cheesecake Bars are not just a sweet treat; they evoke memories of family gatherings and sunny afternoons spent swooning over creamy custards and crunchy wafers. Whether you’re looking to impress guests or searching for an easy weeknight dessert, this recipe is your answer. With smooth cream cheese, ripe bananas, and a golden crumb crust, every bite is a delightful experience, perfectly balancing texture and flavor. Plus, they’re simple to whip up, making them accessible for both seasoned bakers and novices. So, if you’re ready to create a dessert that will have everyone asking for seconds (or thirds!), here’s exactly how to make it.
Ingredients
For the Crust
- 2 cups vanilla wafer crumbs
- 1/2 cup unsalted butter, melted
For the Cheesecake Filling
- 24 ounces cream cheese, softened
- 1 cup granulated sugar
- 3 large eggs
- 1 cup sour cream
- 1 package instant banana pudding mix
- 1/2 cup whole milk
For the Topping
- 3 ripe bananas, sliced
- 8 ounces whipped topping, thawed
- 1 cup vanilla wafers, crushed
Substitution Note: You can use low-fat cream cheese or Greek yogurt as a lighter alternative to cream cheese, but it may slightly alter the texture.
Why You'll Love This Recipe
- Comforting Nostalgia — Each bite transports you back to family gatherings, combining beloved banana pudding with rich cheesecake for a heartwarming experience.
- Layered Textures — The creamy cheesecake filling, crunchy wafer crust, and smooth whipped topping create a delightful balance of textures that make every bite exciting.
- Simple Assembly — With straightforward steps and common ingredients, whipping these bars together is a breeze, even for novice bakers.
- Make-Ahead Convenience — Ideal for prepping in advance, these cheesecake bars can chill overnight, making them perfect for stress-free entertaining or weeknight treats.
- Kid-Friendly Fun — The sweet banana flavor and creamy texture are sure to excite kids, making dessert time a memorable experience for the whole family.
Recipe At a Glance
- Prep Time: 30 minutes
- Cook Time: 45 minutes
- Total Time: 5 hours 15 minutes (including cooling and chilling time)
- Servings: 12 bars
Instructions
- Preheat the oven to 325°F (165°C).
- Lightly grease a 9 by 13 inch baking dish.
- Place 2 cups of vanilla wafer crumbs into a mixing bowl.
- Add 1/2 cup of melted unsalted butter to the crumbs.
- Stir until the crumbs are evenly moistened.
- Press the crumb mixture firmly into the bottom of the prepared baking dish.
- In a large mixing bowl, place 24 ounces of softened cream cheese.
- Beat the cream cheese until completely smooth and creamy.
- Add 1 cup of granulated sugar to the cream cheese.
- Beat until the sugar is fully incorporated.
- Add 3 large eggs, one at a time, and beat gently after each addition until combined.
- Add 1 cup of sour cream and mix until smooth.
- Add 1 package of instant banana pudding mix and pour in 1/2 cup of whole milk.
- Mix until the cheesecake filling is creamy and evenly combined.
- Pour the cheesecake mixture over the prepared vanilla wafer crust.
- Spread the filling evenly to the edges of the baking dish.
- Place the baking dish in the preheated oven.
- Bake for 40 to 45 minutes, until the edges are set and the center has a slight jiggle.
- Remove the cheesecake from the oven and allow it to cool completely at room temperature.
- Cover the baking dish and refrigerate for at least 4 hours, until thoroughly chilled and firm.
- Arrange 3 sliced ripe bananas evenly over the chilled cheesecake.
- Spread 8 ounces of thawed whipped topping evenly over the banana layer.
- Sprinkle 1 cup of crushed vanilla wafers evenly over the top.
- Refrigerate for an additional 30 minutes before serving.
- Cut the chilled dessert into 12 bars and serve cold. Enjoy!
Substitutions & Variations
-
Graham Crackers Instead of Vanilla Wafers — Swap vanilla wafer crumbs for crushed graham crackers in the crust for a different flavor profile and texture that pairs well with the cheesecake filling.
-
Coconut Whipped Topping — Use coconut whipped topping instead of regular whipped topping for a tropical twist that adds a light coconut flavor to the dessert.
-
Almond Milk for Whole Milk — Substitute whole milk with almond milk for a dairy-free version that still provides the necessary moisture for the cheesecake filling.
-
Chocolate Banana Pudding — Instead of instant banana pudding mix, use chocolate instant pudding mix for a decadent chocolate banana cheesecake bar that will delight chocolate lovers.
What to Serve With This
- Caramel Drizzle Latte — The rich and creamy flavors of this coffee drink enhance the dessert's sweetness while providing a delightful contrast.
- Fresh Fruit Salad — A light and refreshing side that complements the creamy texture of the cheesecake bars while adding a crisp, fruity balance.
- Chocolate Chip Cookies — Their chewy, buttery texture pairs well with the smoothness of the cheesecake bars, adding a nostalgic touch to the dessert.
- Vanilla Bean Ice Cream — A scoop of this classic dessert complements the creamy banana flavors and adds a cool, velvety contrast.
Storage & Reheating
-
Refrigerator: Store the Creamy Banana Pudding Cheesecake Bars in an airtight container or cover the baking dish tightly with plastic wrap. They will keep well in the refrigerator for up to 5 days.
-
Freezer: This dish does not freeze well due to the creamy filling and fresh bananas, as they can become soggy upon thawing. For best texture and flavor, enjoy them fresh from the refrigerator.
-
Reheating: These bars are best served cold and do not require reheating. However, if you prefer them slightly warmed, you can set them at room temperature for about 15-20 minutes before serving.
Recipe Tips
-
Achieve Perfect Crust Texture — Ensure that your vanilla wafer crumbs are evenly moistened with the melted butter. If the mixture feels dry, it might not hold together well when pressed into the baking dish, resulting in a crumbly crust.
-
Don't Overbeat the Eggs — When adding the eggs, mix gently just until combined. Overbeating can introduce too much air into the filling, leading to cracks as it bakes.
-
Use Room Temperature Cream Cheese — For a smooth and creamy cheesecake filling, make sure your cream cheese is at room temperature. Cold cream cheese can lead to lumps that are difficult to incorporate, affecting the overall texture.
-
Time-saving Banana Preparation — To prevent your bananas from browning while you prepare the bars, toss the slices in a little lemon juice just before arranging them on top. This simple trick keeps them looking fresh and appealing.
-
Cool Completely Before Topping — Allow the cheesecake to cool completely at room temperature before refrigerating. If it’s still warm, it can trap moisture and affect the topping’s texture, making it runny instead of fluffy.
Frequently Asked Questions
Can I use a different type of cookie for the crust?
Yes, you can substitute vanilla wafers with crushed graham crackers or even chocolate cookies for a different flavor, but keep in mind that the texture and taste will vary slightly from the original recipe.
How can I make these cheesecake bars in advance for a party?
You can prepare the cheesecake bars up to step 20 (chilling in the refrigerator) one to two days in advance. Just be sure to add the banana slices and whipped topping just before serving to maintain their freshness and prevent browning.
What if I don't have instant banana pudding mix?
If you don't have instant banana pudding mix, you can create a similar flavor using a homemade banana pudding base, but note that this will require additional cooking and cooling time, which may impact the overall preparation time for the cheesecake bars.
Why is my cheesecake filling lumpy?
Lumpy cheesecake filling often results from using cold cream cheese; it's crucial to ensure that your cream cheese is at room temperature before mixing, as this will help achieve a smooth and creamy consistency in the final filling.