

Walking into my kitchen, the warm aromatic notes of vanilla greeted me—a comforting reminder of simpler times spent savoring homemade treats. Today, I’m thrilled to share my delightful Baked Yogurt recipe, a high-protein, dairy-free gem that comes together in just 25 minutes. Perfect for busy mornings or as a satisfying dessert, this easy recipe allows you to enjoy a creamy, custard-like texture reminiscent of cheesecake without the dairy. With the added bonus of being gluten-free, this tasty treat offers a healthy twist for anyone looking to ditch fast food and embrace the joy of homemade meals. Curious about how you can elevate your snack game with just a few ingredients? Let’s dive in!
Why is Baked Yogurt a Must-Try?
Deliciousness at Its Core: This Baked Yogurt is a deliciously creamy treat that delivers on flavor while being effortlessly dairy-free.
Quick and Easy: In just 25 minutes, you can whip up a satisfying snack or dessert that’s perfect for your busy lifestyle.
High-Protein Power: Packed with protein from dairy-free Greek yogurt, this recipe supports healthy eating without sacrificing taste.
Versatile Flavors: Experiment with different yogurts or add fruits before baking to create your own signature flavor combinations!
Crowd-Pleaser: Whether served at brunch or as a healthy dessert, it’s sure to impress your family and friends—check out my Savory Baked Meatballs for another crowd favorite!
Storage-Friendly: Leftovers keep well for several days, making it a great option for meal prep or post-workout snacks.
Baked Yogurt Ingredients
For the Base
• Dairy-free Greek yogurt – Provides a creamy texture; ensure it’s Greek-style for extra thickness.
• Egg – Adds structure and moisture; substitute with a flax egg for a vegan option.
• Vanilla extract – Enhances the warm flavor; opt for pure extract for the best taste.
For the Protein Boost
• Collagen powder – Increases protein content and improves texture; can be omitted for a plant-based version.
For Sweetness
• Maple syrup – An all-natural sweetener that enhances flavor; honey or agave makes great alternatives.
For Thickening
• Arrowroot powder – Serves as an effective thickener; cornstarch can also be used as a substitute.
This delightful Baked Yogurt comes together with only a few simple ingredients, making it a fantastic option for health-conscious individuals craving homemade goodness!
Step‑by‑Step Instructions for Baked Yogurt
Step 1: Preheat the Oven
Begin by preheating your oven to 350°F (175°C). This step is crucial to ensure even baking of your Baked Yogurt. Prepare your baking dish or individual ramekins by lightly greasing them with a little oil or cooking spray, which will help prevent sticking and make serving easier.
Step 2: Whisk the Base Ingredients
In a mixing bowl, add your dairy-free Greek yogurt, collagen powder, and maple syrup. Using a whisk, blend these ingredients together until you achieve a smooth, creamy mixture. This should take about 1-2 minutes of vigorous whisking. Ensure there are no lumps, making it easier for the yogurt to rise while baking.
Step 3: Incorporate the Egg and Thickener
Next, crack in the egg and sprinkle in the arrowroot powder. Stir the mixture well until it is homogenous, ensuring that all components are fully integrated. This should take another 1-2 minutes. As you mix, you’ll notice the texture becoming thicker and creamier, signaling it’s ready for the next step.
Step 4: Portion the Mixture
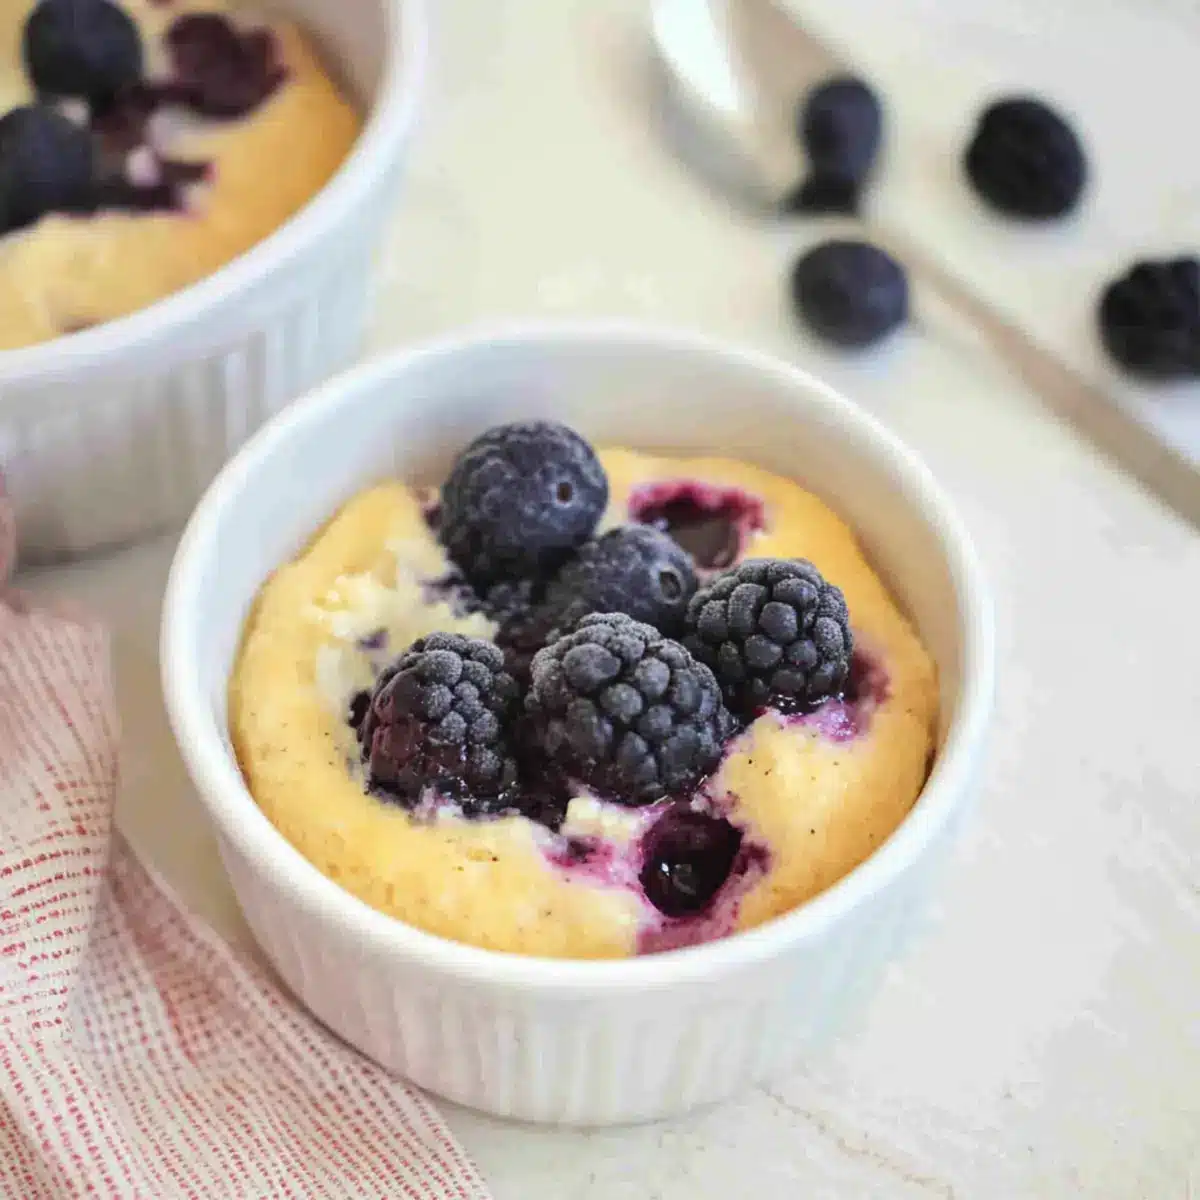
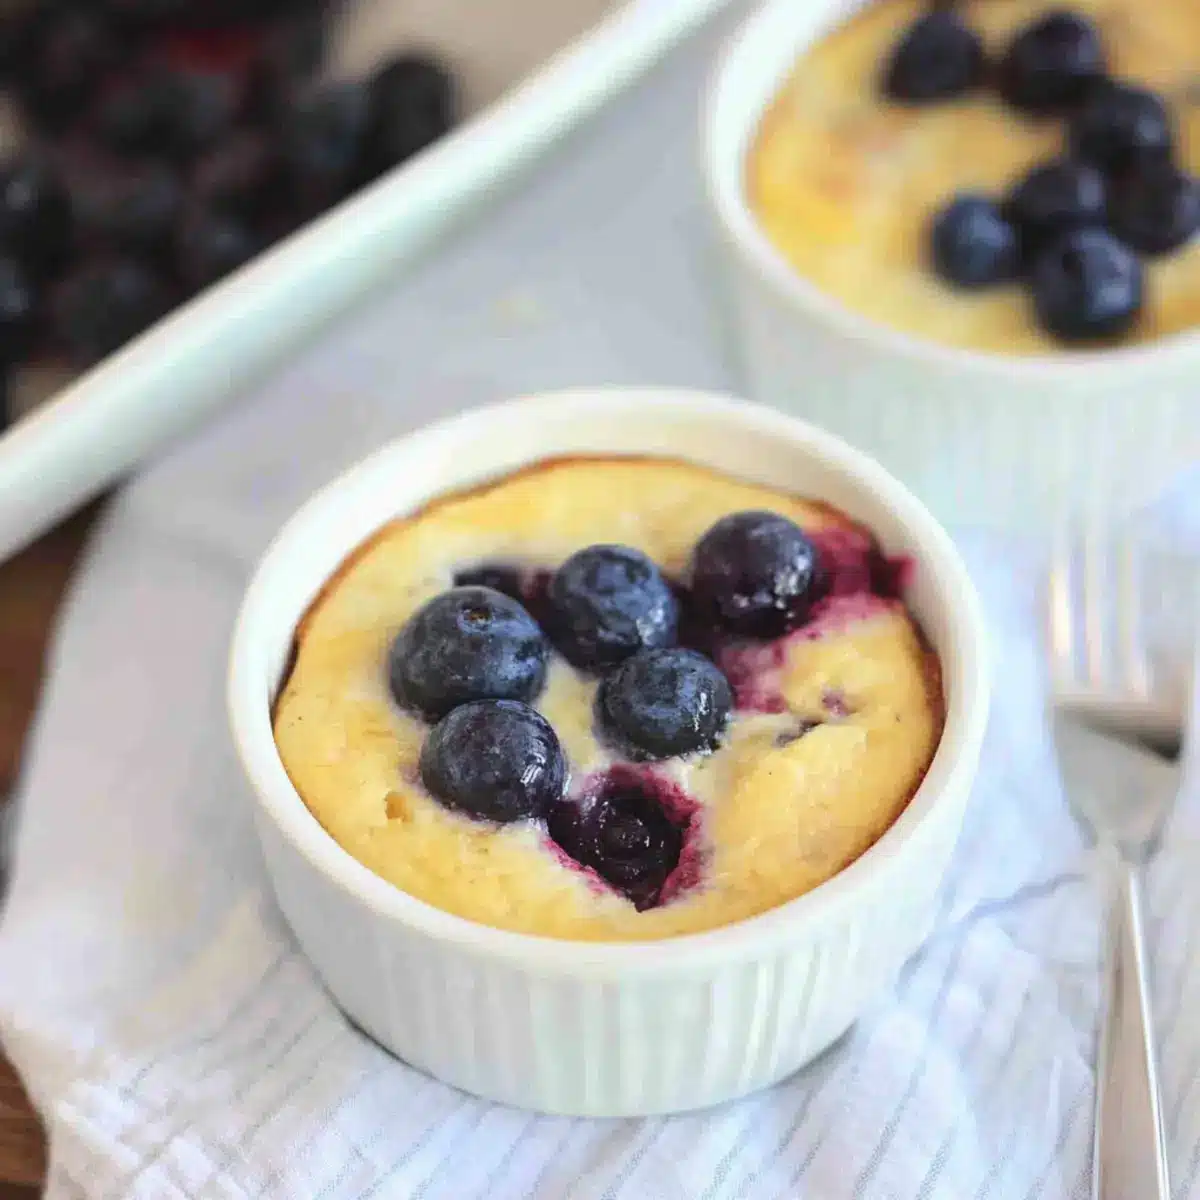
Now, carefully spoon the yogurt mixture into your prepared ramekins, filling each about three-quarters full to allow for expansion during baking. If you wish, this is the ideal time to top each with a few fresh berries for added flavor and visual appeal.
Step 5: Bake in the Oven
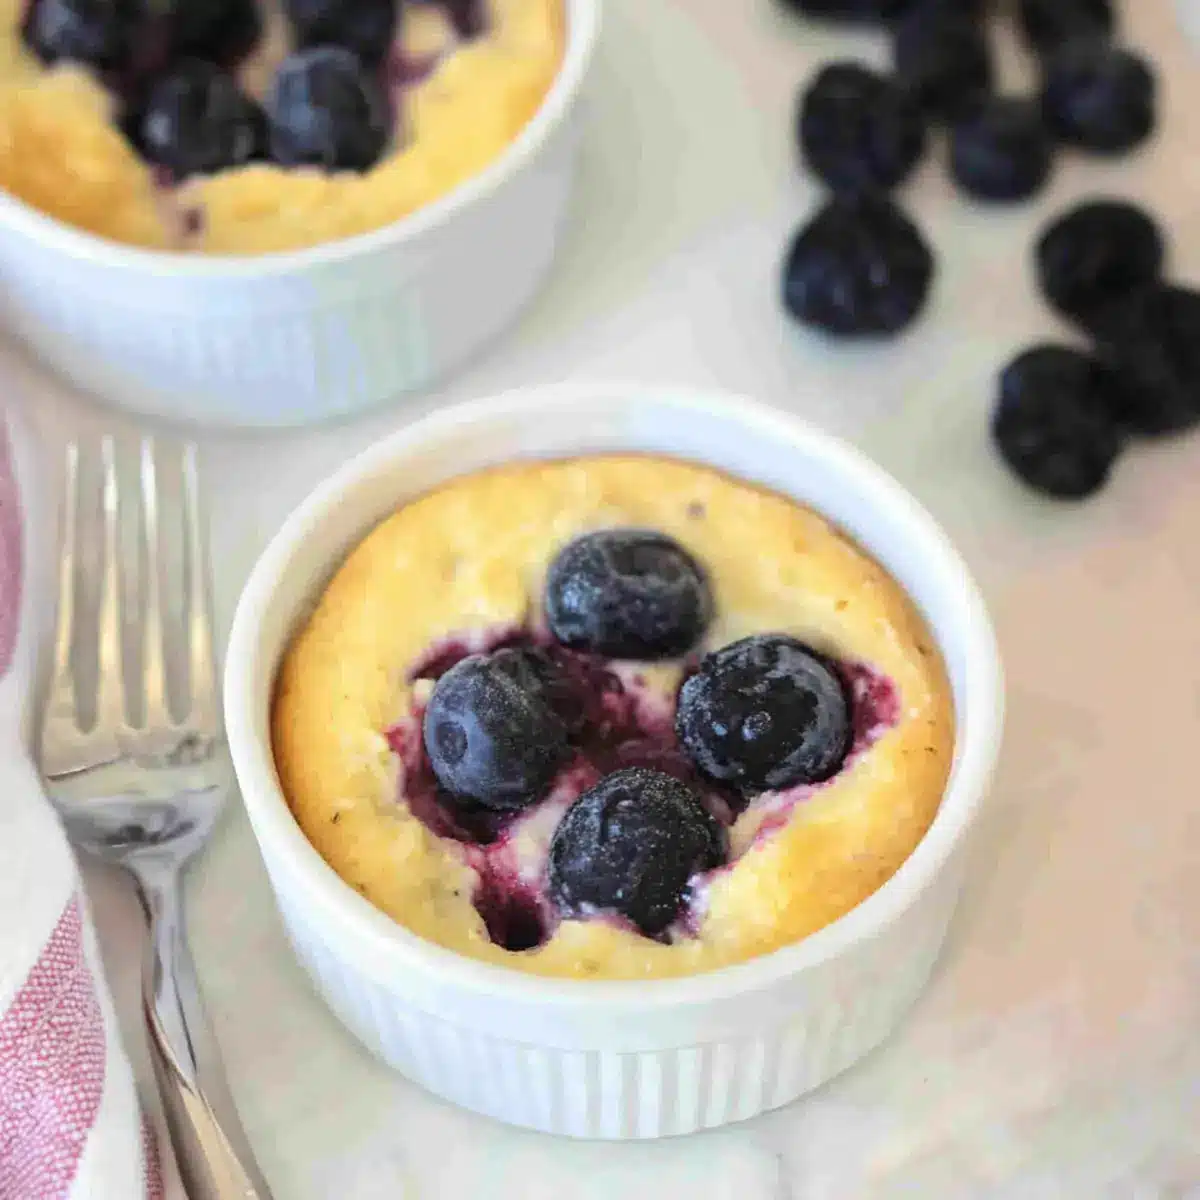
Place your ramekins in the preheated oven and bake for 20 minutes. You’ll know the Baked Yogurt is ready when the edges appear set and slightly puffed, while the center has a slight jiggle. Keep an eye on them to avoid overbaking; they should not turn brown.
Step 6: Cool Before Serving
Once removed from the oven, let your ramekins cool for about 5 minutes at room temperature. This cooling period allows the yogurt to firm up further. Remember, a slight jiggly center is perfectly fine, as it will continue to set upon cooling.
Step 7: Serve and Enjoy
Serve your Baked Yogurt warm or let it cool completely to room temperature. You could pair it with a drizzle of dairy-free chocolate sauce or additional fruits for a delicious finish. This treat is not only satisfying but also a fulfilling way to indulge in a healthy snack!
What to Serve with High-Protein Dairy-Free Baked Yogurt
Elevate your homemade experience by pairing this luscious treat with delightful accompaniments that enhance its delightful flavors.
-
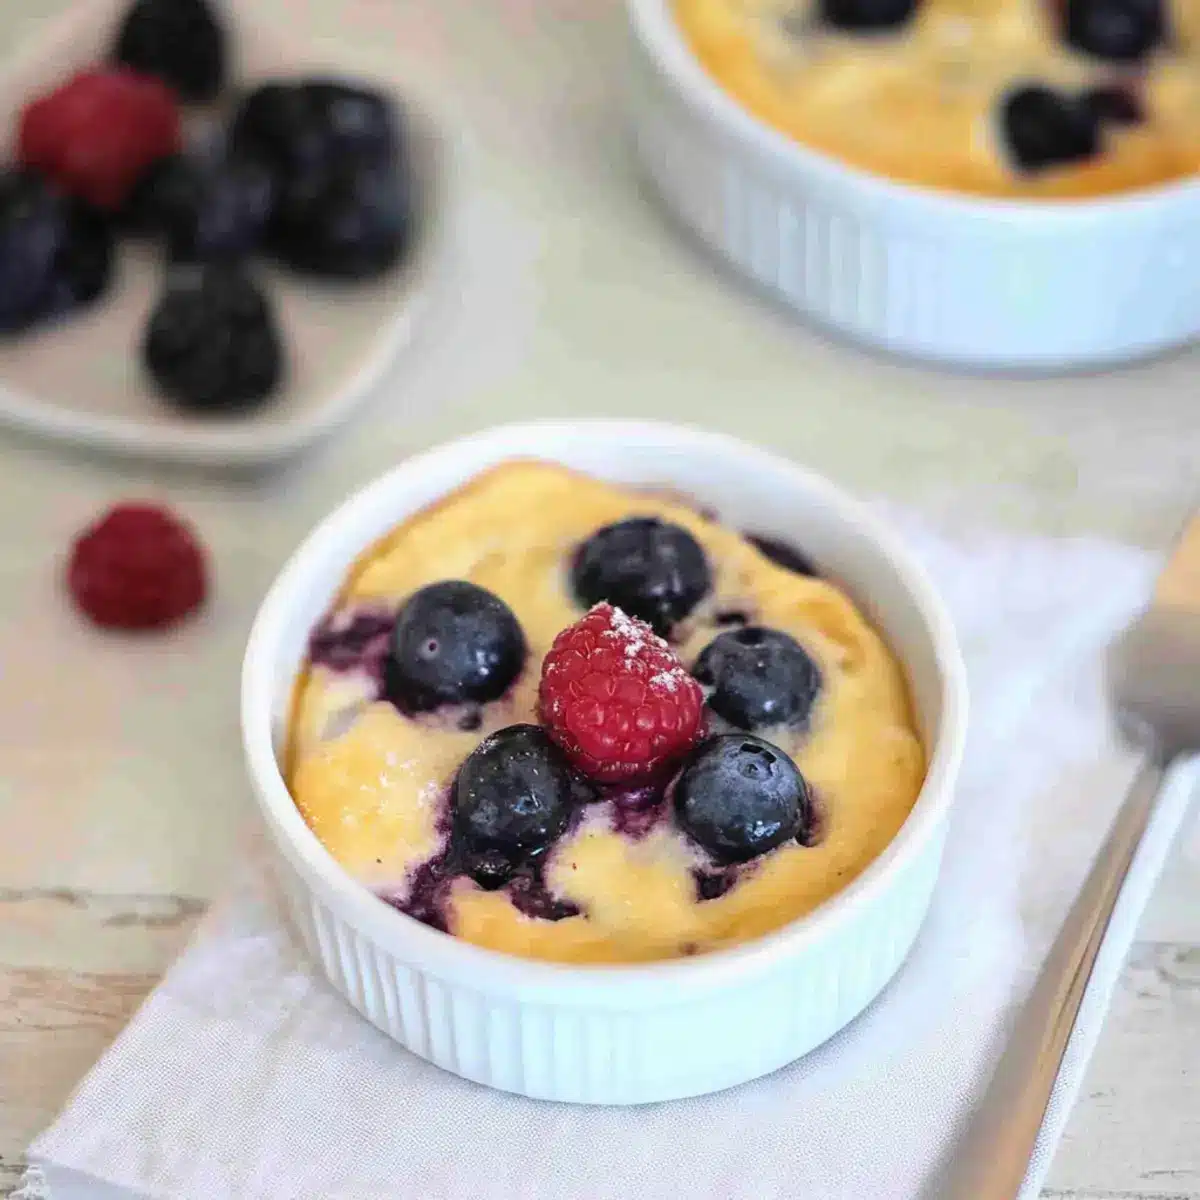
Fresh Berries: The tangy sweetness of strawberries, blueberries, or raspberries adds a pop of color and a burst of nutrients. Fresh fruit complements the rich vanilla flavor beautifully, making each bite refreshing.
-
Dairy-Free Chocolate Sauce: Drizzling a velvety chocolate sauce over the top offers a decadent twist. This luxurious addition brings a delightful contrast to the creamy texture of the baked yogurt.
-
Granola: A sprinkle of crunchy granola adds a satisfying texture and chewiness. The nutty flavors harmonize with the yogurt, creating a balanced snack or dessert that feels indulgent yet wholesome.
-
Coconut Whipped Cream: Light and airy, coconut whipped cream adds a touch of sweetness and creaminess. This plant-based topping creates a tropical vibe that perfectly complements the vanilla notes in your baked yogurt.
-
Honey-Drizzled Nuts: Toasted almonds or walnuts, drizzled with honey, provide a sweet and crunchy element. This pairing not only enhances flavor but also delivers a satisfying crunch with each spoonful.
-
Chilled Mint Tea: Serve your baked yogurt alongside a refreshing glass of mint tea for a delightful drink. The cooling herbal notes of the tea contrast beautifully with the warmth of the dessert.
-
Citrus Curd: A bright lemon or orange curd can elevate your baked yogurt to a whole new level. Its acidity cuts through the creaminess and adds a zingy punch that makes for a vibrant dessert experience.
Baked Yogurt Variations & Substitutions
Feel free to get creative with your Baked Yogurt recipe and enjoy a unique twist that tantalizes your taste buds!
- Flavor Infusion: Experiment with flavored yogurt, like strawberry or coconut, to create exciting taste combinations. A simple switch can transport you to a tropical paradise!
- Fruit Mix-Ins: Add chopped fruits such as bananas or berries before baking for a delightful burst of flavor and nutrition. Their natural sweetness complements the yogurt beautifully!
- Sweetener Swap: Use honey or agave syrup instead of maple syrup for a different sweetness profile. Each option brings its own distinctive flavor charm to the dish.
- Collagen Alternative: For a vegan version, omit the collagen powder entirely or replace it with a plant-based protein powder. You can still enjoy a hearty texture without the dairy!
- Thickener Change: If you don’t have arrowroot powder on hand, cornstarch works as a great substitute to achieve that ideal thickness. It’s a versatile pantry staple!
- Topping Options: Top with a sprinkle of cinnamon or granola before serving for added crunch and flavor contrast. It’s a delightful way to enhance your dessert experience!
- Baked Chocolate Delight: Stir in a tablespoon of cocoa powder to transform your Baked Yogurt into a rich chocolatey treat. This is a true indulgence without the guilt!
- Switch up the Egg: For a fluffier texture, use two egg whites instead of one whole egg. This will lighten the overall feel of your Baked Yogurt, adding a lovely airy note!
Don’t forget to pair your lovely Baked Yogurt with a delicious drizzle of dairy-free chocolate sauce or enjoy it alongside a comforting dish like Baked Chicken Parmesan for extra satisfaction!
How to Store and Freeze Baked Yogurt
Fridge: Store your Baked Yogurt in airtight containers in the refrigerator for up to 3-4 days. It’s best enjoyed cold or at room temperature for a refreshing snack.
Freezer: For longer storage, freeze individual portions in freezer-safe containers for up to 3 months. Thaw in the fridge overnight before serving.
Reheating: If you prefer it warm, gently reheat in the oven at 300°F (150°C) for about 10 minutes, or microwave in short intervals, being careful to avoid overheating.
Enjoyability: To maintain texture and flavor, savor your baked yogurt soon after reheating; it’s best fresh but still delightful after storage!
Make Ahead Options
These delightful Baked Yogurt ramekins are perfect for meal prep enthusiasts! You can prepare the yogurt mixture up to 24 hours in advance by combining all the ingredients (dairy-free Greek yogurt, egg, collagen powder, maple syrup, and arrowroot powder) and storing it in the refrigerator. Simply cover the mixing bowl with plastic wrap to keep it fresh. When you’re ready to bake, pour the mixture into your ramekins and follow the baking instructions as usual. By prepping ahead, you’ll save time during busy mornings while still enjoying the same creamy texture and rich flavor of your Baked Yogurt—just as delicious when freshly baked!
Expert Tips for Baked Yogurt
• Texture Tips: Allow the baked yogurt to cool for 5-7 minutes after baking to enhance its creamy texture as it thickens.
• Broiling Bonus: For a delightful crisp top, broil the yogurt for 60 seconds at the end of baking—watch closely to prevent burning!
• Mixing Made Easy: Ensure the collagen powder is fully integrated with the yogurt before adding the egg; this prevents pesky clumps in your Baked Yogurt.
• Flavor Variations: Don’t hesitate to mix in fruits or flavored yogurts to create your own twists—strawberry and coconut are excellent options!
• Ramekin Size: Use small ramekins for individual servings; this goes a long way in creating a lovely presentation and easy storage.
Baked Yogurt Recipe FAQs
How do I choose the right dairy-free Greek yogurt for this recipe?
Absolutely! When selecting dairy-free Greek yogurt, look for one that’s labeled as “Greek-style” to ensure it has that rich, thick texture you desire. Aim for products made from almond, coconut, or soy milk. Check the ingredient list for minimal additives and a good protein content, which enhances the overall quality of your baked yogurt.
How should I store my baked yogurt?
When it comes to storage, you’ll want to keep your Baked Yogurt in airtight containers in the refrigerator, where it can last for up to 3-4 days. To enjoy it at its best, consider eating it cold or letting it come to room temperature before serving.
Can I freeze baked yogurt for later?
Yes, you can freeze individual portions of Baked Yogurt! Simply place them in freezer-safe containers or wrap them tightly with plastic wrap before sealing. They can be stored in the freezer for up to 3 months. When ready to enjoy, thaw them in the refrigerator overnight. For a warm treat, gently reheat in the oven at 300°F (150°C) for about 10 minutes.
What are some common troubleshooting tips for making baked yogurt?
If your baked yogurt doesn’t set properly, it may be due to overmixing or not using the right yogurt consistency. Ensure that the yogurt is thick enough and carefully mix until just combined to prevent excess air bubbles. Additionally, if you notice it browning too much on top but not setting correctly, lower your oven temperature slightly next time or cover it loosely with foil during baking.
Are there any dietary considerations for pets or allergies with this recipe?
While this Baked Yogurt is dairy-free, it’s always best to check for individual allergies. For those with egg allergies, you can substitute a flax egg: mix 1 tablespoon of ground flaxseed with 2.5 tablespoons of water and let it sit for 5 minutes. As a reminder, always keep human foods, especially those containing ingredients like chocolate or certain fruits, away from pets; they can be harmful to them!
Delicious Dairy-Free Baked Yogurt: Easy, High-Protein Treat
Ingredients
Equipment
Method
- Preheat your oven to 350°F (175°C) and grease your baking dish or individual ramekins.
- In a mixing bowl, whisk together the dairy-free Greek yogurt, collagen powder, and maple syrup until smooth.
- Incorporate the egg and arrowroot powder, mixing until homogeneous.
- Spoon the mixture into ramekins, filling each about three-quarters full.
- Bake in the preheated oven for 20 minutes, until edges are set and slightly puffed.
- Cool for about 5 minutes at room temperature before serving.
- Serve warm or let it cool completely. Optionally, add toppings like dairy-free chocolate sauce or fruits.