

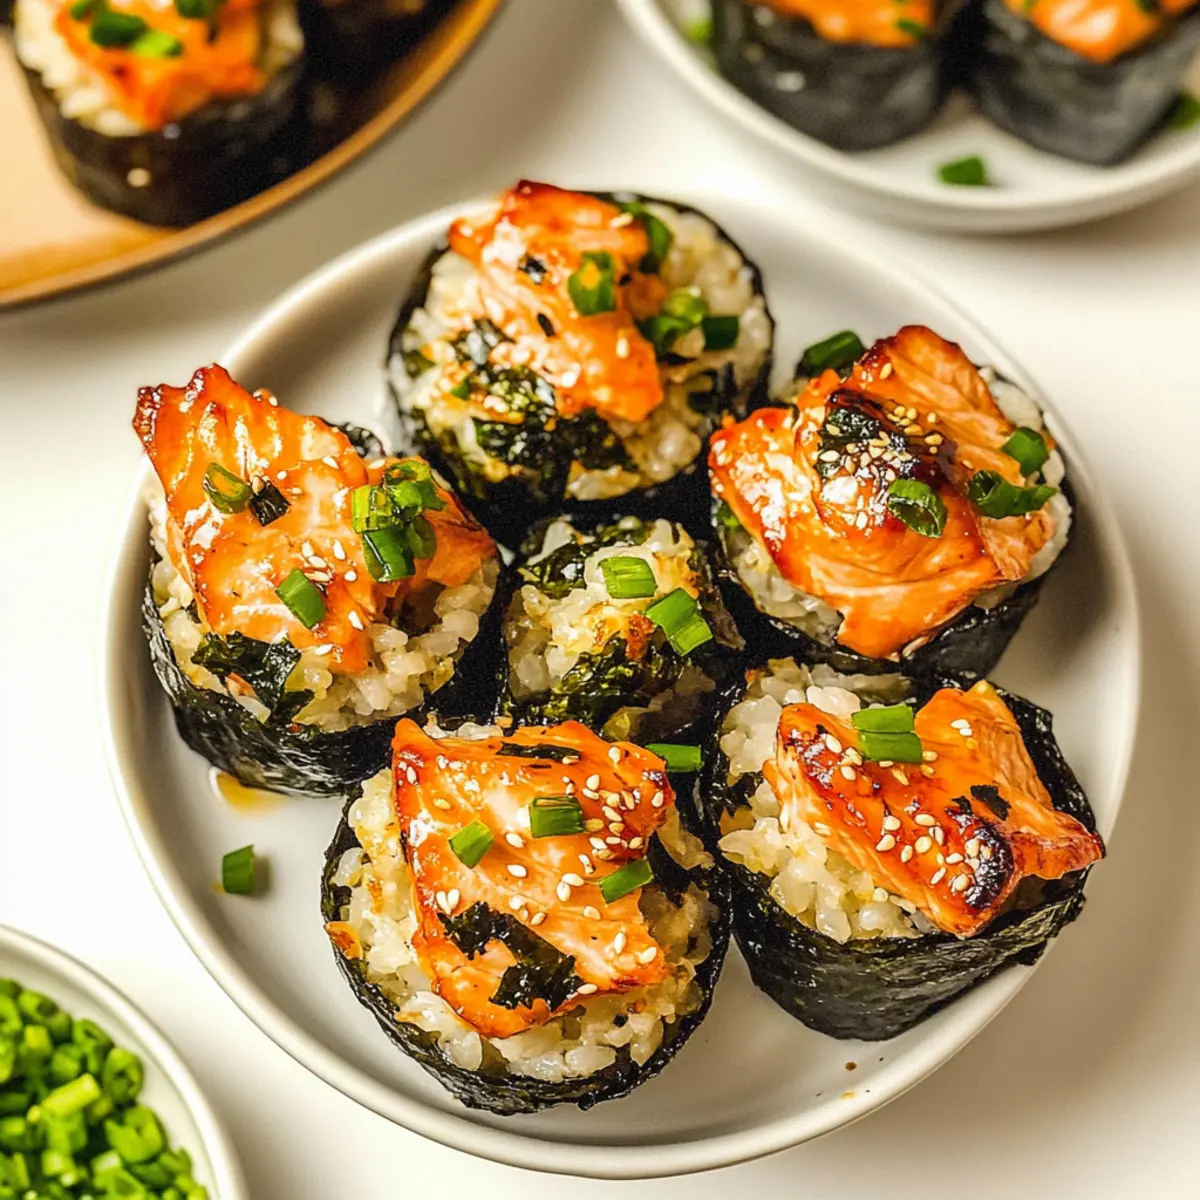
Walking through a bustling Japanese market, the aroma of fresh sushi filled the air, instantly sparking my cravings. That moment ignited an idea, and I decided to create a homemade twist: Baked Salmon Sushi Cups! These delightful little appetizers perfectly capture the essence of sushi yet offer a fun and approachable way to satisfy your sushi cravings. They’re not only quick to whip up but also a guaranteed crowd-pleaser for family gatherings or parties. Imagine serving these warm, tender cups filled with savory salmon, sushi rice, and a drizzle of spicy mayo—what’s not to love? Whether you’re a seasoned home chef or just starting your culinary adventures, these Baked Salmon Sushi Cups promise to bring joy to your kitchen. What’s your favorite twist on sushi?
Why You’ll Adore These Sushi Cups?
Game-Changing: Baked Salmon Sushi Cups reinvent our favorite sushi experience, turning it into a fun, muffin-sized appetizer.
Quick and Easy: With minimal prep and straightforward steps, you can craft a crowd-pleaser in no time.
Flavor Explosion: The tender salmon combined with the creamy spicy mayo creates a burst of deliciousness that’s hard to resist.
Versatile Options: Swap salmon for shrimp or tofu to suit your guests’ preferences. You can even experiment with sauces for a personalized touch!
Perfectly Portable: Ideal for parties or family dinners, these cups are easy to serve, making them a hit for any occasion. Enjoy these alongside some refreshing cucumber salad or even a side of Twice Baked Potatoes for a well-rounded meal!
Baked Salmon Sushi Cups Ingredients
For the Salmon Mixture
• Salmon – A rich protein source that becomes tender when baked. Substitution: Can use tuna or crab for a seafood variation.
• Light Soy Sauce – Adds an umami flavor and moisture to the salmon. Substitution: Tamari for a gluten-free option.
• Kewpie Mayo – Provides a creamy texture and distinct umami flavor. Substitution: Regular mayonnaise if unavailable.
• Sriracha – Offers a spicy kick to balance the richness. Substitution: Chili paste or hot sauce as an alternative.
• Sesame Oil – Enhances the flavor with a nutty aroma. Note: Use sparingly as it has a strong flavor.
For the Sushi Rice
• Sushi Rice – Forms the base of the cups, imparting a sticky texture. Note: Uncooked sushi rice is essential for the correct texture.
• Rice Vinegar – Adds acidity and helps season the sushi rice. Substitution: Apple cider vinegar in a pinch.
• White Sugar – Balances the acidity of vinegar in the rice. Substitution: Honey or agave syrup could be used if necessary.
For Assembly and Topping
• Nori Sheets – Wraps the sushi components and adds a sea flavor. Note: Can use seaweed snacks as an alternative if needed.
• Furikake – Toasted seasoning sprinkled on top for added flavor. Substitution: Toasted sesame seeds in place of furikake.
• Green Onion – A fresh garnish that adds crunch and color. Note: Can be replaced with chives or omitted entirely.
• Cooking Spray – Prevents sticking while baking. Note: Olive oil or melted butter can be used instead.
These Baked Salmon Sushi Cups are not just easy to prepare; they bring all the flavors of sushi in an adorable, mini format that your guests are sure to enjoy!
Step‑by‑Step Instructions for Baked Salmon Sushi Cups
Step 1: Prep Sushi Rice
Begin by cooking your sushi rice according to the package instructions, typically around 20 minutes. Once cooked, combine rice vinegar and sugar in a microwave-safe bowl and heat for 30 seconds until dissolved. Gently mix this mixture into the warm rice until evenly coated, then set it aside to allow the flavors to meld.
Step 2: Prepare Salmon Mixture
In a mixing bowl, combine cubed salmon with light soy sauce, Kewpie mayo, sriracha, and sesame oil. Stir well until the salmon is thoroughly coated in the creamy, spicy mixture. This vibrant salmon mixture is essential for your Baked Salmon Sushi Cups, enhancing the overall flavor profile with each bite.
Step 3: Preheat Oven
Preheat your oven to 400°F (200°C) to ensure even cooking and optimal crispiness for your sushi cups. As the oven heats up, gather your prepared ingredients and muffin tin, which will hold the delicious Baked Salmon Sushi Cups while they bake to golden perfection.
Step 4: Cut Nori Sheets
While the oven is preheating, cut your nori sheets into squares large enough to line the muffin cups. Aim for each square to be about 4×4 inches, allowing adequate overlap to create a sturdy base for the sushi cups. The nori will add a delightful sea flavor that complements the salmon perfectly.
Step 5: Assemble Cups
Spray your muffin tin with cooking spray to prevent sticking, then place a square of nori into each cup, ensuring it fits snugly. Add a spoonful of sushi rice into each nori-lined cup, pressing it down firmly to shape. Top with a generous layer of the salmon mixture, distributing it evenly among the cups for a deliciously satisfying bite.
Step 6: Bake
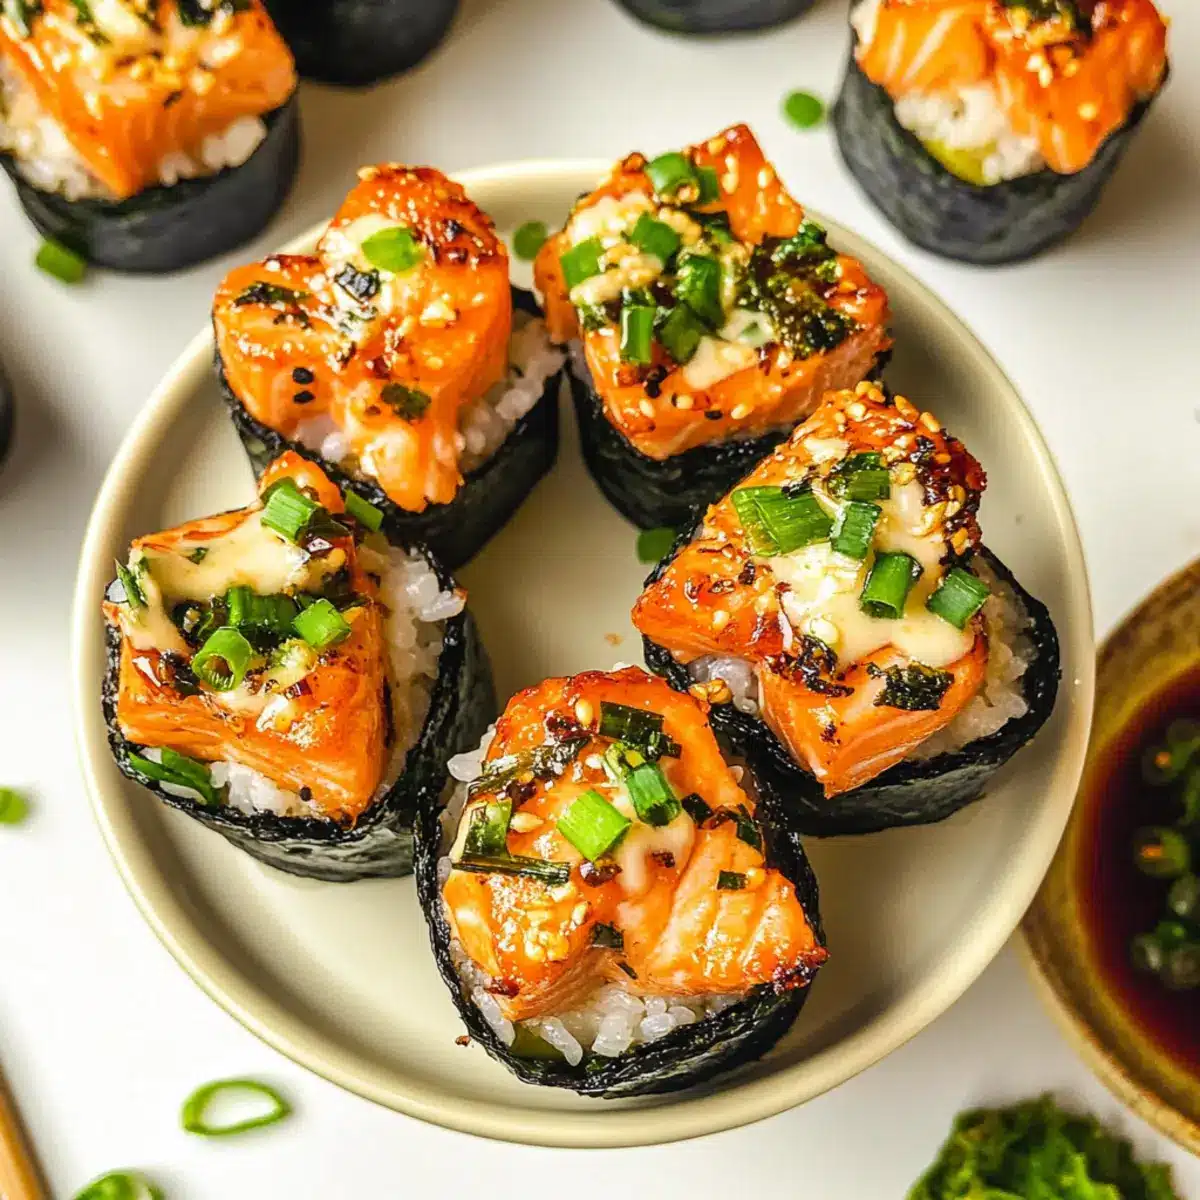
Carefully place the assembled muffin tin into the preheated oven and bake for 15 minutes. Keep an eye on them—the salmon should be light pink and flaky at the end of baking, and the nori will take on a crispy texture, creating a delightful contrast with the tender filling.
Step 7: Garnish and Serve
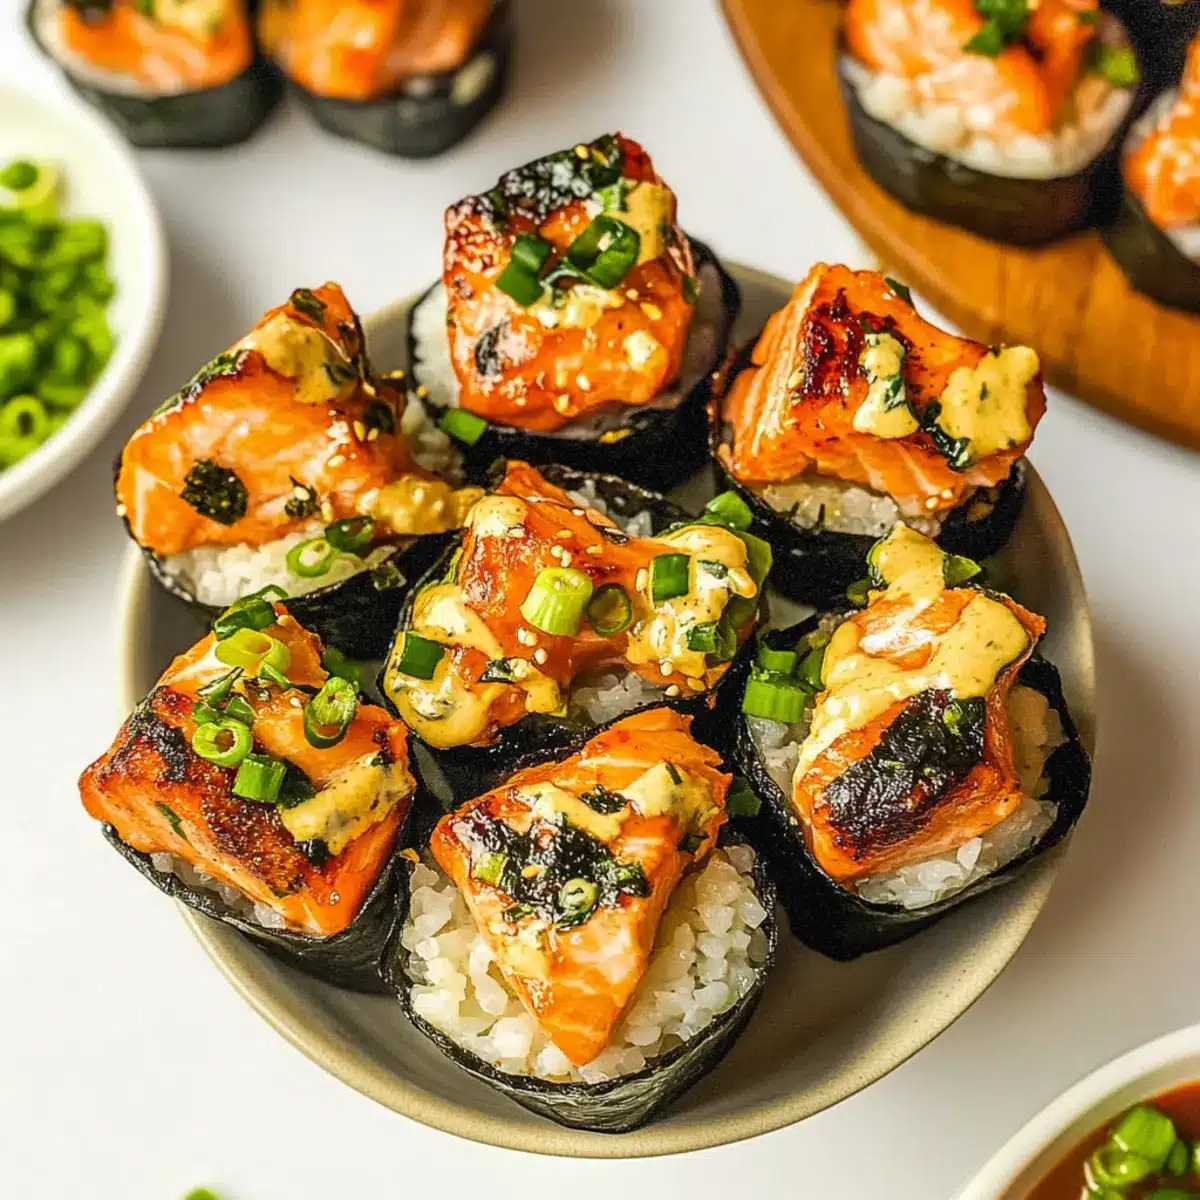
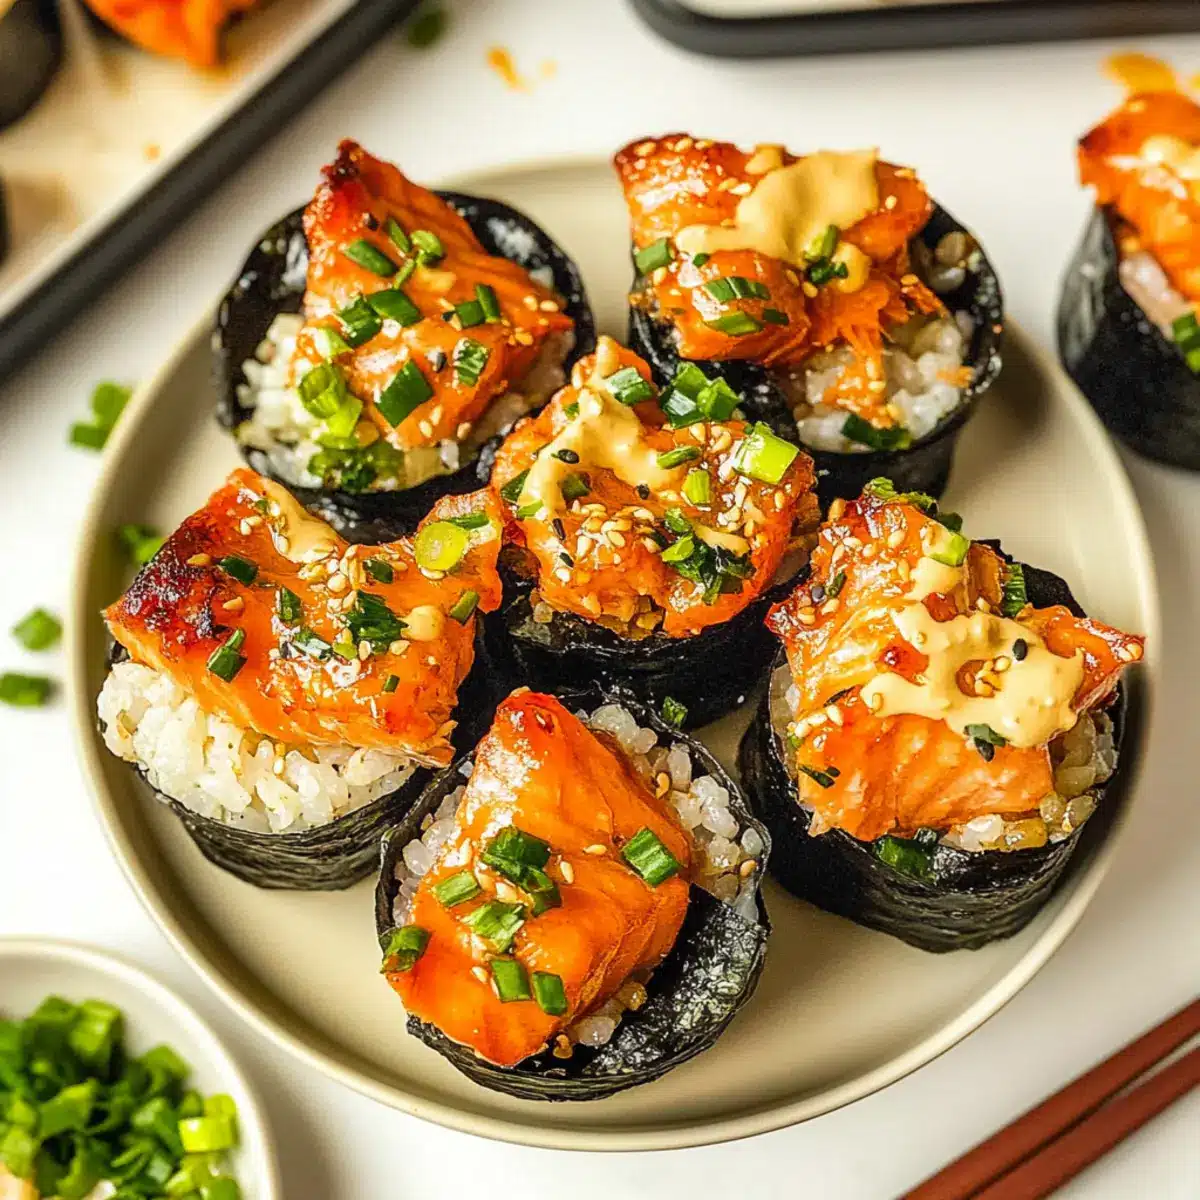
Once baked, remove your Baked Salmon Sushi Cups from the oven and let them cool for a few minutes. Drizzle with extra sriracha or Kewpie mayo for an added kick, and finish with a sprinkle of furikake and chopped green onions. Serve these irresistible cups warm to enjoy the best flavors and textures!
Expert Tips for Baked Salmon Sushi Cups
• Muffin Tin Space: Avoid overcrowding your muffin tin; each cup must have enough space to ensure even baking and prevent spillage.
• Perfect Bake Time: Keep an eye on your cups as they bake. Remove them when the salmon is light pink and flaky to avoid drying them out.
• Cool Before Garnishing: Let the cups cool for a few moments before garnishing. This helps toppings stick better and enhances overall presentation.
• Fresh is Best: Enjoy your Baked Salmon Sushi Cups right away for the best texture. They can become a bit soggy if left too long.
• Variations Welcome: Don’t hesitate to mix things up! Try using different proteins or sauces to suit your taste or your guests’ preferences.
How to Store and Freeze Baked Salmon Sushi Cups
Fridge: Store leftover Baked Salmon Sushi Cups in an airtight container for up to 2-3 days. When you’re ready to enjoy them again, simply reheat.
Freezer: These sushi cups can be frozen for up to one month. Place them in a single layer on a baking sheet until firm, then transfer to a freezer bag to save space.
Reheating: When ready to savor your Baked Salmon Sushi Cups, preheat your oven to 350°F (175°C) and bake for about 10 minutes until heated through and crispy again.
Avoid Sogginess: To maintain their delightful texture, make sure they cool completely before storing to avoid moisture buildup in the container.
Baked Salmon Sushi Cups Variations & Substitutions
Feel free to get creative with these Baked Salmon Sushi Cups, making them uniquely yours with enticing flavors and textures!
-
Protein Swap: Substitute salmon with shrimp, crab, or even tofu for a delightful twist that suits every preference.
-
Healthier Base: Use brown rice instead of sushi rice for a heartier, fiber-rich option that still satisfies those sushi cravings.
-
Spicy Kick: Experiment with different sauces; mango or spicy teriyaki can add an exciting flavor boost that elevates your cups.
-
Vegan Option: Replace salmon with marinated chickpeas or diced avocado for a nutritious vegan-friendly version.
-
Flavor Explosion: Add diced jalapeños or a sprinkle of chili flakes to the salmon mixture for an extra layer of heat that sushi lovers adore.
-
Nori Alternatives: If nori isn’t on hand, consider using rice paper or even lettuce leaves for a fresh, crunchy base that switches things up.
-
Garnish Ideas: Swap green onions for fresh herbs like cilantro or basil to impart a fragrant and bold flavor to your cups.
-
Additional Toppings: Consider drizzling your cups with a sweet chili sauce or serving them alongside a side of pickled ginger to complement the sushi experience perfectly.
These variations are just the beginning! Whether you dive into Baked Chicken Thighs for a savory pairing or enjoy a flavorful Twice Baked Potato on the side, the customization possibilities are endless. Let your culinary creativity shine!
What to Serve with Baked Salmon Sushi Cups?
Indulge in a flavorful dining experience by pairing your delightful sushi cups with these complementary sides and drinks.
-
Cucumber Salad: A crisp, refreshing side that adds a cool crunch, balancing the rich flavors of the salmon cups. Toss fresh cucumbers with rice vinegar for a quick, delicious complement!
-
Pickled Ginger: A staple in sushi meals, its sharpness cleanses the palate, enhancing every delectable bite of your Baked Salmon Sushi Cups.
-
Soy Sauce: Drizzle this classic condiment over your sushi cups for an extra umami kick that elevates the overall flavor profile.
-
Wasabi Peas: For a crunchy texture and a bit of heat, serve these seasoned peas as a fun, snackable side. They add an exciting twist that complements the soft, tender sushi cups.
-
Avocado Slices: Creamy, buttery avocado adds a delightful contrast of texture and richness that pairs beautifully with the sushi flavors.
-
Sesame Noodle Salad: This light, nutty salad brings the comforting warmth of sesame oil, tying together the Japanese-inspired theme of your meal.
-
Green Tea: A warm cup of green tea not only refreshes but also enhances your sushi dining experience with its soothing qualities.
-
Mochi Ice Cream: Finish your meal on a sweet note with a scoop of this delightful treat, providing a chewy contrast to the savory sushi cups.
Make Ahead Options
Baked Salmon Sushi Cups are fantastic for meal prep, allowing you to satisfy your sushi cravings with ease! You can prepare the sushi rice and salmon mixture up to 24 hours in advance. Simply cook the sushi rice and mix it with the vinegar and sugar, then store it in an airtight container in the refrigerator. Likewise, combine cubed salmon with the remaining ingredients and refrigerate. When you’re ready to serve, assemble the cups and bake them fresh for 15 minutes at 400°F (200°C), ensuring a warm, crispy texture. This method keeps the nori crisp and the filling just as delicious, saving you precious time on busy weeknights!
Baked Salmon Sushi Cups Recipe FAQs
How do I select the right salmon for my sushi cups?
Absolutely! Look for salmon that appears bright in color, with no dark spots or discoloration. It should have a fresh, ocean-like smell. I recommend asking your fishmonger to help you choose a high-quality fillet, typically labeled as sushi-grade for the best results.
What is the best way to store leftover Baked Salmon Sushi Cups?
You can keep your leftover sushi cups in an airtight container in the refrigerator for up to 2-3 days. Just make sure they are completely cool before enclosing them to avoid any moisture buildup, which can make them soggy when reheated.
Can I freeze Baked Salmon Sushi Cups?
Yes! To freeze, place the cups in a single layer on a baking sheet and freeze until firm. Once solid, transfer them into a freezer bag to save space. They can be stored in the freezer for up to one month. When you’re ready to indulge again, bake them directly from the freezer!
Why did my sushi cups turn out soggy?
Very! Soggy sushi cups can result from using too much moisture in the salmon mixture or storing them too long before enjoying. Be careful not to overbake them or leave them in the fridge for too long. Make sure they cool completely before sealing, and if storing, enjoy them within 2-3 days for the best texture.
Are there any dietary considerations I should know about?
Definitely! If you or your guests have allergies, be cautious of ingredients like soy sauce, which contains gluten, and Kewpie mayo if you need a vegan option. You can easily substitute these with tamari for gluten-free needs and regular mayo if Kewpie is unavailable. Always check all packaging labels to ensure safe consumption.
How can I enhance the flavor of my Baked Salmon Sushi Cups?
In addition to the classic toppings, consider experimenting with sauces or spices. Drizzling a touch of sweet teriyaki sauce or adding ginger to the salmon mixture can introduce an exciting twist! You can even swap fillings entirely, using crab or shrimp for an entirely new flavor profile.
Baked Salmon Sushi Cups That Make Every Bite a Delight
Ingredients
Equipment
Method
- Cook sushi rice according to package instructions, typically around 20 minutes. Then combine rice vinegar and sugar in a microwave-safe bowl and heat for 30 seconds until dissolved. Gently mix into warm rice and set aside.
- In a mixing bowl, combine cubed salmon with light soy sauce, Kewpie mayo, sriracha, and sesame oil. Stir well until coated.
- Preheat the oven to 400°F (200°C). Gather prepared ingredients and muffin tin.
- Cut nori sheets into squares about 4x4 inches for lining the muffin cups.
- Spray muffin tin with cooking spray. Place nori squares in each cup, add sushi rice, pressing down. Top with the salmon mixture.
- Bake the assembled cups for 15 minutes until the salmon is light pink and flaky, and the nori is crispy.
- Remove from oven and let cool for a few minutes. Drizzle with extra sriracha or mayo, sprinkle with furikake and green onions. Serve warm.